.NET Core - Getting started with GIT and VSCode via Visual Studio Team Services
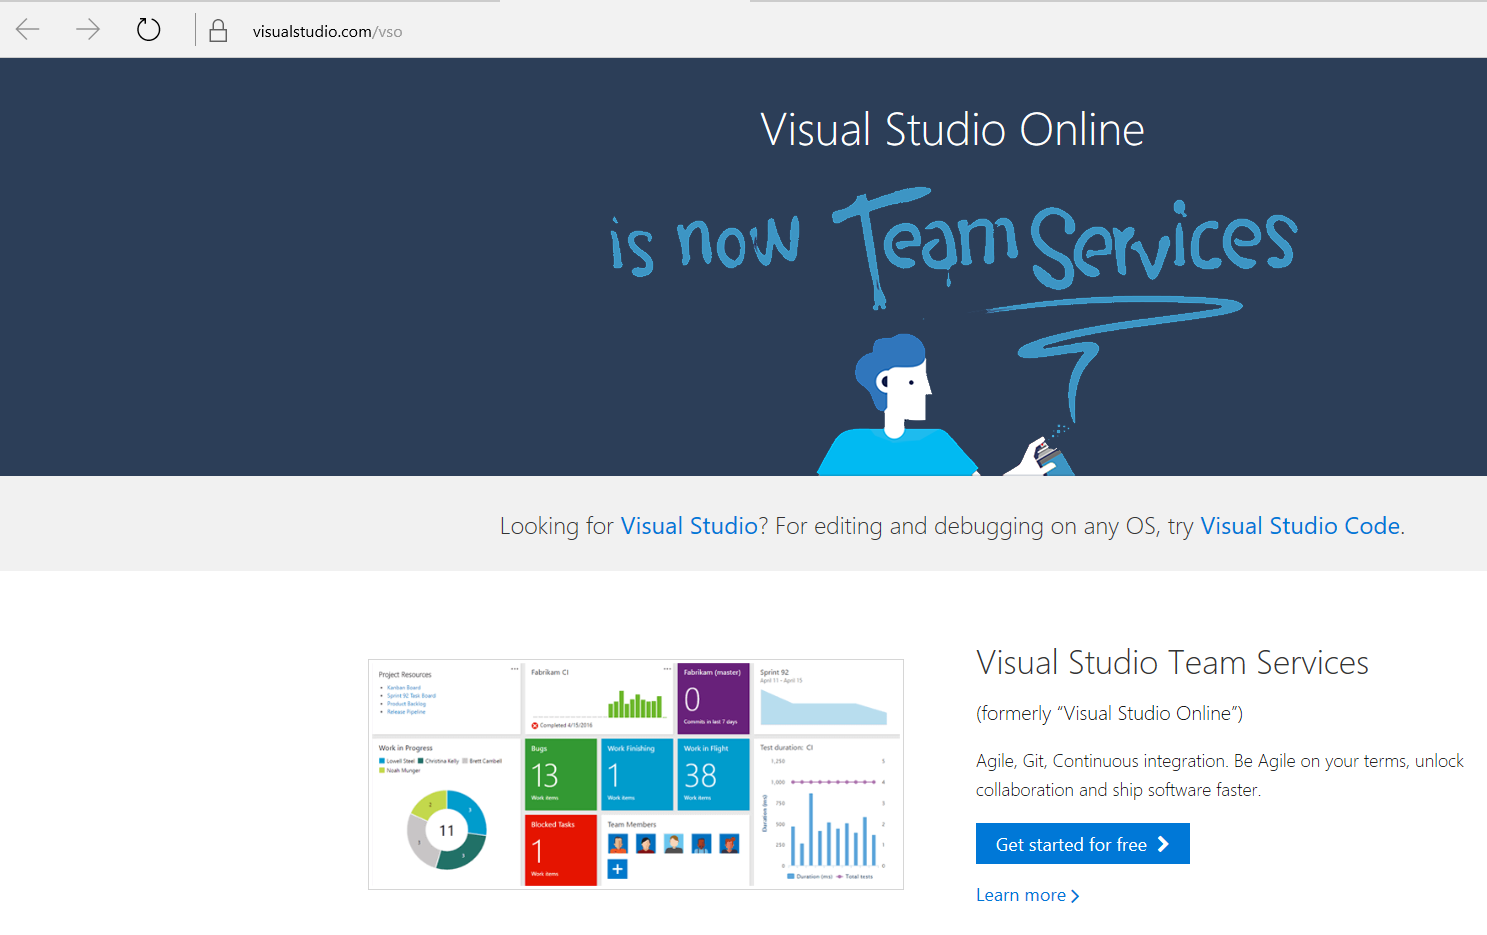
In this post I show how to use Visual Studio Team Services (formerly Visual Studio Online) to create a GIT repository to host a .NET Core project created using Visual Studio Code. It is valid to say that VSTS allows you to create projects for several languages, IDEs and platforms.
Emphasizing that the free plan allows you to share a project with up to 5 people simultaneously.
To start using VSTS access the URL https://www.visualstudio.com/vso and click on Get started for free.
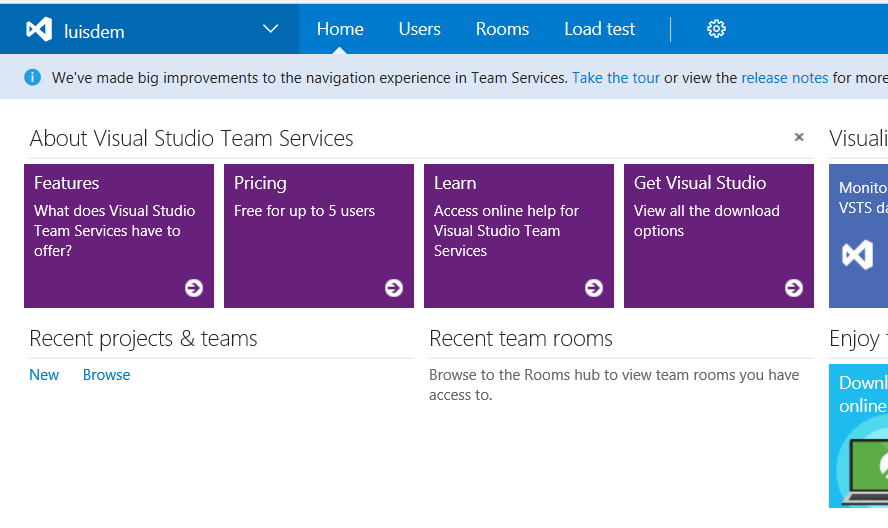
On the homepage, click on New to create a new project.
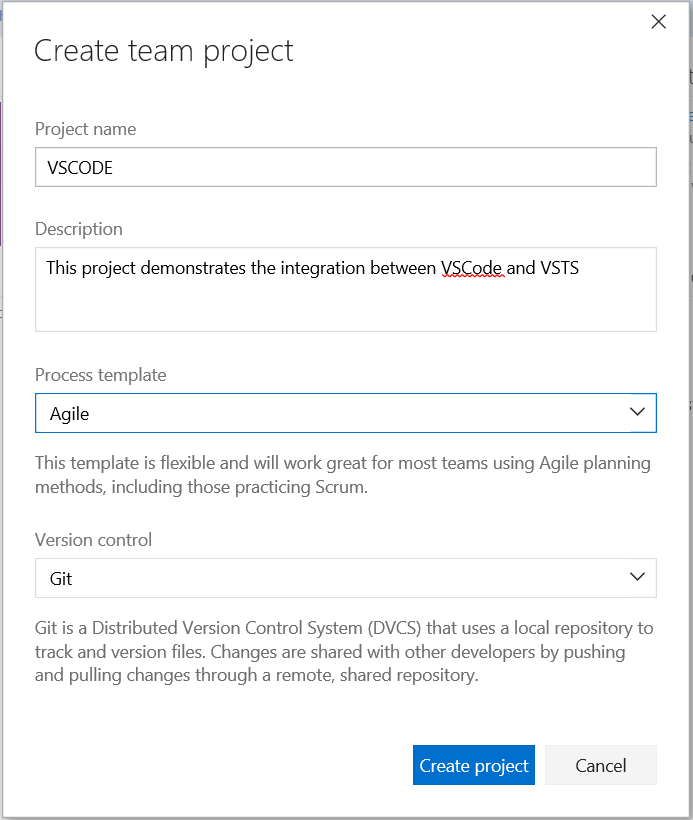
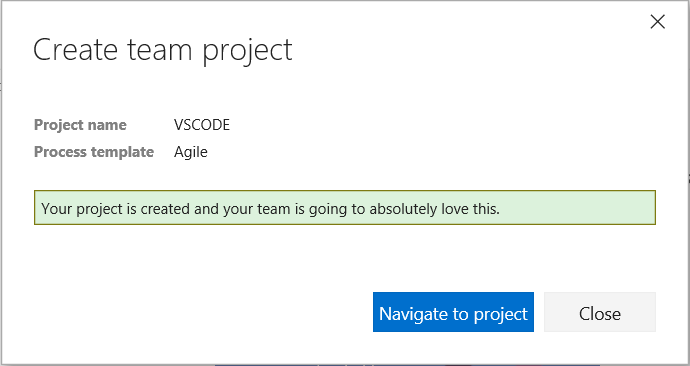
Enter the data to create a project, such as name, description, which used process (SCRUM, Agile, CMMI) and which version control format that will be used (GIT or TFVC). In this case, we will select GIT, as the purpose of this post is to detail this technology. Click on Create Process button to complete the operation.
After the project is created, click Navigate to project button to view the project dashboard.
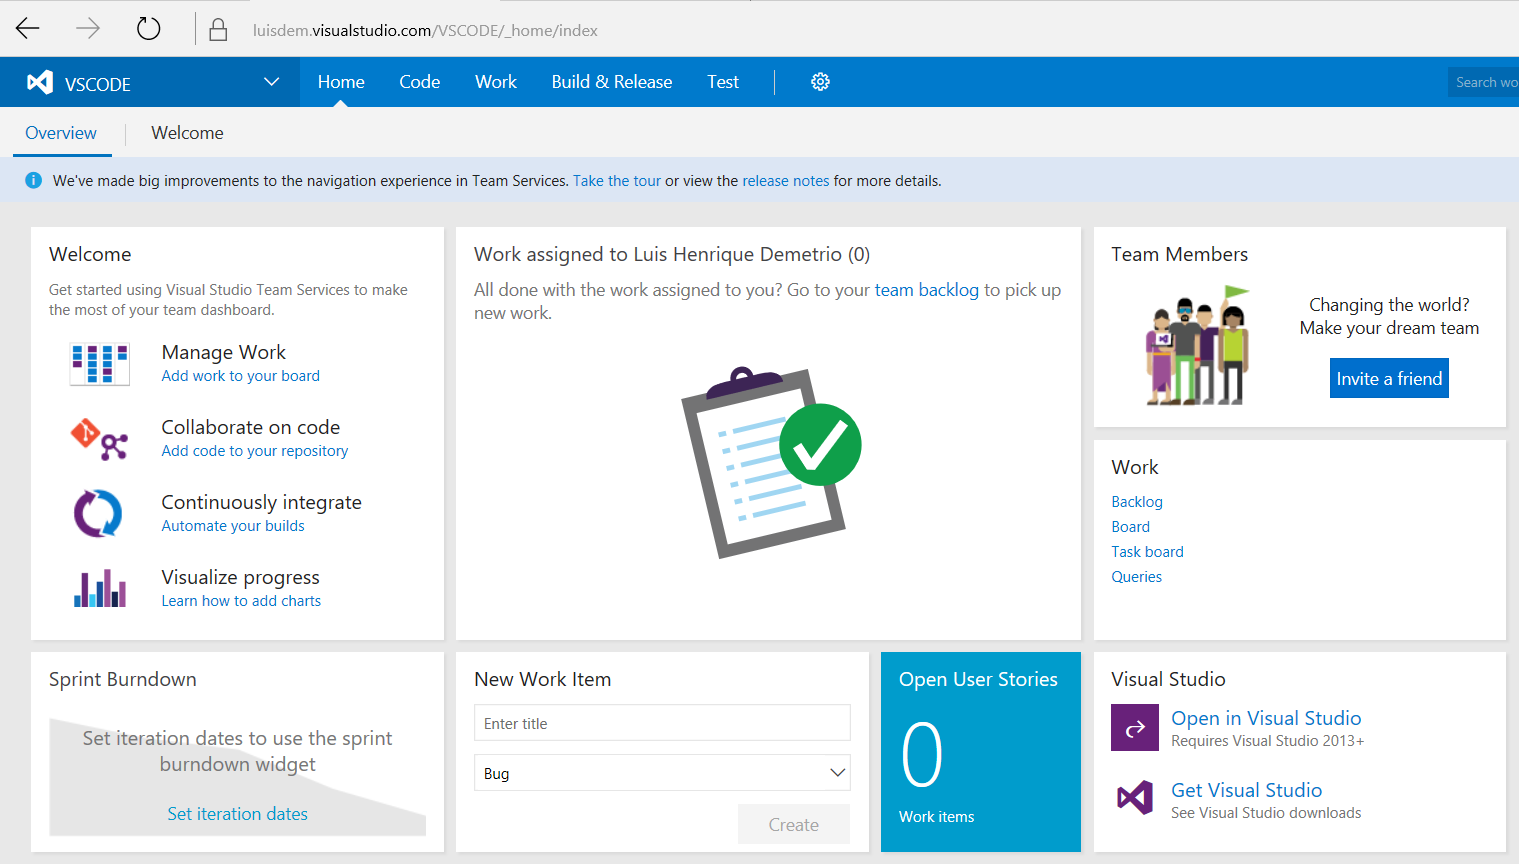
On the project dashboard, you can add tasks, codes, builds, tests, share the project with other people and more. Close the popup welcome to visualize all the dashboard options.
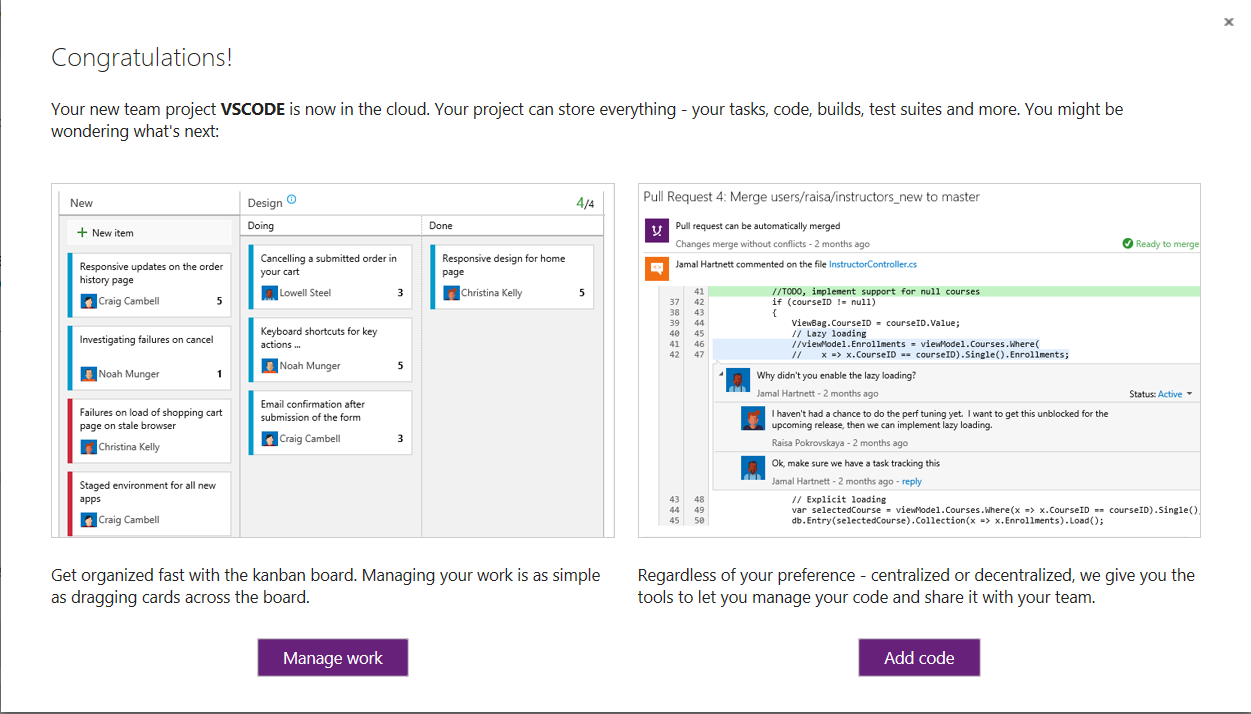
In the dashboard page, click Add code to your repository to create a repository where the application code will be stored.
Observe that the repository is empty. To add the code, you can clone the GIT repository and open it directly into an IDE of your choice.
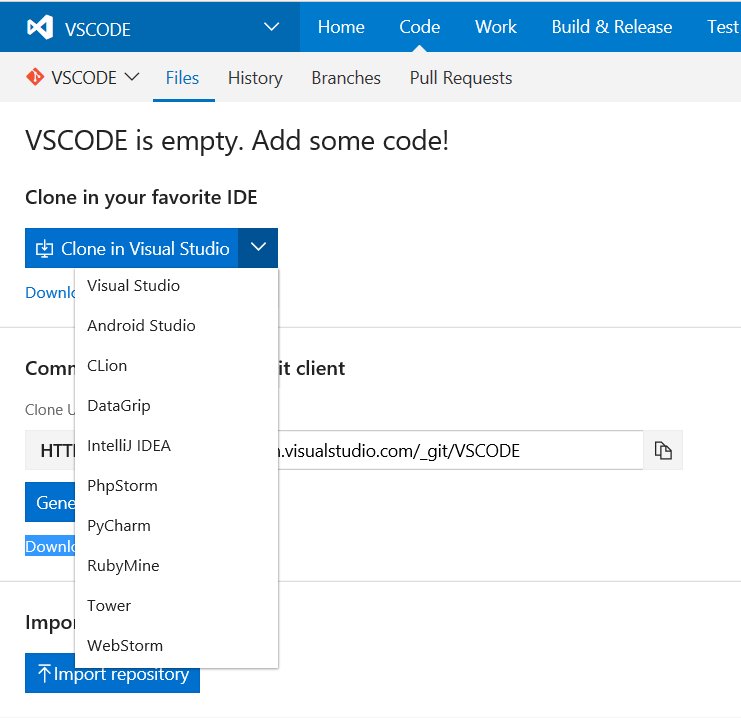
Or you can just copy the repository path and clone it using Git GUI, a visual interface tool of manipulation of repositories GIT.
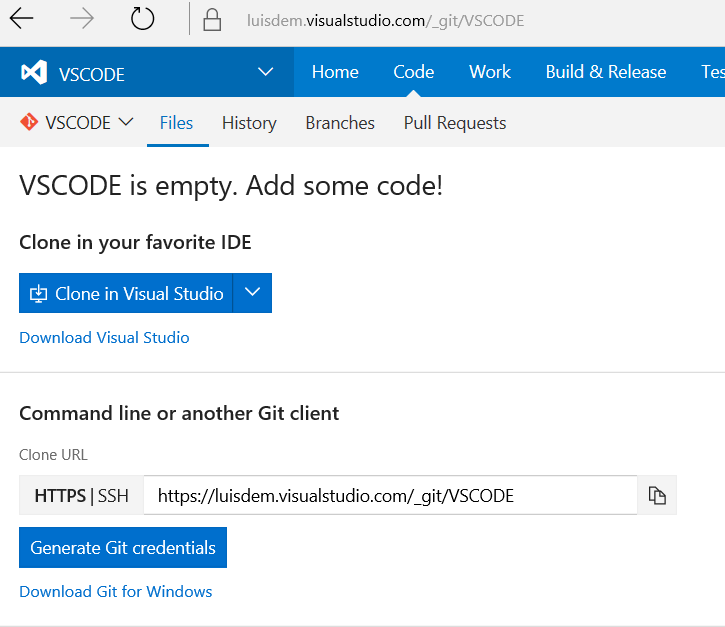
Because Visual Studio Code is not available in the list, I will copy the URL of the GIT and clone the repository from the following command prompt:
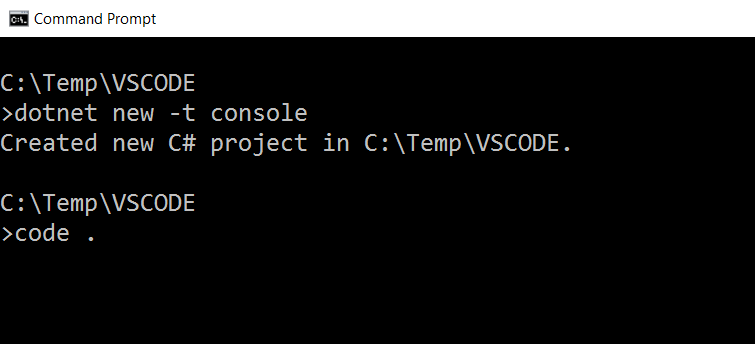
The expected result is:

To create the application template, I'll use the dotnet CLI (Command Line Interface).
dotnet new -t console
And I will edit the application by opening the VSCode through the following command:
code.
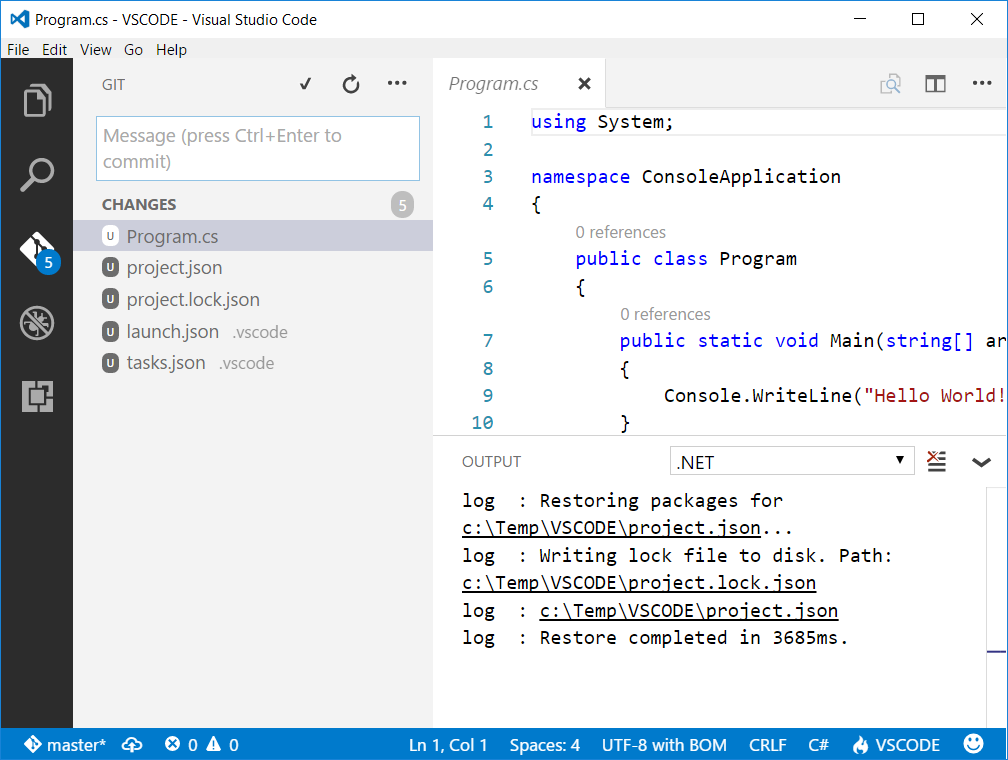
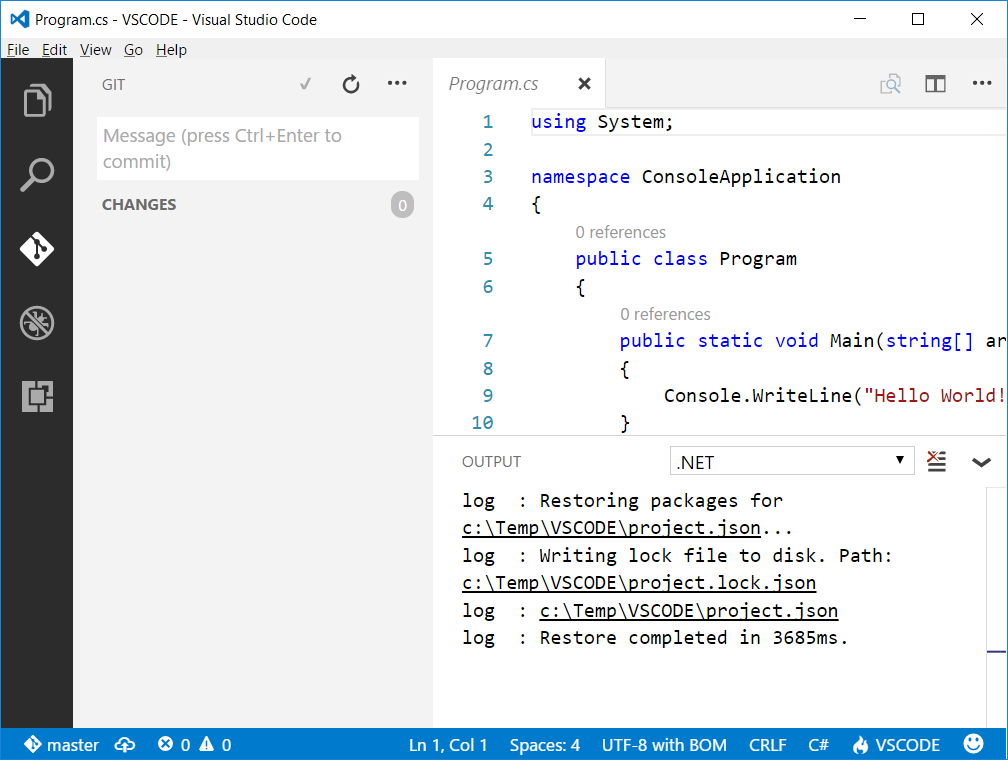
Observe that after the project has been created, the VSCode recognized that changes were made in the project by GIT icon:
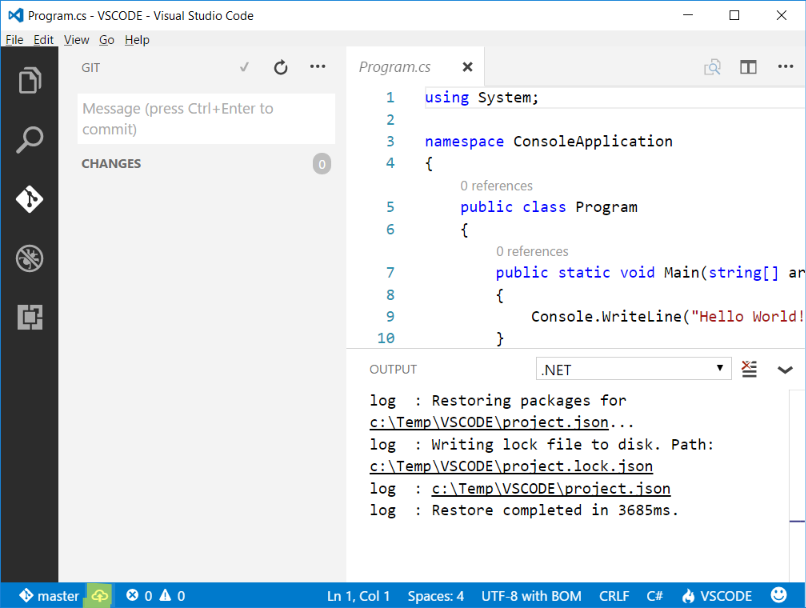
To commit the changes, provide a description of the change and click the icon highlighted in the following image, or press CTRL + Enter:
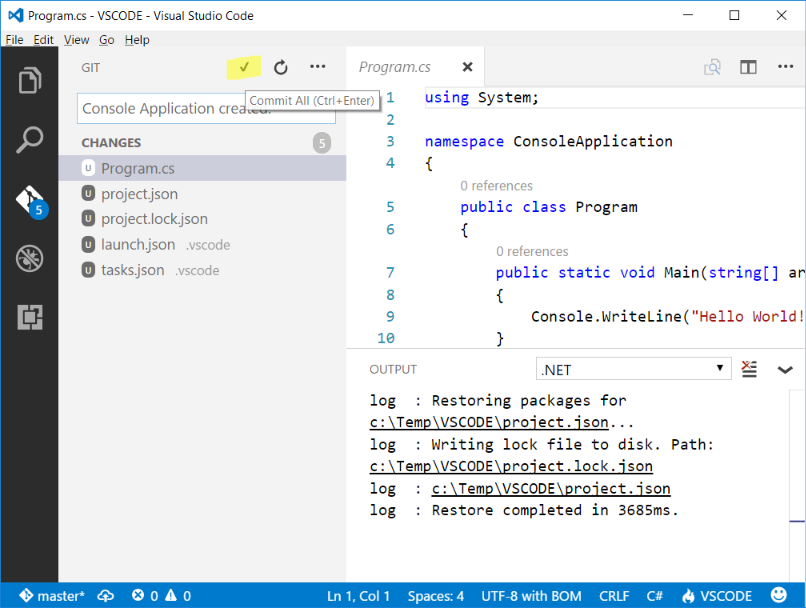
The change was committed and there are no more checkouts.
It is important to remember that, because we are using GIT as a repository, which commits were performed locally. Thus, the code is not yet available in VSTS. To add the code in VSTS, you must publish the changes to the branch selected (in the GIT, by default, the main branch is called MASTER) via the following highlighted icon that is next to the name of the branch:
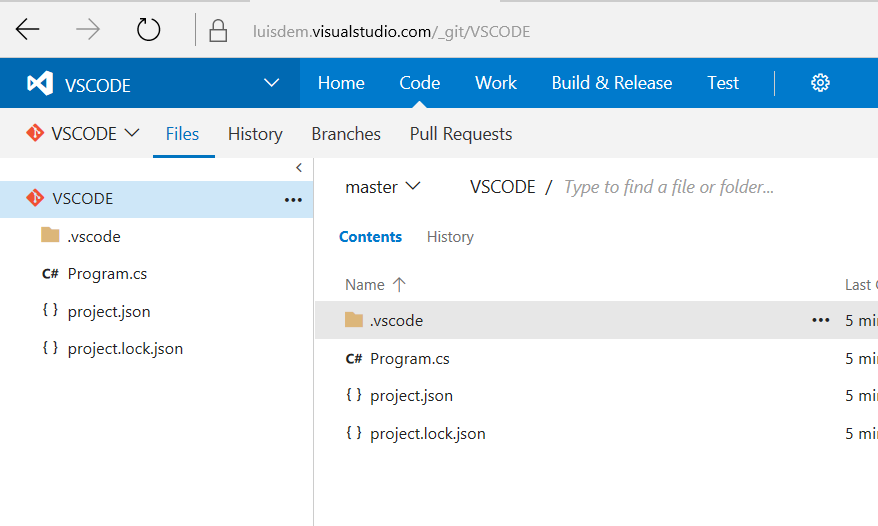
After publishing, switch back to the VSTS website, click again on Code menu and note that the files are available in the repository:
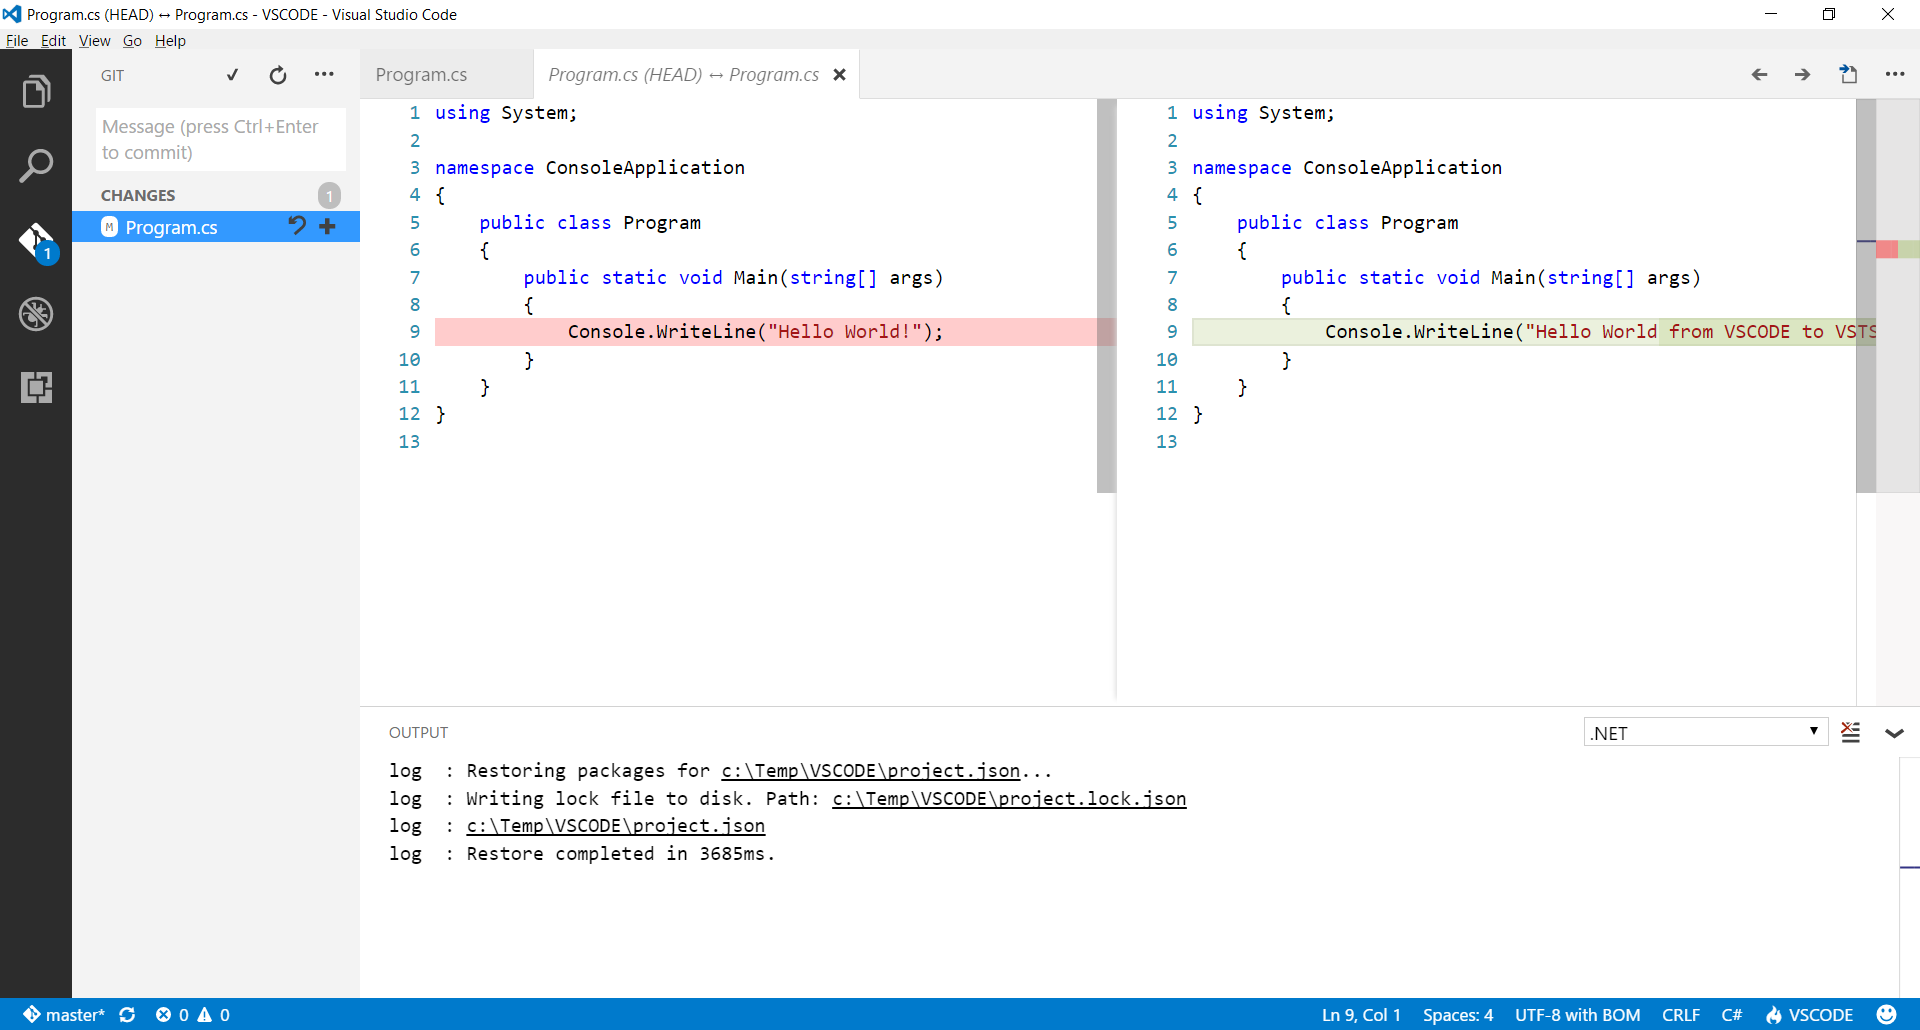
Note that when you return to the Visual Studio Code and make any changes in the code, the GIT icon displays the quantity of the changes. By clicking on one of the changes, the VSCode displays before and after the change in side-by-side windows.
I hope you enjoyed.
If you need more information about .NET Core, please visit the post:
.NET Core – How to publish a self-contained application (.exe)
For more details about how to change the cmd or powershell prompt to increase the writing area, please visit: