Publishing ASP.NET Core on Azure
In this post, I show you how to upload a ASP.NET Core application to the cloud using Azure AppService.
For those unfamiliar with AppService, the AppService lets you host an application in the cloud trough Azure Web Apps without having to worry about install and maintain updated the operating system or hardware used by application. What is nice about it, is that there is a free plan that can be used for testing.
The first step is having the application. So, I will create an ASP.NET Core application using Visual Studio for this. For more details on Core ASP.NET, see the articles posted in: Core ASP.NET.
In Visual Studio 2015, create a new project ASP.NET Core Web Application (.NET Core).
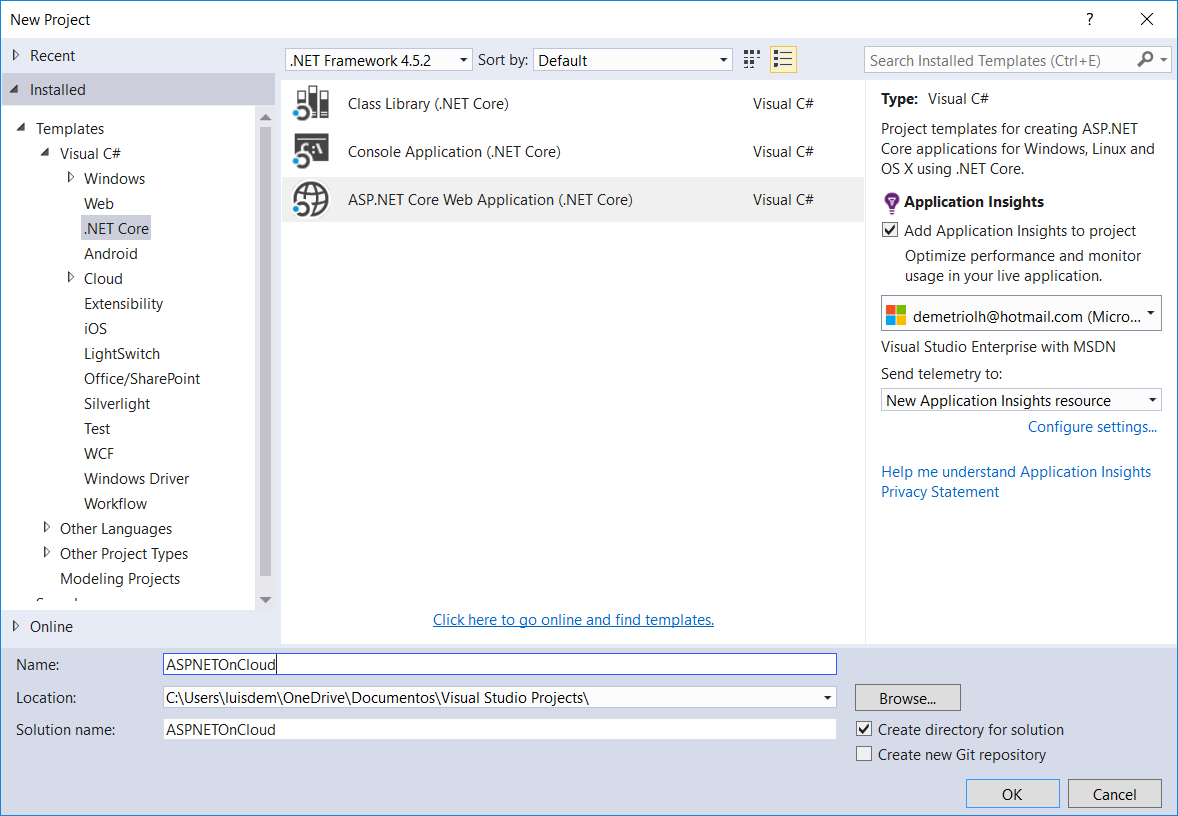
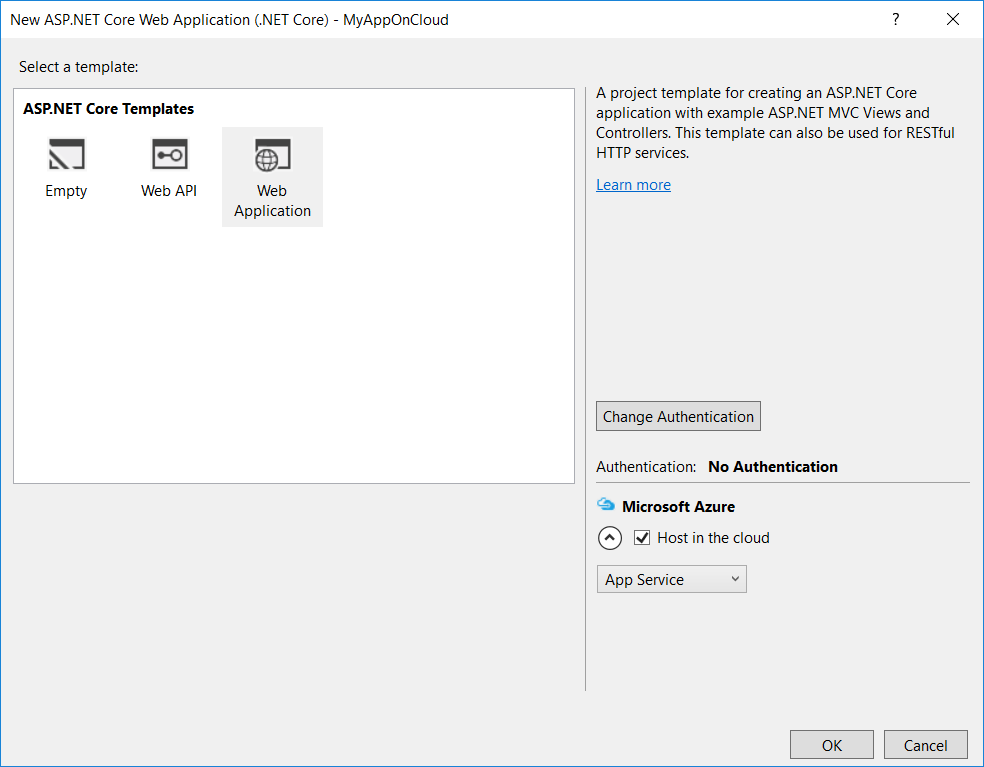
After entering the project type, name and location, I selected the Web Application template to automatically create the basic implementation of authentication, MVC and Entity Framework.
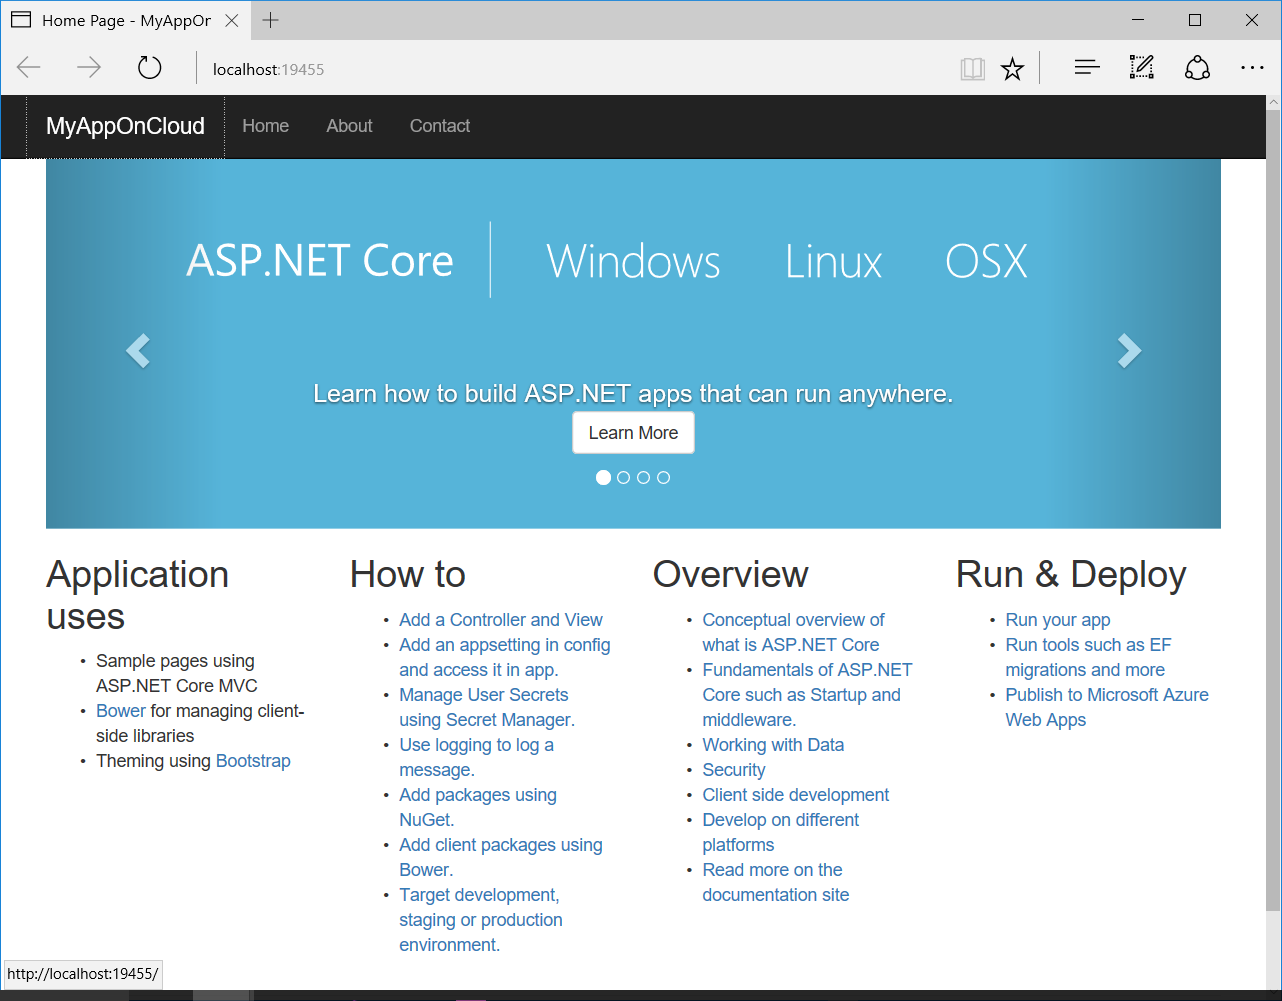
After the application is created, I compiled (CTRL+B) and ran the application (CTRL+F5) just to check if everything is right.
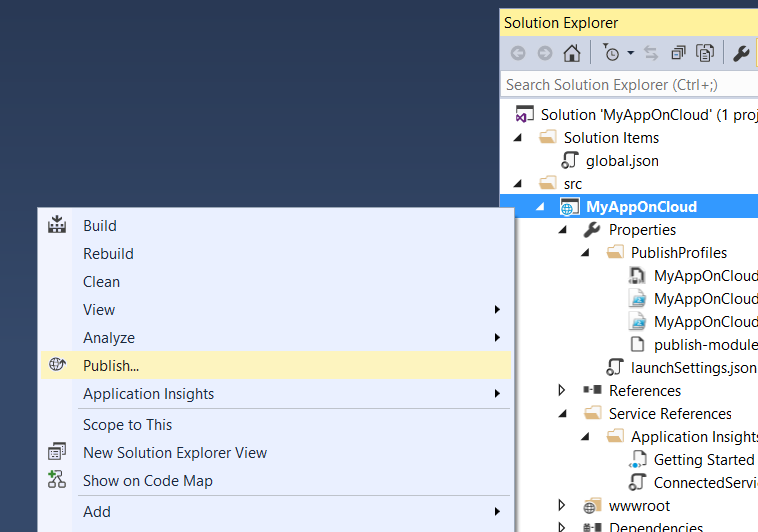
Once the application is successfully running, I am publish the application on Azure using the Azure Web Apps Service through the Publish item available in the project's context menu.
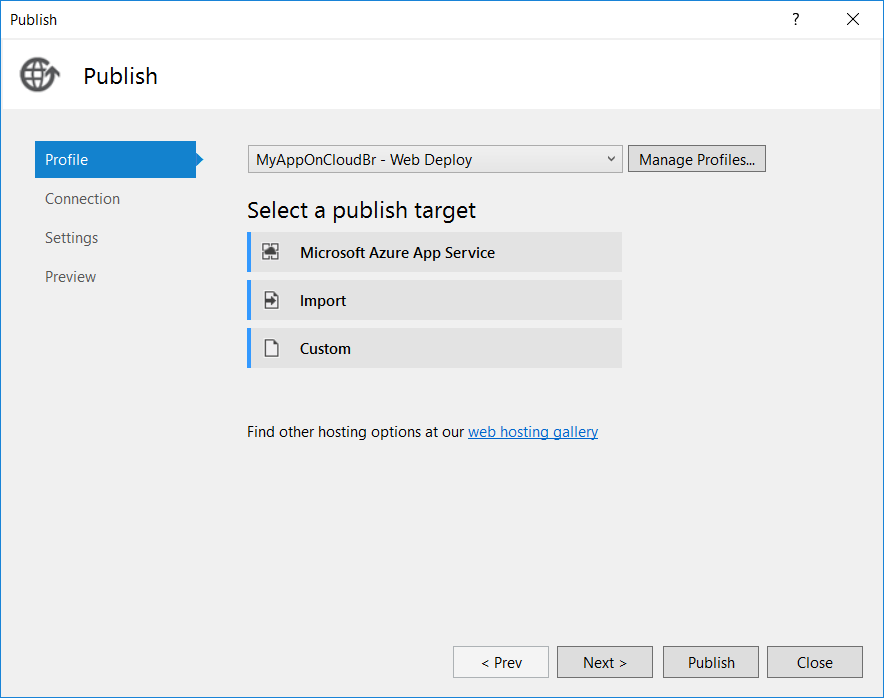
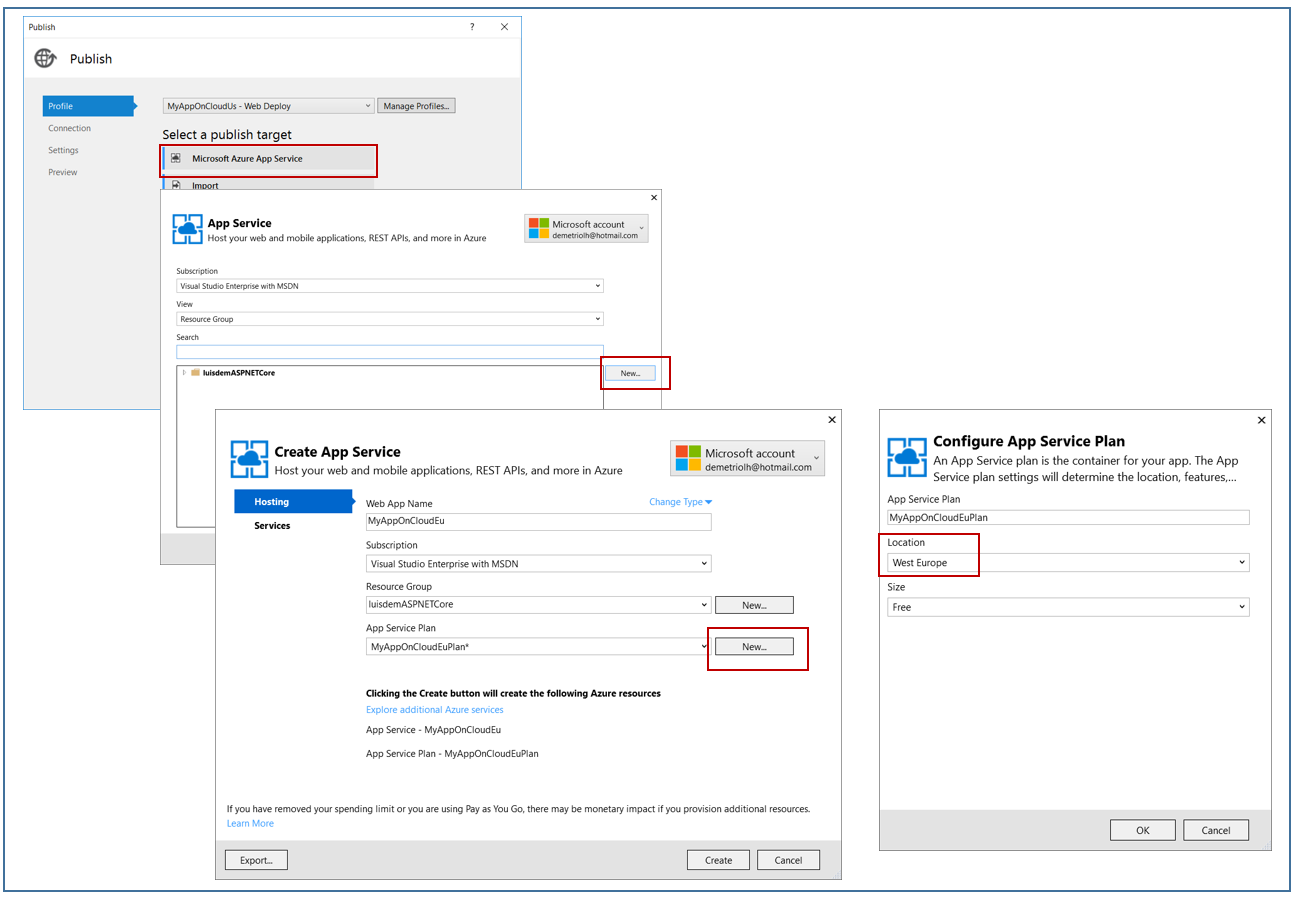
The following screen will appear with the publishing options. To publish to Azure, select the item "Microsoft Azure App Service":
On the next screen, you must inform the name of the application. This name must be unique and will be used to compose the URL of my site on Azure. In this post, I will inform MyAppOnCloudBr to standardize the URLs that I will create further. In this first upload, I am choosing the data center in Brazil, therefore the URL will be: https://myapponcloudbr.azurewebsites.net.
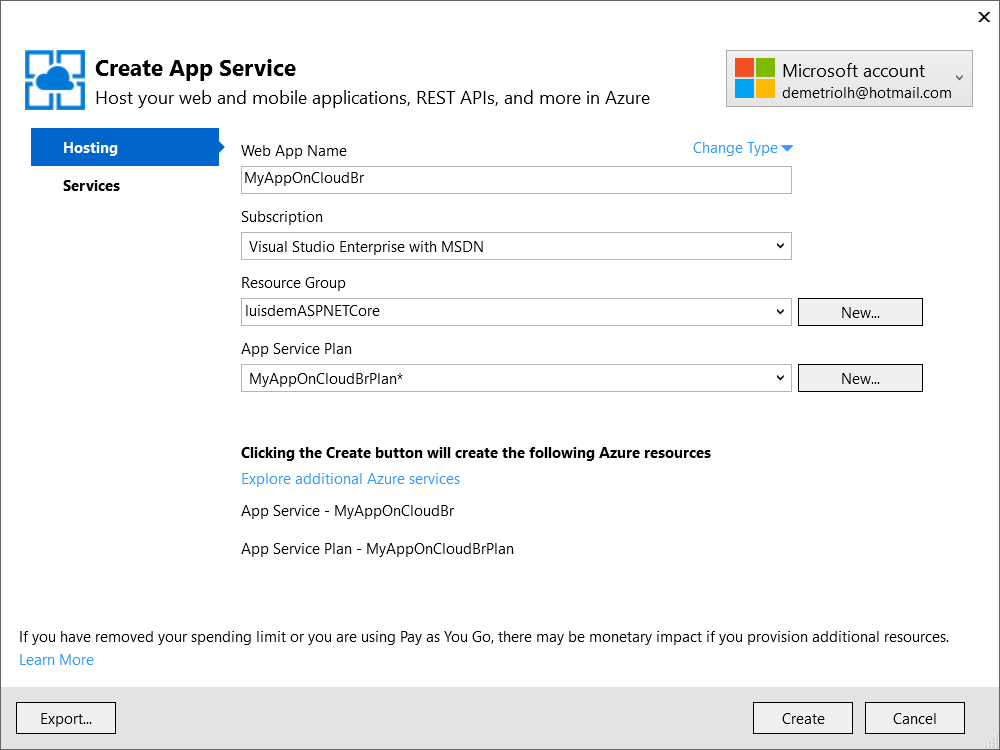
After entering the data (application name, resources, plan and location), you must click on the Create button. Visual Studio will upload the application to Azure.
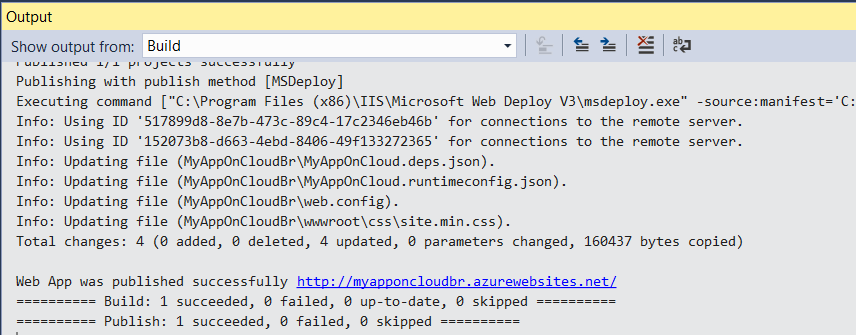
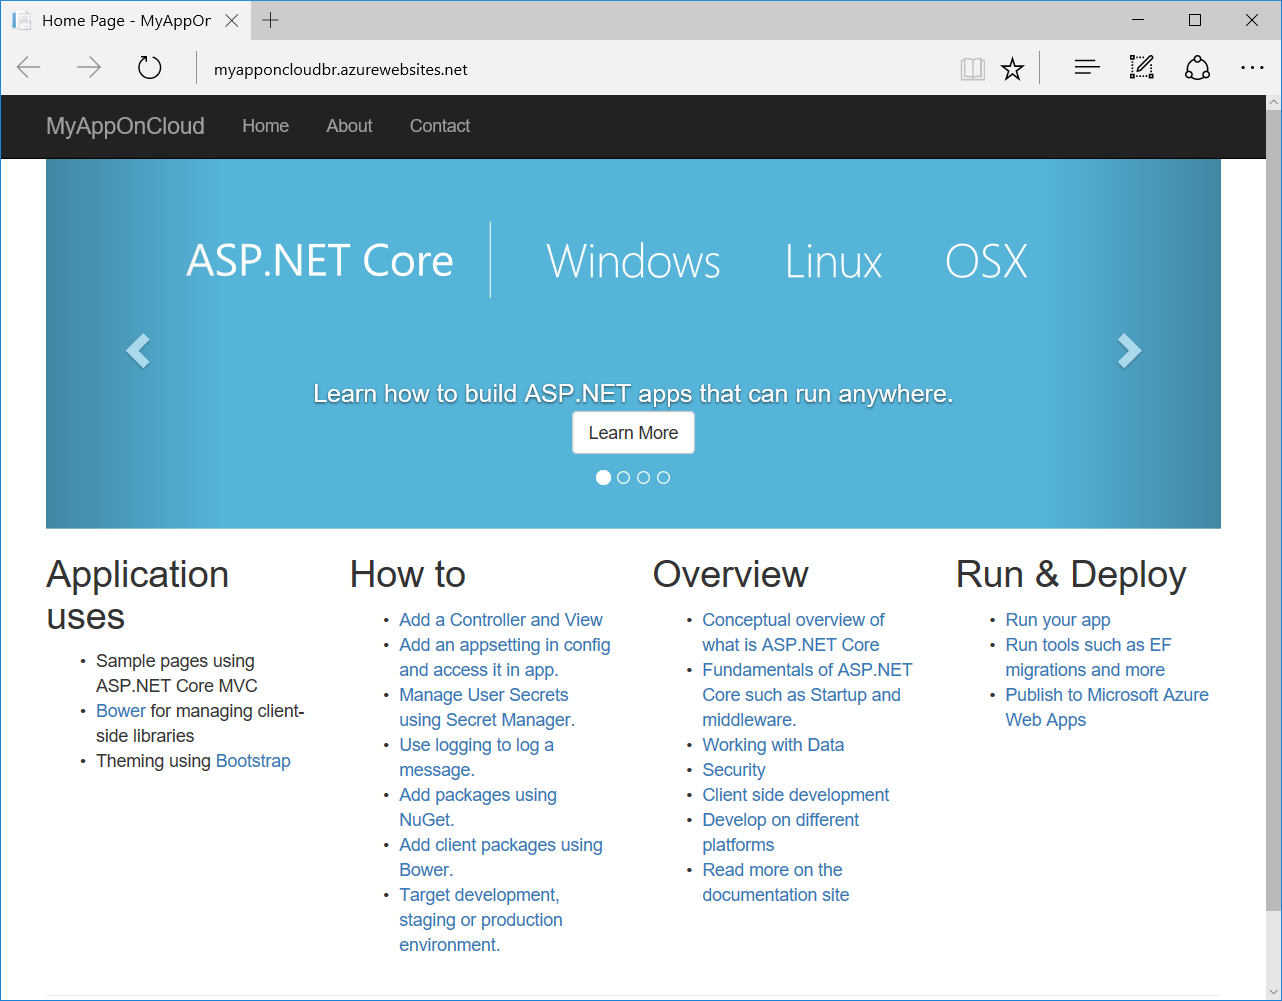
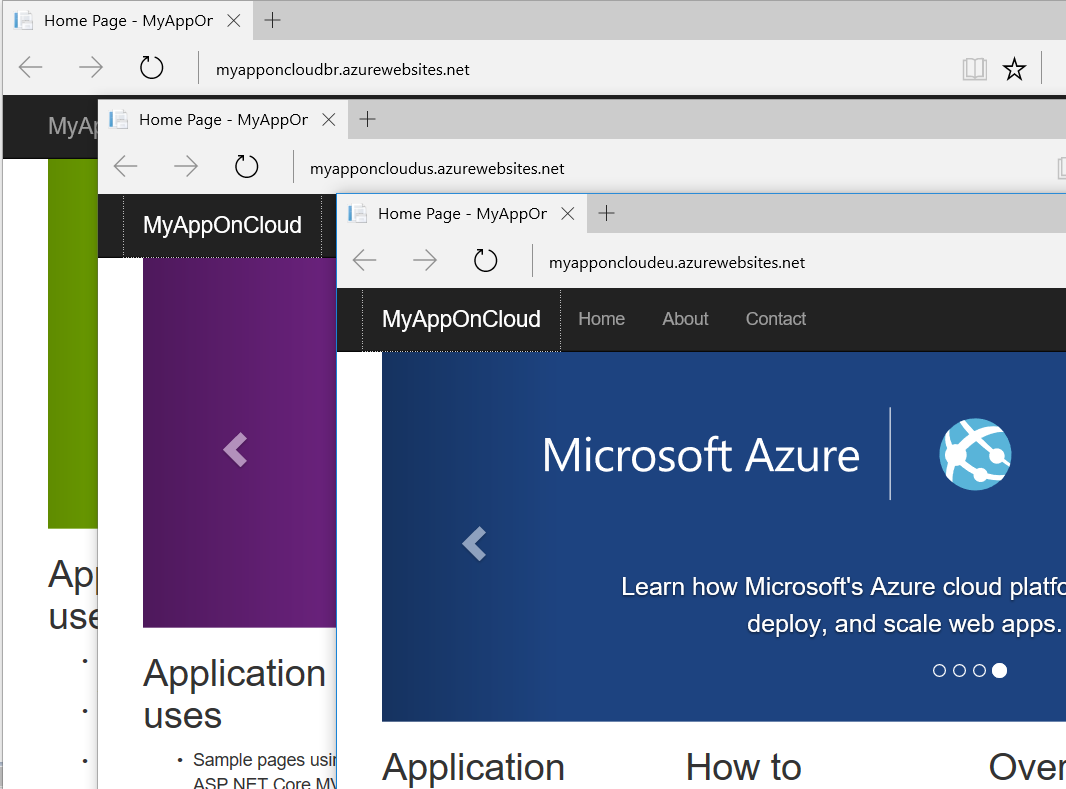
At this point, the application is already accessible on the Internet via Azure:
As I want high availability, I created two other instances of this application in a data center in the United States (US) and other Europe (EU).
The procedure is very simple, you just have to click again on the item Publish the project context menu. In the Publish screen, click on the Profile item on the left side menu, and select Microsoft Azure App Service. On the next screen (App Service), click on New to create another service, complete the application name information. I will use the same name of the application followed by the country code as a suffix. I am keeping the same group of resources (Resource Group) and will change the plan, via New button, because I want to use another data center.
The procedures to create for the US and EU data center are the same. After uploading the application on the three data centes, you can access them through the following URLs:
In the post Introduction to Traffic Manager Azure I show how to configure these 3 URLs to be accessed via load balance.
I hope you enjoyed.