Changing the cursor of PowerShell and Command Prompt
I believe this post will not be required after the coming of the new build of Windows 10. But anyway, even for those using previous Windows versions, I would like to share a way to change the cursor of PowerShell and command prompt.
My motivation to write this post was the increase of the use of the command prompt (cmd or PowerShell) to run ASP.NET Core commands via the command line ( dotnet CLI ).
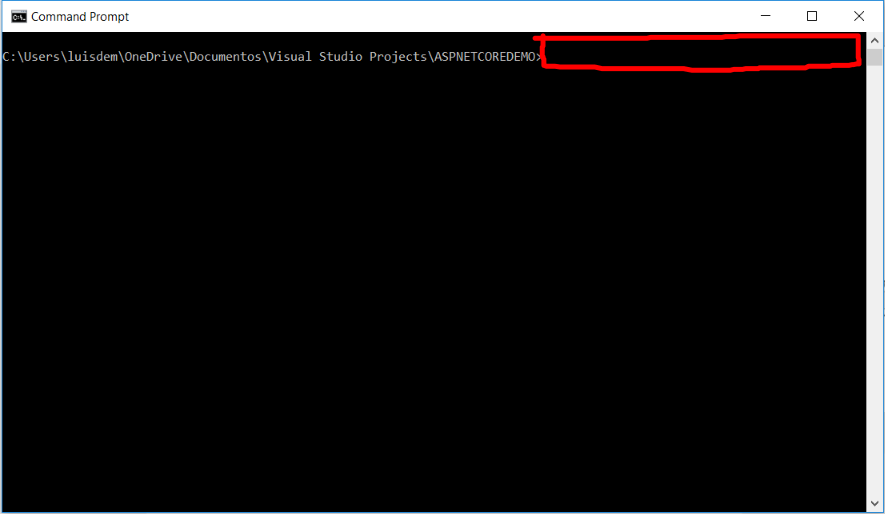
It was getting annoying to have to open the prompt and realize that, most of the time, I had little space to type the commands. Example using a command prompt (CMD):
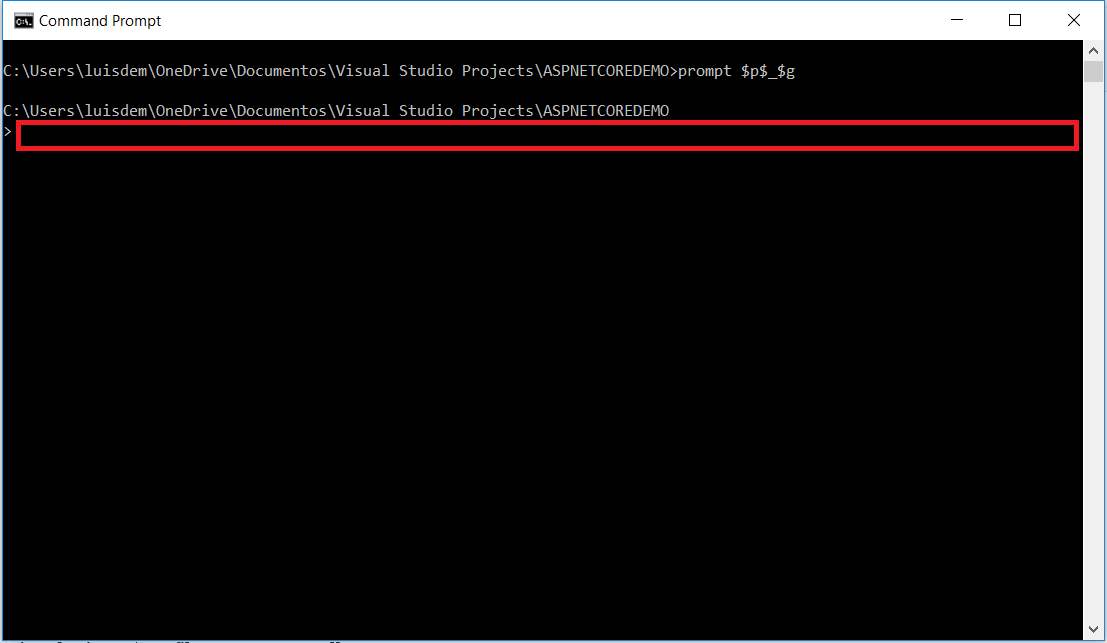
To change the configuration of the cmd prompt, type and run the following example:
prompt $ p $ _ $ g
The outcome will be:
Unfortunately, this setting is maintained only in the opened session. I confess that I did not know how to persist this in CMD before the comment of Christopher Lewis, that showed me the following command that must be run as administrator in CMD:
SETX /M prompt $p$_$g
The other way, that I learned with Igor Abade, is to put the command in the Registry. In this case, you need to create a REG_EXPAND_SZ called AutoRun in HKEY_CURRENT_USER\Software\Microsoft\Command Processor\ and place the command there.
But using PowerShell we can persist this setting by using Windows PowerShell Profiles.
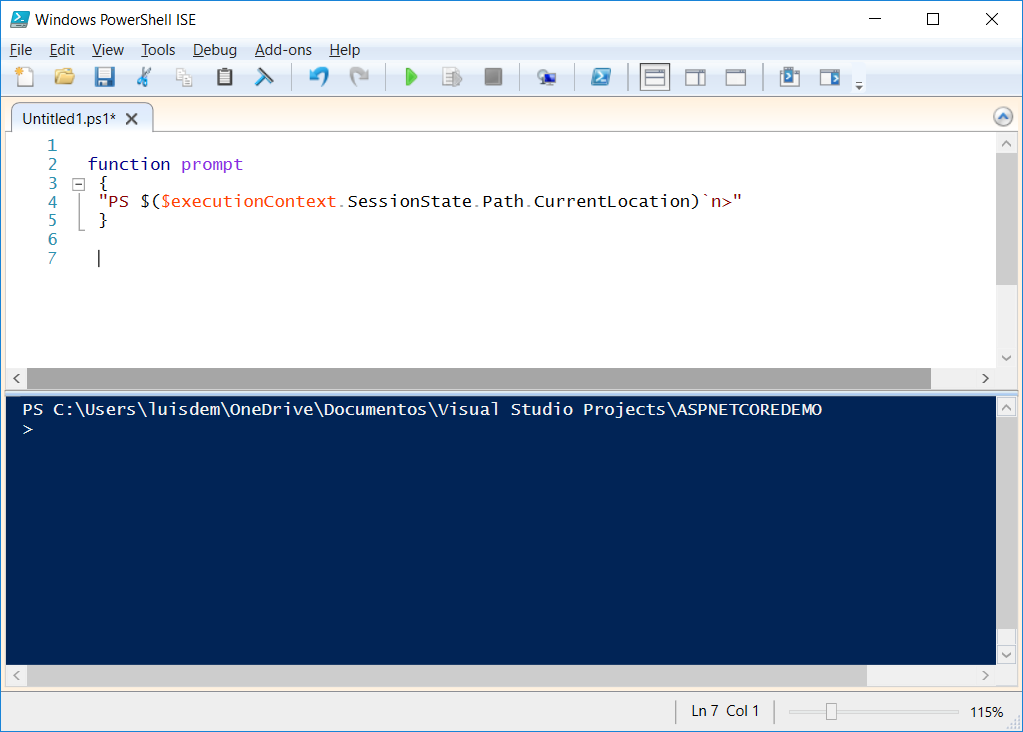
The first step is to open the PowerShell ISE, for example, by executable: powershell_ise.exe.
The PowerShell Prompt is a function, responsible for formatting the PowerShell prompt. Through the following command we can verify that:
(Get-command prompt) .Definition
As it is a function, we can get the source-code through the following command:
Get-command prompt
To more details about how to get the source-code, please visit the Get the source code of the PowerShell cmdlets.
Once we have the original code, it is easy to overwrite the original function PowerShell:
function prompt
{
“PS $($executionContext.SessionState.Path.CurrentLocation)`n>”
}
The text "`n" is used in PowerShell to create a new line.
Run the function and observe that the prompt changes as the previously example of CMD.
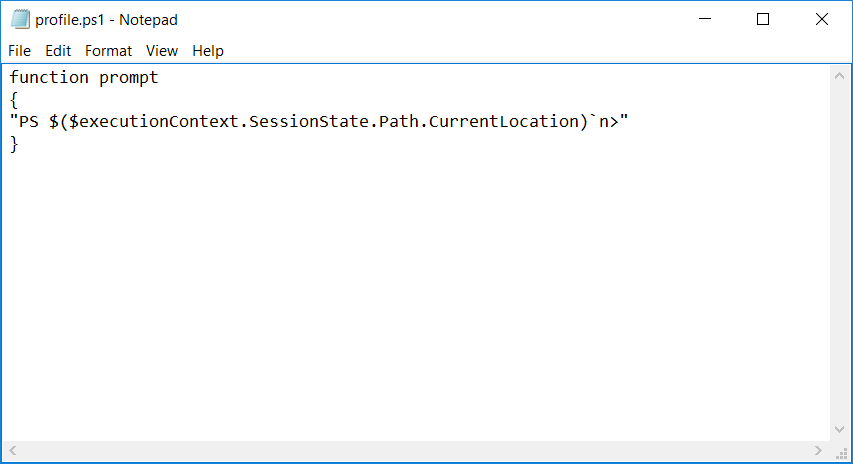
To persist the changes, you must save the prompt function within the profile file.
In the following code, I will save the code in all user profile hosts of PowerShell (ISE and prompt).
This is possible through the file: $ profile.CurrentUserAllHosts.
By default, this file does not exist on the computer. To create it via PowerShell, run the following command:
new-item -ItemType file -Path $($profile.CurrentUserAllHosts) -Value $script -force
To open the file using PowerShell, run the following command:
invoke-item $profile.CurrentUserAllHosts
The next step, is to copy the newly created function to the profile file and save the changes. The file will be as follows:
Note that we had a manual work of having to copy the function into the profile file. To do all at once, via script, run the following command:
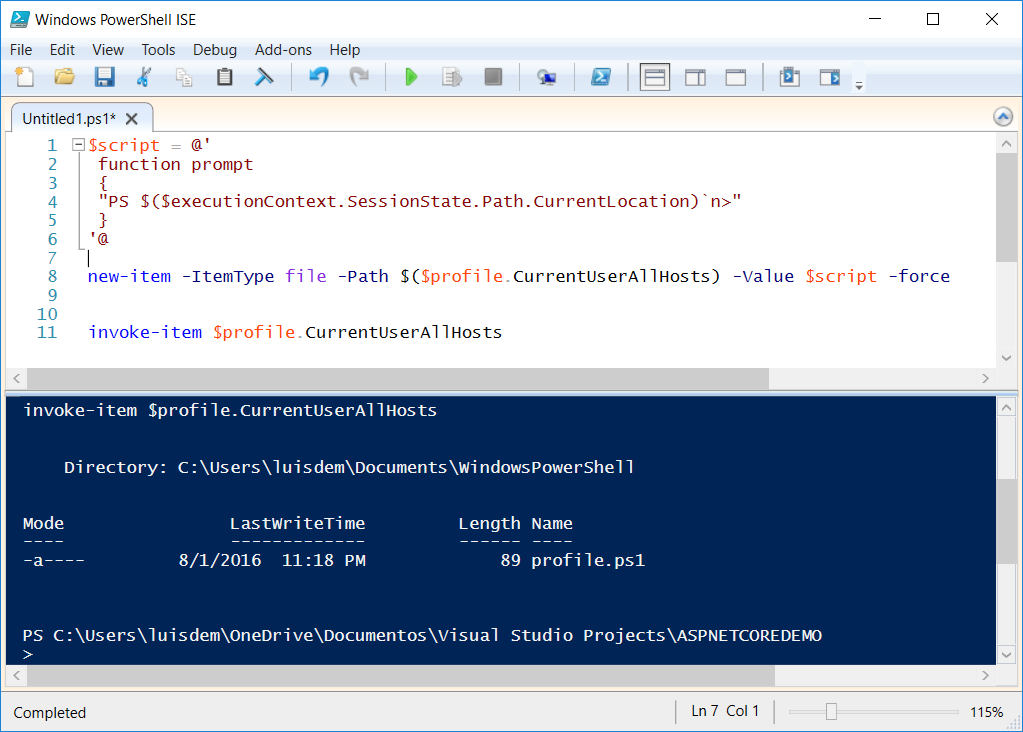
$script = @'
function prompt
{
"PS $($executionContext.SessionState.Path.CurrentLocation)`n>"
}
'@new-item -ItemType file -Path $($profile.CurrentUserAllHosts) -Value $script -force
invoke-item $profile.CurrentUserAllHosts
I hope you enjoyed.