Build a Reusable View Component in ASP.NET Core
View Components have been added to ASP.NET MVC to replace functionality previously accomplished using partial views. It is possible to include reusable components in their own class library and consume them in multiple MVC projects.
This post walks through the steps required to create a dynamic navigation menu that is then inserted into an MVC page.
Create the View Component
1. Create a Class Library (.NET Core) project in Visual Studio 2015 named ComponentLibrary
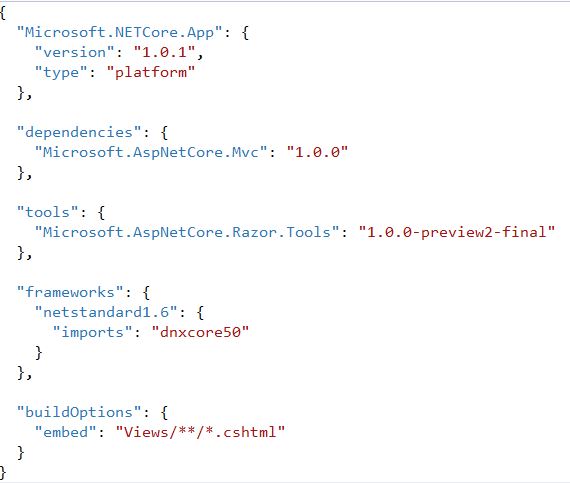
2. Modify the project.json to include MVC and Razor and indicate to embed the Views in the resulting DLL.
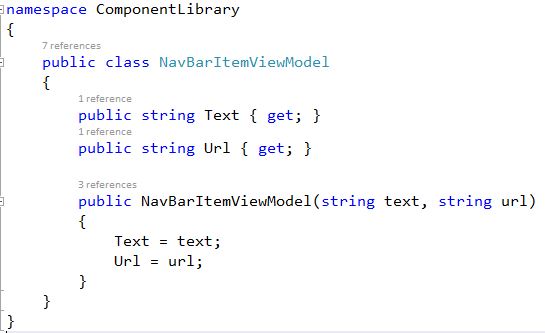
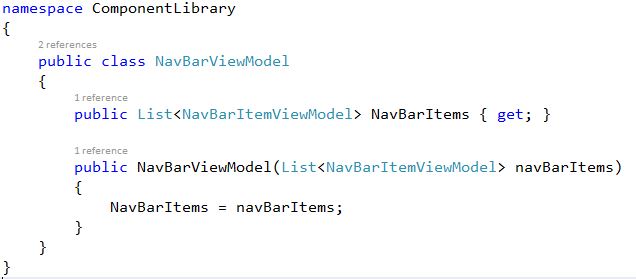
3. Add a Models folder and add 2 classes to represent a model for the navigation links.
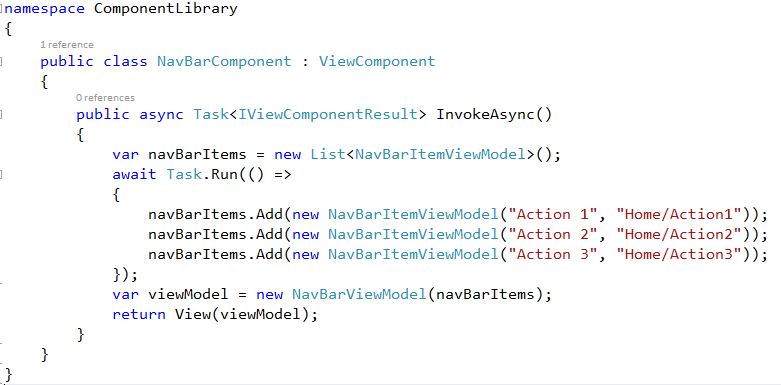
4. Add a Components folder and add the NavBarComponent view component class. In a real application these menu items would be constructed using your business rules and/or database information. And the await would be necessary when retrieving the necessary data asynchronously. Task.Run() is just for demo purposes to mimic an async process.
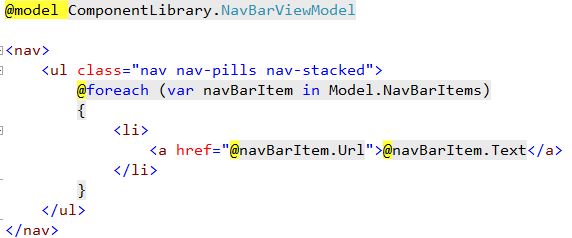
5. Add the view for this component in Views > Shared > Components > NavBarComponent > Default.cshtml
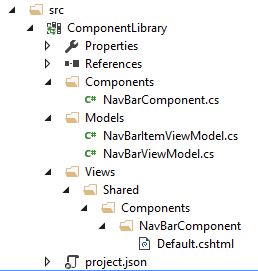
6. The project should now look like this:
Use the View Component in a separate MVC project
1. Create an ASP.NET Core Web Application (.NET Core) project in Visual Studio 2015.

2. Add a reference to the ComponentLibrary project.
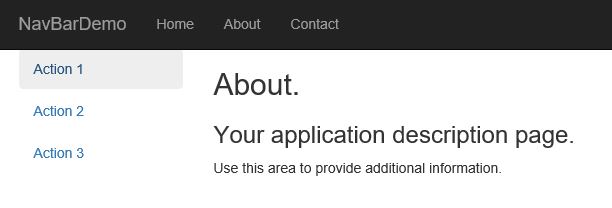
3. Add the NavBar component to your view.

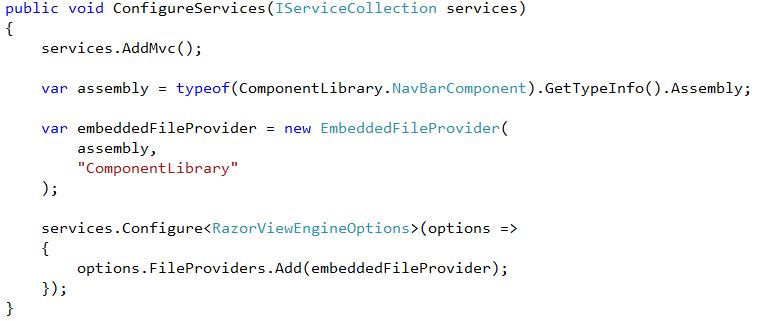
4. Configure Razor to look for views as embedded resources in our ComponentLibrary DLL.
Error you may encounter
InvalidOperationException: The view 'Components/NavBarComponent/Default' was not found.
SOLUTION:
- Make sure the project.json of the Class Library project indicates to embed the views into the DLL using this code:
"buildOptions": { "embed": "Views/**/*.cshtml" }
- Add necessary code to ConfigureServices() provided in step 4.