Git and Visual Studio 2017 part 9 : Share your work with remote with Git
In previous article, I explain how to temporary save your work by stashing. I think I did enough work on local, and it’s time to share with others! There are many ways to share your code, and I am using GitHub this time. If you don’t have GitHub account, go to https://github.com and sign up. In this article, I explain about "remote" in Git and I will write separate blog article about remote in VS.
Create a repository in GitHub
It is straight forward to create a repository in GitHub.
1. Login to https://github.com
2. Click “Start a project” button.
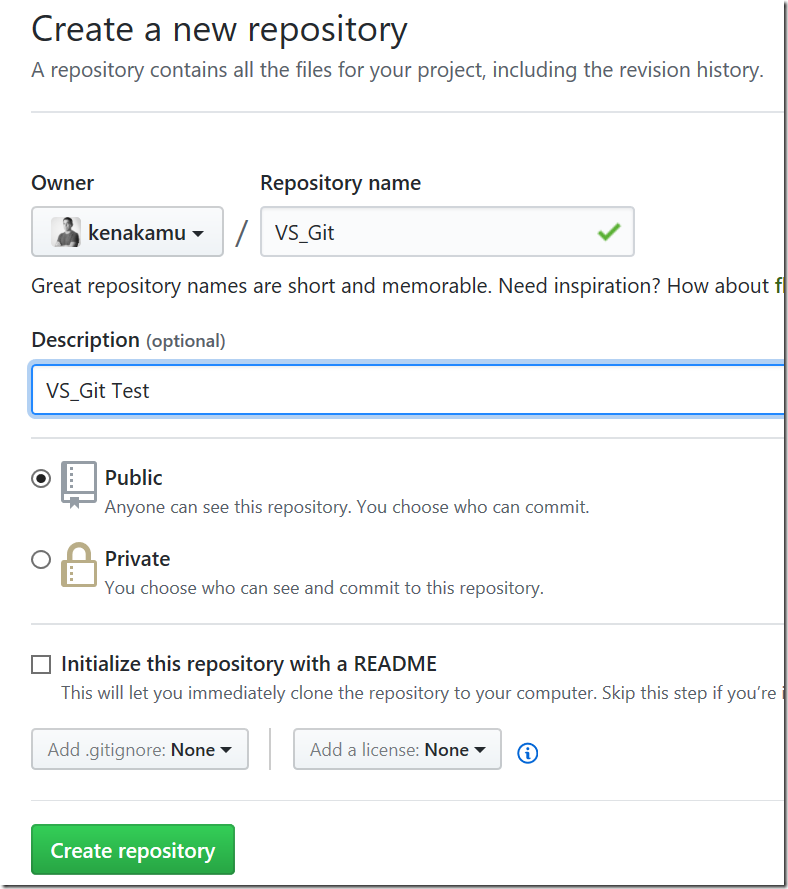
3. Enter name, description and create it. As it is not my intention to explain the detail usage of GitHub here, I just use default options.
4. Now you have the repository.
Add Remote and Push the changes
Once the remote repository is created, I set local git repository to sync with the remote.
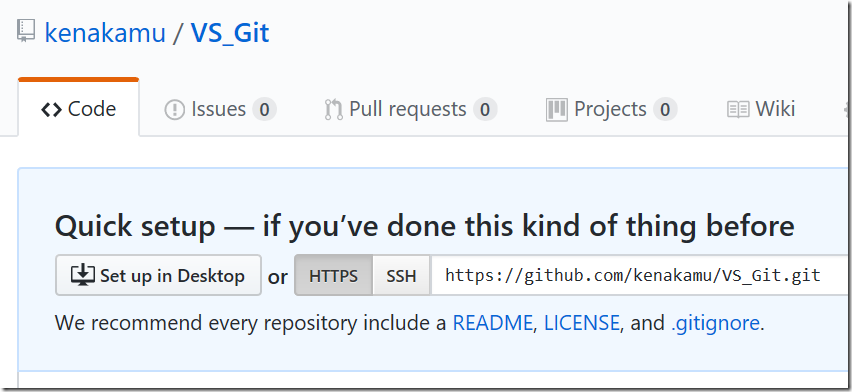
1. If you see the GitHub page above, you find an instruction like below.
2. Run ‘git remote add origin https://github.com/kenakamu/VS_Git.git” as the instruction said. This means I add a remote with specified address and I call it “origin”. Why "origin"? I don't know but this is the default and common name, so I stick with it.
3. Run ‘git remove -v’ to see remote detail. GitHub repository address is configured as expected.
4. Run ‘git branch -a’ to see all local branches. There is two local branches and I am on master branch.
5. Let’s upload all items and histories to remote. Run ‘git push -u origin master’. When you push, Git adds special branch called remote tracking branch, which is the counterpart of remote repository's branch. "-u" option connects local master repository to the special branch. B doing this, you can simply run 'git push' next time without specifying remote and branch name. Then Git copies all items to the remote repository. According to the log, there are 29 items copied to the remote.
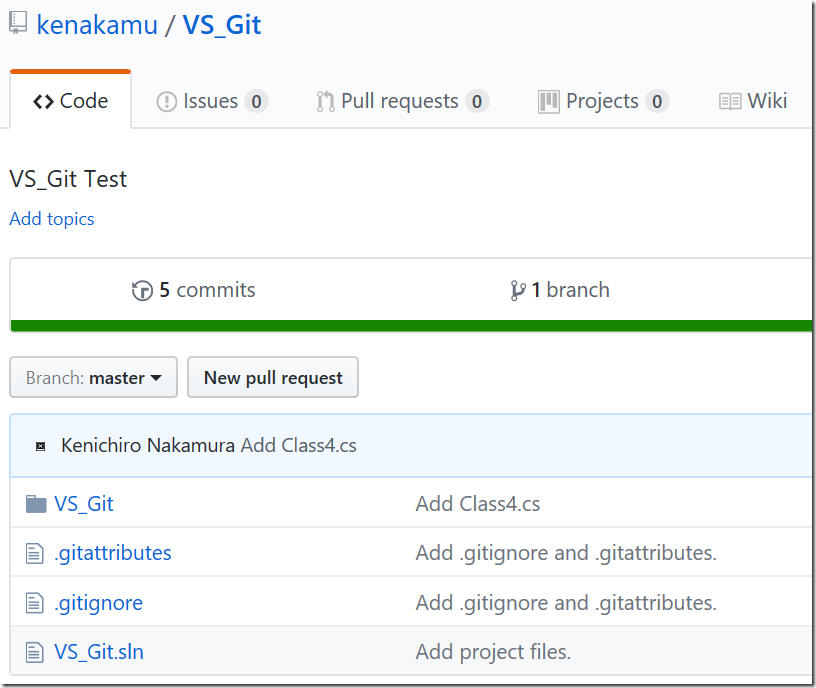
6. Go to GitHub and refresh the branch. Items are copied successfully. You see there are "5 commits" as well.
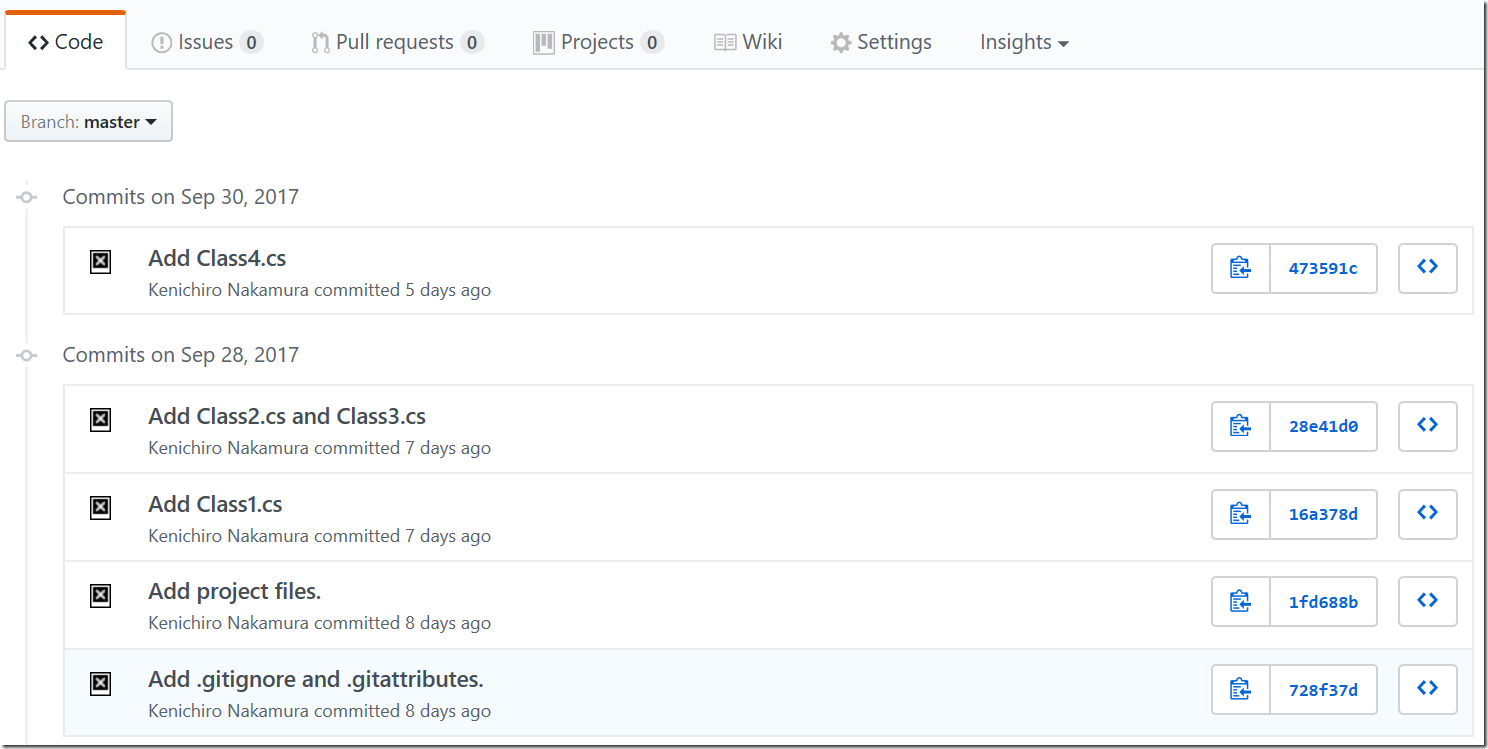
7. Click “5 commits” link, which shows you commit history. You see commit comments, SHA1 hash, who committed. But I don’t see my picture. Why? The reason is that my local git config didn’t match with GitHub config. I will fix this in the future when I explain about "config".
8. What happens when someone changes or adds the items in the remote? Let’s try it. Go to Code and click “Add a README” button.
9. You can modify the README, but I just clicked “Commit new file”.
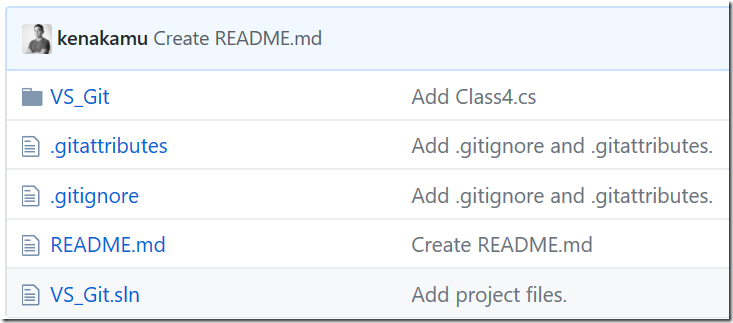
10. Now I have README in my remote repository.
Receive changes from Remote
Git provides “fetch” and “pull” for synchronize the changes from remote, but why there are two functions?
1. Run ‘git branch -a’ to see your local branches as well as remote tracking branches. The red one, remotes/origin/master is the remote tracking branch Git adds when I issued 'git push' command. Remote-tracking branch has commits from remote repository. By having these special branches, git avoid overriding local branch items directly.
2. If I open .git\refs\heads folder, I only see master and dev.
3. If I open .git\refs\remotes\origin, I see master file. So this is the actual file for remote tracking branches.
4. Run ‘type .git\refs\remotes\origin\master’ to see its SHA1 hash. This points to same hash as master branch.
5. Now time to see how fetch and pull work differently. Run ‘git fetch’. It gets changes from remote.
6. Compare both master files. Remotes\origin\master now points to different SHA1 hash.
7. When I look the GitHub commit history, I see the same hash there.
8. Run ‘git pull’ now. It says “Updating 473591c..ec592ba”, therefore it sounds like updating the local master branch.
9. Run ‘type .git\refs\heads\master’ to double check SHA1 hash. Yes, it is pointing to the same hash as remotes\origin\master branch.
Resolve Conflicts
We already know how to resolve conflicts from a local branch to another local branch. Is it same in remote, too?
1. Run ‘echo "Edit from local" >> README.md’ and ‘type README.md’. I added another line in README locally.
2. Run ‘git commit -am “Update README.md from local”. Git add ands commits README.md.
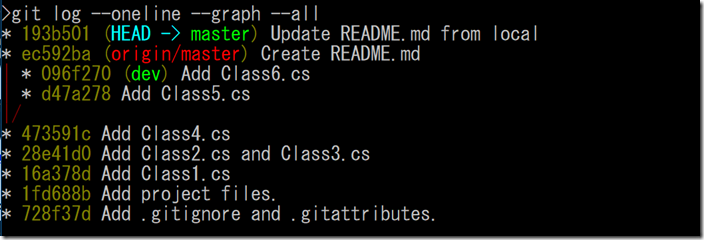
3. Run ‘git log --oneline --graph --all’. Master, dev and remotes\origin\master branches point to different commits.
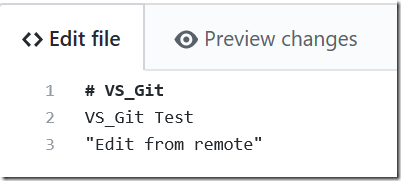
4. Go to GitHub and click README.md, and click pencil icon to edit.
5. Modify the file and commit changes. I have different commits between local and remote.
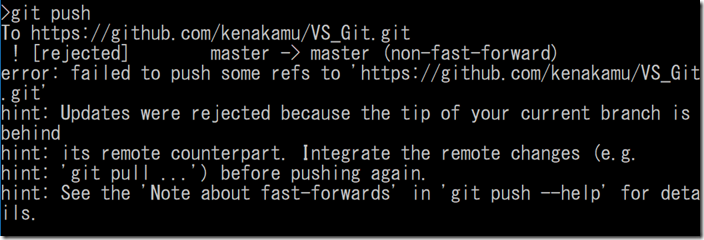
6. Run ‘git push’ to push the local changes to remote. But it is rejected and the error saying I need to pull first.
7. Run ‘git pull’. It seems “fetch” works fine, but pull encountered conflicts.
8. Run ‘git log --oneline --graph --all’ to confirm local master branch points same commit but remote tracking branch now points to newer commit.
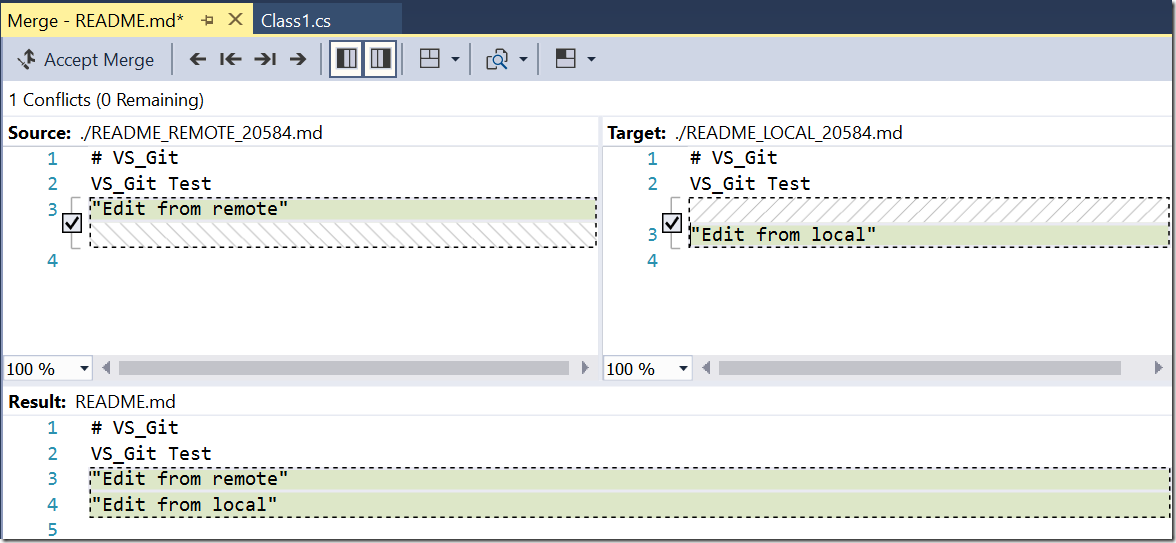
9. Run ‘git mergetool’ and resolve the conflict as we did before. I took both changes from local and remote.
10. Commit your merge. Run ‘git commit -m “Merged README.md”.
11. Run ‘git log --oneline --graph --all” to confirm you merged the remote branch.
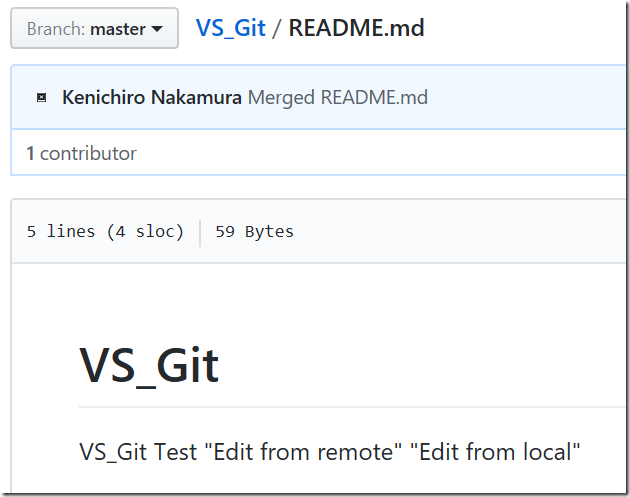
12. Run ‘git push’. Now you can push it. Make sure the change applied to the GitHub.
Sync branches
So far, only master branch is synchronized. Let’s see how we can sync other branches.
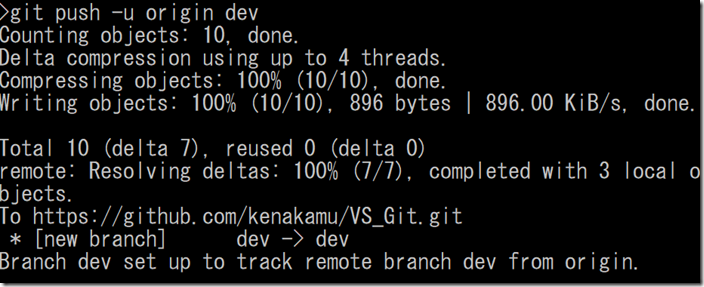
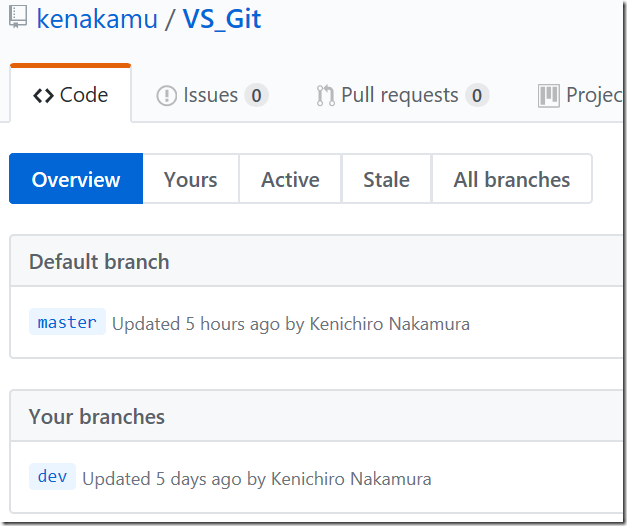
1. Run ‘git push -u origin dev. It creates dev branch in GitHub.
2. Add a branch is easy, but what if someone deletes the branch in remote repository? There are several ways to apply the change. One way is manually deleting the local branch by using ‘git branch -d dev’. Another easier way is to use ‘git remote prune origin’. Let’s first confirm current local branches by running ‘git branch -a’.
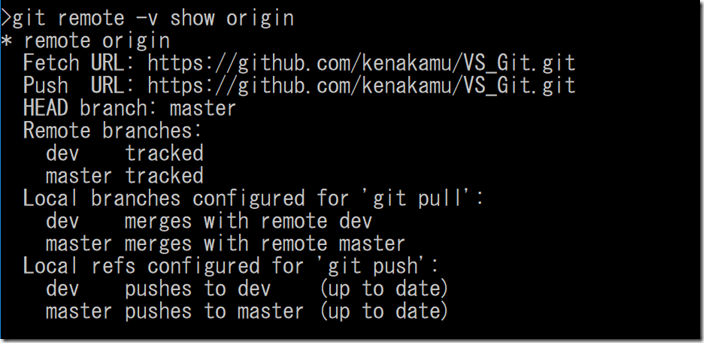
3. Run ‘git remote -v show origin’, and it shows the detail of the remote. Each branches are configured to pull/push pair with remote repository.
4. Delete “dev” branch in GitHub by clicking trash icon in branches menu. Now remote repository doesn’t have it.
5. Run ‘git remote prune origin’. It says origin/dev is pruned. This means that Git couldn't find dev repository from remote, thus it deletes remote tracking repository "dev", from local repository.
6. Run ‘git branch -a’ and I know the remote tracking branch is removed.
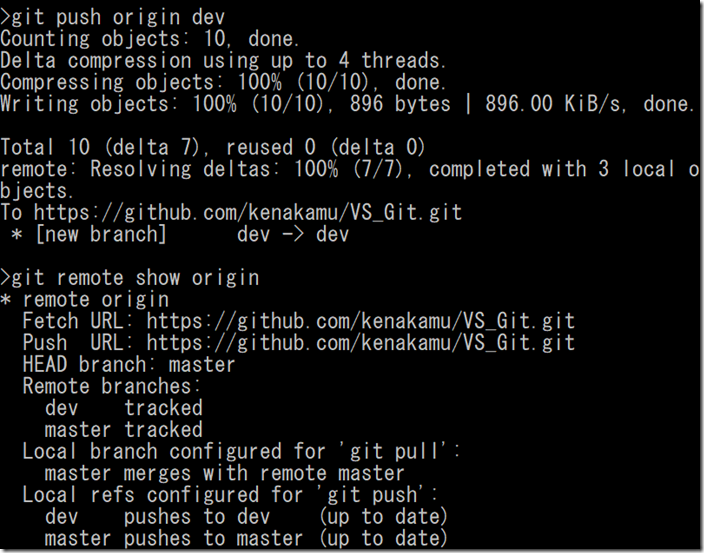
7. Let’s do something different. Run ‘git push origin dev’ to create dev branch in GitHub. This time, I omit -u option. Then, run ‘git remote show origin’. This time the dev branch has no merge configuration with remote.
8. Run ‘git checkout dev’ and run ‘git push’. It says current branch doesn’t have remote. This is because I omit -u option, thus Git didn't map the local dev branch to remote tracking dev branch.
9. Run ‘git push -u origin dev’ as git told me to do. "-u" option is equivalent to "--set-upstream". The local branch is connected to remote tracking branch. Technically, you can also map the local branch to any remote tracking branch as you wish.
10. You can also delete branch on GitHub via git command. Run ‘git push origin -d dev’. It sounds like pushing dev branch, but with "-d" option, it deletes dev branch from GitHub.
11. Run ‘git branch -a’ to confirm the above command also delete the remote tracking branch in local as well.
Clone from Remote
When I get new PC, or if I deleted entire solution folder in my local PC, I can easily restore them as I have full backup in GitHub.
1. Delete the project folder for test. In this case, I deleted VS_Git folder.
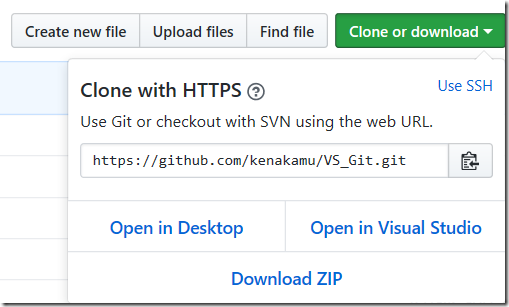
2. Go to GitHub repository and click “Clone or download” button. Copy the git address.
3. Open command prompt and move to folder where you want to clone the git repository.
4. Run ‘git clone https://github.com/kenakamu/VS_Git.git’.
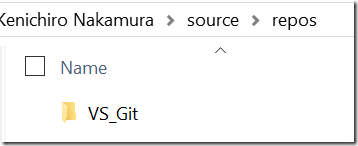
5. Now VS_Git folder is created in local PC.
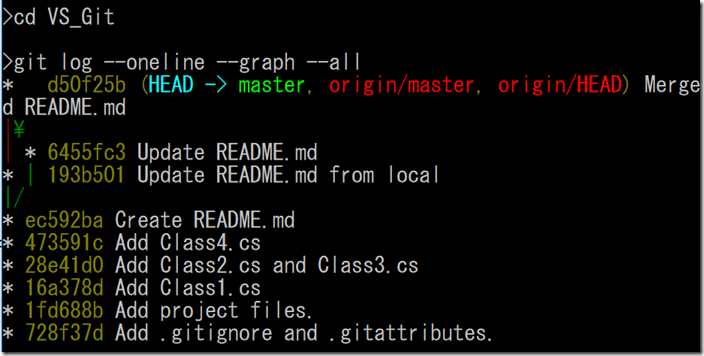
6. In command prompt, change directory to VS_Git and run ‘git log --oneline --graph --all’ to see all the histories are intact.
Delete Remote
Finally, reset everything so that I can do the same with Visual Studio 2017 in next article!
1. Run ‘git remote remove origin’ and ‘git branch -a’. This removes the remote.
2. That’s all for removing remote. Easy! Now reset the commits. Run ‘git checkout master’ and ‘git reset --hard 473591c’. After the reset complete, run ‘git log --oneline --graph --all’. It is back to original state.
Summary
I know there are many information and this is not the easiest thing to understand. But this is how Git distributes and share your solution. I explain how Visual Studio support git remote command in the next article. Go to next article.
Ken

