Create Bot for Microsoft Graph with DevOps 4: Continuous Integration - Build Definition
As I have basic application, it’s time to setup CI (Continuous Integration).
Create Build Definition
1. Go to Visual Studio Team Services and go to Build & Release | Build. Click [New definition].

2. Select ASP.NET (PREVIEW) template.

3. Set name.

4. Select [Get sources] and select the repo. As you see, you can use other repository such as GitHub.

5. Select [Test Assemblies] and update Test assemblies field. As the unit test assembly name is O365Bot.UnitTests.dll, I changed it like below.

6. I also enabled Code coverage. Select any other options as you want.

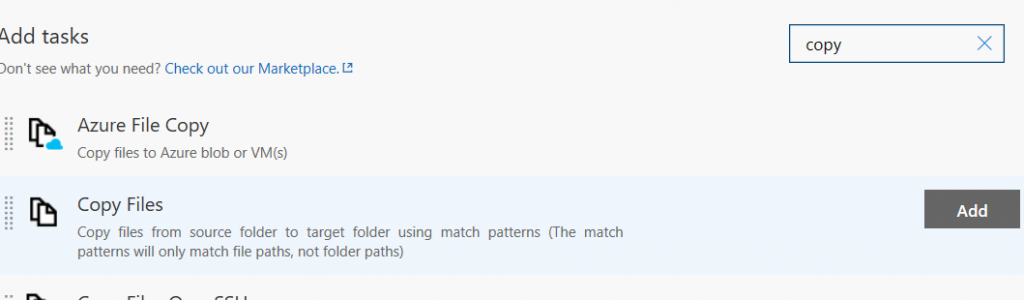
7. I want to copy files to artifact, so click [Add Task]

8. Select [Copy Files] and add. You can filter by search.
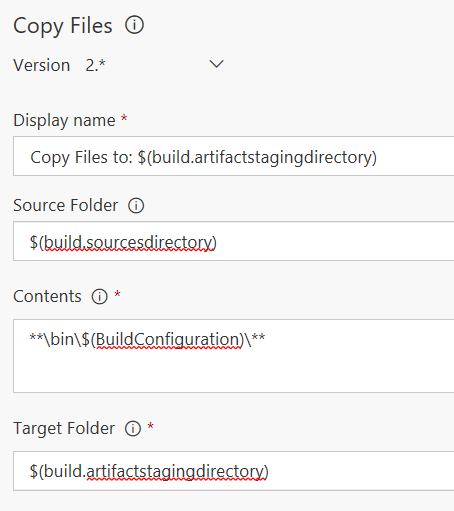
9. Set source folder to $(build.sourcesdirectory) and set Contents to **\bin\$(BuildConfiguration)\**, Target Folder to $(build.artifactstagingdirectory).
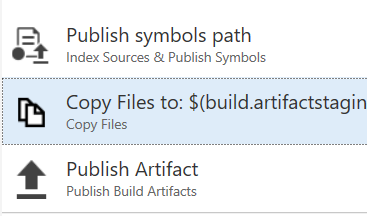
10. Change the order under Publish Artifact.
11. Now, set the CI. Select [Triggers] tab and enable [Continuous Integration]. It’s so easy, you know.

12. Click [Options] tab and set [Hosted VS2017] as Agent
※ You can see what components are included in the agent at here.

13. I also enabled [Create work item on failure] which creates work item when compilation failed.

14. Click [Save & queue]

15. While running, you can see the actual log.

Trigger from check-in
Now you can check-in any change from Visual Studio and it automatically does build.
Summery
Now CI completed. I will explain function test next.
Ken