Publishing from Dropbox to Windows Azure Web Sites
Recently Dropbox was added to Windows Azure as yet another source control which could be used for publishing source code on to Windows Azure Web Sites. It makes the deployment task much simpler. Let's discuss this in detail here.
Installing and Configuring Dropbox
- Go to https://www.dropbox.com and sign up for a Dropbox account which we can use with Windows Azure.
- Download and install Dropbox on your local computer. Click here
Once this is done follow through the Dropbox setup:
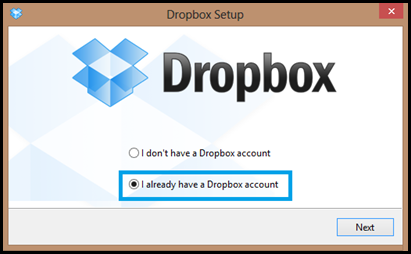
- Select "I already have a Dropbox account" and click on Next.
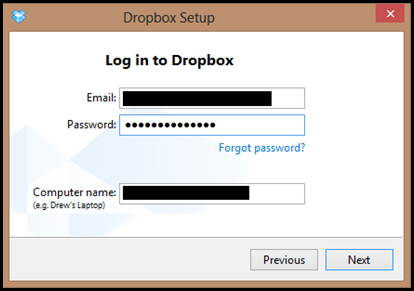
- Enter your Dropbox Credentials and click on Next.
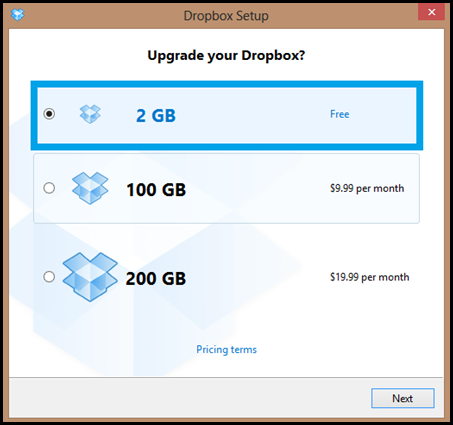
- The next screen will prompt you to Upgrade your Dropbox from free to paid account. Let us continue with the Free storage of 2 GB and click on Next.
- Select Typical and click on Next.
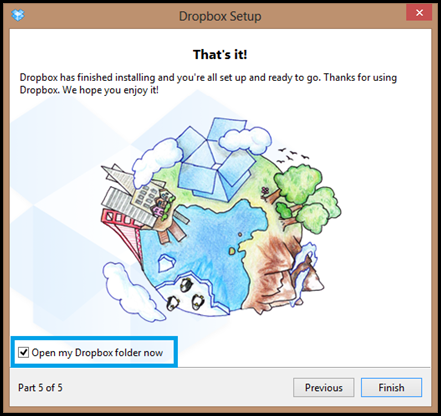
- Now you will get a series of window which will provide a small demo of this tool. Click on Skip Tour and then click on Finish on the next screen.
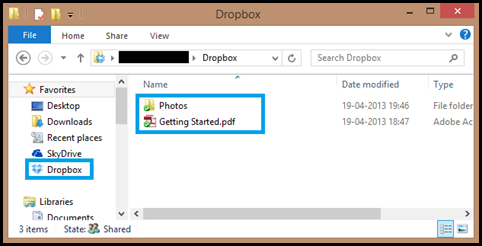
A folder by the name Dropbox will be created under the following path: "C:\Users\<username>\Dropbox"

Linking Windows Azure Web Site to Dropbox
- Go to Windows Azure Portal.
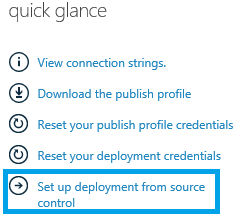
- Click on "Set up deployment from source control" under quick glance section of the DASHBOARD page.
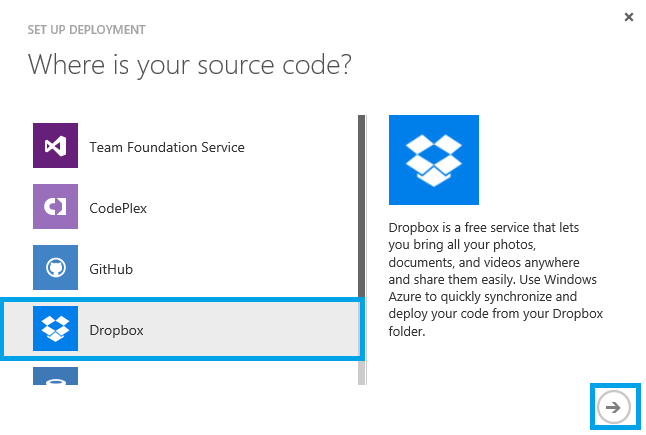
- Select Dropbox from the given list and proceed forth
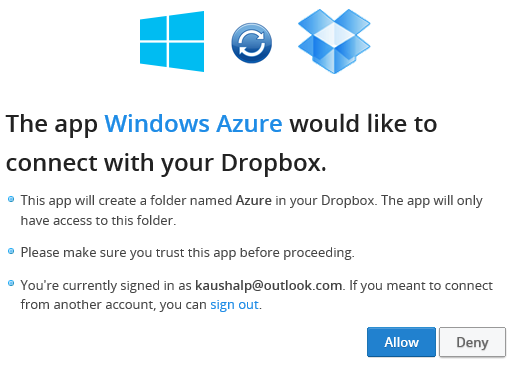
- Once done you will get a prompt to authorize your Windows Azure account to access Dropbox. Click on Allow.
- Now you will get an option to Set up publishing. If this is the first time just click on the Next icon. If you have previously published via Dropbox then you will see an additional option under FOLDER NAME dropdown list.

- It will take some time to link Dropbox to the corresponding site. Until then users will see this:
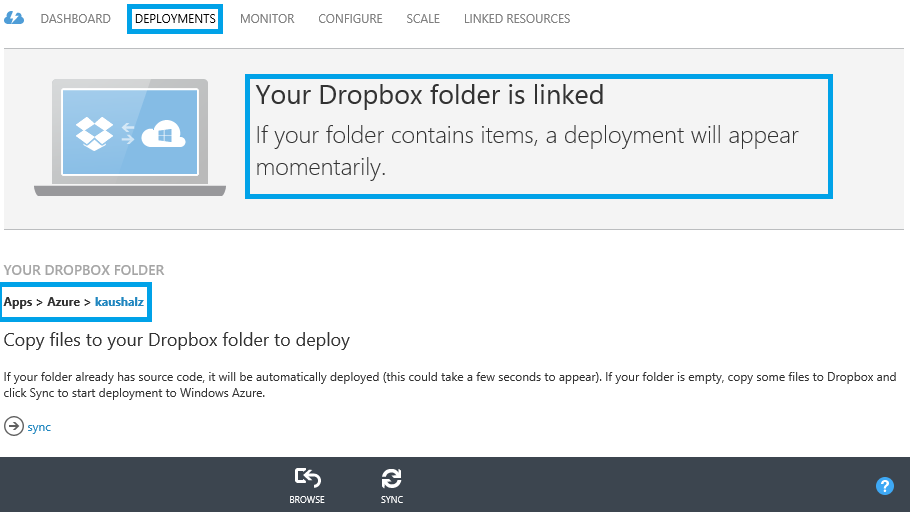
- Now go back to Windows Explorer and check the Dropbox folder. 3 Folders would have been created under Dropbox nested within each other in one hierarchy. Under Dropbox there will be a new folder called Apps. Under App there will be a folder called Azure and under Azure there will be a folder for every corresponding site. Below is the snapshot of the hierarchy:
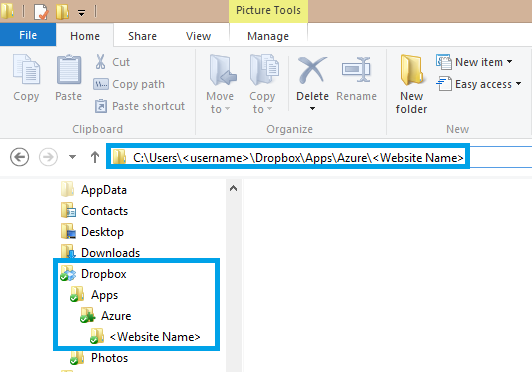
- Copy and paste your application content within the folder for the web site.
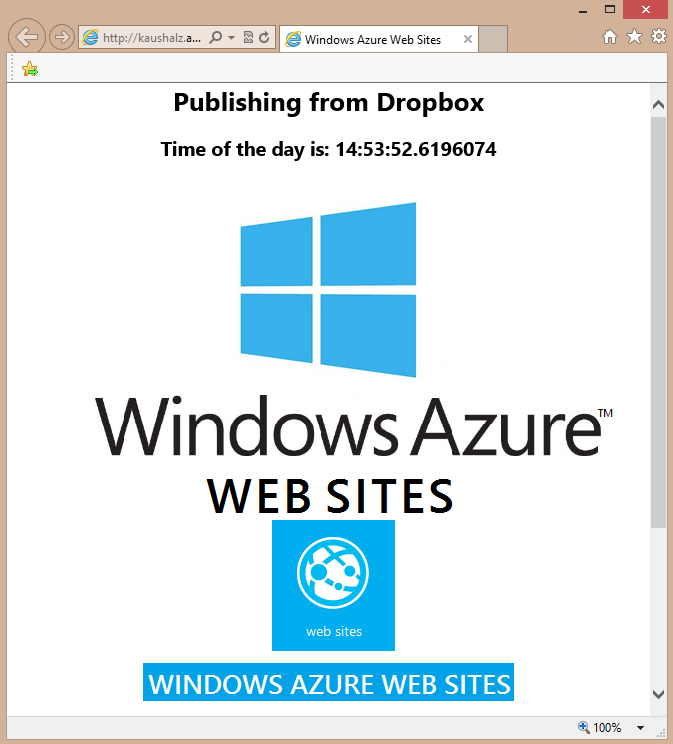
- Now go back to the Windows Azure portal and click on the SYNC Icon at the bottom.
- It will take some time to publish the source code from Dropbox to Windows Azure Web Site. Once deployed the portal will refresh to reflect the changes.

- Click on BROWSE icon to browse the site. Below is a snapshot of the content I deployed.
NOTE: The DEPLOYMENTS page will not be seen under the portal unless a source control for deployment has been setup for the Website. |
As you can see the deployment with Dropbox is pretty much simple and doesn't take too much effort. Go ahead and try out the Windows Azure Web Sites feature today.
Until then Ciao! 