PowerApps and Dynamics 365 for Financials
Organization manage their purchase orders, payments and invoices using financial management tools. Dynamics 365 for Financials is probably one of the easiest tool I have used so far. In this walkthrough, we bring together the power of using PowerApps and Dynamics 365 for Financials together using Sales Orders as an example.
1. Sign up for Microsoft Dynamics 365 for Financials
First things first – if you have never tried using the service, get yourself a free trial account. It is quick and easy to sign-up without a credit card. You will only need a work or school account to sign-up for Dynamics 365 for Financials. If you don’t have such an account already, you can sign-up for an Office 365 Enterprise E5 Trial here. 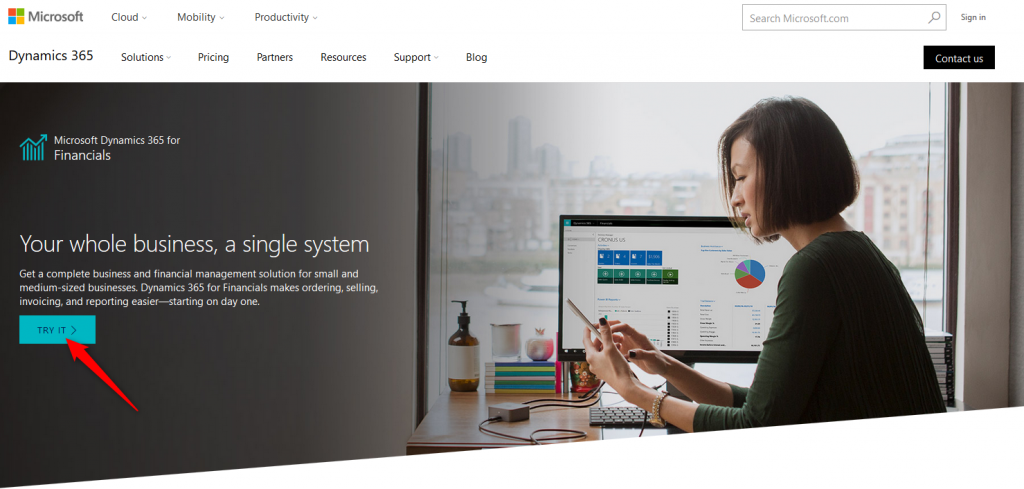
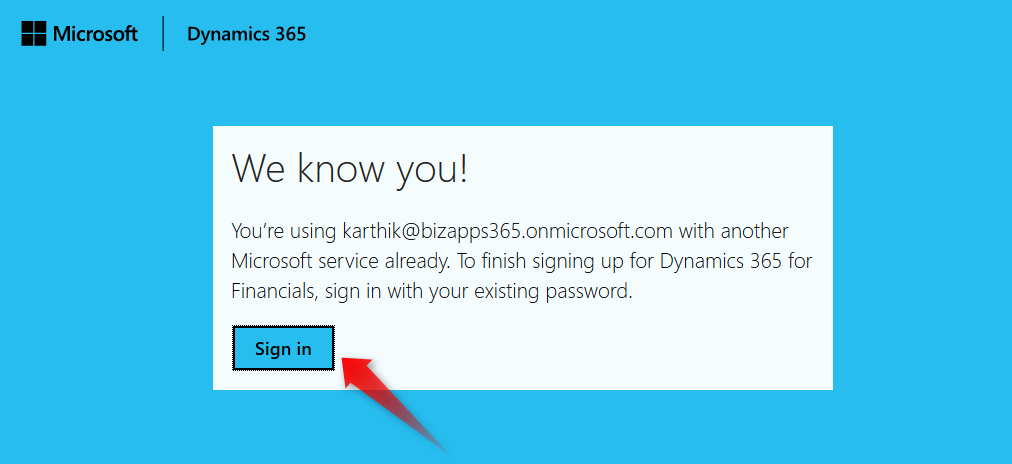
- Next, enter your work account email

- Sign-in if you have already registered before.
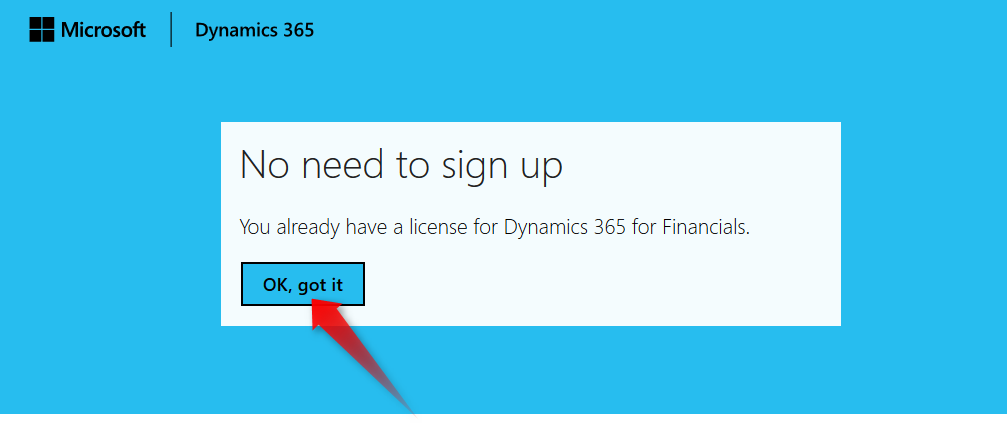
- If you have the license, the sign-up process would indicate the same. In which case, click OK to proceed.
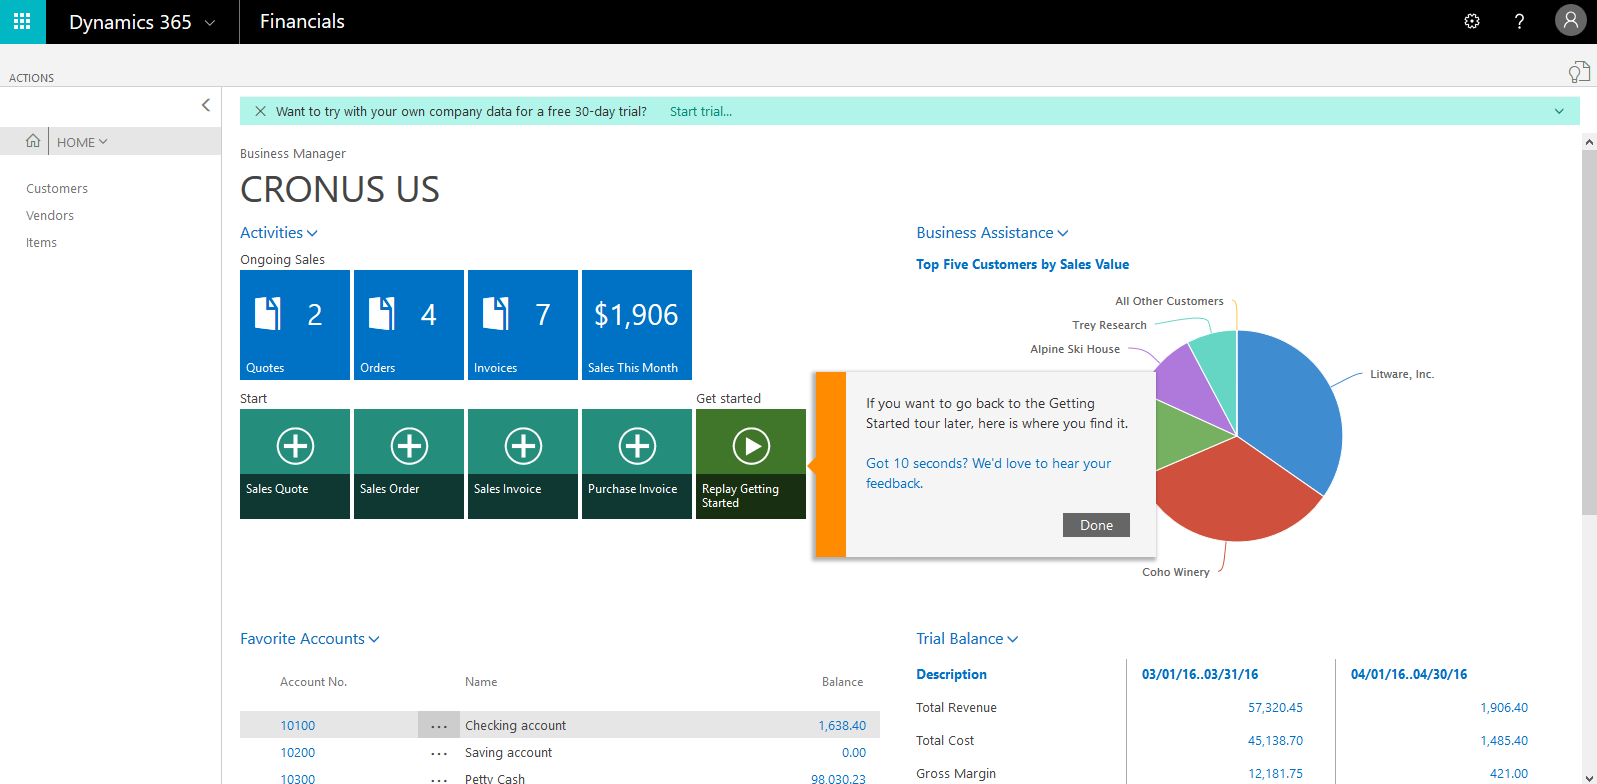
- Within minutes you will land on the Dynamics 365 for Financials home page showing the sample data for fictitious company "CRONUS US"
2. Setup the OData feeds
Dynamics 365 for Financials must expose OData feeds, which can be consumed inside PowerApps. Let's expose Sales Orders and its line items as feeds.
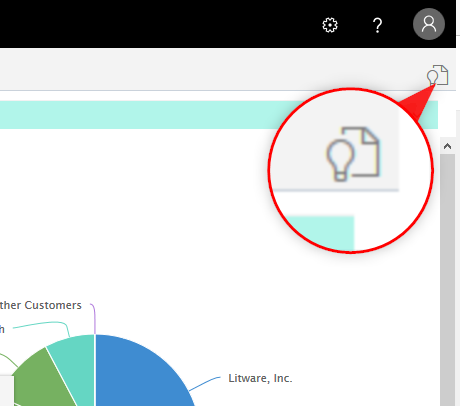
- Click the Search option on the top right of the browser
- Search for "assisted" in the search window
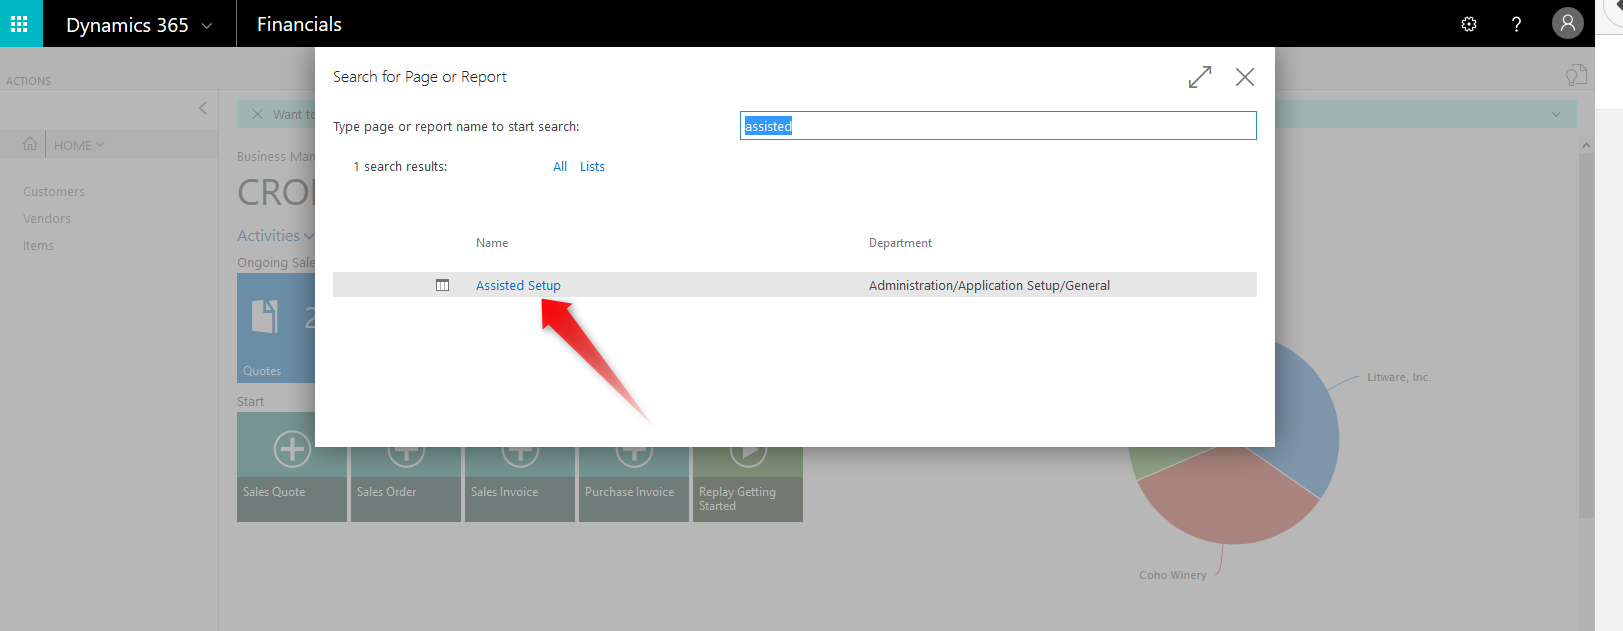
- Click on Assisted Setup
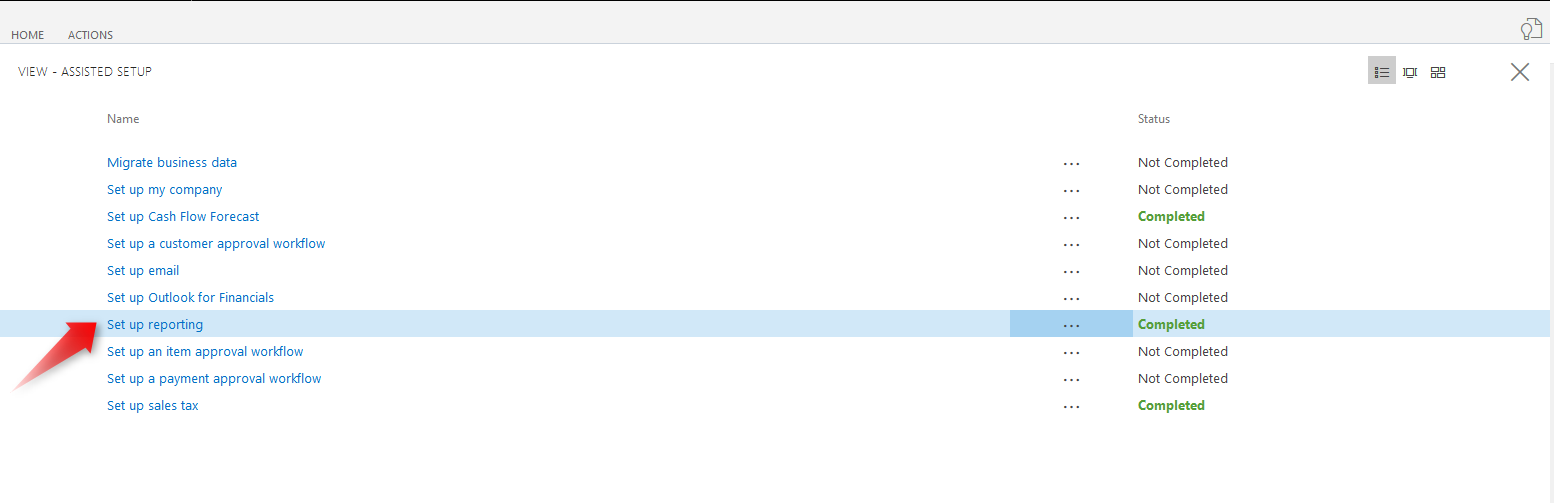
- From the options choose "Set up reporting". This launches the Reporting Data Setup wizard
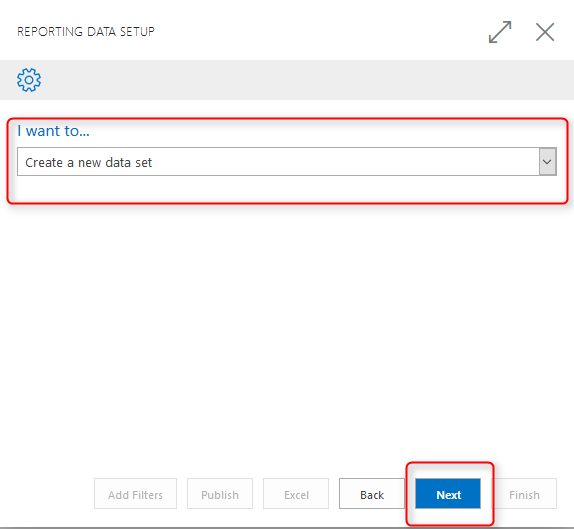
- In the wizard, click Next

- Choose "Create a new data set". Click Next.
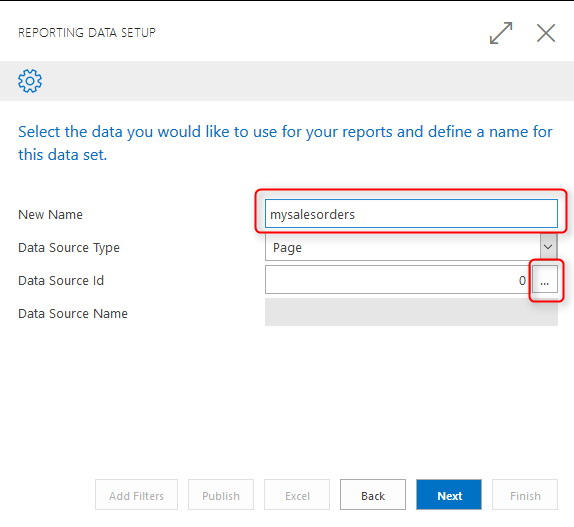
- Enter a data set name and click the ... to select the table for the feed.
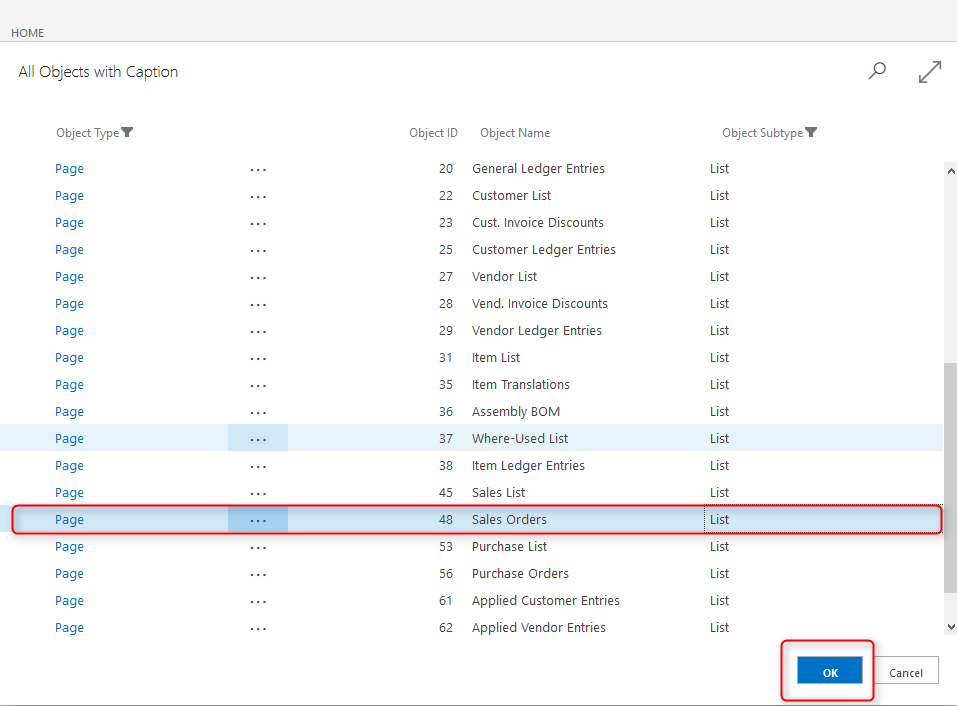
- Choose "Sales Orders" table from the list and click OK
- Click Next
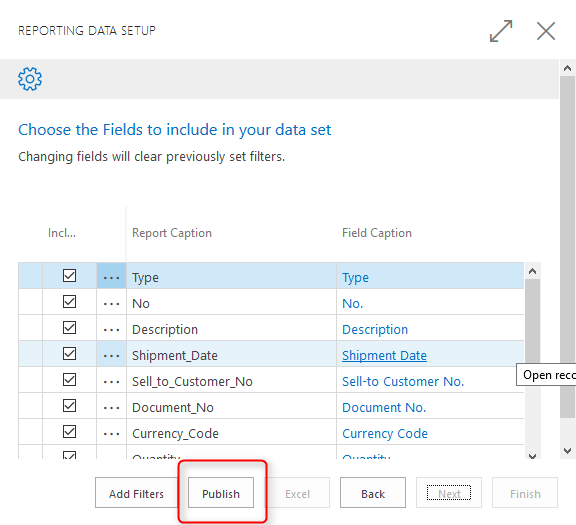
- In the next screen, select the columns to include in the OData feed. Once done, click Publish.
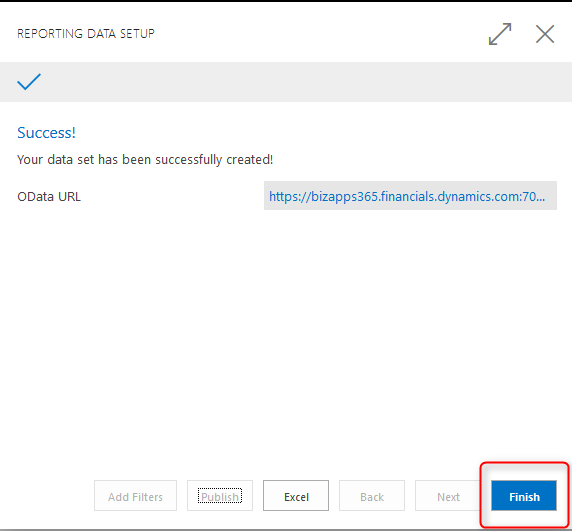
- [Optional] Note down the URL of the feed.
- You can repeat the wizard to add an OData feed for "Sales Line items" table. Once done, close Assisted Setup and return to the home page.
3. Configure your OData credentials
We need to setup the credentials for the OData feed configured above. To set this up follow the steps below.
- Launch the search window once again
- This time, search for "Users"
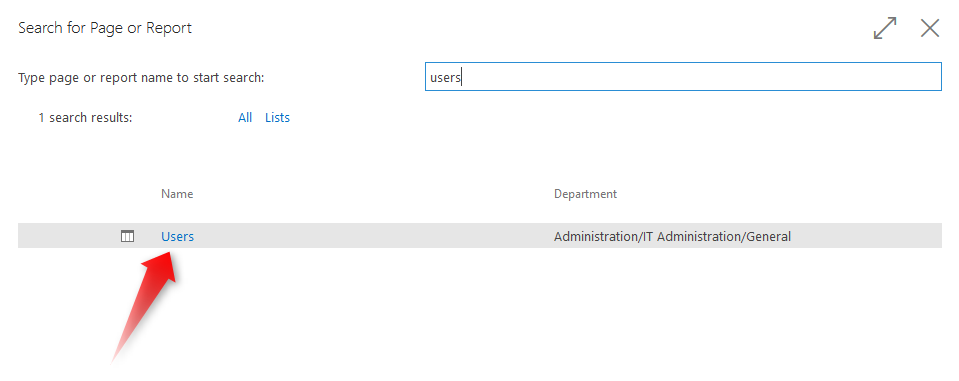
- Click on the user name you would like to configure for use with the OData feed
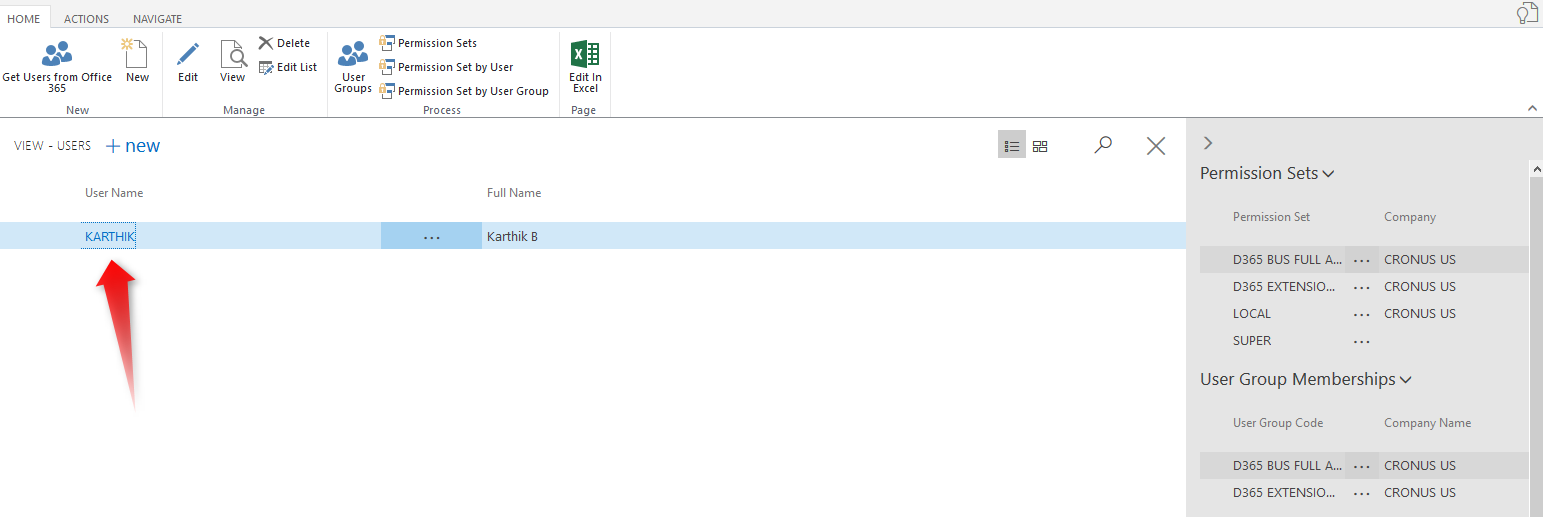
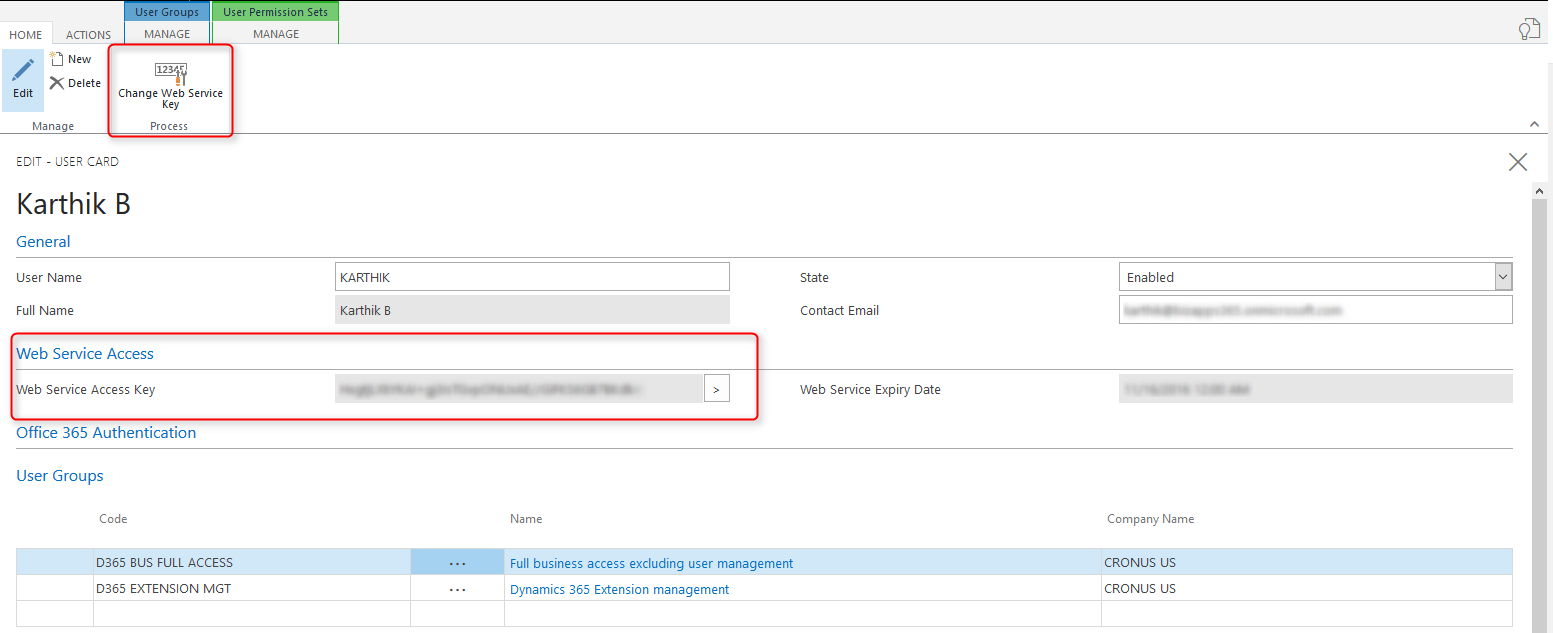
- In the user configuration window, click on "Web Service Access". If this field is empty you need to choose "Change Web Service Key" to configure a new key. Once done, copy the key in some safe place - we will need this when we create a connection in PowerApps.
4. Use PowerApps to connect to Dynamics 365 for Financials
We are all set - we can now connect to the Dynamics 365 for Financials from PowerApps using the out-of-box connector. Let's add the values we configured before.
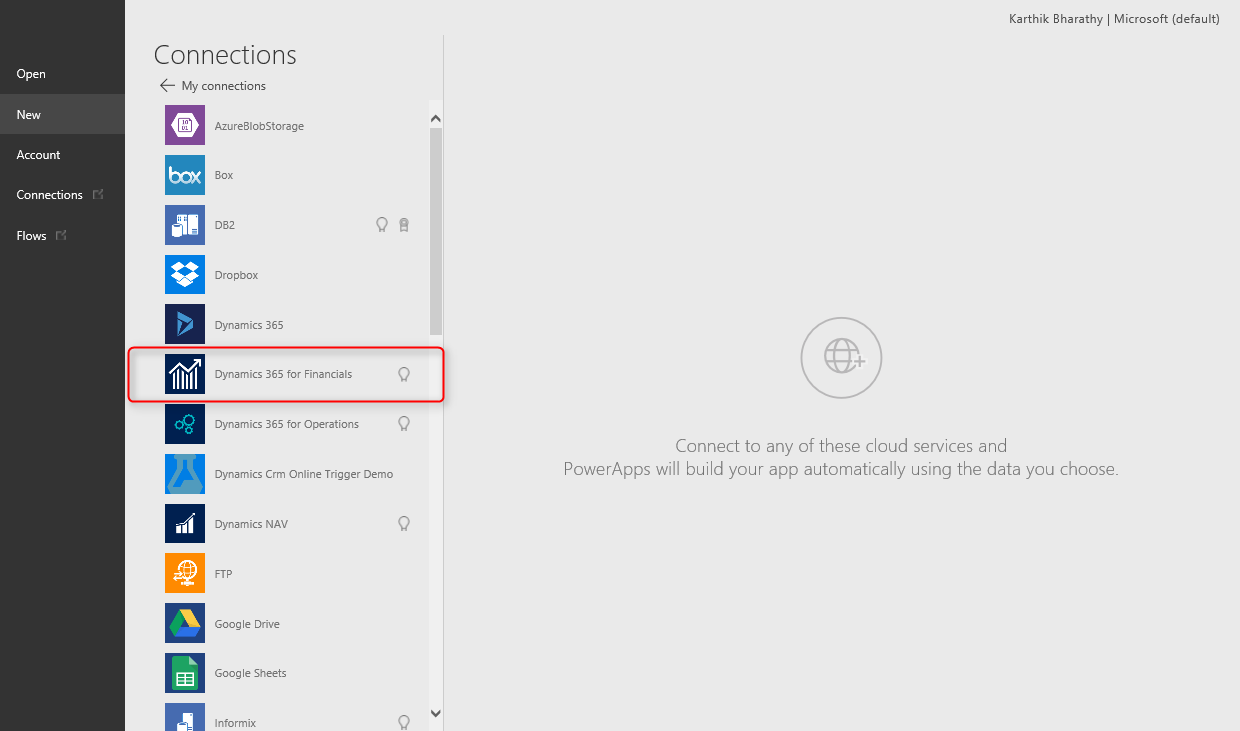
- Launch PowerApps Studio on Windows. The experience would be similar for PowerApps Studio running in the browser. Click on -> to view the list of all connections available for creating app from data
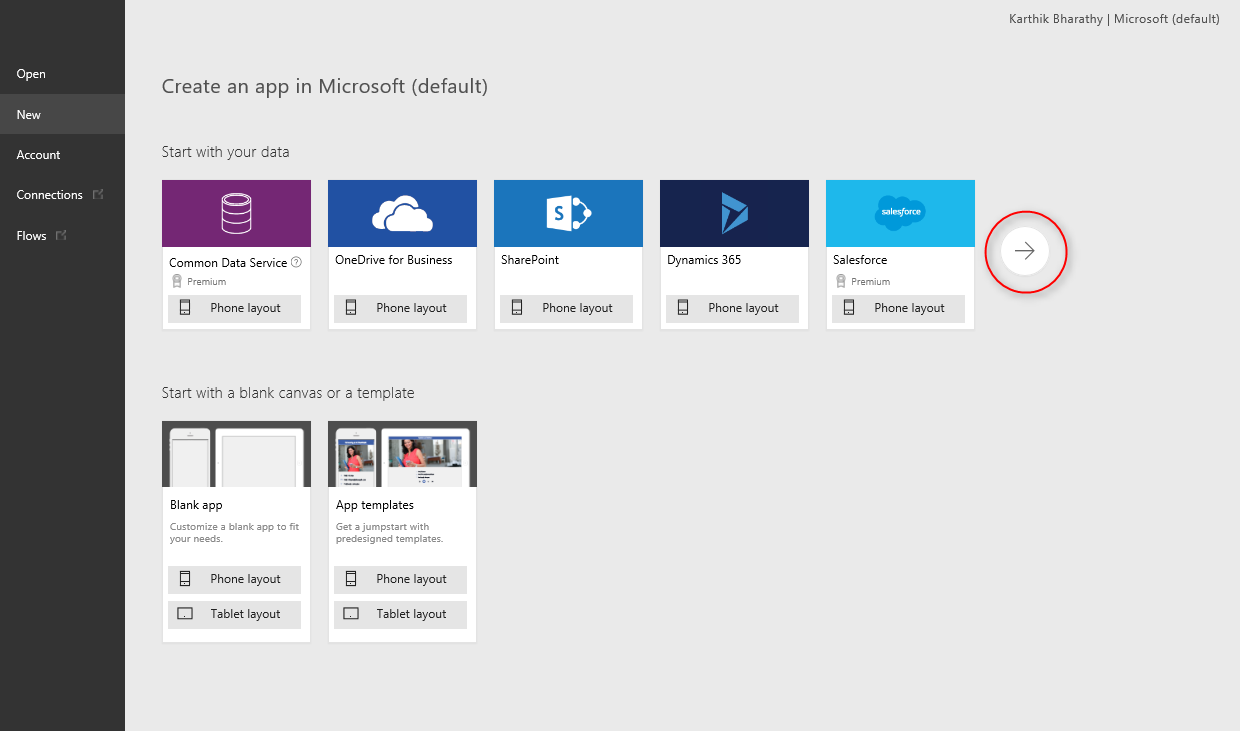
- Click on "New connection" and choose "Dynamics 365 for Financials"
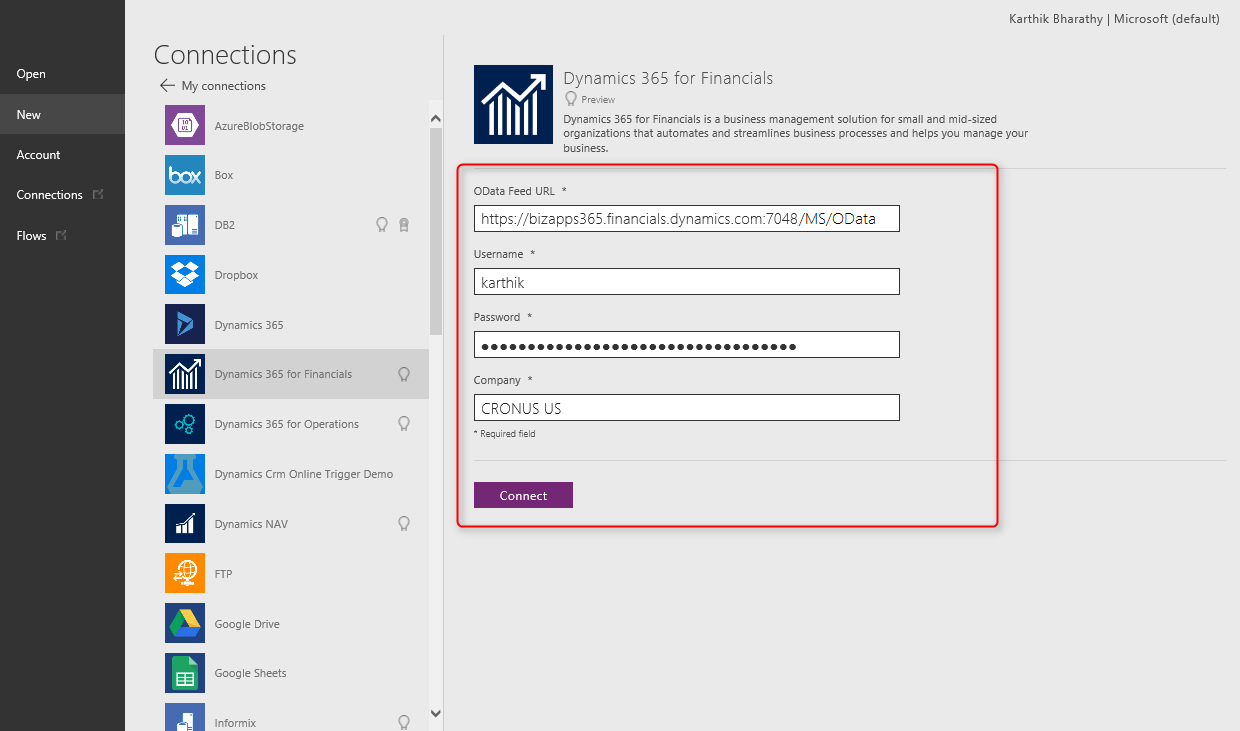
- For the OData feed URL enter <your business>.financials.dynamics.com:7048/MS/OData as indicated in the sample below. The user credentials are the ones you created for the OData feed earlier. Use "CRONUS US" as the sample Company. Click Connect
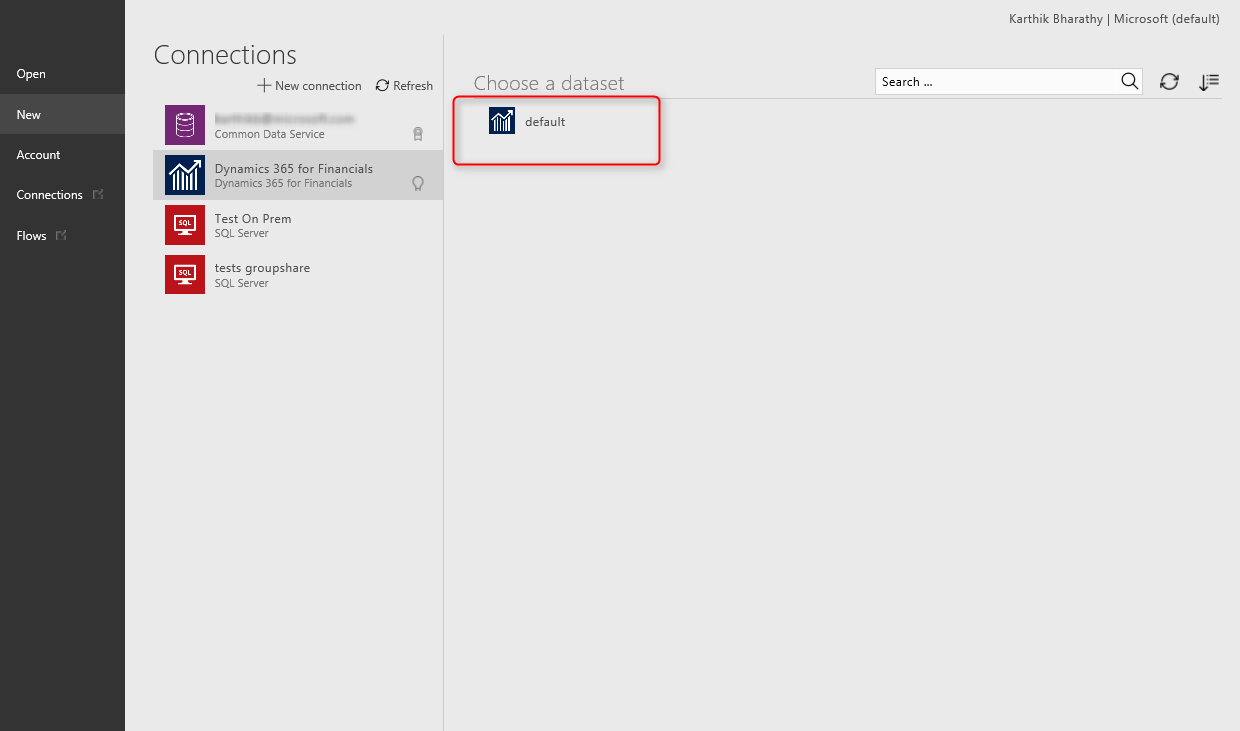
- In the dataset screen, choose "default"
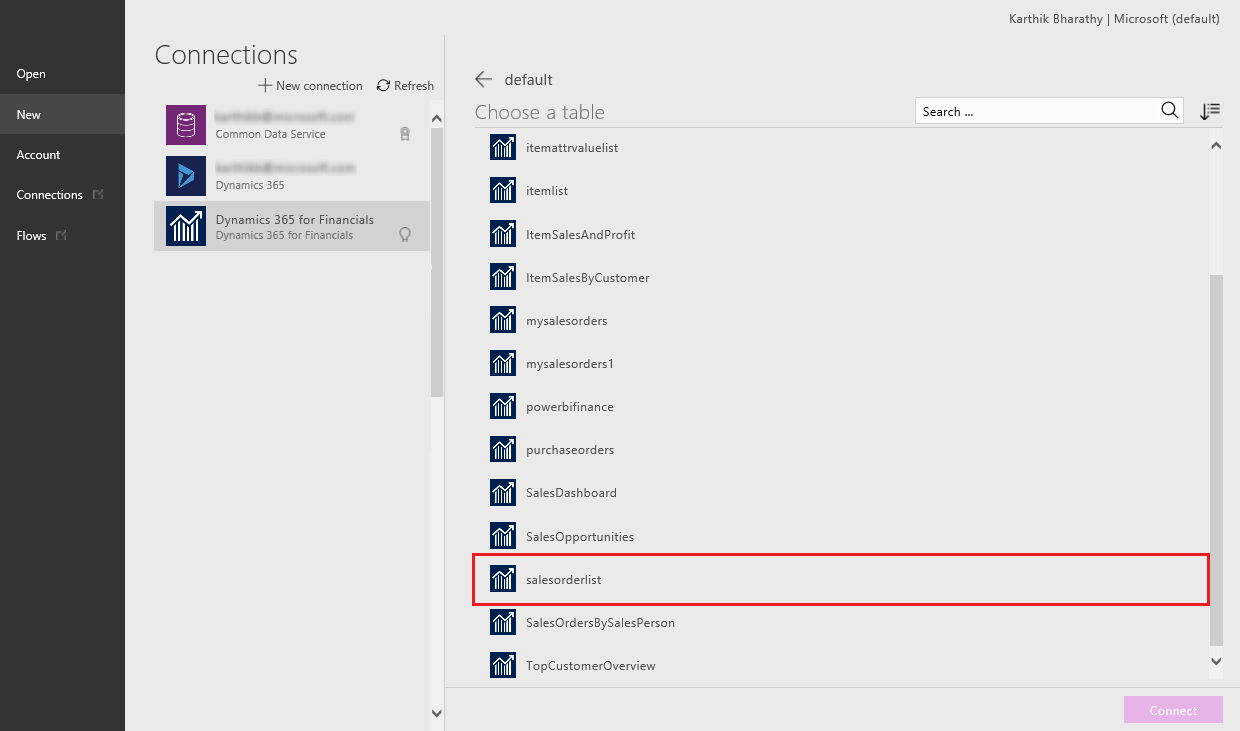
- Choose the sales order feed that we created earlier
- In a few minutes PowerApps will create a three-screen app. We will only need the Browse screen. From the "Content" menu choose Data sources. Click on Add data source > Dynamics 365 for Financials > Choose sales line items OData feed. You should have created this feed earlier.
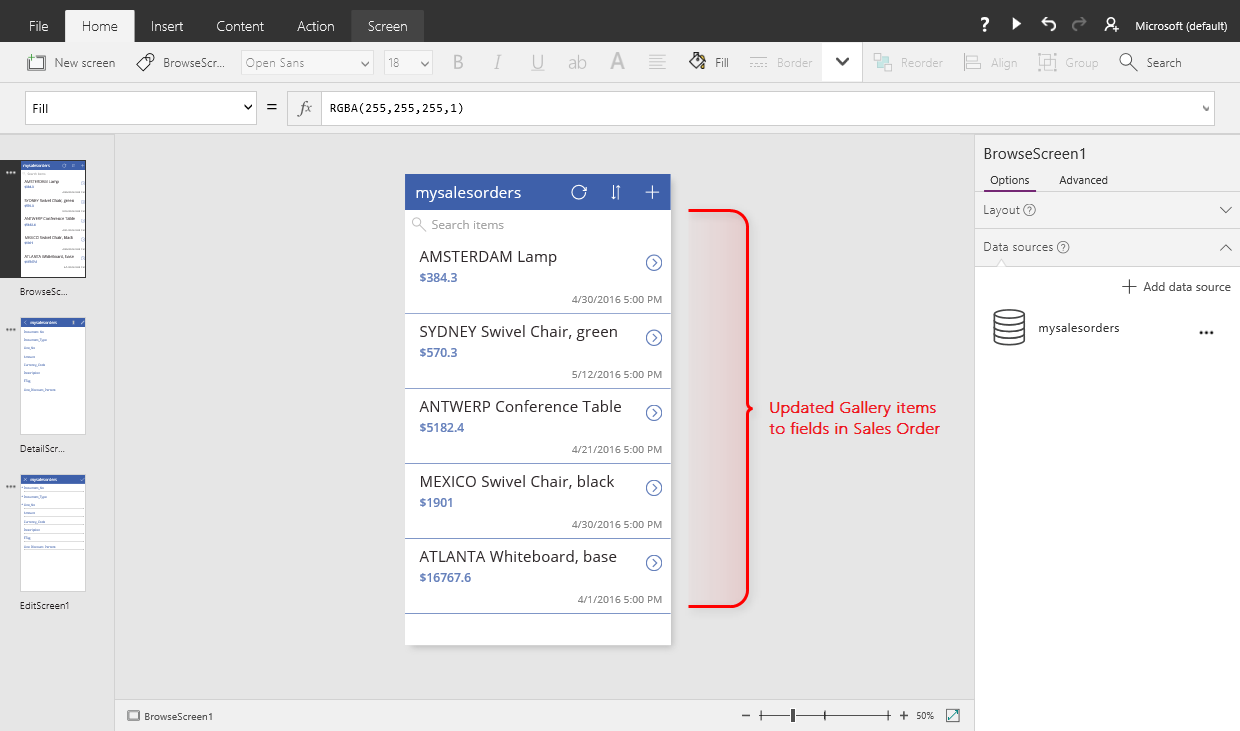
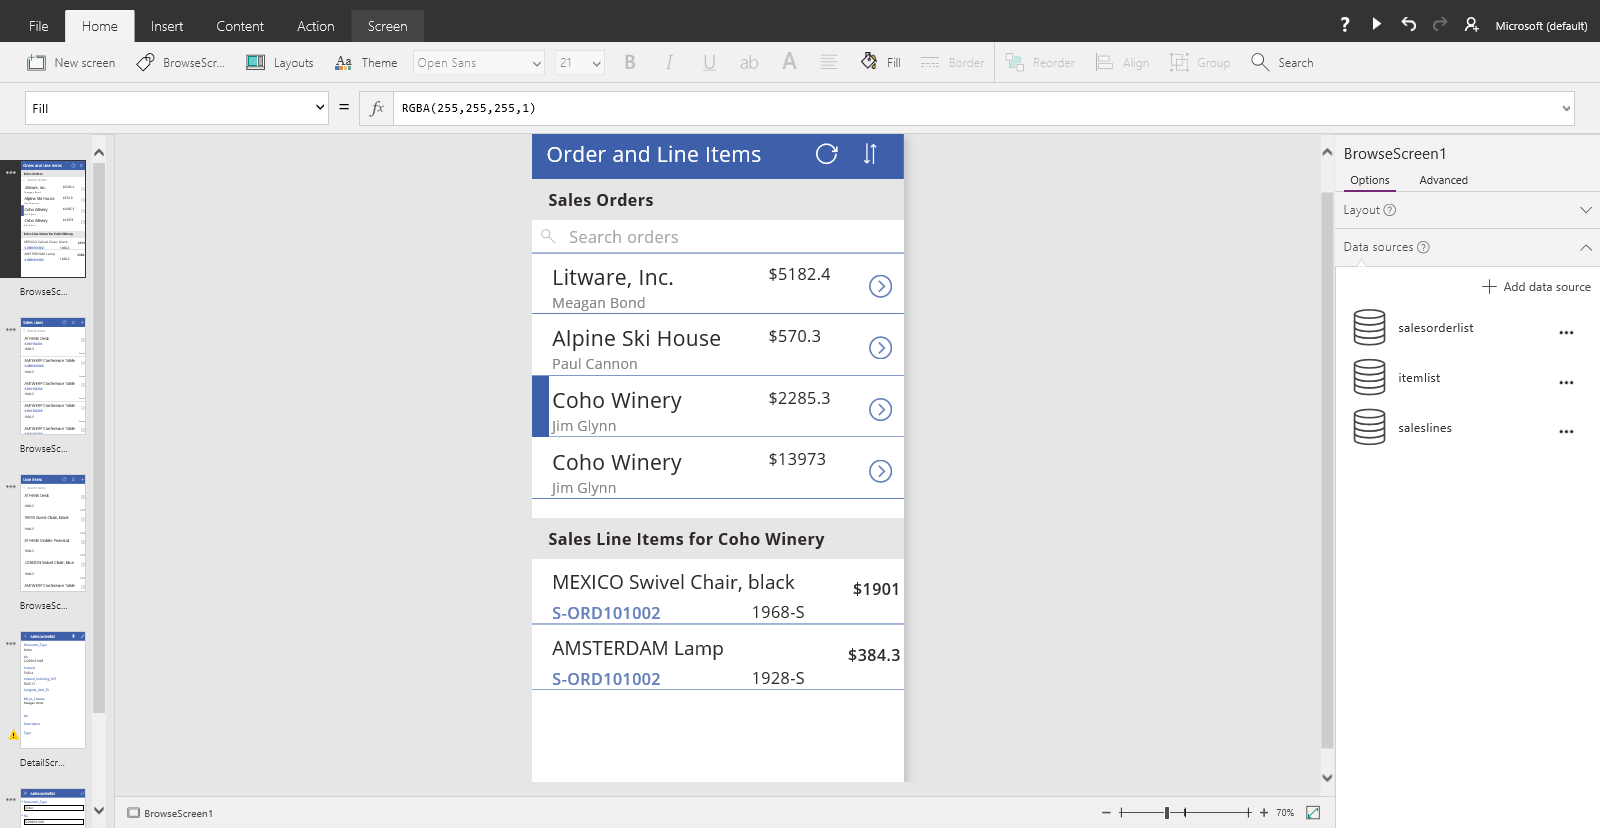
Copy the Sales Order Gallery and paste another Gallery below for the Sales Line items. Bind the new Gallery to the expression:
Filter(saleslines, SalesOrderGallery.Selected.No=Document_No)
This causes the second Gallery to take sales line items based on selection of Sales Orders in the first Gallery.
5. Video
You can run the app within the Studio or Save the app to cloud and run it from the browser or your mobile device. Here is the completed app running on my browser
[video width="420" height="738" mp4="https://msdnshared.blob.core.windows.net/media/2016/11/FinalApp.mp4"][/video]
Do let me know your questions/feedback in the comments section below or on my twitter page kb_chirps. Happy app building :)
Thanks to Jannik, Gary and Jeff from Microsoft Dynamics 365 for Financials who helped me with the configurations to get this demo working.