SharePoint Online My Site Upgrade
Users should first run a healthcheck report against their My Site
but using this link (they will need to use correct tenant name
https://contoso-my.sharepoint.com/personal/joev_contoso_com/_layouts/sitehealthcheck.aspx
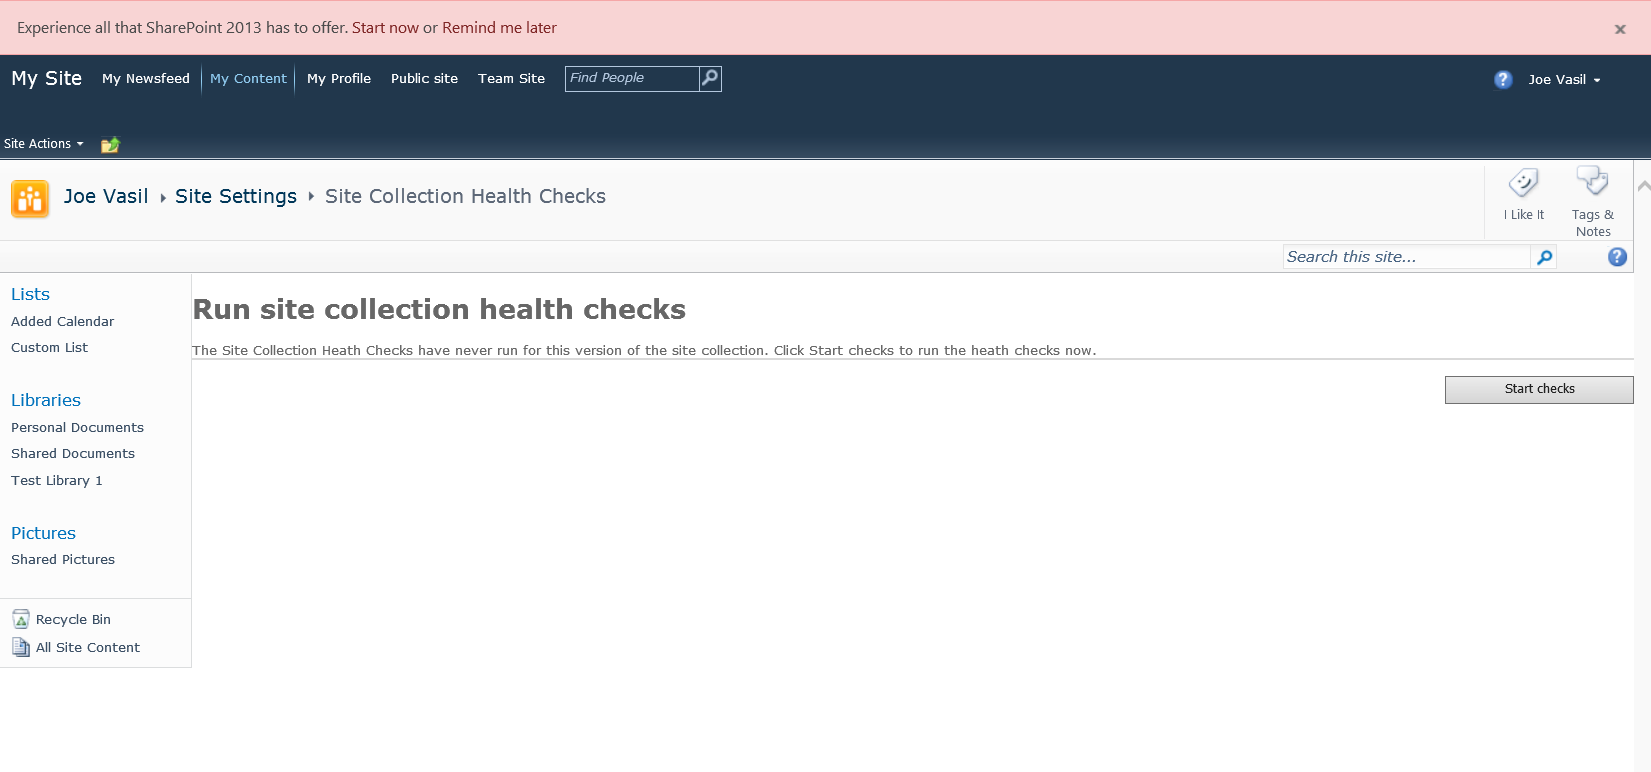
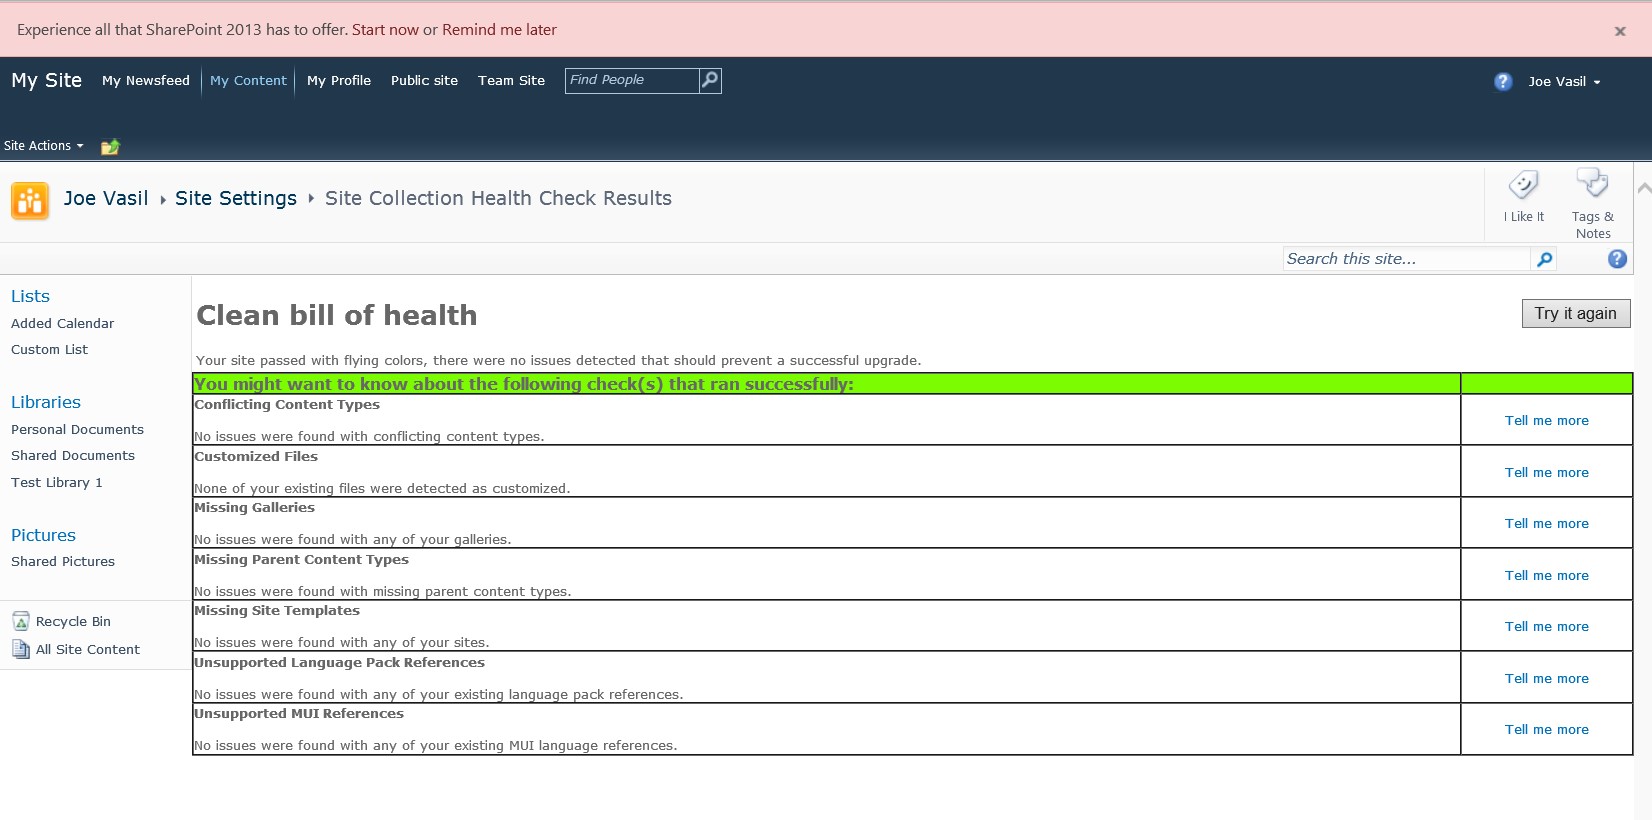
Make sure no issues are reported
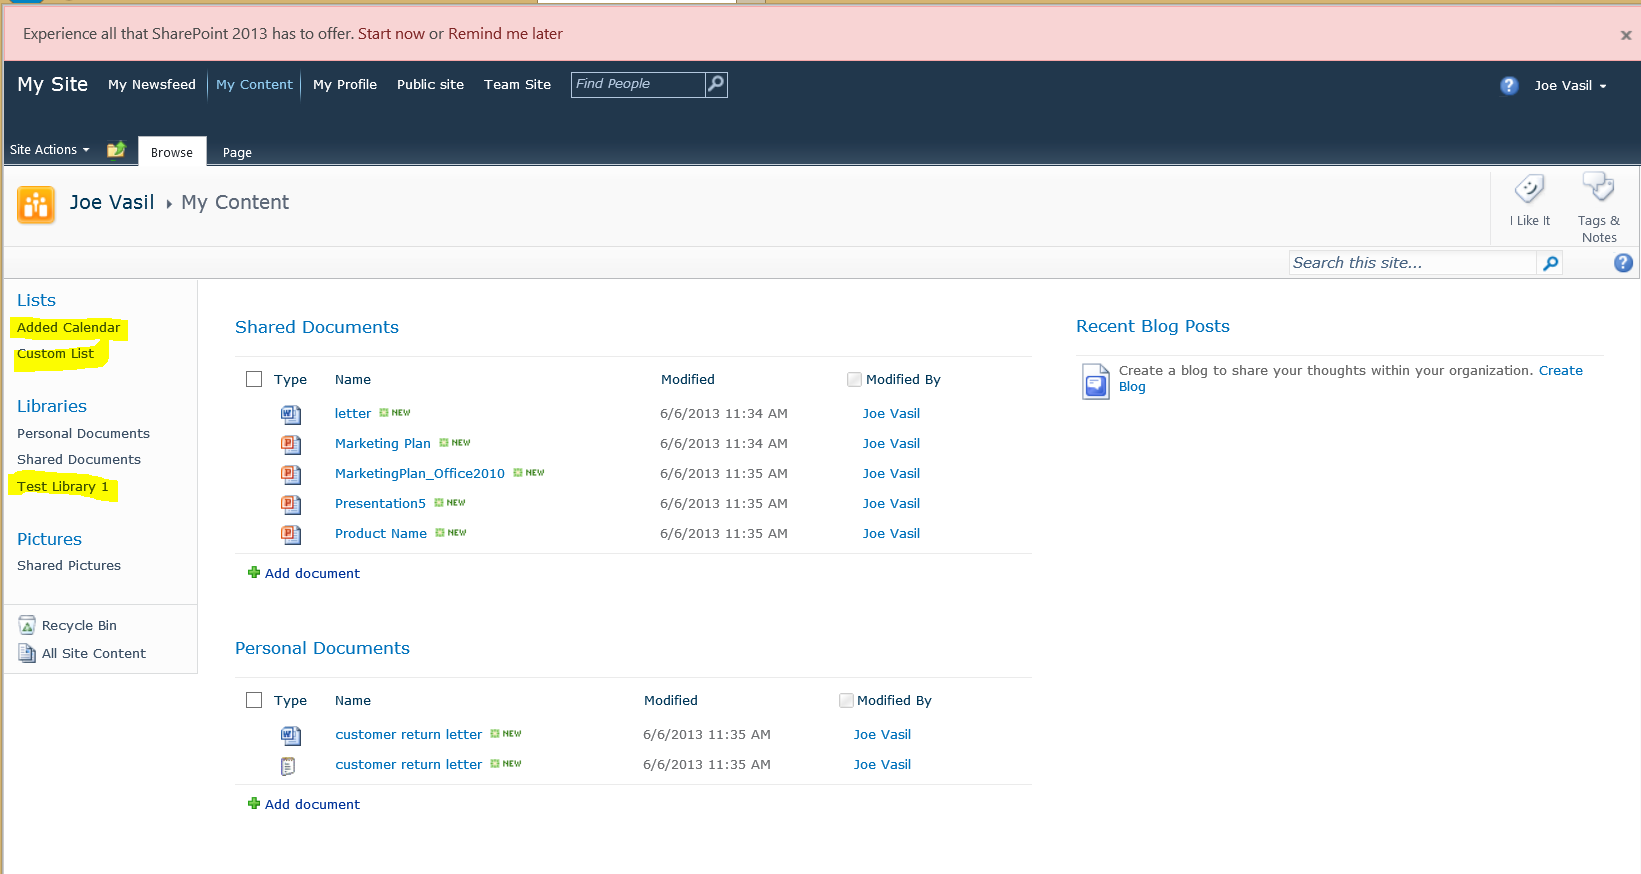
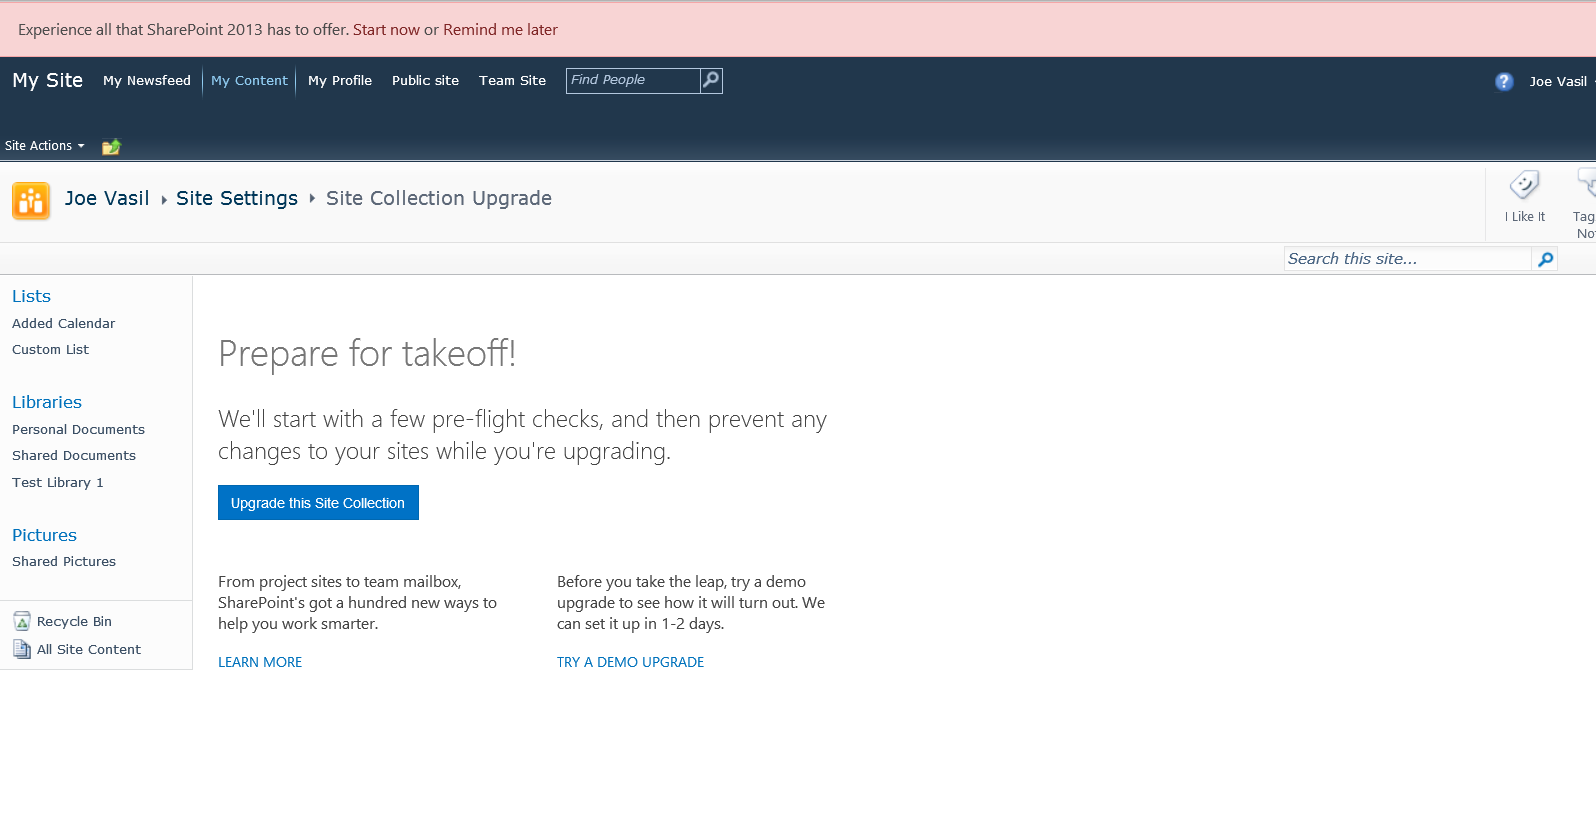
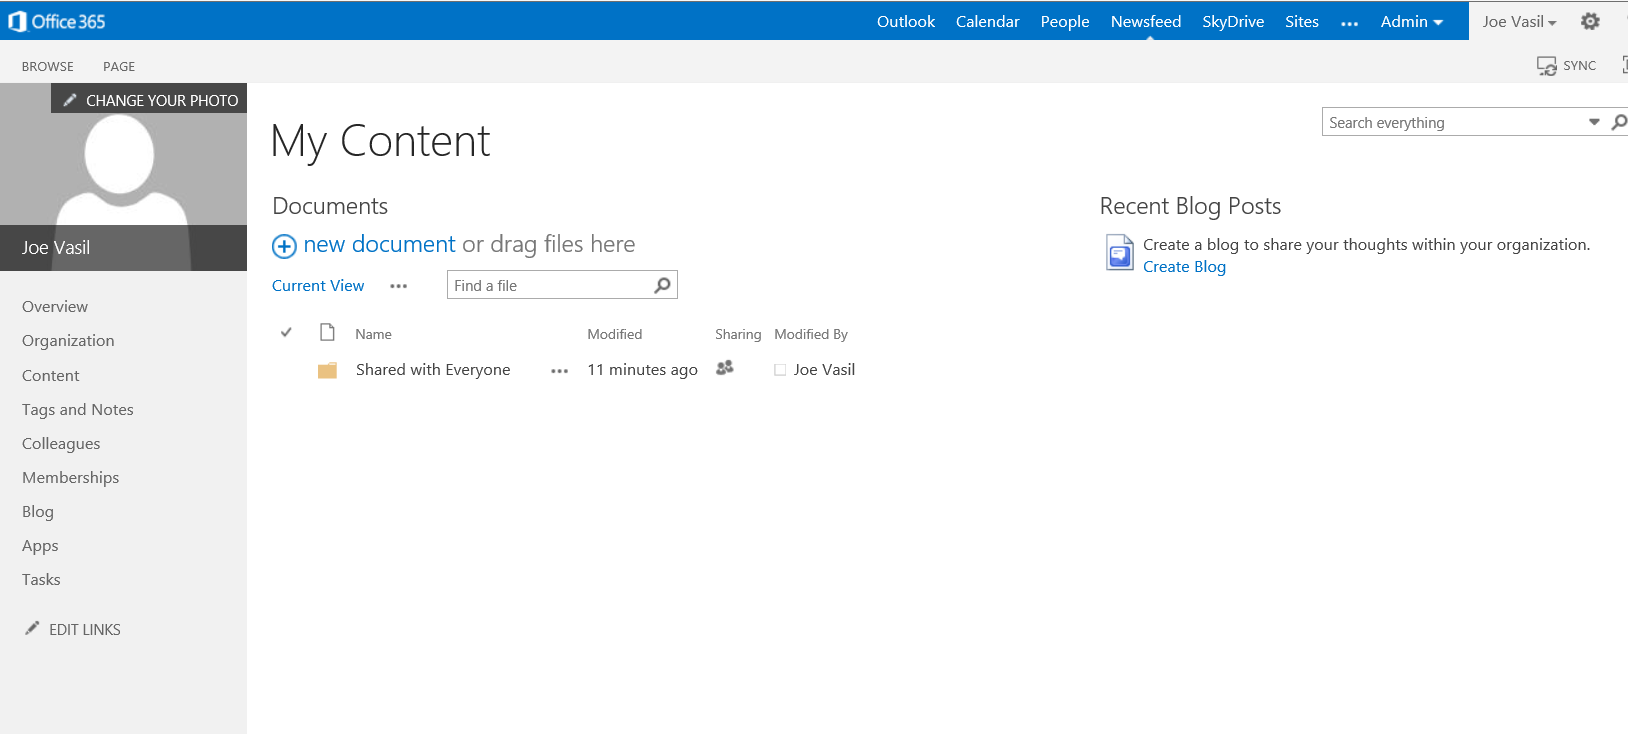
3) In this example, notice the custom and additional lists and calendar that have been added to my My Site
We’ll observe what happens to them after the upgrade process is complete.
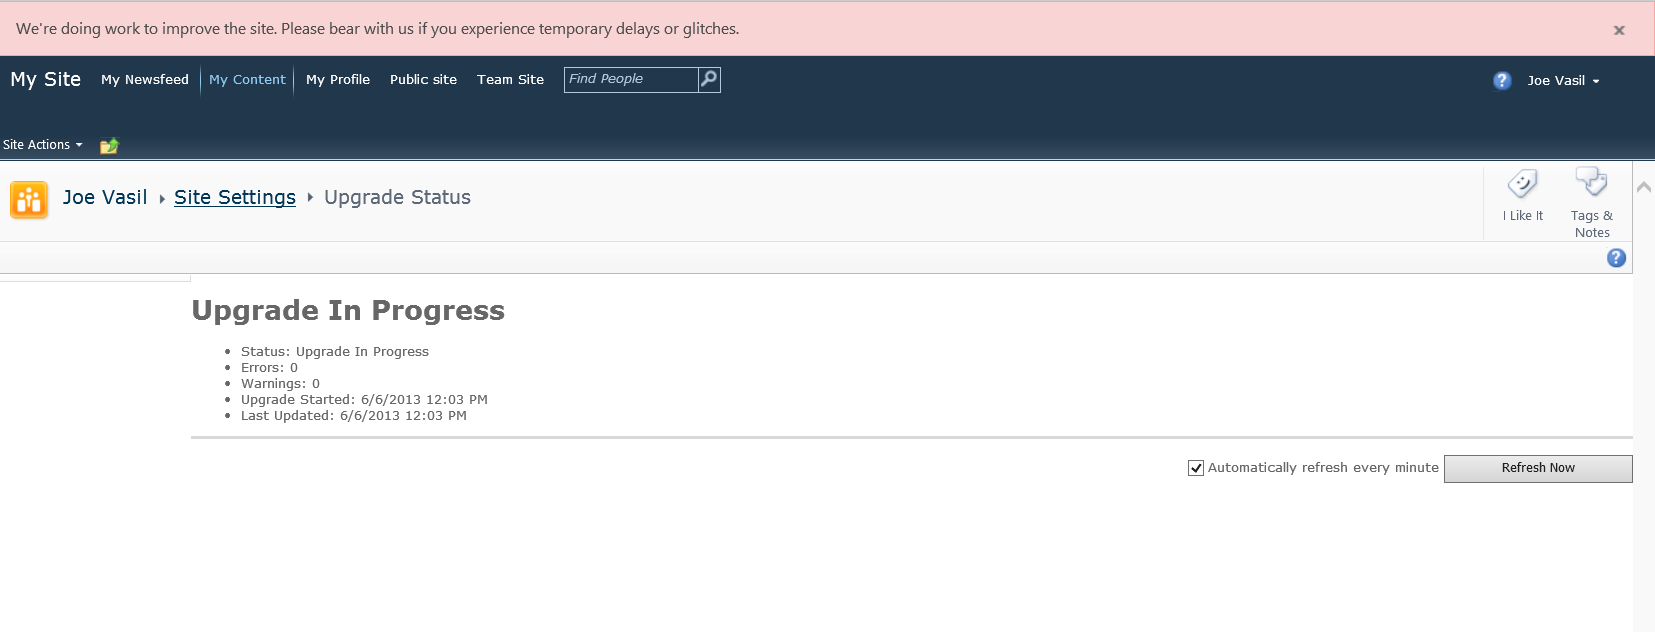
Then click "Start Now" in the pink ribbon which take you following
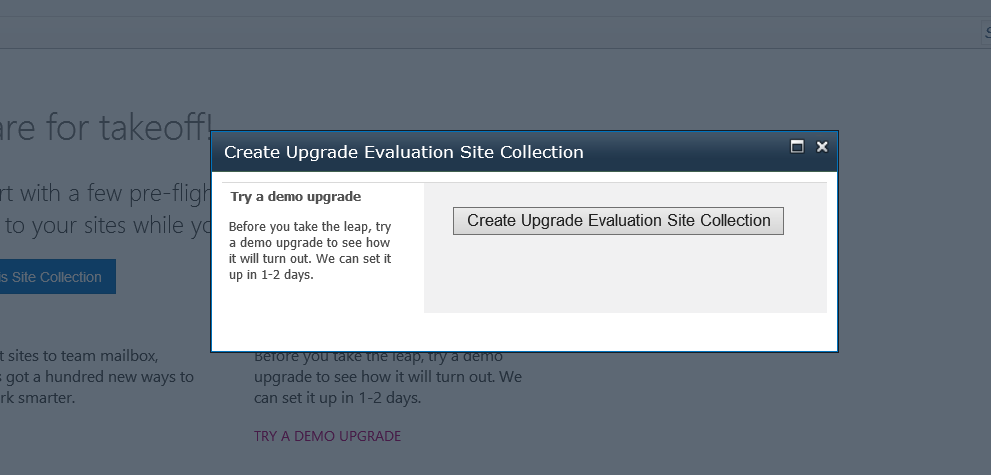
If you click Try a DEMO UPGRADE you get
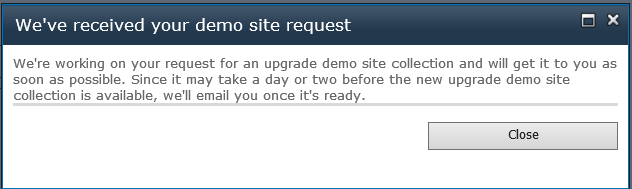
And then
If you click Upgrade This Site Collection, you get
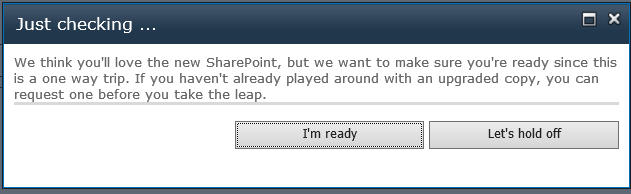
Click I'm ready and
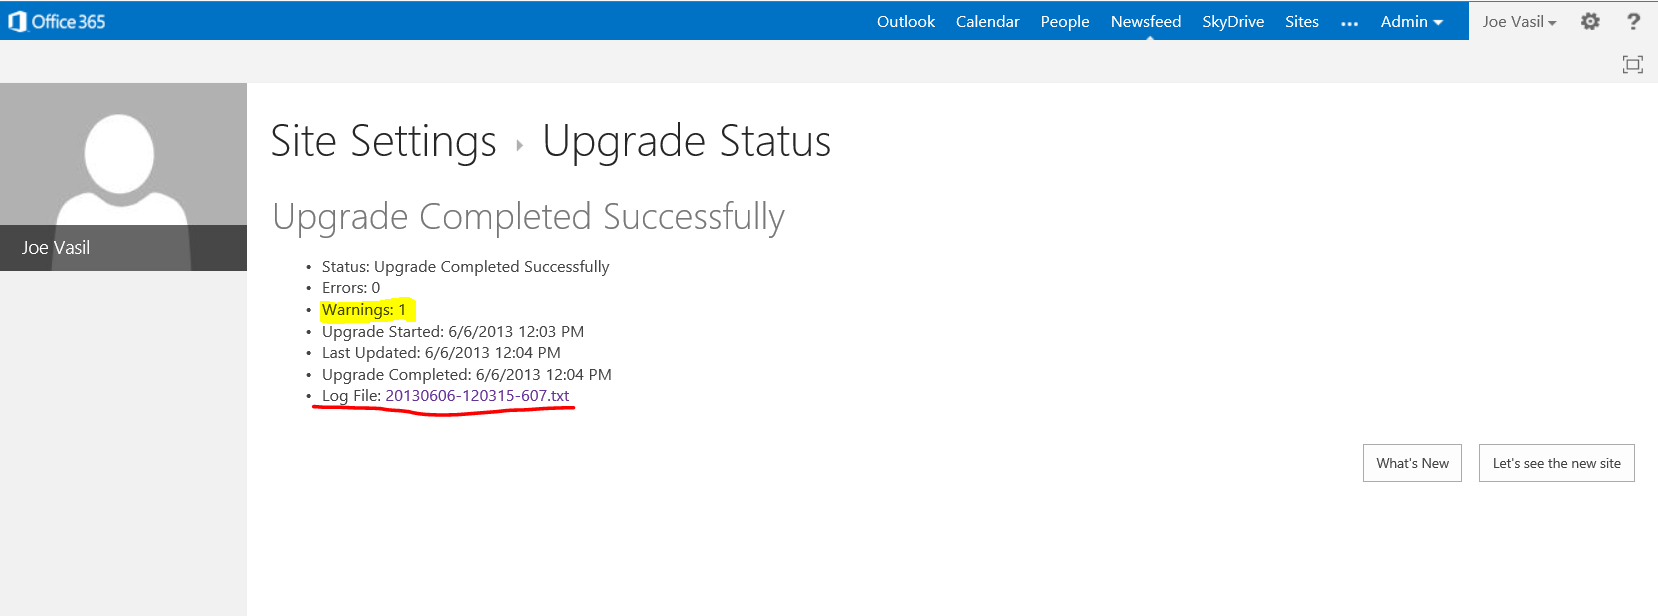
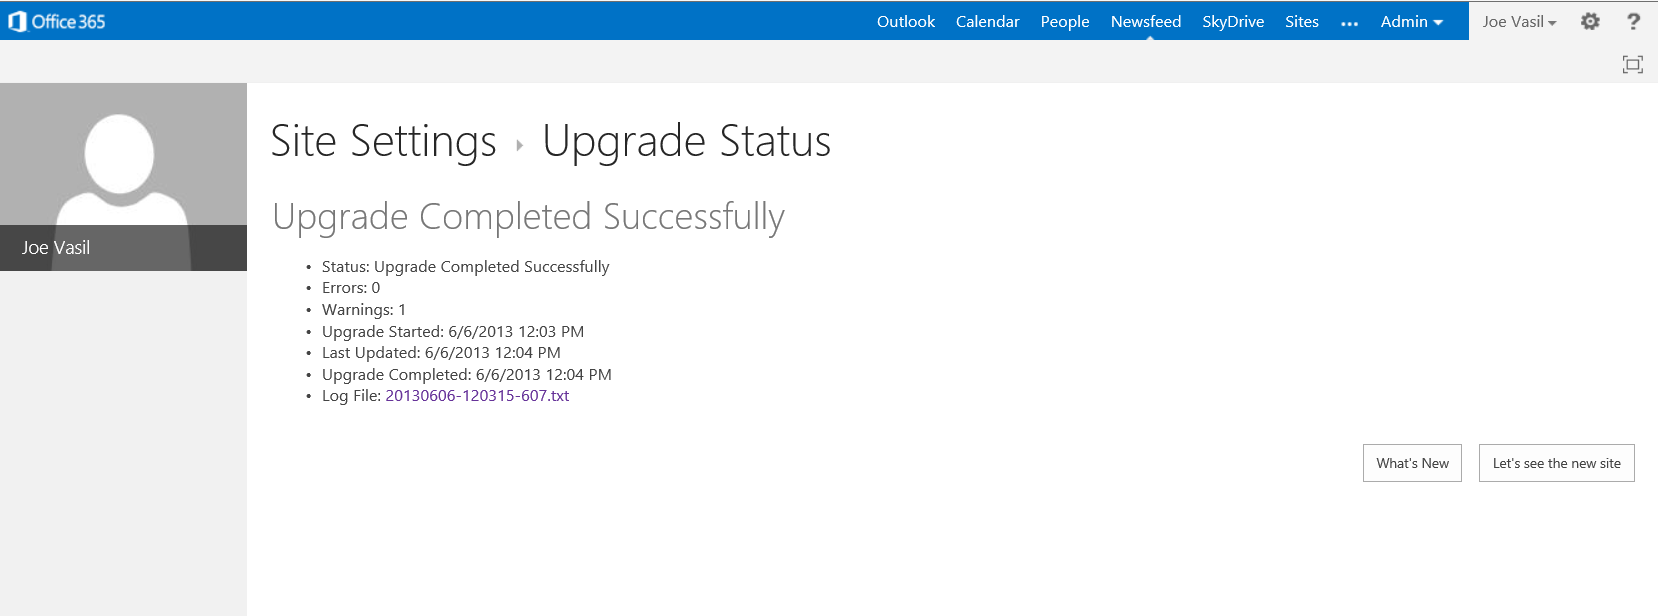
If any errors or warnings are generated you can click the log file link to get more detail
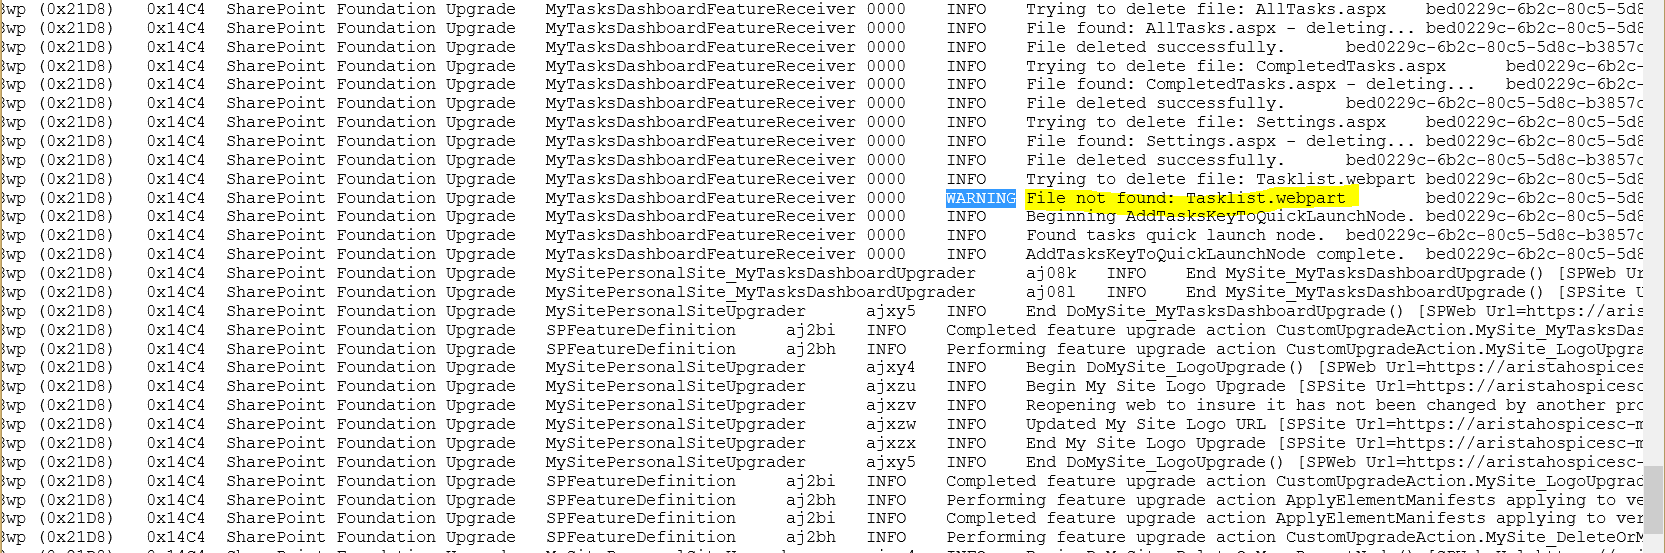
In this example, from the log file we see that the upgrade process attempts to remove a webpart that doesn't exist so we can ignore this warning.
When user clicks "Let's see the new site" they are taken to their upgraded My Site
Notice that the Custom list, Added Calendar, and Test Library 1 I had added to my original My Site no longer appear in the quick launch area once the site is
upgraded
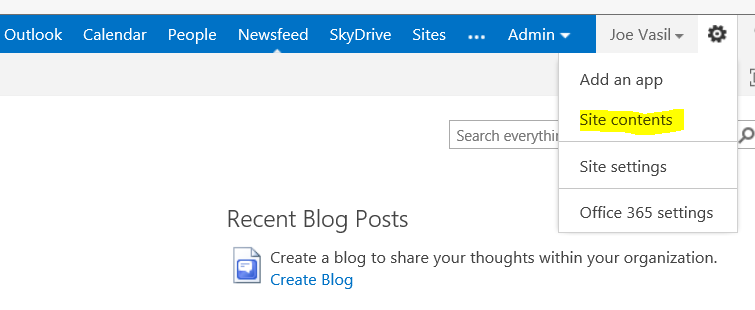
To access any custom lists, libraries, etc after the My Site upgrade, click Site Actions (gear icon) and select Site Contents
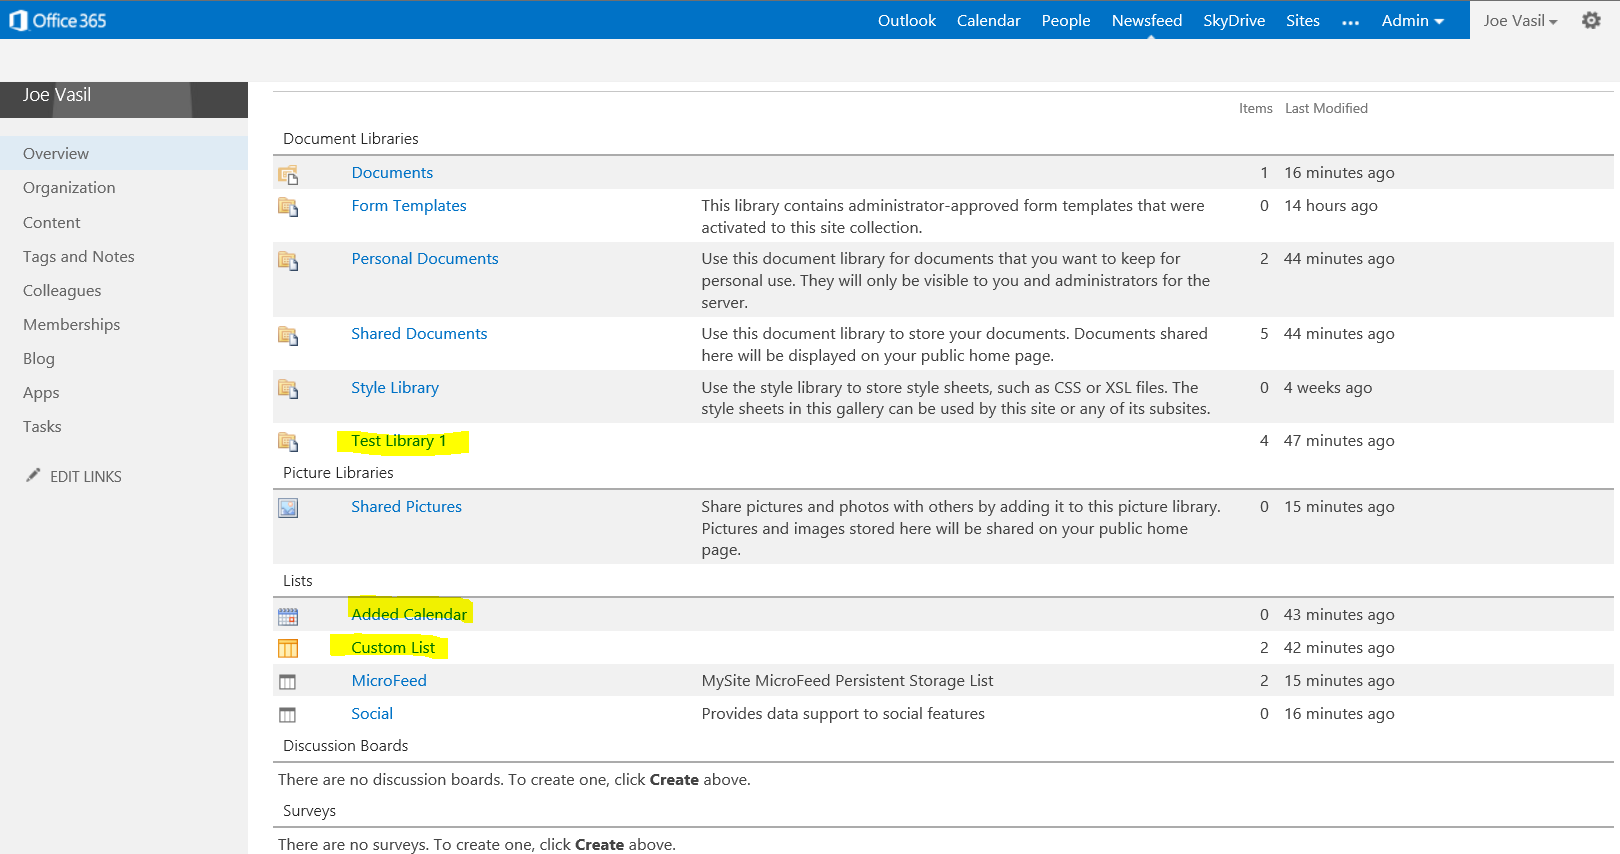
And the custom lists and libraries are there
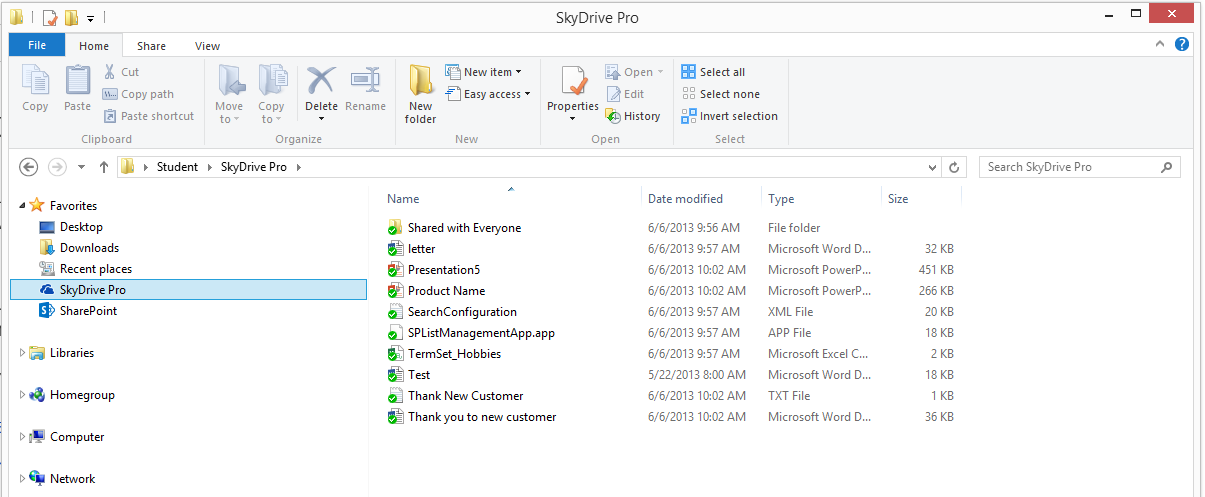
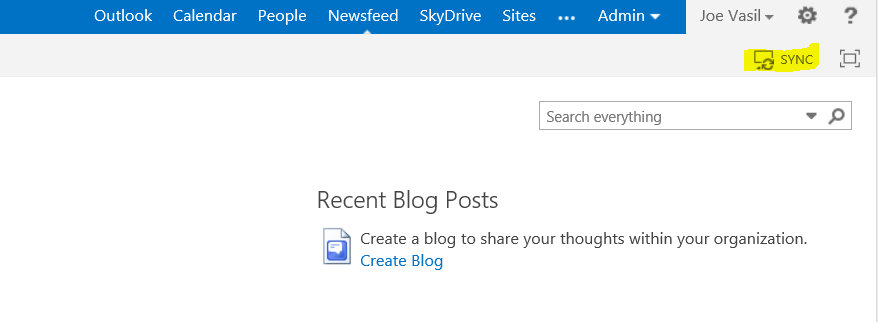
At this point, if the user has SkyDrive Pro installed on their PC, they can click Sync in the upper right corner of their My Site. This will launch the Sky Drive Pro client
on their PC prompting them for credentials.
Once they enter their credentials for SharePoint Online, they will then have the SkyDrive Pro drive appear in Windows Explorer on their
PC in which they can sync files to/from their SharePoint Online SkyDrive Pro