Setting it up: SharePoint Online Lists with Azure Automation
To integrate SharePoint Online with Azure Automation (and Powershell scripts), I've used a fantastic module written by Tao Yang, SharepointSDK.
The details can be found here.
This post will deal with setting things up ready to use.
-
-
- Install the module for Powershell by using the command
Install-Module SharepointSDK. - Next, navigate to the Azure Portal and we'll add the module to your Azure Automation Account.
If you haven't already created an Azure Automation Account have a read through the Implementation section in this blog, you can skip the OMS setup portions for now. - Open the Azure Automation blade and select the Automation Account you want to use.
Create a new Automation Account if you don't have one.
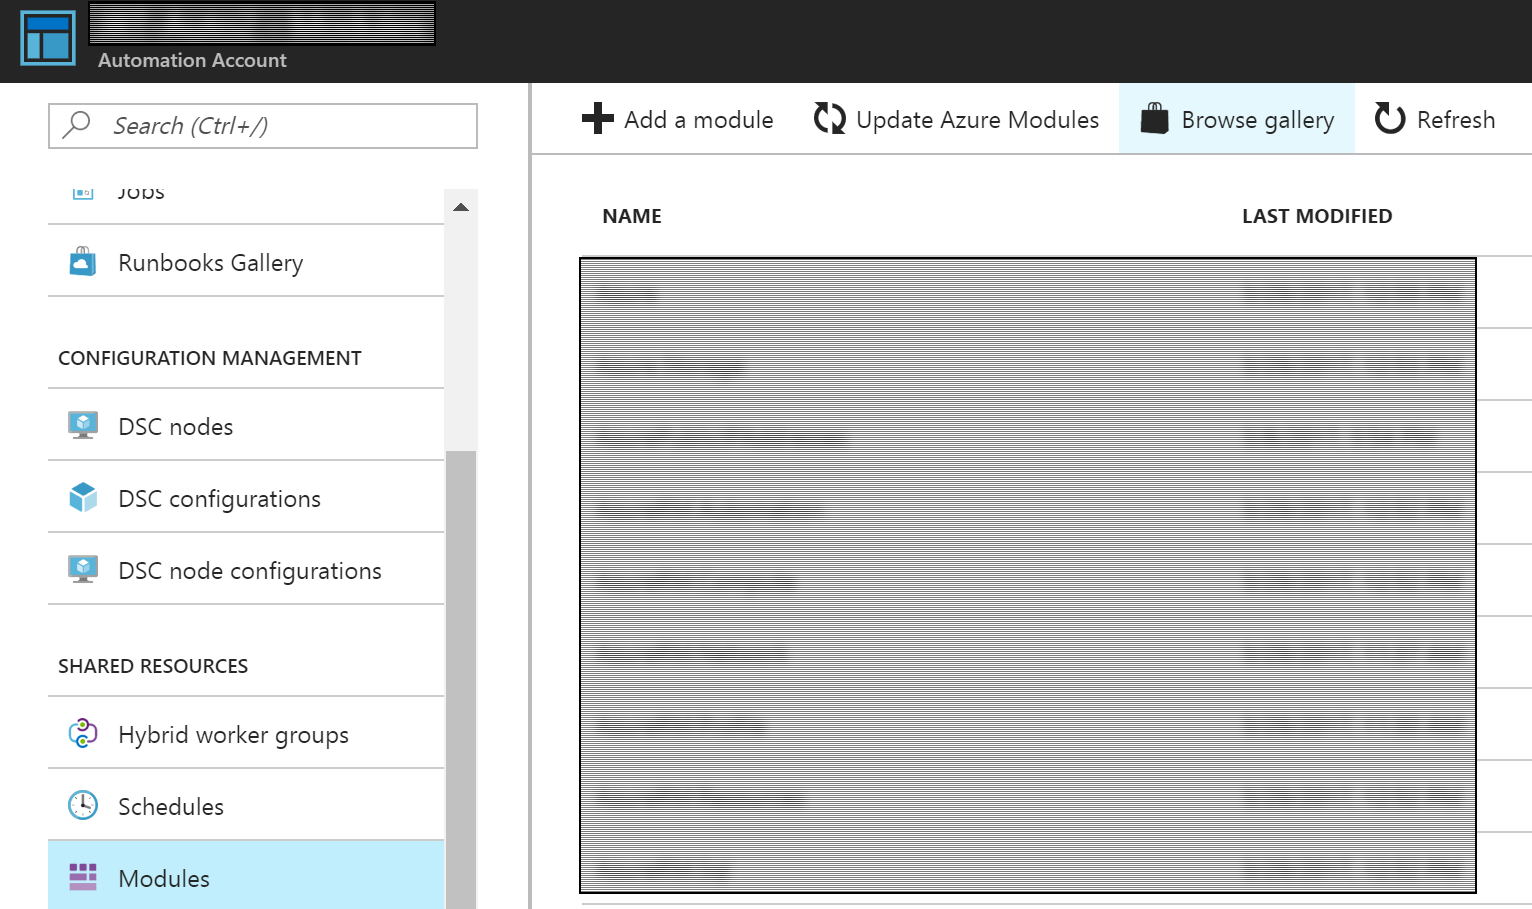
Note: You'll need access to your Azure AD to setup the RunAs account properly, depending on your directory configuration and settings. - Select 'Modules' and then select 'Browse Gallery'
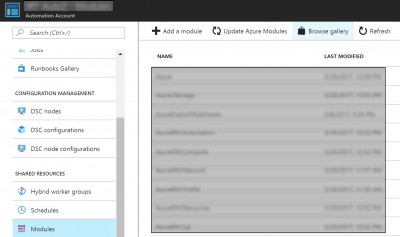
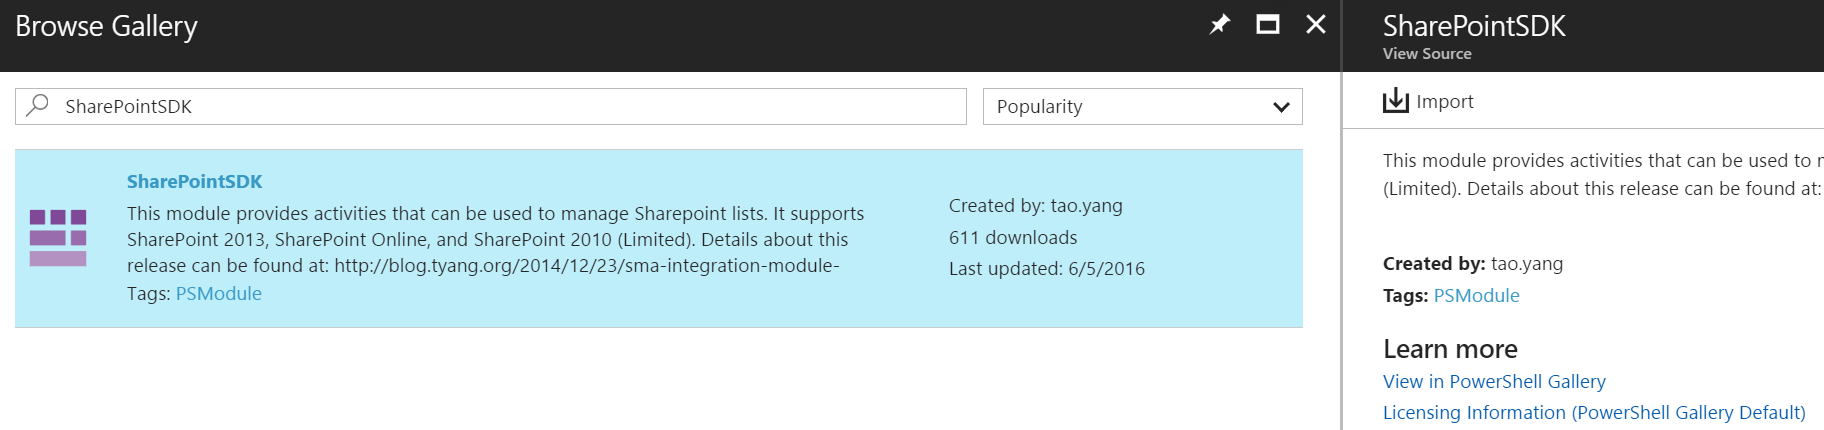
- Search for 'SharePointSDK' and select the module found.
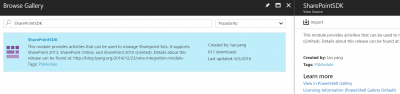
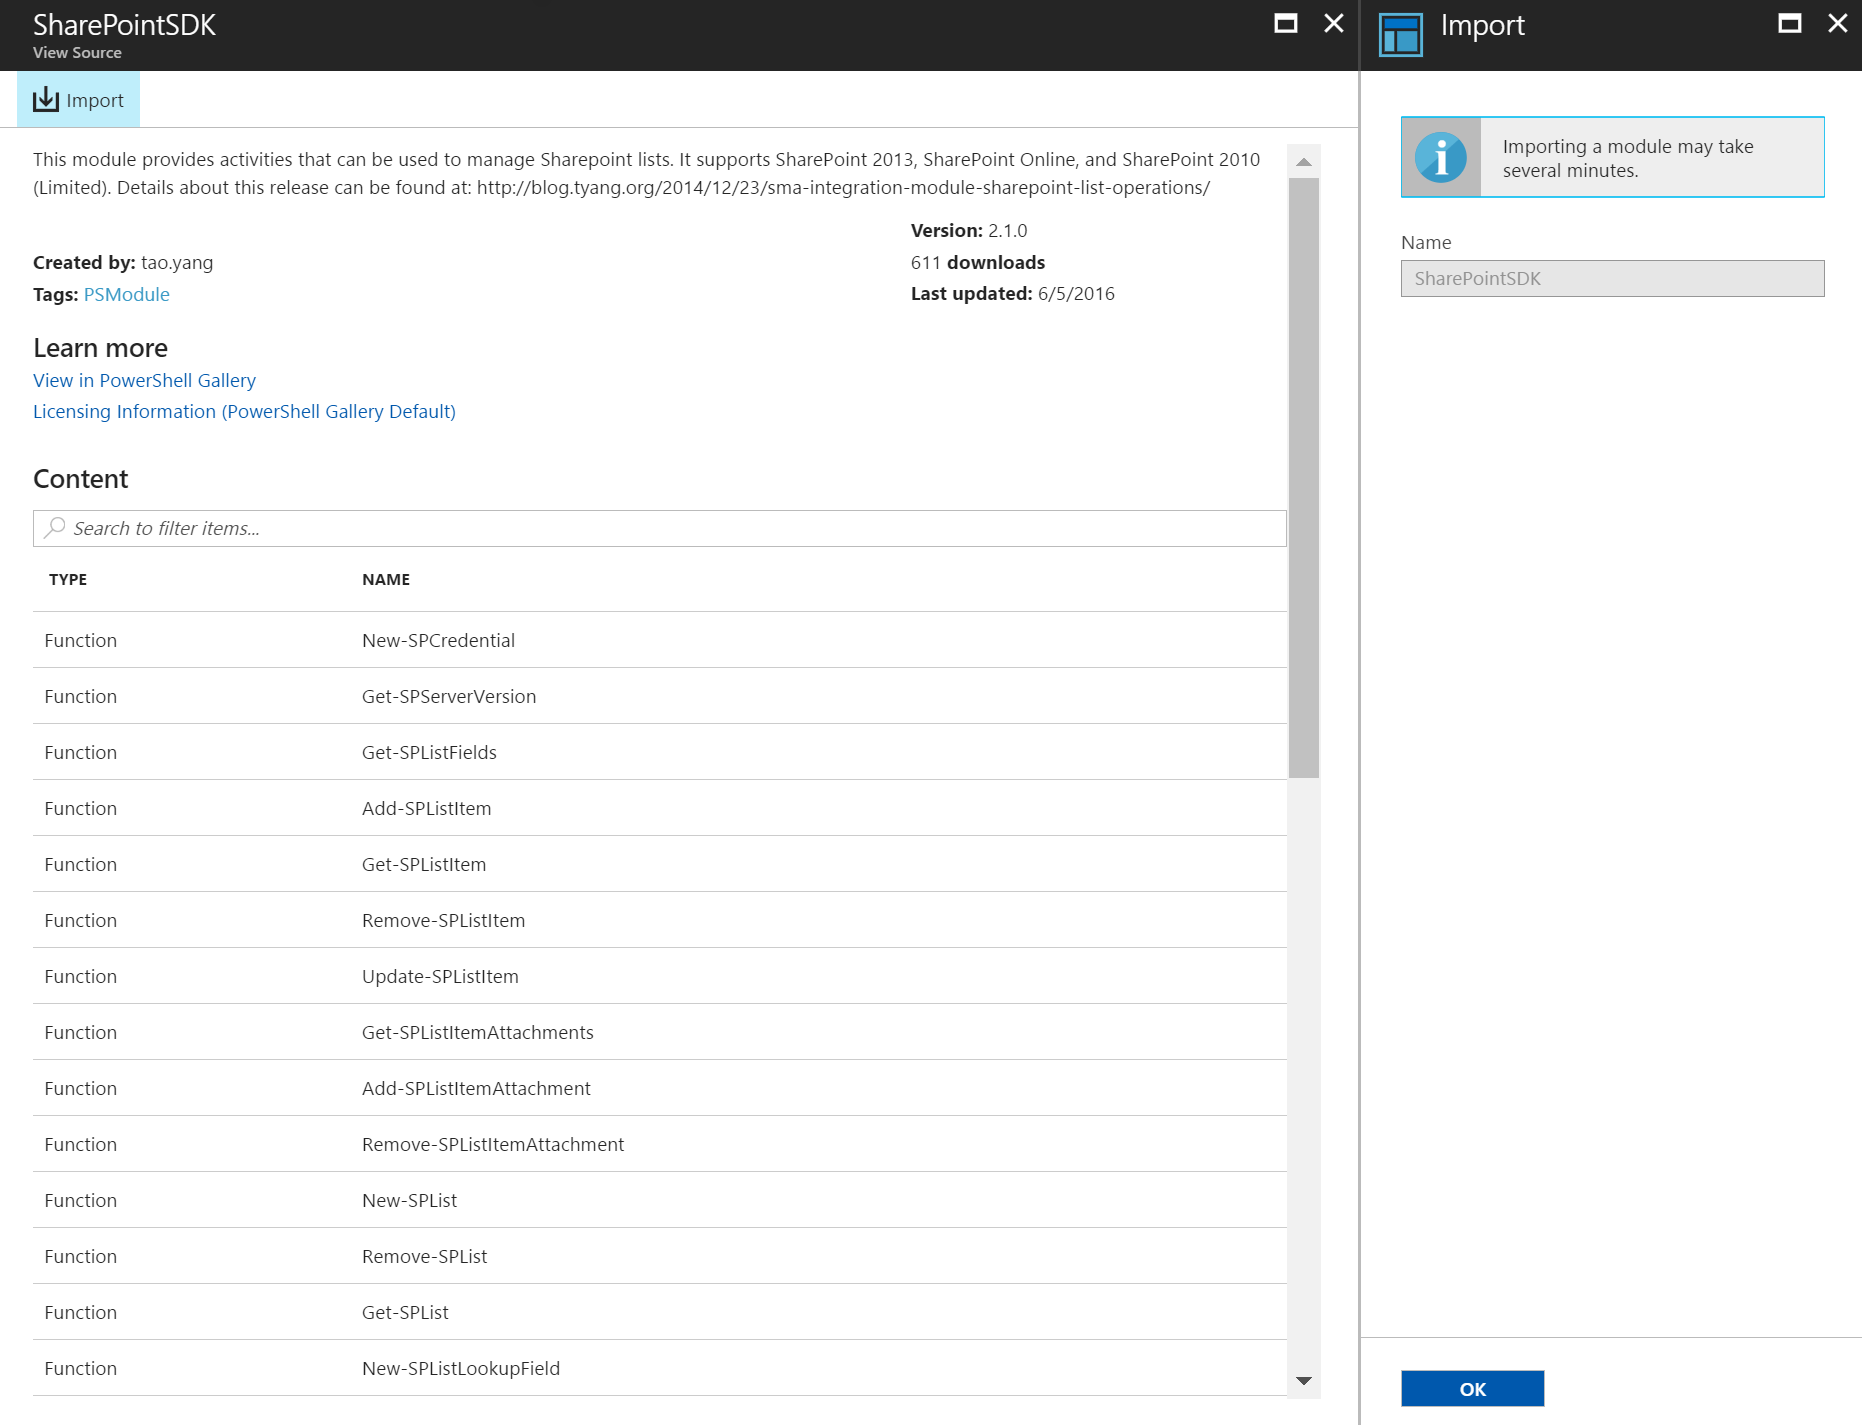
- Select 'Import' and click 'OK'
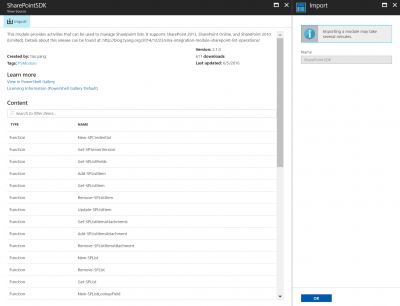
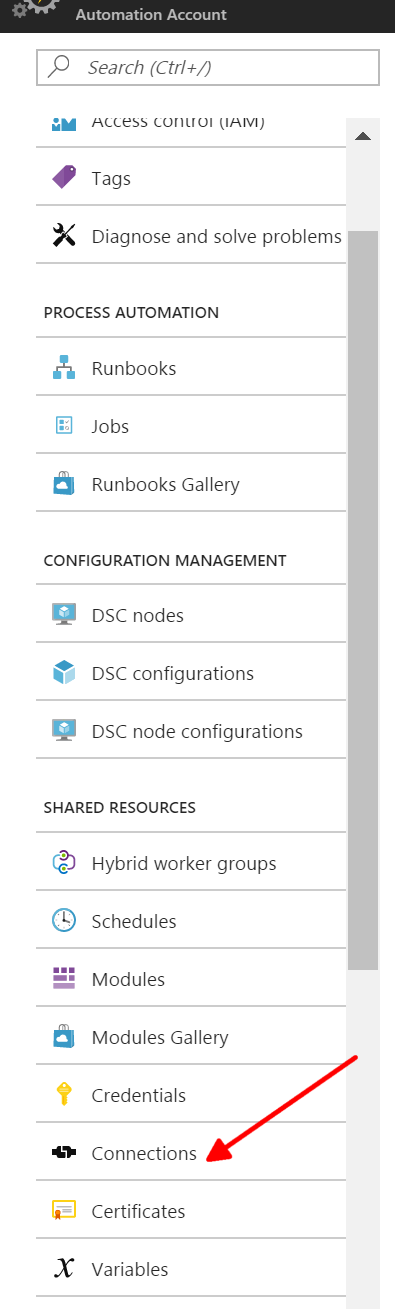
- Once that has finished installing we need to add a SharePoint connection.
Select 'Connections' from the 'SHARED RESOURCES' section of the Azure Automation blade.

- Click 'Add a Connection'
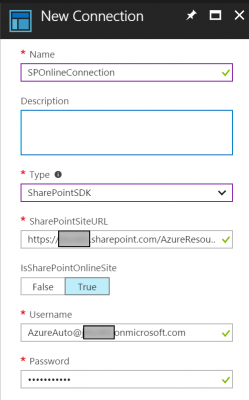
Give it a name, select 'SharePointSDK' as the Type.
Put the SharePoint Online site URL in and select 'True' for 'IsSharePointOnlineSite'
Enter the credentials to use to authenticate to the site. This user needs at least read access and cannot have MFA (Multifactor Authentication) enabled.
Click create.
- In your SharePoint Online site check you have enabled the required access for the account used in the previous step. For this tutorial I'm using azureauto@xxxxxx.onmicrosoft.com
- To use SharePoint Online Workflows to trigger Azure Automation Runbooks, create another SharePoint Online list called 'AzureWebHooks'.
This list will contain records for each list and the corresponding Webhook URL to call.
This allows for one reusable workflow to be created (details below) and then used on any required list to call different Runbooks and update any Webhook URLs without republishing the workflow each time.
At least the following columns are required -- ListName {Renamed Title Column} - 'Single line of text'
This will be the name of the list that will lookup a WebHook URL to use.
This should also have the 'Enforce unique values' option set to 'Yes' to ensure only one WebHookURL is returned when querying. - WebHookURL - 'Single line of text'
This is the Azure Automation Runbook Webhook URL and token provided when the Webhook is first created.
- ListName {Renamed Title Column} - 'Single line of text'
- To create the workflow you'll either need Visual Studio or SharePoint Designer 2013. For this post I'll use SharePoint Designer 2013.
Follow the directions in the first 2 sections from this post to get this up and running.- Open SharePoint Designer and connect to your SharePoint site.
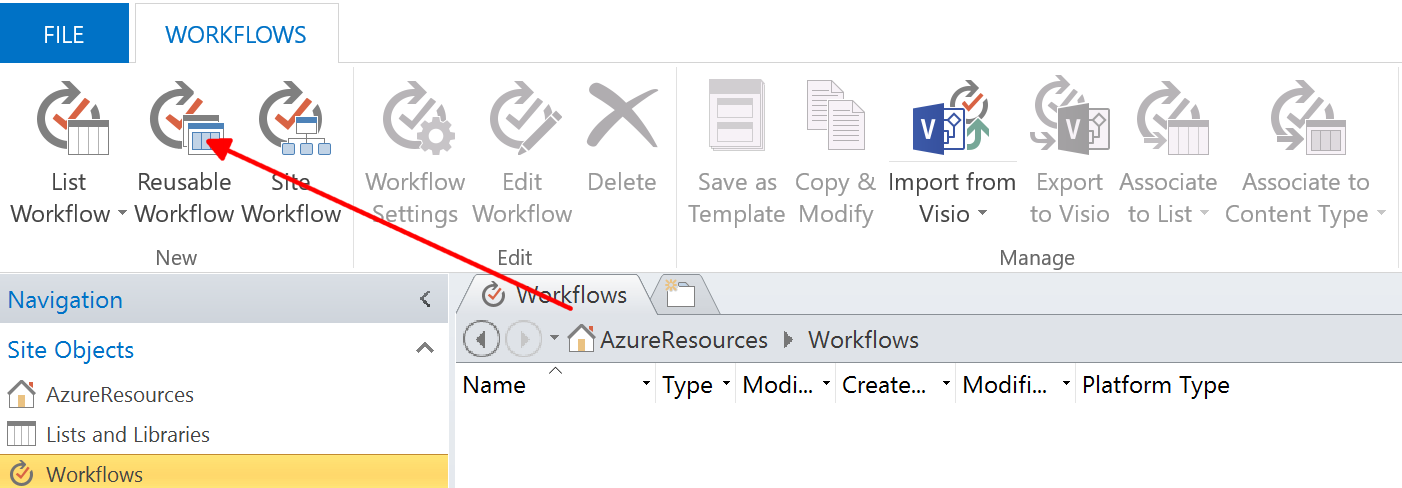
- Select Workflows from the Navigation pane
- Let's start creating the Workflow to use on any list we need to.
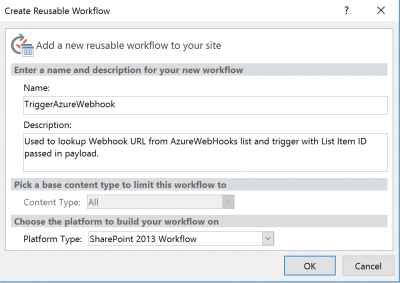
- Select 'Reusable Workflow' from the New menu.

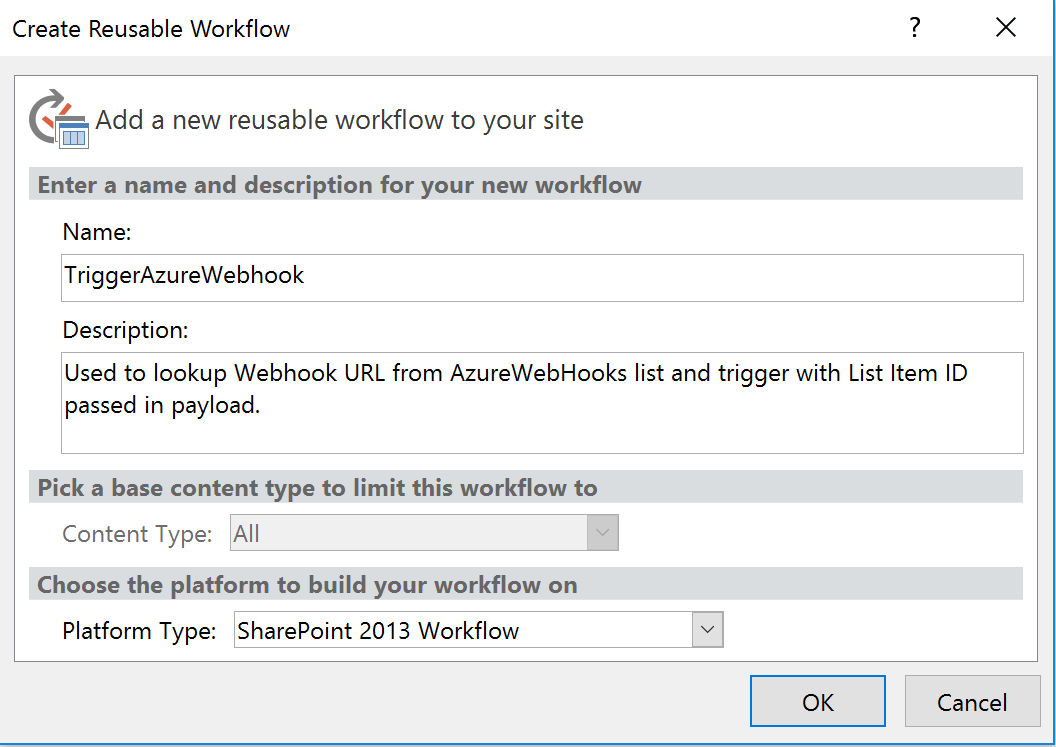
- Name the workflow and click OK
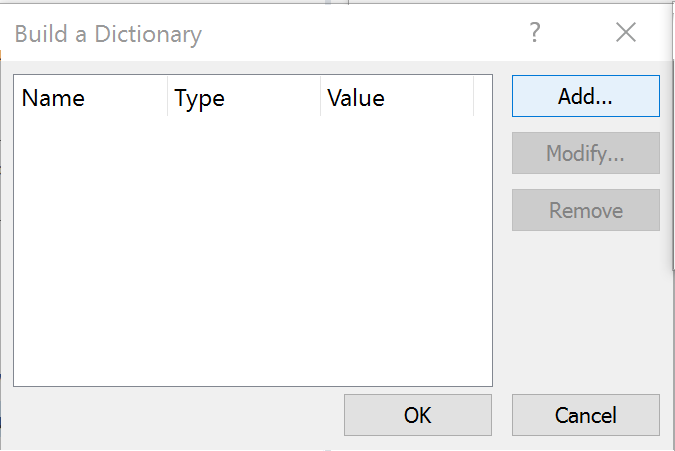
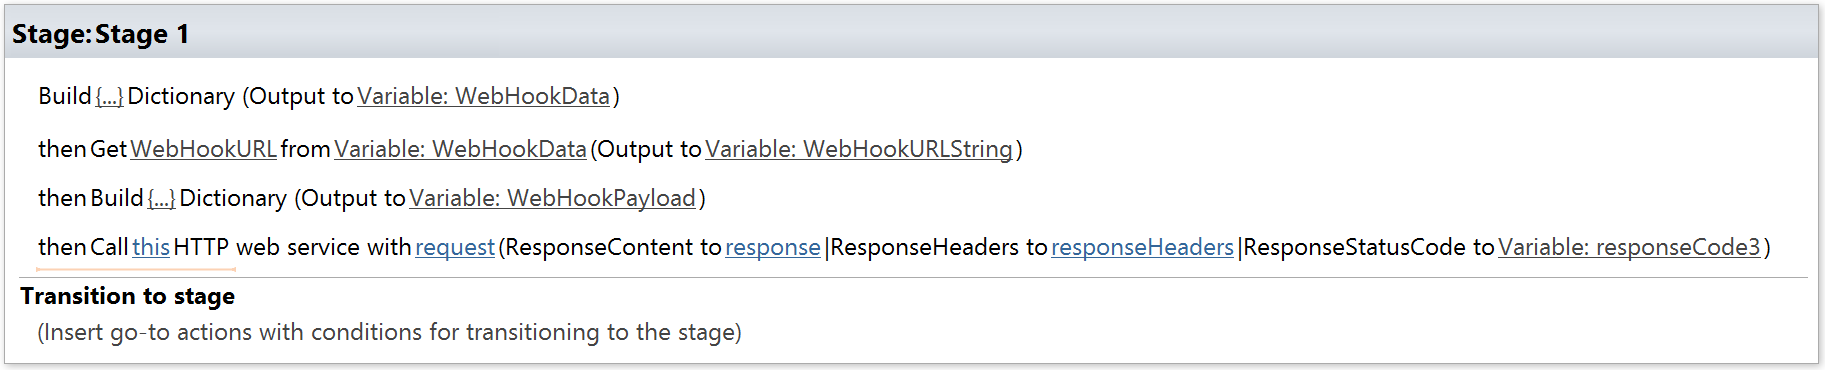
- Add a Build Dictionary action

- Click the 'this' shortcut next to Build and add a new string entry.

- Select Add
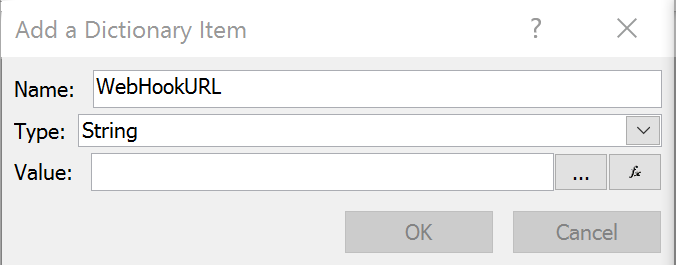
Enter WebHookURL for the Name and click the fx button next to the Value field
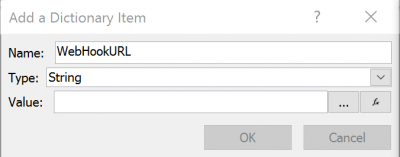
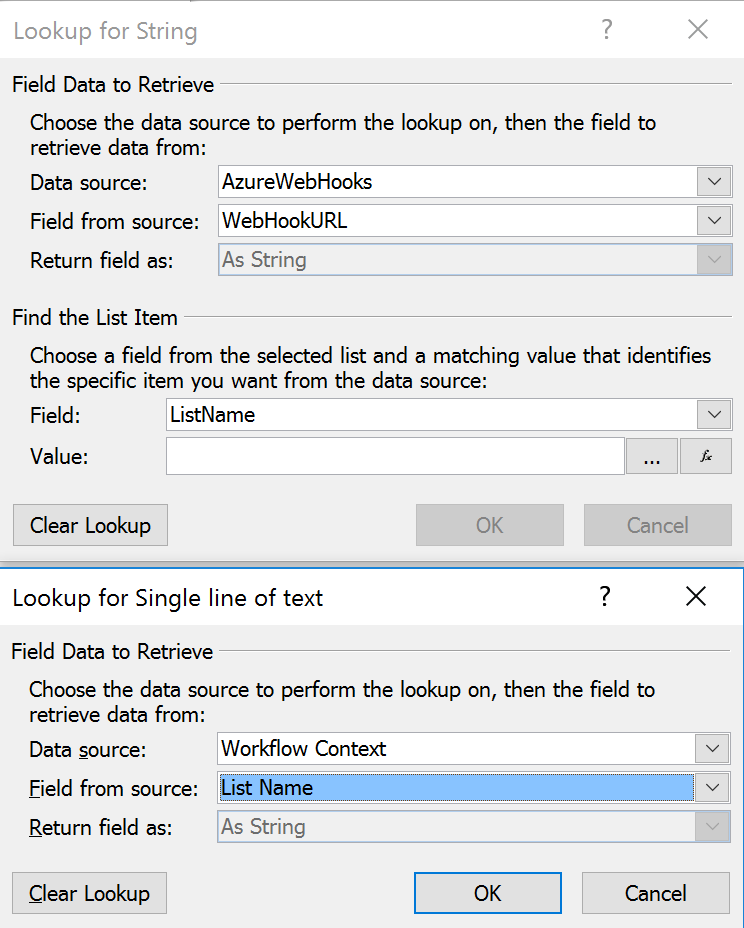
- Enter the required values to lookup the WebHookURL column from the AzureWebHooks list where the ListName column = the current ListName (obtained from the Workflow Context data source).
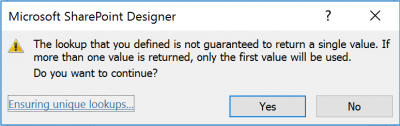
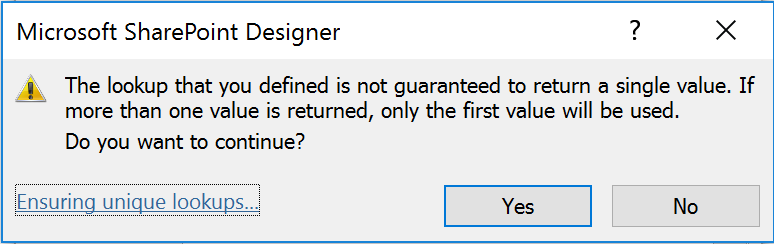
Click 'Yes' on the single value warning.

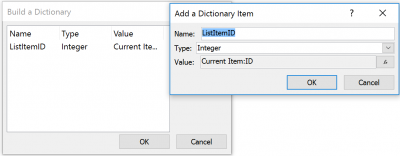
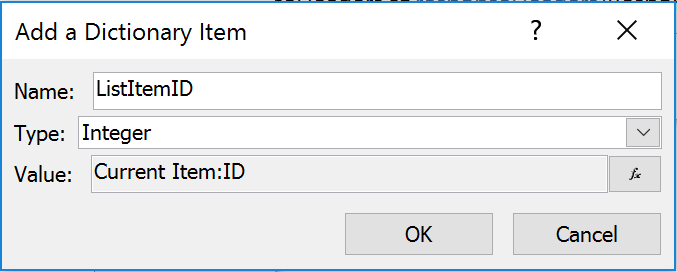
- Add a new Integer entry set to retrieve the current ListItem ID.
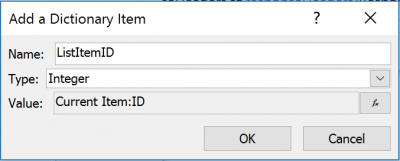
- Click OK to close the Dictionary entry window.
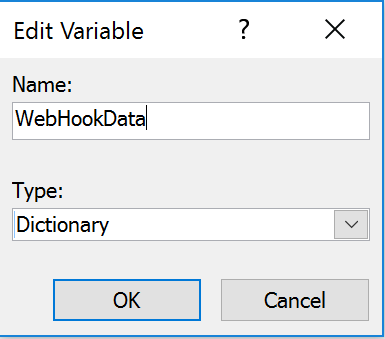
- Set the 'output to' variable to a new Dictionary named WebHookData
- Add a 'Get an Item from a Dictionary' action.
Update the Get field to 'WebHookURL', the variable to 'Variable: WebHookData' and the output to a new String variable called 'WebHookURLString'

- Add another 'Build Dictionary' action.
Add an entry called 'ListItemID' as Integer, set to obtain the value from the CurrentItem: ID field.
Add a string entry called ListName, set to obtain the value from the 'Workflow Context:List Name'
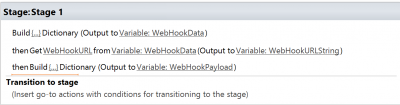

- Set the 'Output to' to a new dictionary called 'WebHookPayload'
- Add a 'Call HTTP Web Service' action

- Update the HTTP address to use the WebHookURL retrieved and set the Method to 'POST'

- Update the Request value to use the 'WebHookPayload' dictionary

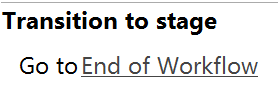
- Update the last 'Transition to a Stage' section to end the workflow.
- Select 'Reusable Workflow' from the New menu.
- That's it. Select Publish to save the Workload up to your SharePoint site.
- Now let's create a SharePoint Online list and Azure Automation runbook to test it out.
- Create a new Azure Automation Runbook. This blog give a simple walk through to get you started.

Give it a Name, select the Runbook type as 'PowerShell'
Click 'Create' - This will launch you into the Edit blade.
Here's the code you'll need.
Param ( [parameter(Mandatory=$false)] [object] $WebhookData ) # Collect properties of WebhookData $WebhookName = $WebhookData.WebhookName $WebhookHeaders = $WebhookData.RequestHeader $WebhookBody = $WebhookData.RequestBody # Collect individual headers. The information converted from JSON. $InputData = ConvertFrom-Json -InputObject $WebhookData.RequestBody Write-Output "Webhook Parameters passed -" foreach ($prop in $InputData.psobject.Properties) { $PropName = $($prop.Name) $PropValue = $($InputData.$PropName) Write-Output "`t$($prop.Name) : $($PropValue)" } #Retrieve the SharePoint Online List Item ID from the Input Data $SPOItemID = $null $SPOItemID = $InputData.ListItemID $SPOListName = $null $SPOListName = $InputData.ListName #Check we got a value if ($SPOItemID -ne $null -and $SPOListName -ne $null) { #Retrive the SharePointSDK Connection details $SPOConn = Get-AutomationConnection -Name 'SPOnlineConnection' #Get the List item from the Sharepoint Online List specified Input Data $SPOInfo = Get-SPListItem -SPConnection $SPOConn -ListName $SPOListName -ListItemId $SPOItemID #Output the Title column Write-Output "Title: $($SPOInfo.Title)" } else { Write-Output "No SharePoint info, Exiting" }This Runbook does the following- Defines a parameter to collect the Payload Webhook data
- Converts the payload from JSON into the component elements.
- Outputs all elements found in the Input Data
- Gets the ListItemID and ListName from the Input Data
- If there is actually SharePoint Data then
- Setup SharePoint Online connection details
- Retrieve the List Item from the List specified
- Output the Title of the record found
- Click 'Publish' to save the Runbook for use.
- Create a new Webhook for the SharePoint workflow to call.
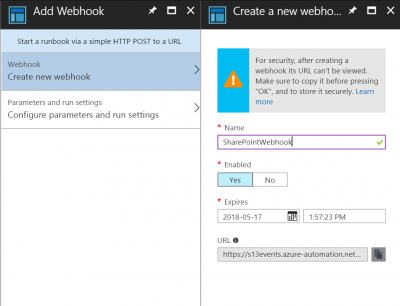
Copy the URL generated BEFORE clicking 'OK'
- Create a new Azure Automation Runbook. This blog give a simple walk through to get you started.
- Set up SharePoint Online
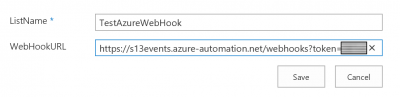
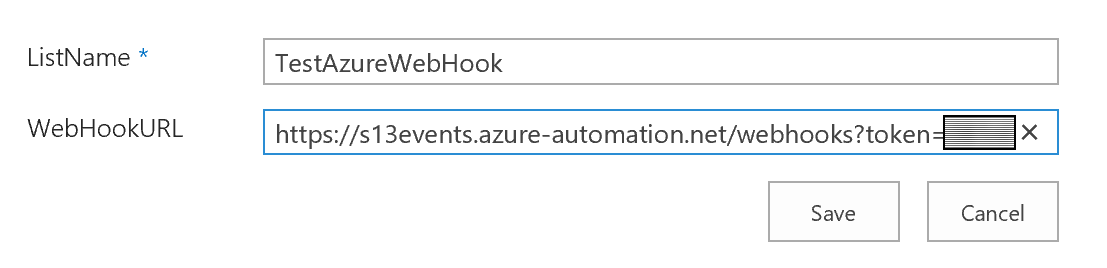
- Go back to the SharePoint list 'AzureWebHooks' created previously and add a record with this URL for a list called 'TestAzureWebHook'
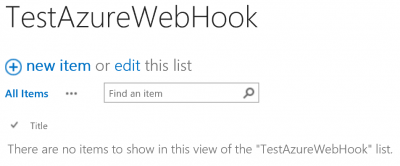
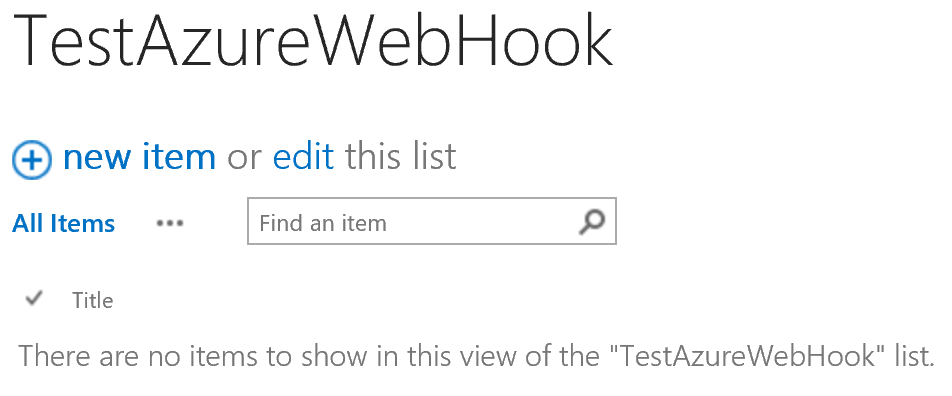
- Create a new SharePoint list called TestAzureWebHook.
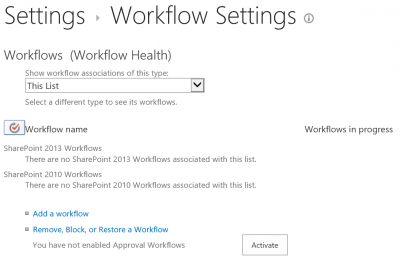
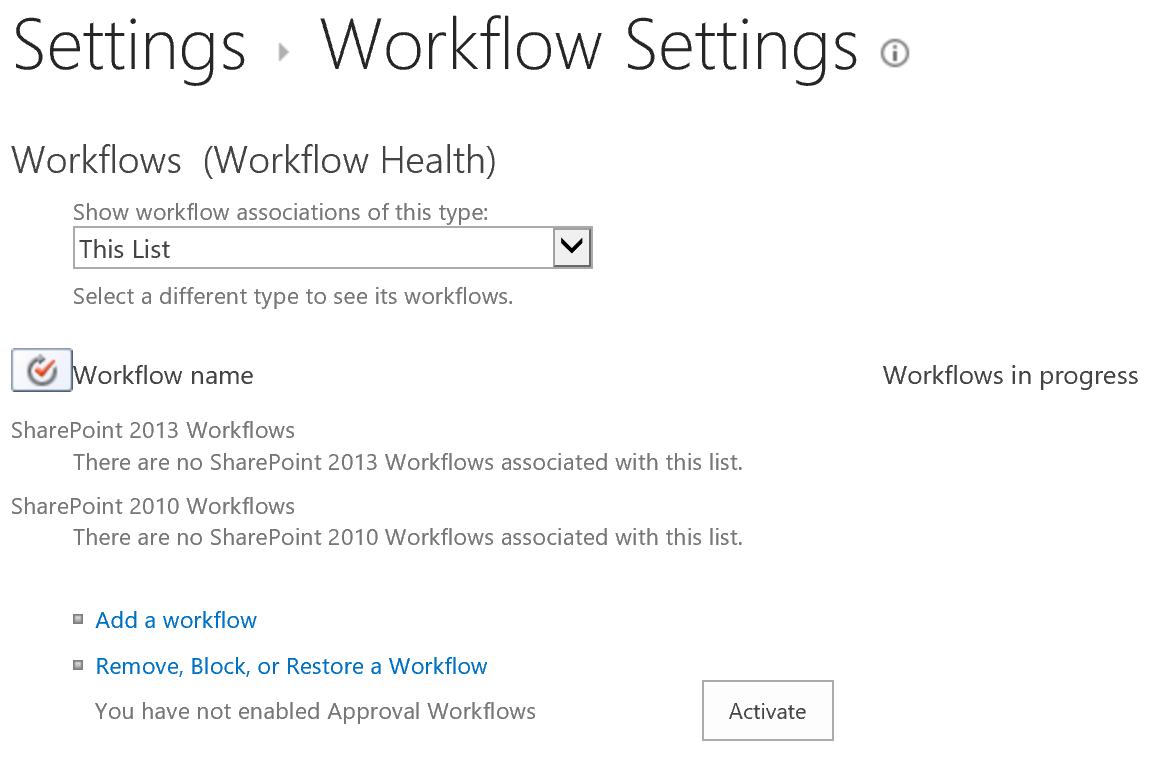
- Add the Reusable Workflow authored in SharePoint Designer to this list.
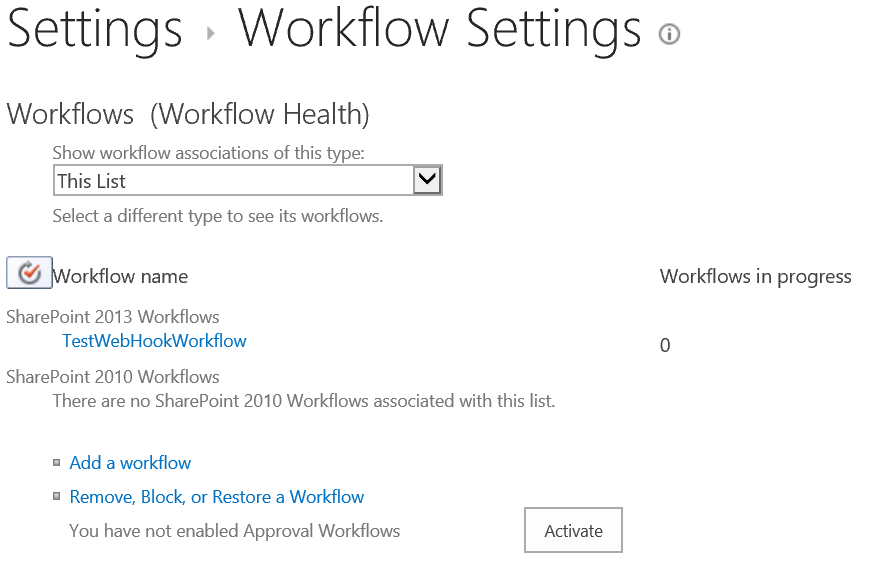
Select 'Workflow settings' from the 'Workflow Settings' dropdown in the 'List' Menu.

- Click 'Add a Workflow'
- Select the 'TriggerAzureWebHook' from the list.
Give it a Name and check the 2 boxes for 'Creating a new item' and 'Changing an item' at the bottom of the form.
Click OK.
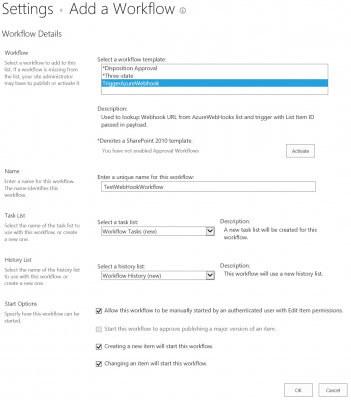
- Click the 'Activate' button.

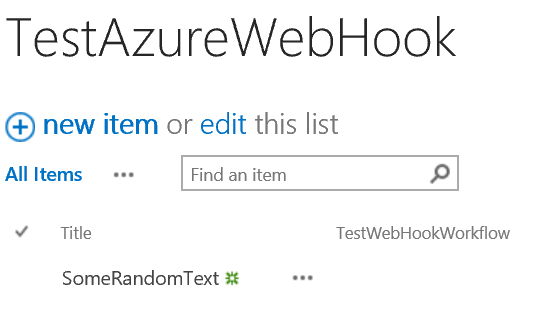
- Now go back to your list and add a new item to the list.

- Go back to the SharePoint list 'AzureWebHooks' created previously and add a record with this URL for a list called 'TestAzureWebHook'
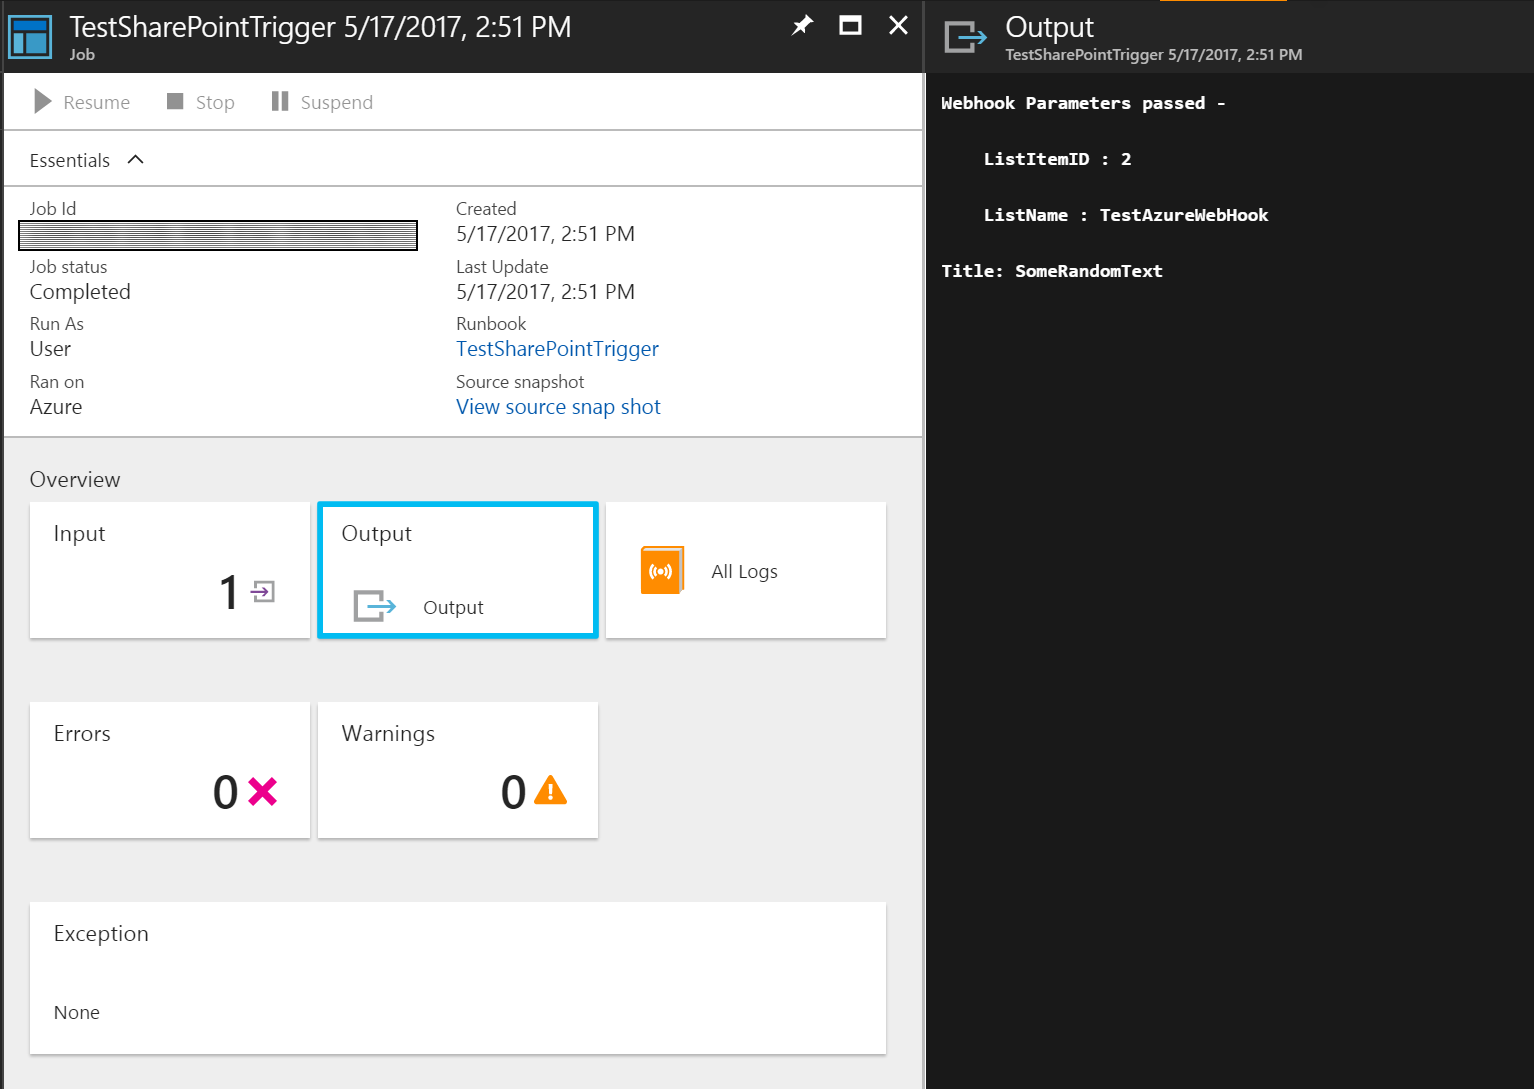
- Check out what's happened in Azure!
- Go back to the Azure Portal and look for a job that has been triggered.
Once the Job has completed the Output should look like this.

- Go back to the Azure Portal and look for a job that has been triggered.
- Install the module for Powershell by using the command
-


And that's it to get you started.
I'll be adding more blog posts with more advanced uses of this setup so stay tuned!