How to Copy an Assembly From the GAC to the File System
Sometimes you need a local copy of an assembly from the GAC and here is a quick tip on how to do it. The GAC can be found in the c:\windows\assembly directory, but if you try to browse it, the following custom shell extension appears:
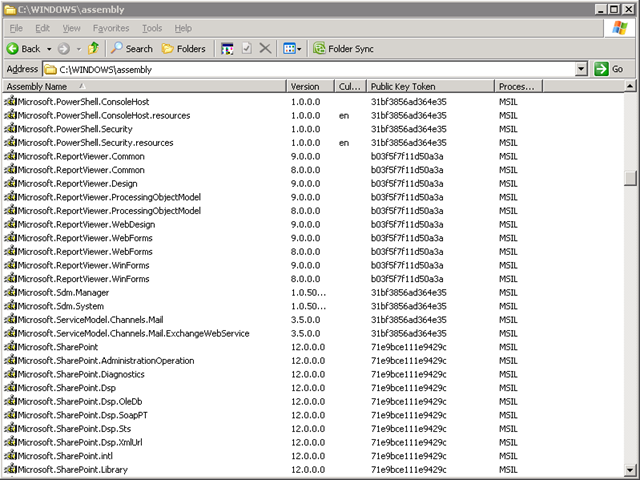
This view does not provide the ability to copy assemblies, but it does provide some very useful information such as the strong name details. Here are some options to get around that feature to copy an assembly from the GAC.
Option 1: Disable the Shell Extension in the Registry
One possibility, but not the best one, is to disable the shell extension. I don't like this approach because it involves editing the registry and I like the information provided by the shell extension. Here's how to disable the extension if you want to. Open the registry editor and add/set the HKLM\Software\Microsoft\Fusion\DisableCacheViewer DWORD value:

Set the value to 1:
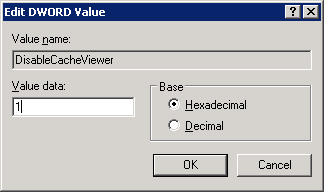
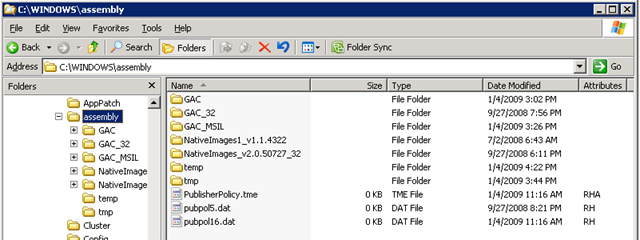
Once you make that change, you can browse the directory:
Option 2: Go Command-O
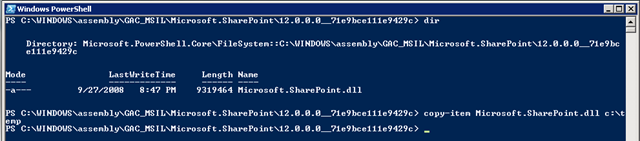
Another option is to copy assemblies from the GAC from the command line. This approach works well if you prefer working from the command line, but if you like to right-click with a mouse, this might not be the choice for you.
I highly recommend PowerShell, but you can use Windows Command Prompt. Find your way to the c:\windows\assembly directory and copy the file you need:
Option 3: Use the SUBST Command
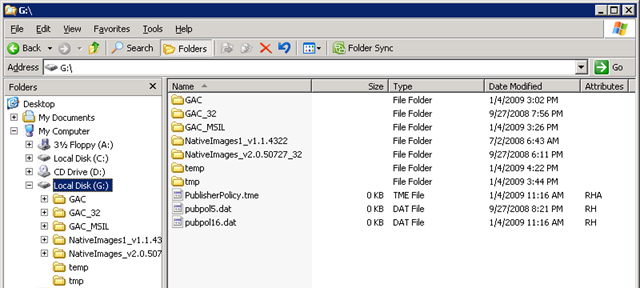
The SUBST command allows you to create a shortcut to a path on your file system and assigns that shortcut a drive letter. I really like this approach because you have the option of using Windows Explorer without having to disable the shell.
Suppose you want to create a G Drive (G for GAC), use the following command: SUBST G: C:\WINDOWS\ASSEMBLY

Then in Windows Explorer you are free to double-click and right-click to your heart's content and still use the shell extension.