Using Bing queries in your Windows Store app
I was working on a Windows Store app (as I usually am between 9am to 5pm) and I wanted to make use of a web service (Bing, of course) to provide me with an image given some keywords. You don't need to know why, just believe me. I'm not making this up under the pretext of a blog entry. I really did need to do this.
Anyway, I had a hard time sifting through the various articles and samples online and getting a Bing API sample that worked for Windows Store apps. The Bing API has undergone at least one revision, and now a change in home, so there was a lot of out-of-date stuff out on the web. Here's my attempt at righting that wrong.
This exciting blog entry is therefore mostly some C# code that will return a random picture of a kitten for you, on demand. It's what the internet pioneers would have wanted.
Before we begin
Before we get started, you will need to get an account set up on the Windows Azure site. The Bing API is now part of Azure, so go here to create an account. It won’t cost you anything to experiment, and if you keep to under 5000 queries a month. You will need to provide credit card details to confirm your ID but you will not get any surprise bills - you always need to opt in to a payment plan. Don't be scared. Follow the links to “Free Trial” to get started. Try to resist the other amazing features they have just until we finish this tutorial, ok? Then come back and go nuts.
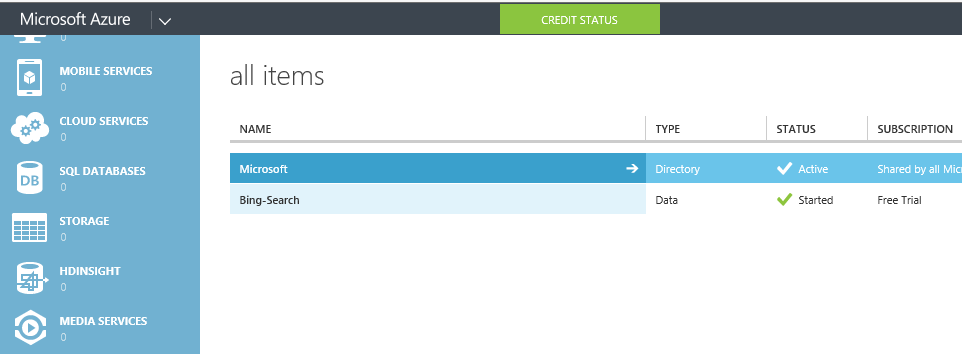
You can then go to the Add-Ons section, and add-on Bing-Search.

At this point the Azure site very kindly offers you some sample code in the form of a proxy class. You don’t need to use this code, and in fact, at the moment it looks very much as if this code is not compatible with Windows Store Apps. So ignore it.
What is important is the Account Key that you are given: the unique string you must send as part of your Bing query. Make a note of it, and treat it as private. Do not print it on t-shirts.
Ask Bing
To send the query to Bing, I’m going to use the (new-ish) HttpClient APIs, as they simplify things a lot. The trickiest part is constructing the correct URL, as it must include all the magic spells to tell Bing what you are looking for (in this case: images), what you are not looking for (NSFW images!) and how many you want.
You also get to specify what format you want the results to be in (I’m going for JSON), and then you can fire off the query, and get on with your life (because it’s all done with async/await so don’t need to worry about waiting around for the reply).
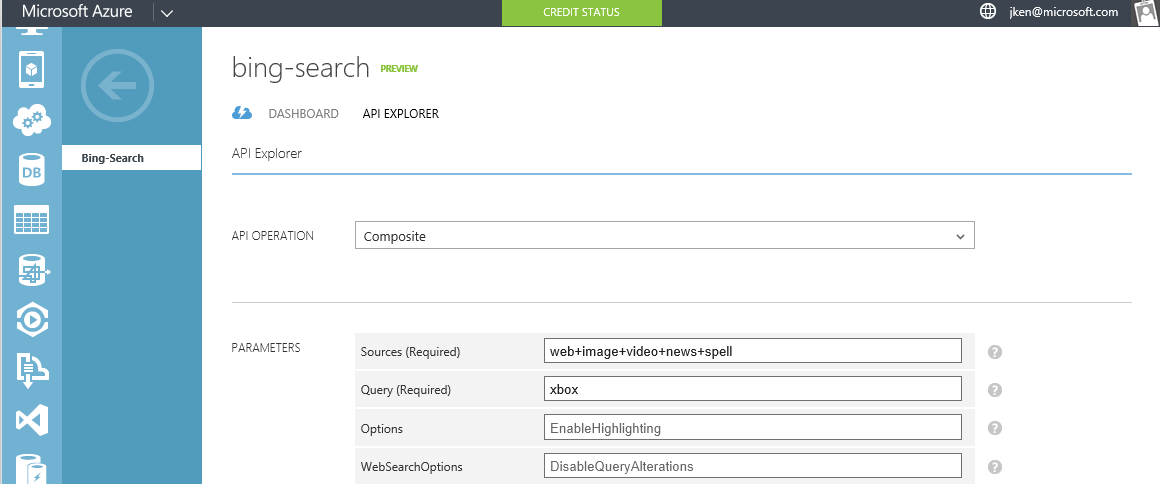
The Bing search “API Explorer” page on the Azure site will help you assemble the query, and even try it out for you:
Now for the good part. Here’s the C# code I use to send off the query string and wait for the response. Obviously you’ll have to use your own Azure AppID code which you obtained earlier.
public async Task<string> BingQuery(string query)
{
using (var client = new HttpClient(new HttpClientHandler(), true))
{
var bingKey = "<your Azure ID code goes here>";
var authentication = string.Format("{0}:{1}", string.Empty, bingKey);
var encodedKey = Convert.ToBase64String(Encoding.UTF8.GetBytes(authentication));
client.DefaultRequestHeaders.Authorization = new AuthenticationHeaderValue("Basic", encodedKey);
string query = string.Format("https://api.datamarket.azure.com/Data.ashx/Bing/Search/v1/Image?Query=%27{0}%27&Adult=%27strict%27&$top=3&$format=JSON", query);
var data = await client.GetStringAsync(query);
// Time passes. Thorin sits down and sings about gold.
return data.ToString();
}
Assuming you have your AppID correct, have no typos in the query string, and your system is connected to the internet, and the Internet Gods are smiling on you, then after calling this method you should get back a string of JSON in next to no time.
Ok, Bing replied. Now what?
If you opted for a JSON format reply, you’ll know what comes next: parsing.
It turns out, once you know what you are looking for, even this isn't so tricky. I used Windows.Data.JSON to do the work for me, because.. well, because it just works.
Let’s assume you would like a XAML Image object you created to display the first picture that your Bing query returns. For that to happen, you need to set the XAML Image’s source to a BitmapImage.
Here’s my code which processes the JSON string, finds the first image, and then turns it into a suitable Bitmap:
private BitmapImage GetImageFromSearch(string jsondata)
{
JsonObject jsonObject = JsonObject.Parse(jsondata);
JsonArray jsonResults = jsonObject["d"].GetObject()["results"].GetArray();
string myImage = jsonResults[0].GetObject()["MediaUrl"].GetString();
return BitmapFromString(myImage);
}
private BitmapImage BitmapFromString(string myImage)
{
BitmapImage bitmapImage = new BitmapImage();
bitmapImage.UriSource = new Uri(myImage);
return bitmapImage;
}
I found the best way to know what I was looking for in the JSON return data was to put a breakpoint in the code so I could examine it, and then using the little Magnifying Glass icon that appears when you hover over jsondata and selecting the JSON preview. Visual Studio is cool.
So, given a XAML Image with x:Name=”myPicture” , you can then use the code like this:
private async void UpdateRelaxingPicture()
{
myPicture.Source = ProcessSearch(await BingQuery("fluffy kittens"));
}
..and your app will display some kittens (or at least, I really, really hope it does.. Search results can be.. um.. unpredictable!).
Tricks with string
While I was playing with parsing the Bing results string, I captured one set of results and simply used that over and over again, rather than use up my quota of free web queries. To do that I needed to store a string in my app, and after messing around with the ms-appx stuff, I found a much better way: Resources.
Here's how to add them to your code:
- Create a folder in your Solution called “strings”
- Create a subfolder called “en-US” (or whatever your default system language is; try this first)
- Under this folder, select Add > New Item > Resources File (.resw)
- Keep the default name.
Add your strings to this resource file, giving each a name (so you can reference them later) and a comment (so you can remember why you created them in a month’s time).
Mine ended up looking like this:

The amazing part is that obtaining the string is now ridiculously easy, and is done like this:
string FakeSearch()
{
var loader = new Windows.ApplicationModel.Resources.ResourceLoader();
return loader.GetString("SearchResults");
}
All I did was paste my search result into the Resource file, and called this when I needed a result. Sped up development quite a bit!
Conclusion
What a roller coaster of a blog! We laughed at setting up an Azure account, cried at making our own Bing query, swooned at using httpClient to get results asynchronously and then stamped our feet and cheered when it came to some JSON processing. And all topped off with some string Resource tips! I think I need to go have a lie down..