How to create a "floating" toolbar in OneNote
Gary Neitzke took a few minutes to create a draft of how to create a "floating toolbar" with your addins for OneNote. This is the tecnique he used for the image rotator.
I keep putting "floating toolbar" in quotes for a reason. This really isn't a toolbar, and it can't be docked like normal toolbars. It's a great simulation of one, though, and gives you much more flexibility than the single click event exposed in the OneNote API.
If you try this out and hit problems, let me know. This is still in draft form so there may be a few hitches here and there.
-
- First you need to create a new C# Windows Application:
-
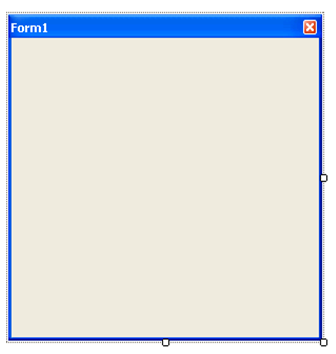
- Here is what you should have now:
-
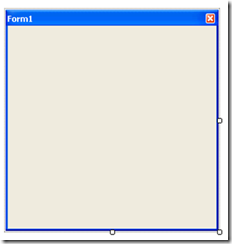
- Next set your form FormBorderStyle to "FixedToolWindow"
-
- You should now look like this:
-
- Next create a set of buttons, for this example I will create 4, in your application it may vary.
- Lay them out in a horizontal line
- Next create a set of buttons, for this example I will create 4, in your application it may vary.
-
- Now we need to set some properties for our buttons
- Set AutoSize to False
- Remove Text from all buttons
- Set size to 24,24
- Tip: To do the above options quickly just select all the buttons using crtl-click and modify the properties all at once
- Re position to make it more astetically pleasing to the eye
- Now we need to set some properties for our buttons
-
- Now we will clean up the form
- First selelect the formand change the "Text" property to "Demo Toolbar" this will set the title
- Now Resize the form to look better
- Now we will clean up the form
-
- Now we need to give our buttons some icons
- Select button
- Under Properties go to the image properties and add and image to each button
- I normally just browse and get one from the system
- Tip: An icon file will draw nicely with transparent backgrounds
- I normally just browse and get one from the system
- Now we need to give our buttons some icons
-
- But as we know no button is complete without… tooltips
- Below is the sample code for adding tooltips (also included in the source)
- But as we know no button is complete without… tooltips
public DemoForm()
{
InitializeComponent();
initToolTip();
this.Focus();
}
private void initToolTip()
{
ToolTip toolTips = new ToolTip();
toolTips.AutoPopDelay = 1000;
toolTips.InitialDelay = 1000;
toolTips.ReshowDelay = 500;
toolTips.ShowAlways = true;
toolTips.SetToolTip(this.button1, "This is Button 1");
toolTips.SetToolTip(this.button2, "This is Button 2");
toolTips.SetToolTip(this.button3, "This is Button 3");
toolTips.SetToolTip(this.button4, "This is Button 4");
}
-
- Now we can run our toolbar and we will have something like this:
-
- And as you can see the tooltips work if you hover.
-
- Now go ahead and add some code for the buttons click event and you will have this:
-
- For all of you who don't want to want to read the instructions go ahead and grab the source code :-)
- At this point to continue creating a powertoy you can grab the instructions from Dan Escapa's How to create a toolbar addin for OneNote
Tip:
-
- To make sure the toolbar is always on top I recommend you use the SetWindowPos() function provided by the windows api.s
- Example Code:
Called from your form during Form Load event
Call:
SetWindowPos(this.Handle, new IntPtr(-1), Location.X, Location.Y, Size.Width, Size.Height, 0);
Function:
/// <summary>
/// </summary>
/// <param name="hWnd"></param>
/// <param name="hWndInsertAfter">-1 Stands for TopMost</param>
/// <param name="X"></param>
/// <param name="Y"></param>
/// <param name="cx"></param>
/// <param name="cy"></param>
/// <param name="uFlags"></param>
/// <returns></returns>
[DllImport("user32.dll")]
internal static extern bool SetWindowPos(IntPtr hWnd, IntPtr hWndInsertAfter, int X,
int Y, int cx, int cy, uint uFlags);
That's it!
Questions, comments, concerns and criticisms always welcome,
John