Azure Skittles Part 2
Last time, we did all the setup work necessary to get our Azure Skittles project up and running. This time, we will jump into Visual Studio .NET and get our service up and running.
Creating the Project
In order to debug an Azure application locally, you must run VS2K10 with elevated privileges. CTRL+SHIFT+CLICK on the VS2K10 Icon from the task bar or right-click->Run As Administrator from the start menu.
Once the devenv has started up, choose File->New->Project … Then, select “Cloud” on the left hand side. Give your project a name and location and hit OK.
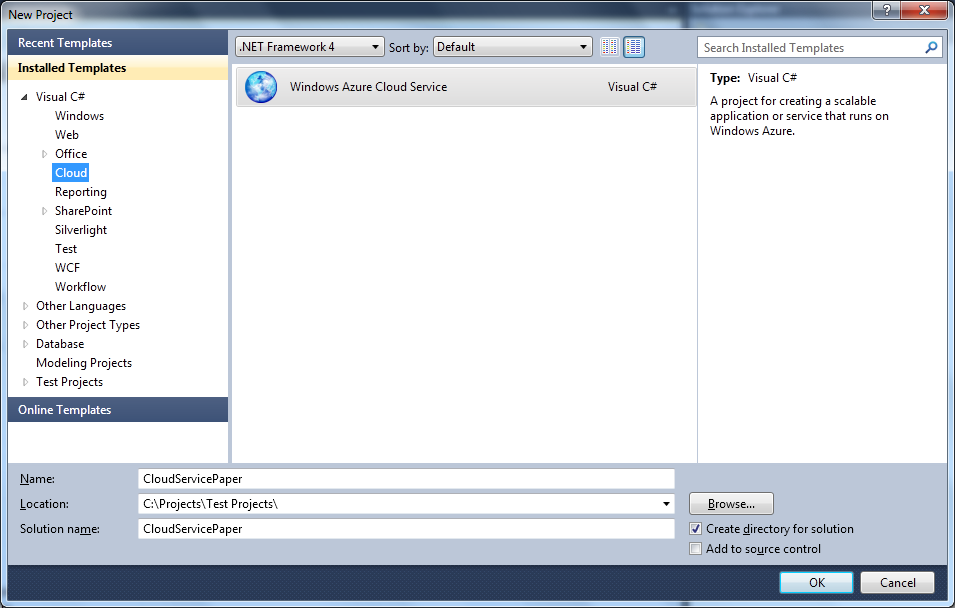
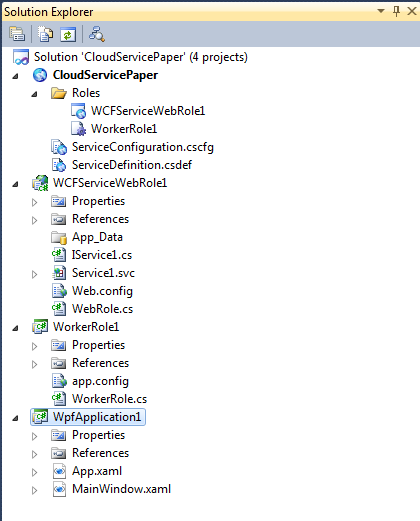
You will be greeted with the option to add roles to your project. This can be done now or once the solution is created. We will do it now. Add a WCF Web Role and a Worker Role:

Once you get the solution, add a WPF Application that we will use to drive our service. (Exercise left to reader.) And viola! We have a solution.
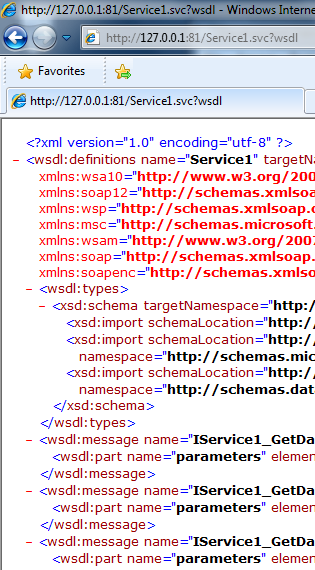
Make sure the Cloud Service project is the default starup project and start debugging (or right-click on the project and choose Debug->Start New Instance) . You should get a build, and VS will kick off the Browser. It will browse to port 81 on the localhost. You should be able to get the WSDL of our Web Role service (https://127.0.0.1:81/Service1.svc?wsdl).
w00t! We have a service. Now check out the Development Fabric UI (right-click on the Development Fabric icon in the Notification Area and choose Show Development Fabric UI). You will see that we have WCFServiceWebRole1 and WorkerRole1 running in the Development Fabric.
In Part 3, we will create our various roles and start feeding them data.