Step-by-step Introduction to LINQ to SQL
Here I’ll give you a quick introduction to LINQ using Visual Studio 2008. Click here to learn more about LINQ in general, otherwise download a 90-day trial Visual Studio 2008 (if you are a student you can download the professional edition for FREE) and fire it up!
First we will look at some very basic LINQ to SQL query using code and the “Linq Relational Designer”, and then we’ll do another example to show you a code/query-free way of doing the same thing using the LinqDataSource.
Linq to SQL (via code and Object Relational Designer)
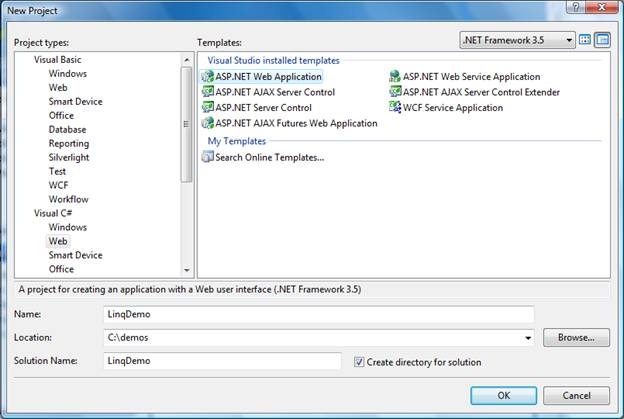
1. Open Visual Studio 2008 and create a new ASP.NET Web Application (here I’m using C#, but you could just as easily use VB.NET)
a. File-->New-->Project-->Visual C#/Web-->ASP.NET Web Application
Once the project is loaded, we need to first add a database to the project (I am assume that you have SQL Server 2005 Express Edition installed and running… it should have installed with Visual Studio 2008 by default, unless you selected otherwise).
Now I’ll walk you through creating a sample database for this example or use your own existing database for the rest of this example.
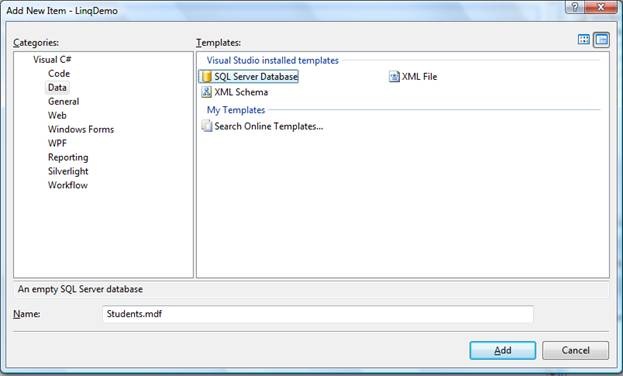
2. Right-click the “App_Data” folder and select Add-->New Item
3. Once the Add New Item windows opens select Data/SQL Server Database and name it Students.mdf as follows:
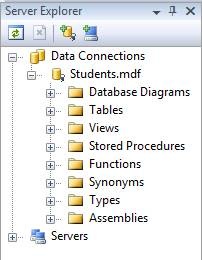
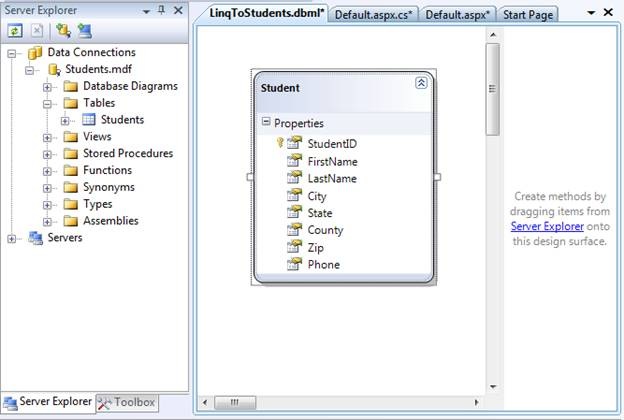
You should now be able to view you database in the “Server Explorer” window as it is below. Now we can start creating your database.
4. Right-click Tables and select Add New Table.
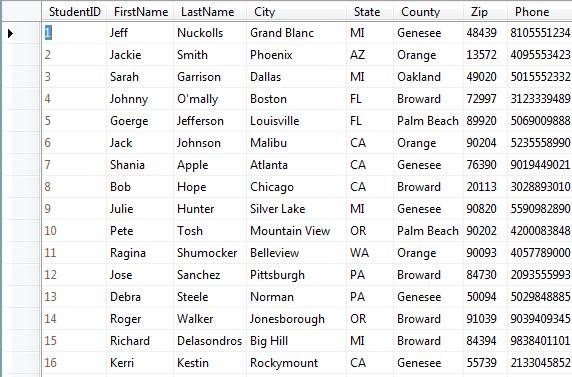
5. Define your columns as follows, be sure to make the StudentID column as an Identity field incrementing by 1.

6. Save your new table as “Students” and then populate it with some fictitious data…
Now we can add a Linq to SQL Class…
7. From Solution Explorer, right-click you LinqDemo web application and select Add-->New Item-->Linq to SQL Classes
8. Name it LinqToStudents.dbml and click Add.
9. The Object Relational Designer should open.
10. From Server Explorer, drag and drop you Students table that you just created into the left pane of your designer surface. It should appear as follows:
11. Save All and Build for good measure…
12. Back to the Default.aspx page let’s Drag and Drop a DataGrid server control from the Toolbox on to Designer View. (auto format it if you want, but don’t configure any datasources at this time).
13. Right-click anywhere on the Default.aspx page and select “View Code”, this should open the Default.aspx.cs class file.
14. Add the following code to the Page_Load event.
LinqToStudentsDataContext linqStud = new LinqToStudentsDataContext(); var allstudents = from stud in linqStud.Students where stud.StudentID != null select stud; GridView1.DataSource = allstudents;GridView1.DataBind(); |
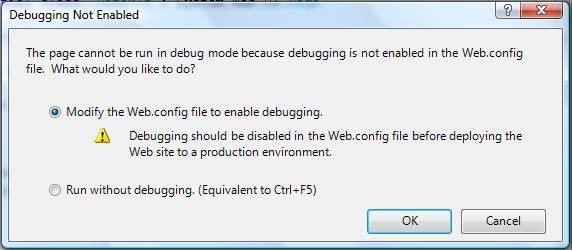
15. Now you can click F5 (to run in Debug mode) or Ctrl + F5 (to run without the debugger), if you just click F5 for the first time you might get the following Information Windows letting you know that its modifying the Web.config file for you to allow debugging. Just click OK.
Your application should start up in Internet Explorer and display all of the data from your Students database table in the GridView control.
Albeit a basic example, you have just completed your first Linq To SQL application. CONGRATZ!
Linq to SQL (via code and Object Relational Designer)
Now that we did it the “hard” way (not really), let’s take a look at an even easier way to Linq our GridView control to a SQL table.
1. Using the same project and Default.aspx page in the previous example. Let’s first DELETE all the code you just added to the Page_Load event of the Default.aspx.cs class file and then Save and Close that file.
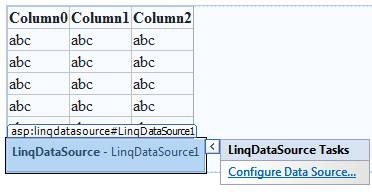
2. From your Toolbox, drag and drop the LinqDataSource server control (under Data) anywhere onto the Designer View of your Default.aspx page.
3. You can now select “Configure Data Source” from the LinqDataSource you just added as follows:
4. Once the “Configure Data Source” window appears you can the LinqDemo.LinqToStudentsDataContext option from the “Chose your context object” dropdown, and select Next.
5. On the next screen, just accept the defaults and click Finish.
Back to the Default.aspx Designer View… now we can bind the GridView to our newly created LinqDataSource.
6. Select “LinqDataSource1” from the Chose Data Source dropdown list of your GridView control as follows:

7. Save and Run (F5)
Internet Explorer should open and display data from your database if everything was wired up successfully.