Microsoft Platform Ready Test Tool - Windows Azure Edition
This is a guide for testing Windows Azure and SQL Azure readiness with the MPR testing tool. However, you may also use the Microsoft Platform Ready (MPR) Test Tool you can test the following applications:
- Windows® 7
- Windows Server® 2008 R2
- Microsoft® SQL Server® 2008 R2
- Microsoft Dynamics™ 2011
- Microsoft Exchange 2010 + Microsoft Lync™ 2010
This guide outlines the steps for using the Microsoft Platform Ready (MPR) Test Tool to verify a Windows Azure and SQL Azure application.
1. Download the MPR Test Toolkit
The MPR Test Toolkit is available from the www.microsoftplatformready.com Web site. You must first sign up to access the MPR Test Toolkit.
After you have successfully registered the application(s) you want to test, you will see the MPR Test Toolkit located on the Test tab as seen in figure 1.1.
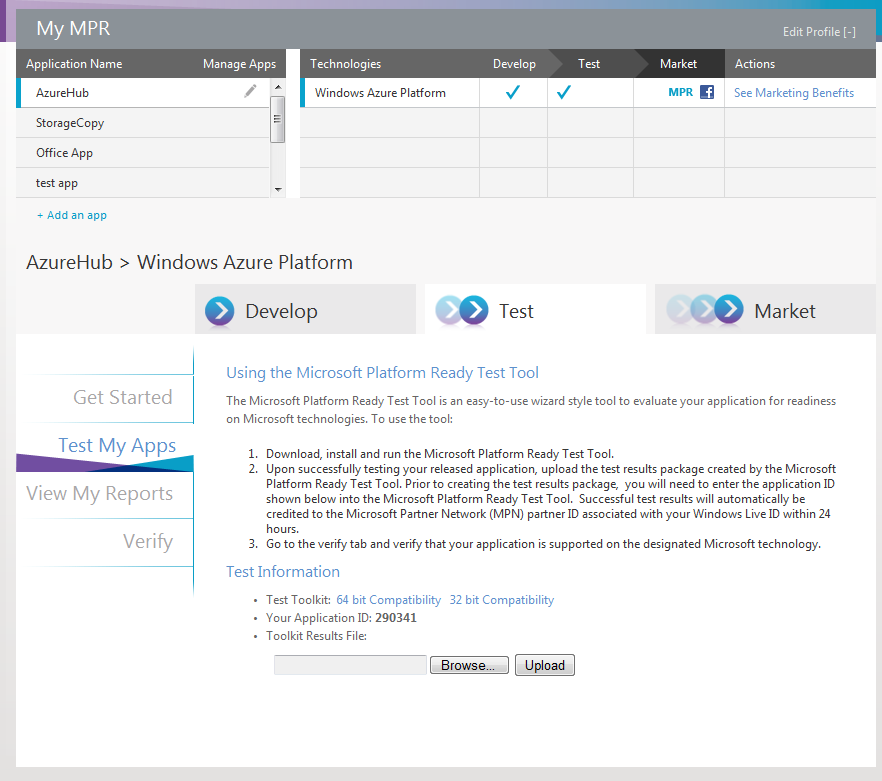
Figure 1.1: MPR Test Tool download location
2. Start the MPR Test Toolkit
After you have successfully installed the MPR Test Toolkit you will see shortcuts to start the MPR Test Toolkit available on the Start menu and on the Desktop.
3. Select an operation
Once you have started the MPR Test Tool, you can either start a new test, resume a previous test or create reports. The options are shown in figure 1.2.
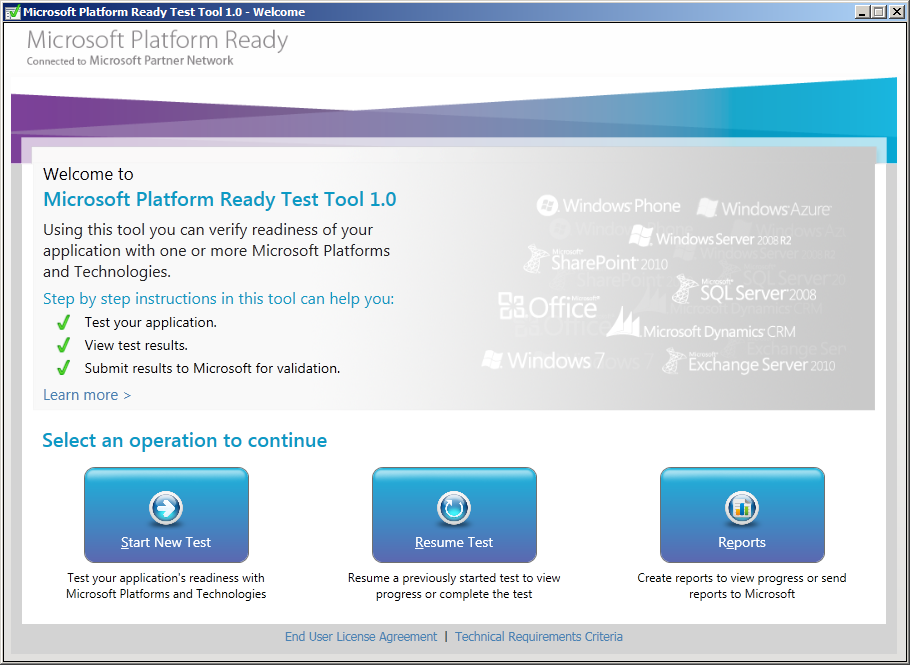
Figure 1.2: MPR Test Tool options
4. Start a new test
Click Start New Test to choose the type of platform you want to test as shown in figure 1.3.
If your application utilizes several platforms, you can select all of the platforms used on this screen. This guide will focus on Windows Azure and SQL Azure.
At this point, name your test by entering a name in the Test Name textbox. The name of the test should match the name you specified when you registered your application on the MPR Web site.

Figure 1.3: Name your test and select the platform(s) to test
5. Enter server information
On the next screen click the Edit links to enter appropriate information to connect to Windows Azure and SQL Azure.
For SQL Azure you need to specify the Server Name, Username and Password used to connect as seen in figure 1.4.
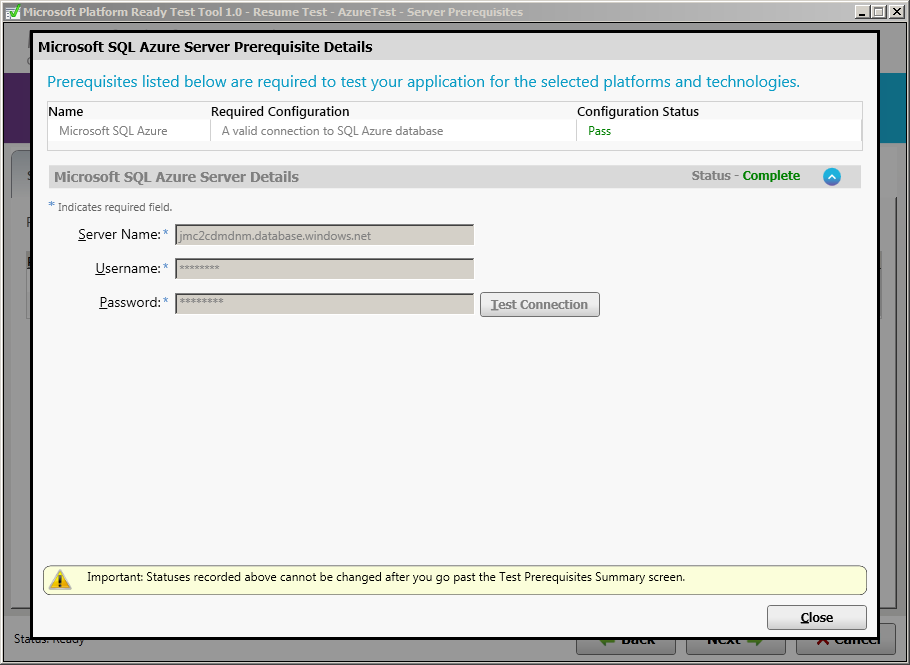
Figure 1.4: Specify server information
For Windows Azure you need to specify the Physical Server Address and Virtual IP Address used to connect as seen in figure 1.5.
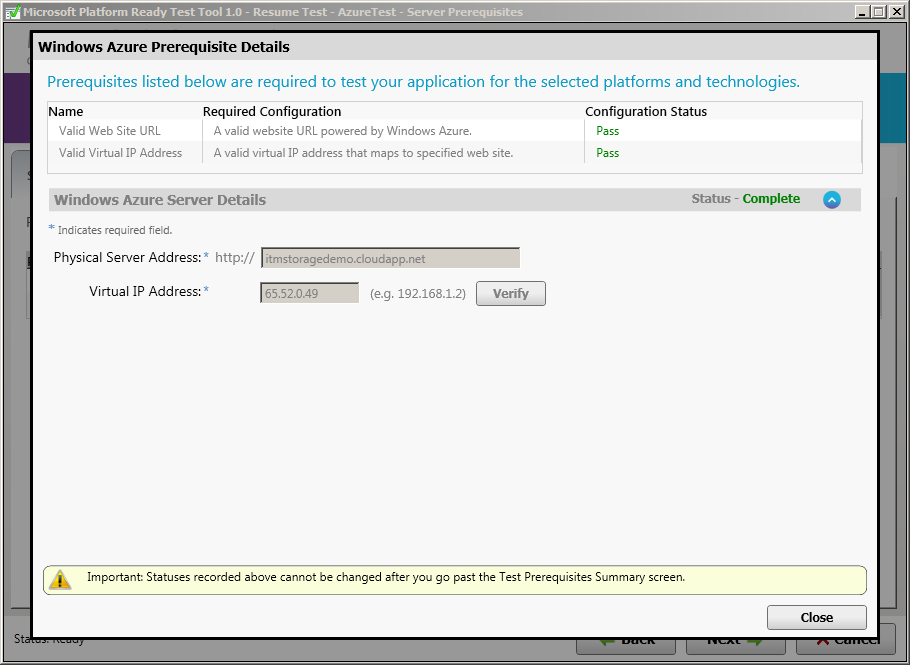
Figure1.5: Specify server information.
The following screen summarizes the results of the Server Prerequisites test as seen in figure 1.6.
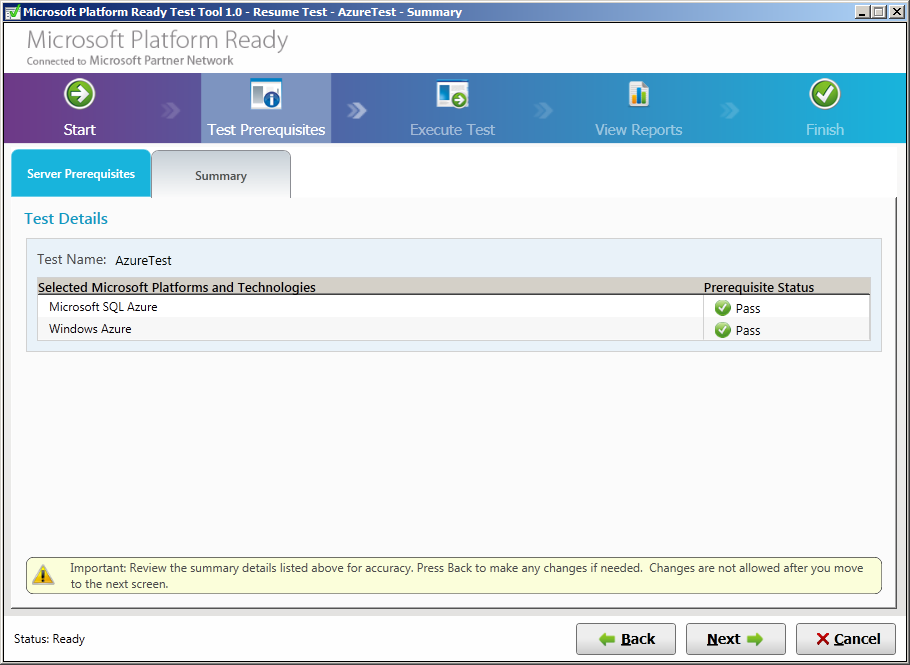
Figure 1.6: Summary of Server Prerequisites test
6. Test application functionality
Your application’s primary functionality must be executed now. Before proceeding ensure that your application is already installed and fully configured. Execute all features in your application including functionalities that invoke drivers or devices where applicable. If your application is distributed on multiple computers exercise all client-server functionalities. Where applicable you are required to test client components in your application concurrently with server components in your application. You may now minimize the MPR Test Tool, execute primary functionality of your application and return to the MPR Test Tool.
Once you have executed all primary functionality make sure to check the “Confirm that all primary functionality testing of your application” option as seen in figure 1.7.
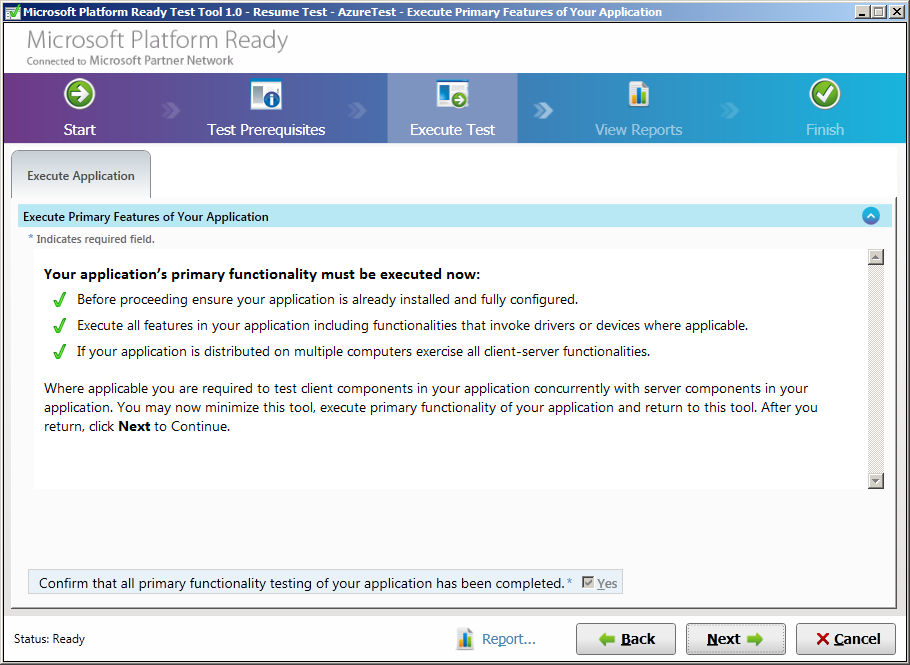
Figure 1.7: Execute all primary functionality of your application
7. See if your application passed
Once you click Next, you will see immediately if your application passed the test as seen in figure 1.8.
If one or more components in your application fail, you have the ability to submit a waiver.
You will find the instructions for how to acquire a waiver described at the bottom of the screen.
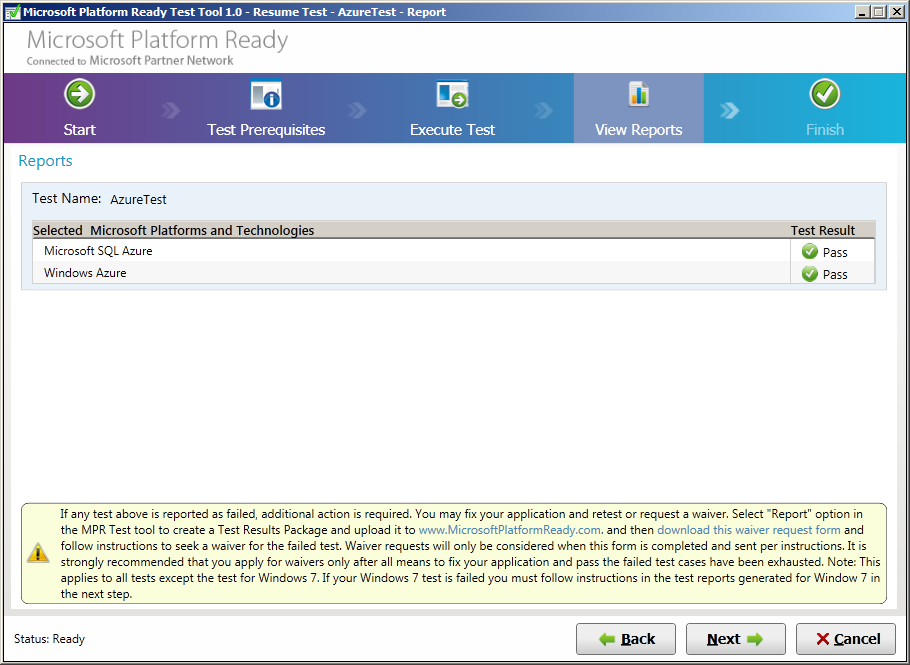
Figure 1.8: You will see immediately if your application has passed or failed
8. View the test results report
You have now completed the test portion. To view the report, click the Show button seen in figure 1.9.
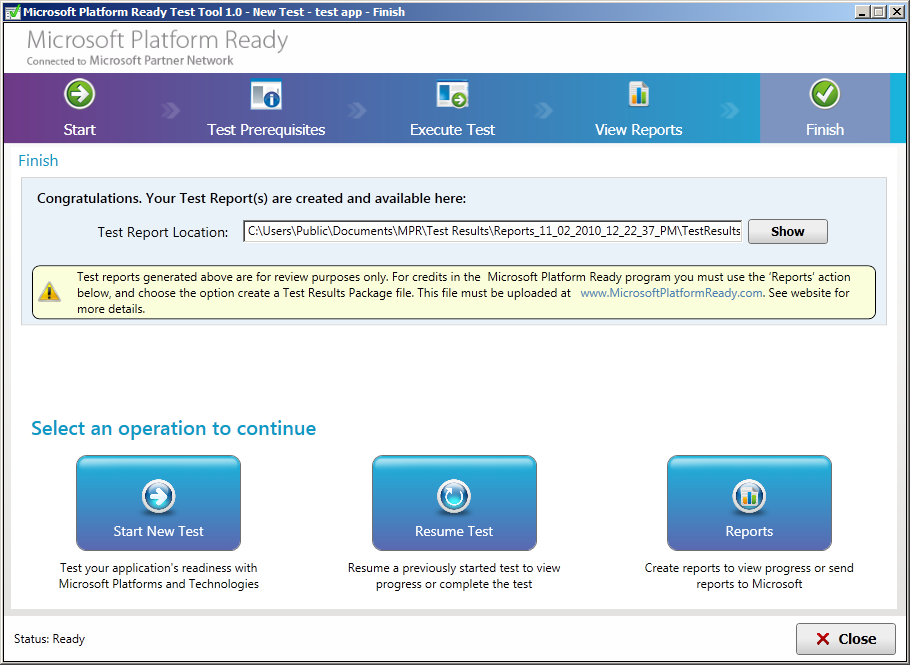
Figure 1.9: Click the Show button to view the test report
Figure 1.10 displays an example of a test report.
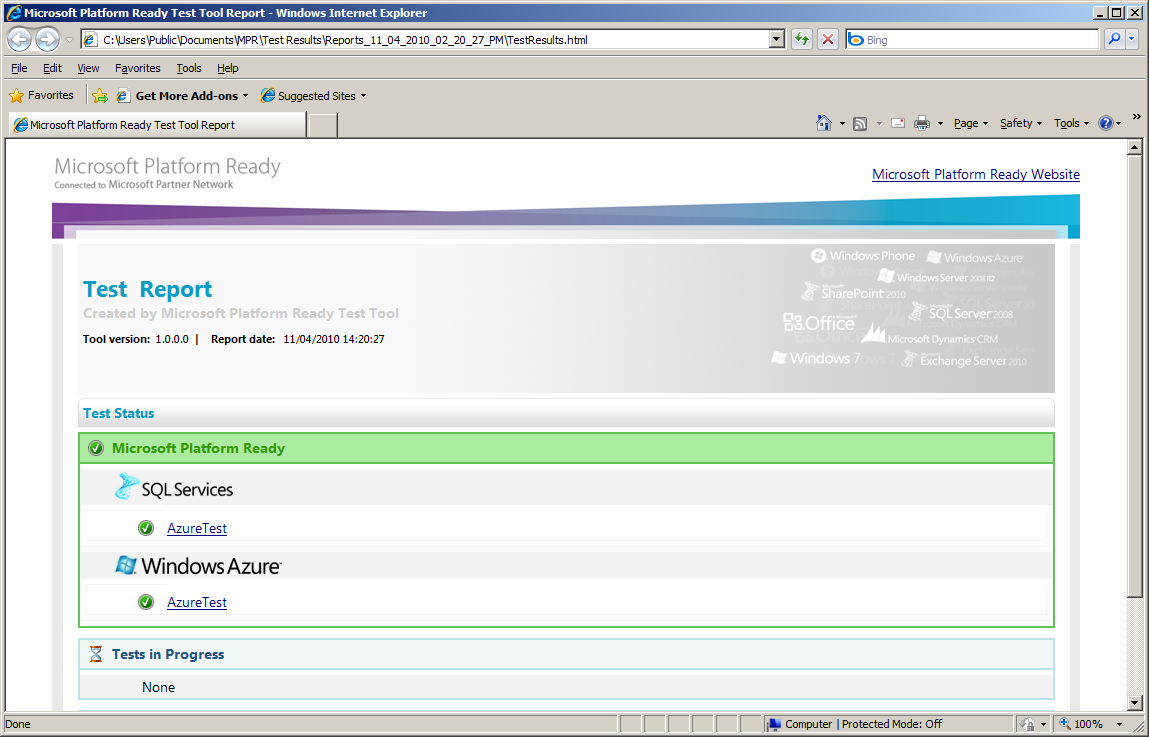
Figure 1.10: Example of a test report
9. Generate a test results package
In this next step you will generate a test results package that you can submit to the MPR Web site.
Start this process by clicking the Reports button as seen in figure 1.11.

Figure 1.11: Click the Reports button to start the process for creating a test results package
10. Select reports to include in the Test Results Package
To create a Test Results Package start by selecting the test(s) you want to include.
You can include one or more tests. You can also click the Add button, as seen in figure 1.12, to select and include reports located on other computers.
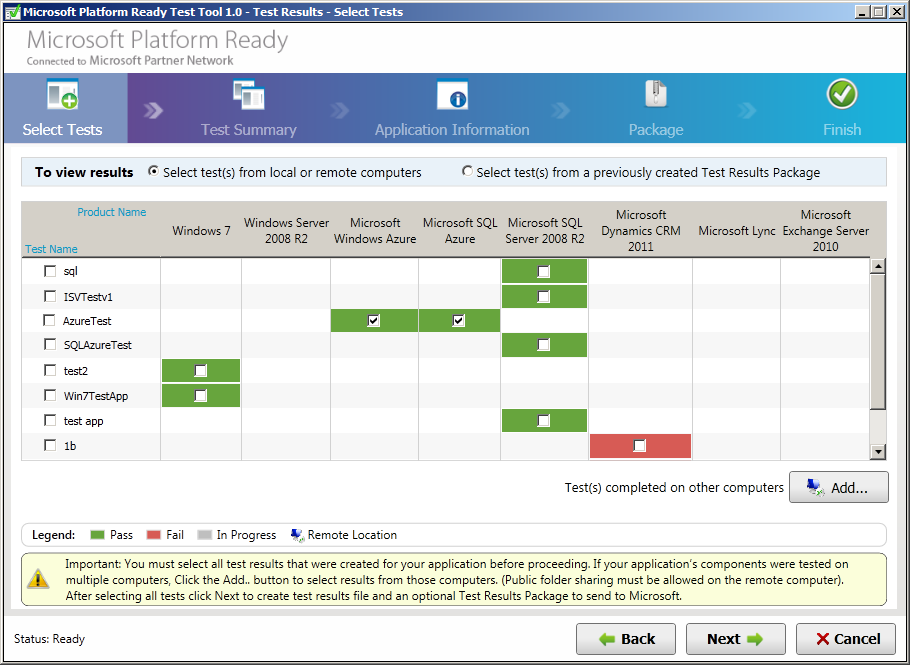
Figure 1.12: Select the reports you want to include
11. View summary
The screen shown in figure 1.13 displays a summary of reports that will be included in the test results package.
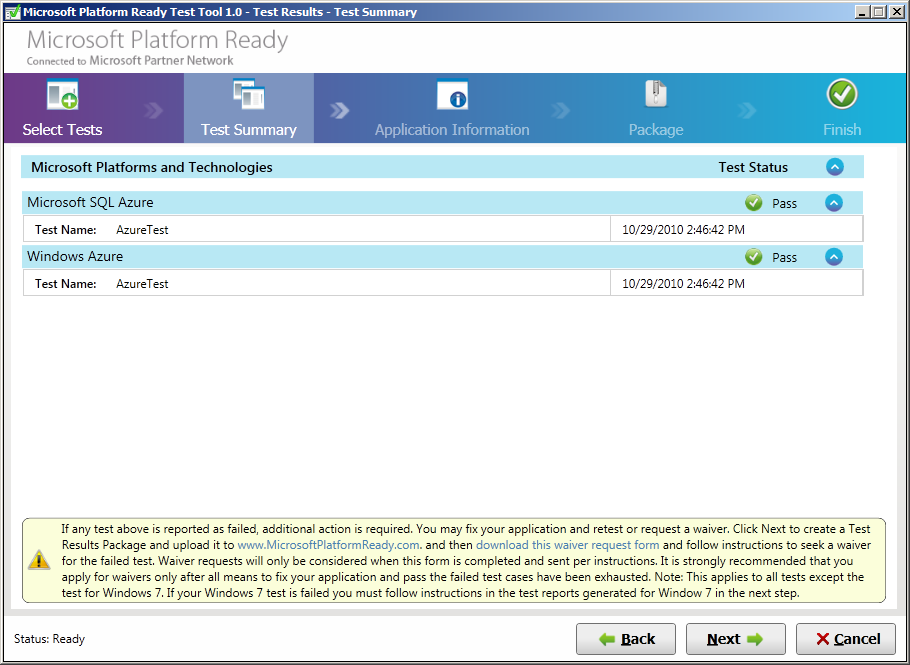
Figure 1.13: Reports summary
12. Specify application name and version
Next you will specify the application name and version. Enter the application name and version in the textboxes shown in figure 1.14.
The application name should match the name you specified when you registered your application on the MPR Web site.
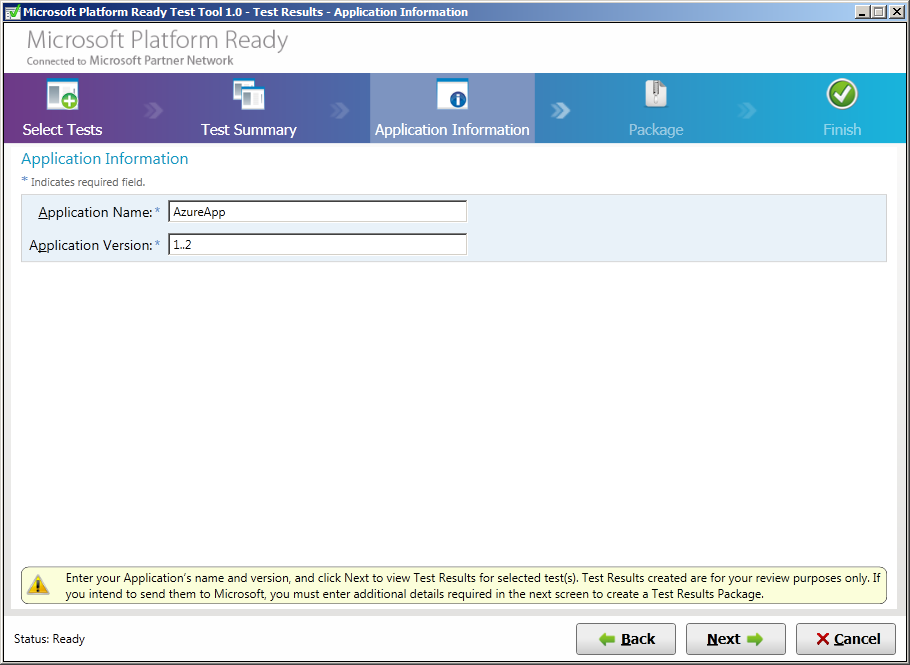
Figure 1.14: Specify application name and version
13. Specify test results package name and application ID
Next you will specify a name for the test package and application ID. Enter the name and application ID in the textboxes as shown in figure 1.15.
The application ID must match the application ID that was generated on the MPR Web site when you first registered your application.
You also need to agree to the Windows Azure Logo Program legal requirements before you can continue.

Figure 1.15: Specify the Test Results Package Name, Application ID and agree to Windows Azure Logo program requirements
14. Finish the test process
The test process is now complete. You can now upload the Test Results Package (zip file) to the MPR Web site.
The path to the Test Results Package is located in the Test Results Package Location textbox as seen in figure 1.16.
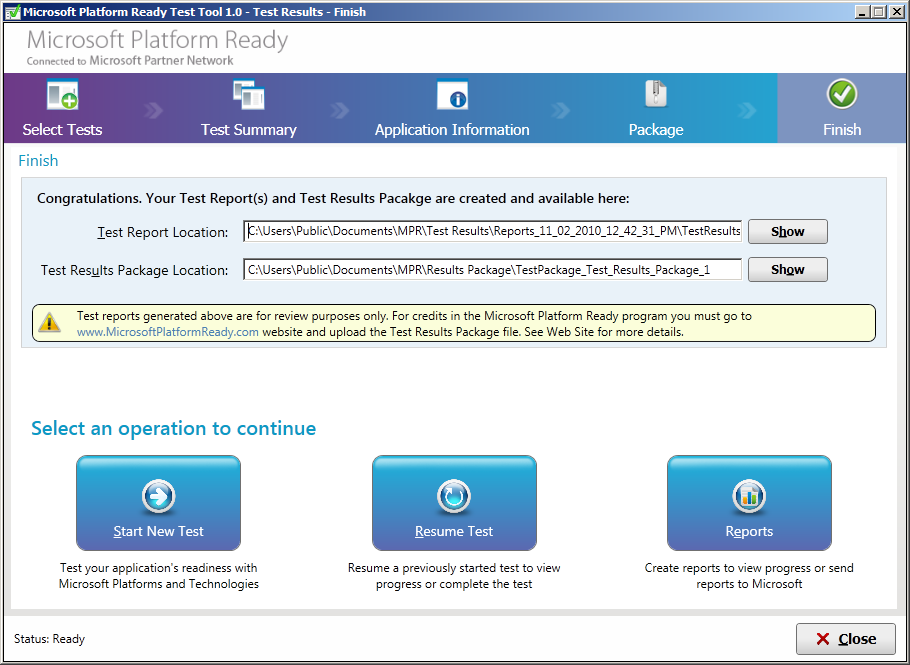
Figure 1.16: Test Results Package location
15. Upload Test Results Package to the MPR Web site
In this last and final step you will upload the Test Results Package created by the MPR tool.
To upload the Test Results Package visit the MPR Web site.
Click the Browse button to locate the generated Test Results Package zip file then click the Upload button as seen in figure 1.17.
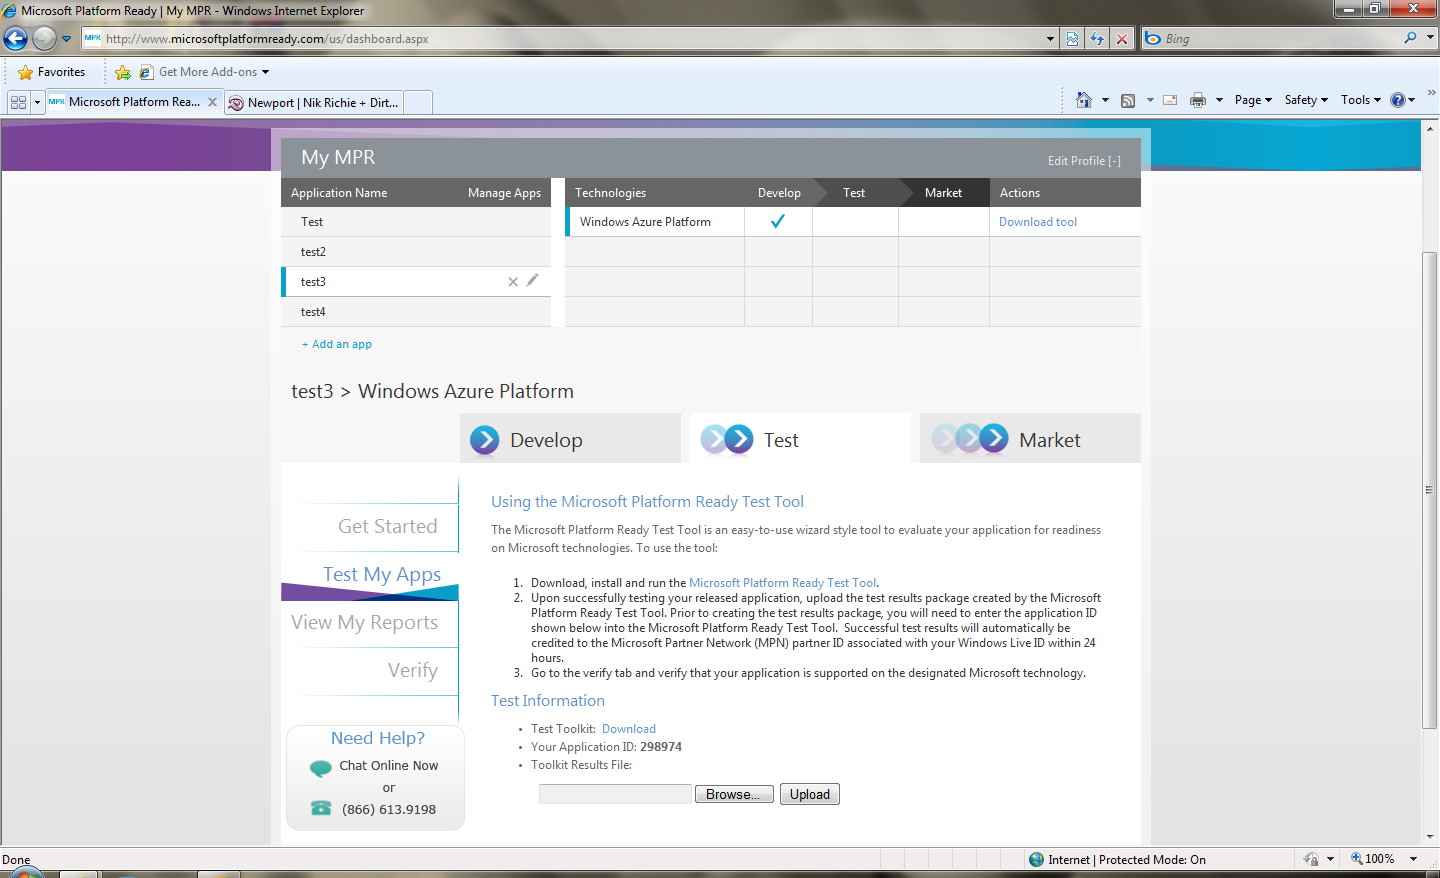
Figure 1.17: Upload Test Results Package
The MPR tool will upload your Test Results Package to the MPR Web site.