Scientific computing with PYTHON on windows (2/2)
As promised in the previous blog, I have prepared a walk through to get you started on programming python on windows. This is a quick walk through of installing Enthought's Python scientific packages on windows. This bundle includes Python 2.5.2, NumPy, SciPy, ehthought tool suite, matplotlib, wxPythong, and the famous 3D Visualization Tool KIT (VTK). Some of these packages have been mentioned in the previous blog, and can be better explained here: https://www.scipy.org/Topical_Software
Step 1. Install EPD.
Download EPD, or the Enthought Python Distributions at https://www.enthought.com/products/epd.php
Install the package. During the process it may ask you to close a few programs, so it is best to start up with as little programs running as possible.
Step 2. install iPYTHON.
Once this is installed, you should install iPYTHON. IPython is an enhanced wrapper shell around python, it has additional benefits of better threading support, and parallel extensions. The reason we are using IPython is because of it takes an argument -wthread to support wxWindows threading. wxWindows is a open source alternative to QT when it comes to cross platform GUI development. The Enthought visualization tools uses wxWindows to do the actual windowing, or framing. The underlying 3d display engine it uses is called VTK, VTK is a very mature 3d high level, cross platform visualization tool kit, that has been around for a long time. Enthought makes these packages work even better.
iPython is here: https://ipython.scipy.org/dist/ipython-0.8.4.win32-setup.exe
Installation process should be strait forward, if you are on vista 64, ignore the error messages.
Step 3. Let's do some cool visualization.
There are hundreds of cool samples and demos at https://www.scipy.org/Documentation, the purpose of this blog is not to teach you about NumPy or any of the packages, since scipy org does a much better job. This blog is to get you started on playing with the tools on windows.
Open a command prompt and go to where your python bundle is installed. In my case, it is c:\Python25en\
At the prompt type: scripts\ipython -wthread // do NOT forget the -wthread, or this demo won't work.
Now you can follow the instructions available on scipy site:
https://www.scipy.org/Cookbook/MayaVi/mlab?highlight=(mlab) You can click on "Toggle line numbers" on that page to simply copy and paste the code into the ipython window.
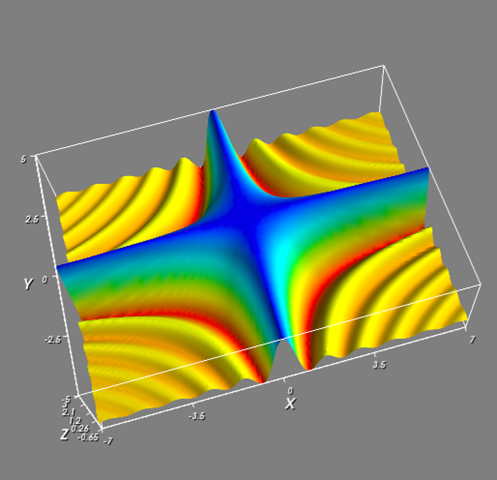
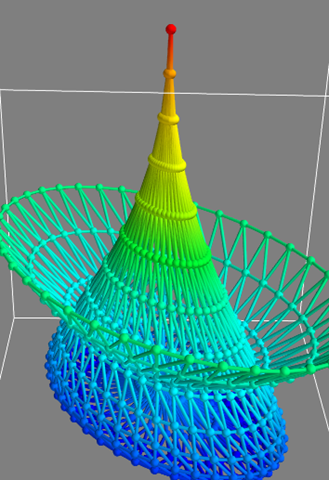
I've attached three screenshots of it running on my vista64 box.
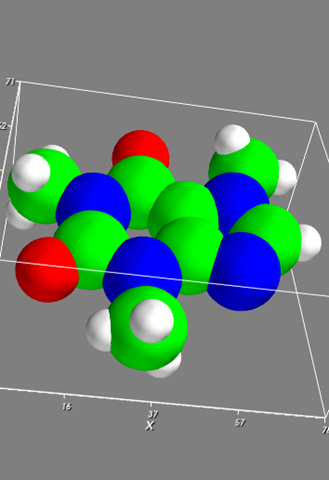
Figure 3 shows:
In [18]: f4=mlab.figure()
In [19]: mlab.test_molecule(f4)
You can also try test_mesh, test_mesh_sphere, etc. Of course, looking at your own data set is just as easy.
Thanks for reading my blog, and happy scientific computing on windows.