Integrate Power View with SharePoint using web parts
SharePoint is one of the most widely used collaboration platform and its importance as an integrated business intelligence platform cannot be undermined.
Microsoft BI platform has a comprehensive set of data exploration and reporting tools that truly democratizes the concept of business intelligence in an organization. While these gives you insights at different level, SharePoint allows getting these together and create a mesh-up of these incredible visualizations using web parts.
Web Parts are server-side controls that run inside the context of site pages. SharePoint provides a number of web parts out-of-the-box and also allows developers to create custom web parts. Web parts are editable and configurable by users.
Power View reports can be integrated as web parts on a SharePoint site page using of the two methods:
Using Page Viewer Web Part
Page Viewer is a generic web part that you can use to display a Web page using a hyperlink. This method is pretty straight forward and you can follow these steps to enable it:
1) Create a new Page or open an existing one in edit mode
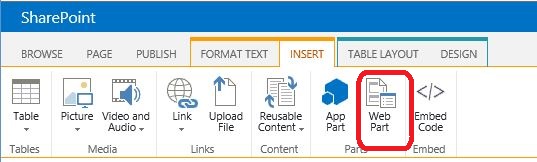
2) Select “Insert” from the top menu and click “Web Part” in parts group

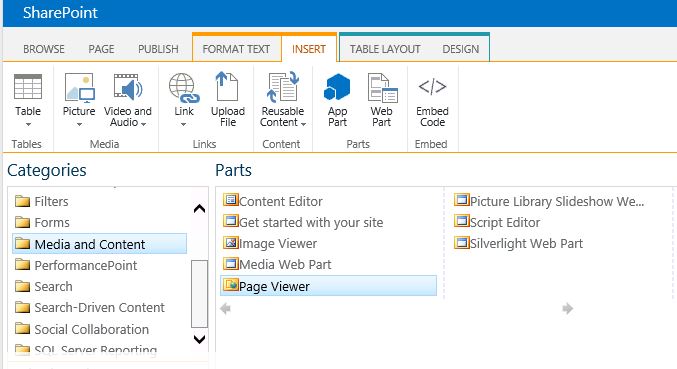
3) You will now see a list of categories on left side and associated web parts on the right of it.
4) Select “Media and Content” under category and “Page Viewer” under parts
5) Click “Add”
6) Page Viewer web part will now be added to the page.
7) Click “Open the tool pane” to start editing the web part
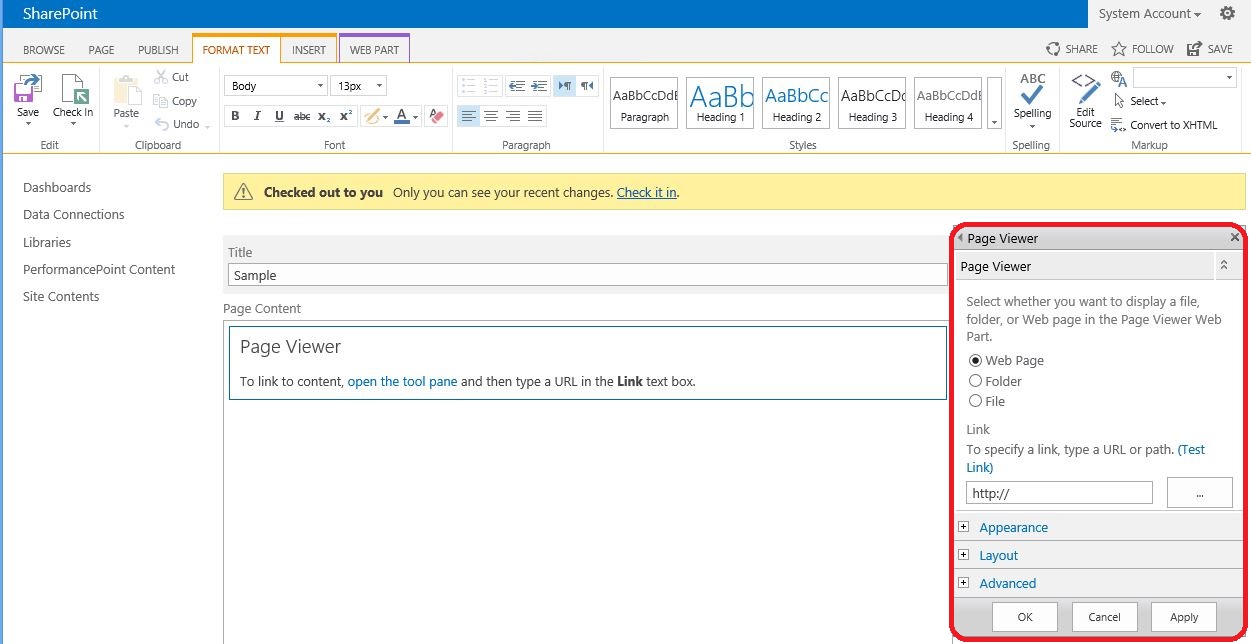
8) In the URL text box, paste the Power View report URL. The one I am using for this example looks like this,
Notice the values and options used in query string:
- · RelativeReportUrl: Refers to the relative path of the power view report. For example, %2fPowerPivot%2520Gallery%2fAuto%2520Sales%2520Sample%2520Report.rdlx
- · ViewMode: Can be set to either Presentation or Edit
- · ReportSection: Refers to a view within the RDLX. Each view in your Power View report has a reportsection identifier. The default view is named as “ReportSection” and any new view that you add is named as “ReportSection2” and so on. This option only determines which view to show as default. Users will still have options to navigate to other views by using the navigation controls.
- · Fit: Allows Power View report to automatically resize itself to fit within the web part frame
- · PreviewBar: Allows you to show or hide the preview toolbar on top. While presenting Power View report on a dashboard page, it is a good idea to hide toolbar, unless you want users to edit the report as well.
9) Set other web part parameters such as height, width, layout, etc and
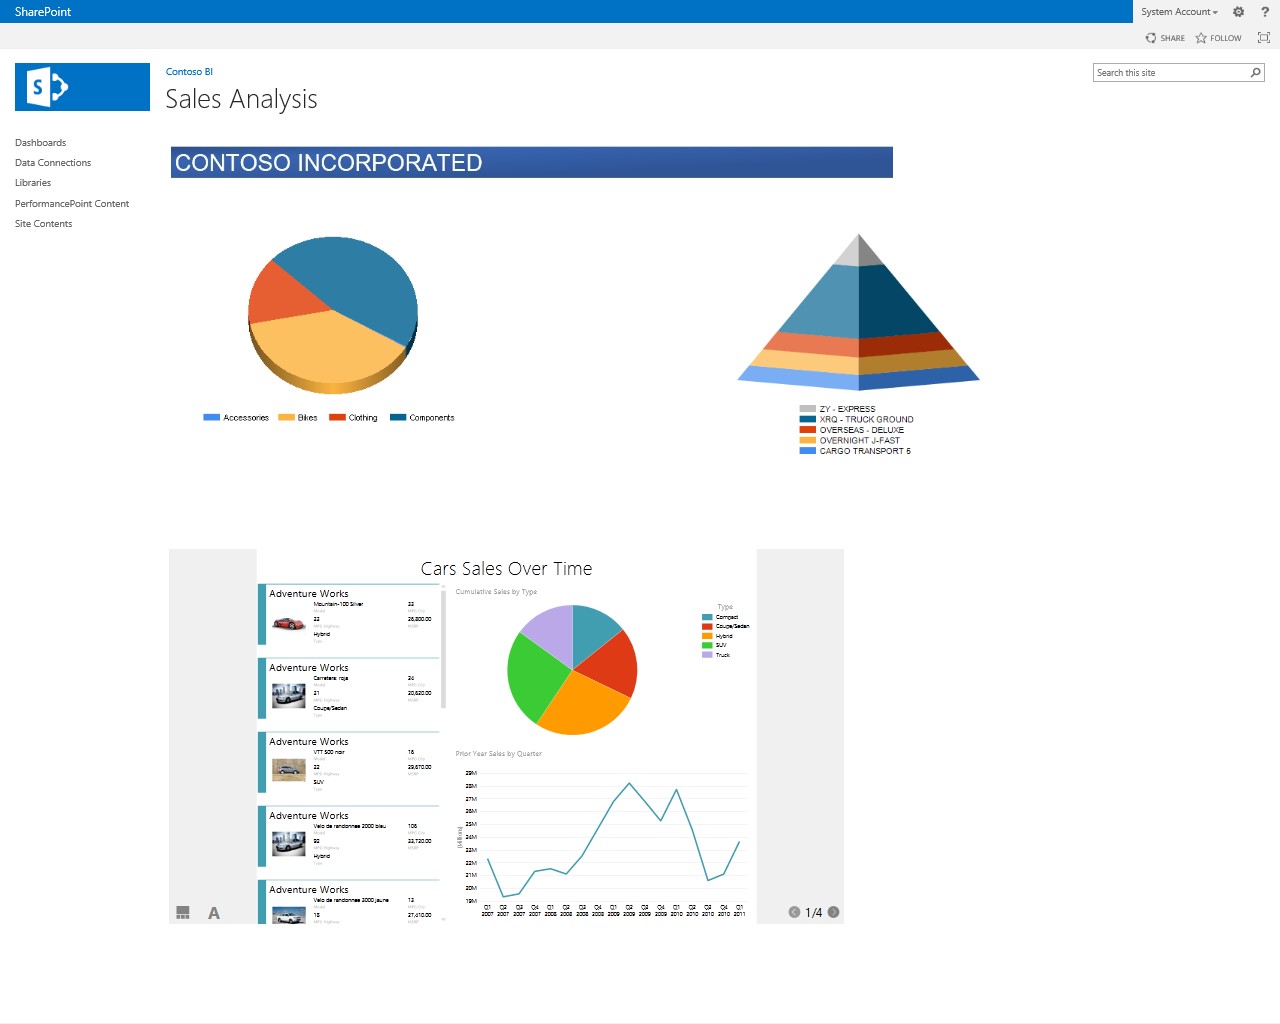
10) Click “Ok” and you will now be able to see your Power View report as a web part. A sample SharePoint web page with Power View report as a web part is shown below.
Limitations – Page Viewer web part can only be used in a browser that supports the HTML <IFRAME> element..
Using Silverlight Web Part
In this approach, we will use a generic Silverlight web part to host our Power View report. This web part allows users to deploy Silverlight application on SharePoint without the need to create a custom web part for every new application. The Silverlight web part provides an option for user to specify a comma separated string to specify the initialization parameters.
(1) Create a new Page or open an existing one in edit mode
(2) Select “Insert” from the top menu and click “Web Part” in parts group
(3) You will now see a list of categories on left side and associated web parts on the right of it.
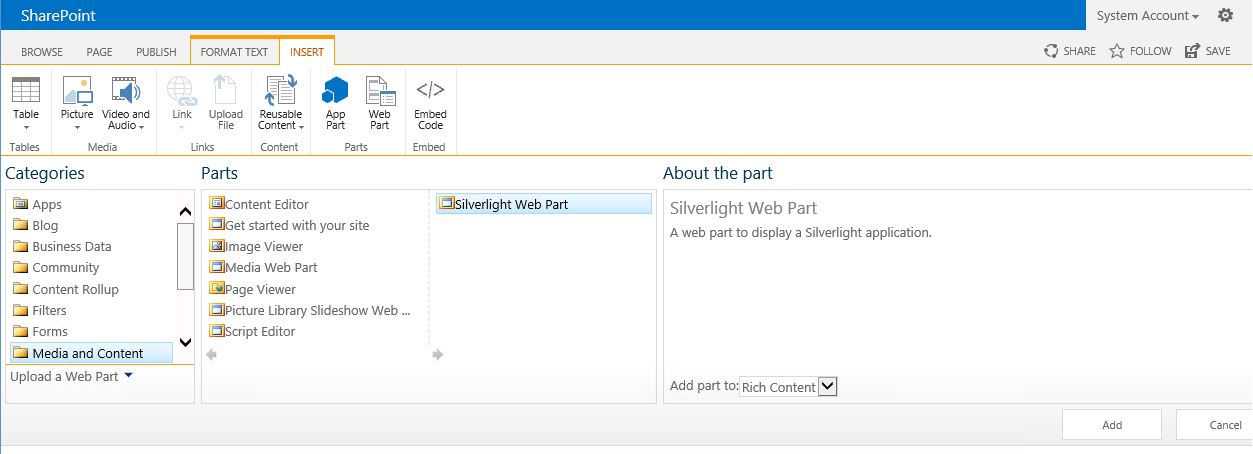
(4) Select “Media and Content” under category and “Silverlight Web Part” under parts
(5) Click “Add”
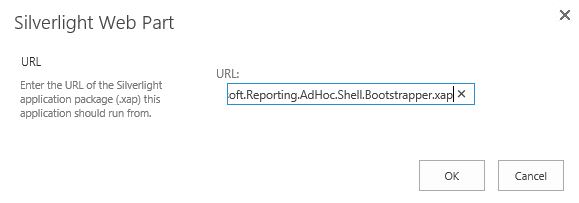
(6) You will now be prompted to enter Silverlight application package. If your power view content type is enables and Reporting Services service application is running, Silverlight application package can be invoked from the following URL
/_layouts/ReportServer/ClientBin/Microsoft.Reporting.AdHoc.Shell.Bootstrapper.xap
(7) Enter this URL and click “Ok”
(8) A Silverlight web part will now be added to your page.
(9) Select “Edit Web Part Settings” from the web part drop down
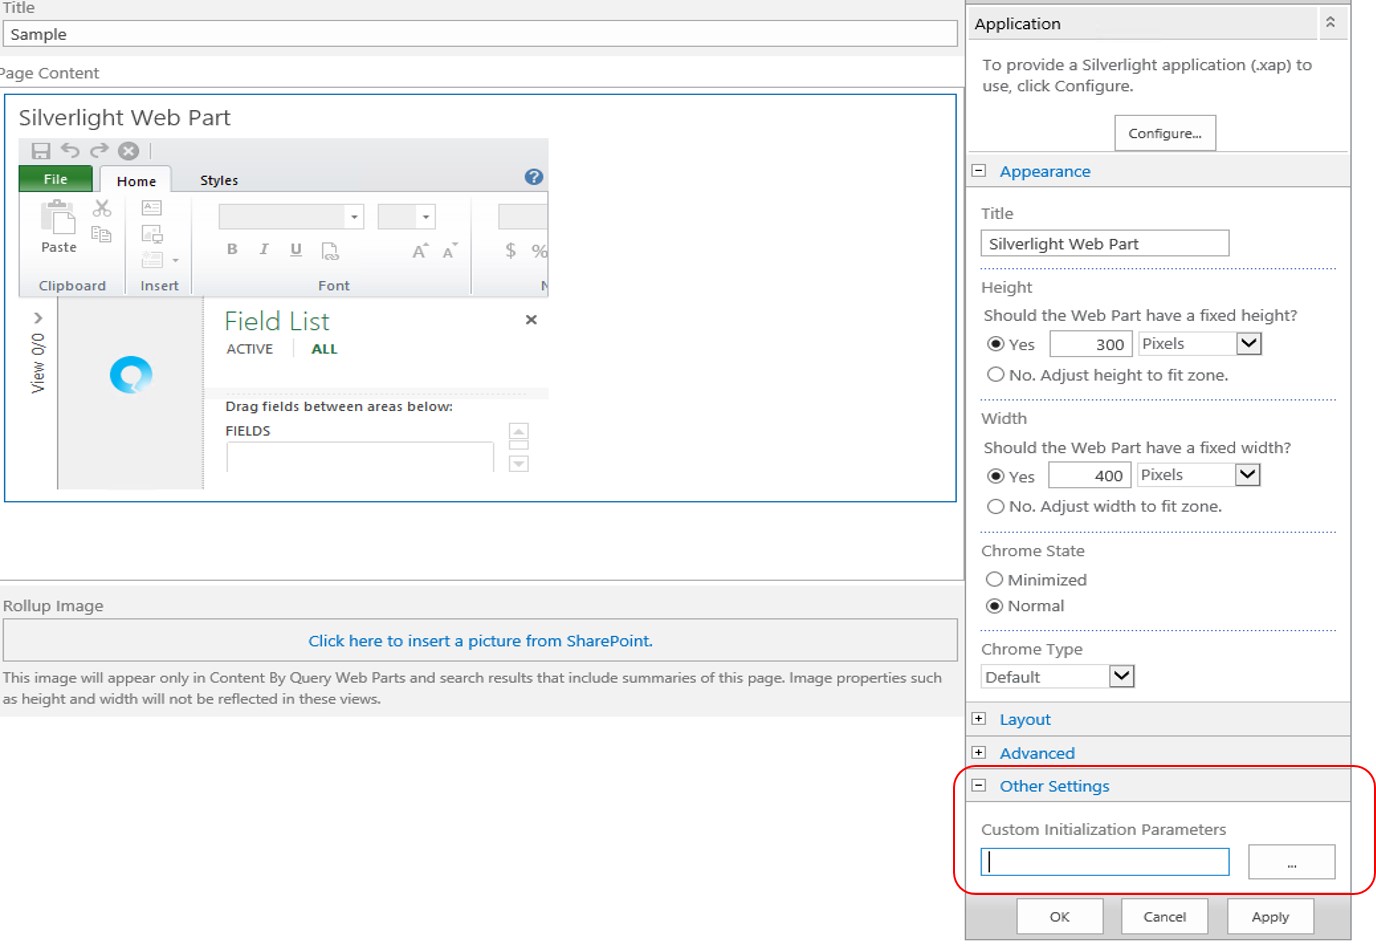
(10) Edit pane will appear on the right side as shown below

(11) Set appearance and layout parameters
(12) Expand “Other Settings” to enter custom initialization parameters
(13) Initialization parameters for Silverlight web part has to be provided in the following format
ItemPath=https://<YourServername>/<YourSite>/YourReport.rdlx,ReportServerUri=https://<YourServername>/_vti_bin/reportserver/,ViewMode=Presentation,PreviewBar=False,Fit=True
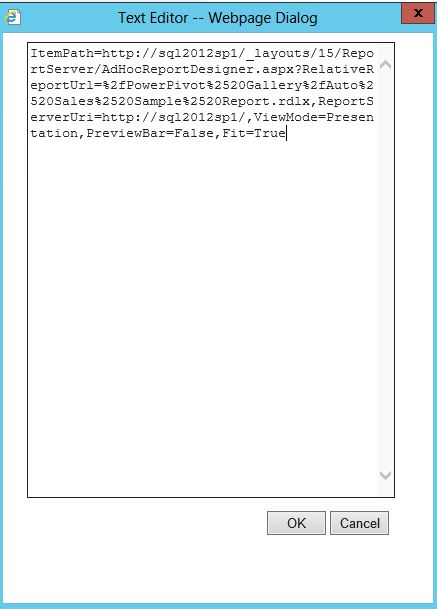
The one I am using for this set up is,
ItemPath=https://sql2012sp1/_layouts/15/ReportServer/AdHocReportDesigner.aspx?RelativeReportUrl=%2fPowerPivot%2520Gallery%2fAuto%2520Sales%2520Sample%2520Report.rdlx,ReportServerUri=https://sql2012sp1/,ViewMode=Presentation,PreviewBar=False,Fit=True
11) Click “Ok” and you will now be able to see your Power View report as a web part. A sample SharePoint web page with Power View report as a web part is shown below.
