Site and Profile Settings
Last Update: Jan. 30, 2011
How to change your avatar and display name
Listed below are steps to change your avatar and display name. For more information on managing your profile, please read our Frequently Asked Questions.
Visit https://blogs.msdn.com/ and click on your username at the top of the page, as outlined in the following screenshot:

Select "Edit My Profile," as outlined in the following screenshot:
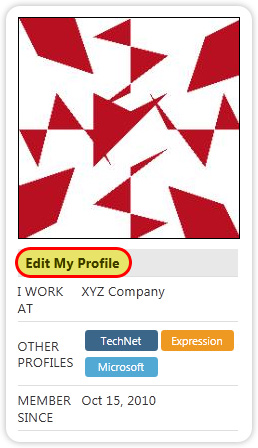
From here, you can change your display name and avatar.
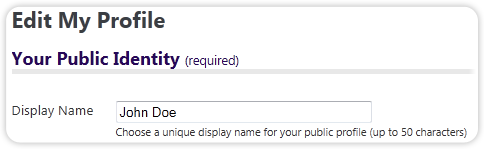
To change your display name, edit the text in the "Display name" field (outlined in the screenshot below) and click on the "Save" button.
To change your avatar, click on the "Browse" button, as outlined in the following screenshot:
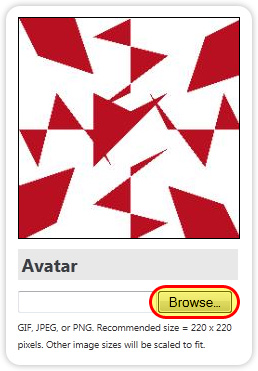
After you have selected an image, click the "Save" button.
Return to https://blogs.msdn.com to see your updated avatar and display name.
Note: Avatars are stored on a content delivery network (CDN), with many servers across the world. It can take up to 48 hours for all avatars on the CDN to be updated, and for the avatar to appear next to blog posts and comments.
Where is my display name and avatar used throughout blogs.msdn.com?
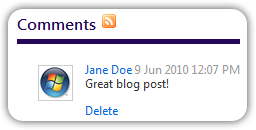
- Your avatar and display name appear next to a comment on a blog post:
- Your avatar and display name appear next to blog posts in the "The Latest Blog Posts" section on the home page of blogs.msdn.com:

- For another example of the avatar and display name, scroll to the top of this page and note the avatar and display name that appear below the title of the blog post.
Configuring Site Settings
To configure your site settings, click on the "Settings" link at the top right of any page on MSDN Blogs. These custom settings only take effect when you are signed in. 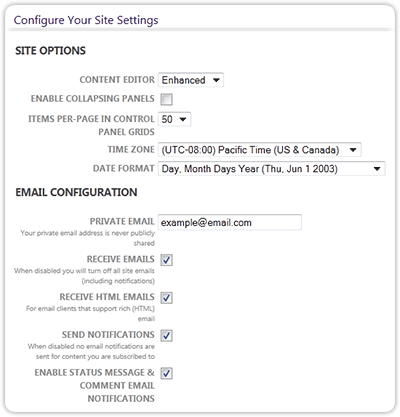
- Content Editor - This setting only applies to blog authors. The "Enhanced" editor will display a toolbar with many formatting options when you compose blog posts from your blog's dashboard. The "Plain Text" editor will display plain HTML when you.
- Enable Collapsing Panels - Allows for content panels to have buttons displayed for expanding and collapsing them.
- Items Per Page in Control Panel Grids - This setting only affects blog authors. Bloggers can adjust the amount of items displayed in their blog's dashboard by adjusting this setting. For example, when you moderate comments, this value determines how many comments to display on each page.
- Time Zone - Change this to your desired setting. When you view blog posts throughout the site, the time will be displayed according to this setting.
- Date Format - Change this to your desired setting. When you view blog posts throughout the site, the date will be displayed according to this setting.
Email Configuration
- Private Email - Site notifications, such as new friend requests, are sent to this email address. This email address is not visible to the public.
- Receive Emails - When disabled you will turn off all site emails (including notifications)
- Receive HTML Emails - This option is enabled by default. If your email client doesn't support HTML, disable this option.
- Send Notifications - If you have email-subscribed to a blog and you want to receive emails each time that blog is updated, enable this option.
- Enable Status Message & Comment Email Notifications - This option is only applicable to blog authors. If this is enabled, blog authors receive an email each time someone comments on a blog post.
Blog Activities
- New Blog Post - If this option is enabled, other users will see a notification on the home page under "The Latest Blog Posts" section. Bloggers can temporarily disable this setting prior to using theme detection with Live Writer so that the temporary post does not appear in the "The Latest Blog Posts" section on the home page.
Sign-in Information
- Sign-in name - Bloggers who use Windows Live Writer will use what is listed in this field as the username when logging in.
- Password - Bloggers who use Windows Live Writer can use this setting to change the password they use to post from Live Writer.
- Last sign-in - Displays the last time that you signed in.
Adding and Managing Friends
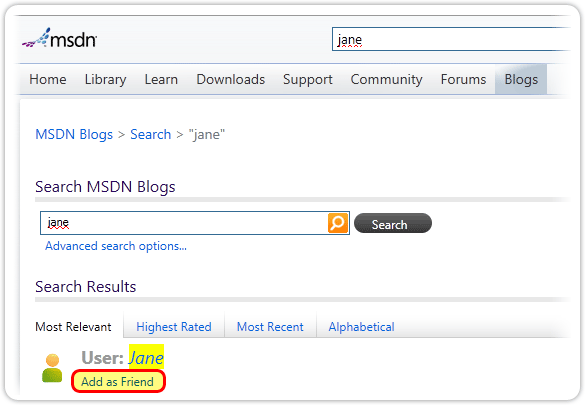
- To add a user as a friend, sign-in to MSDN Blogs and search for them using the search box located at the top of the home page. Once you locate the user, click on the "Add as Friend" link, as highlighted in the screenshot below:
- To view and manage your friends and friend requests, click on the "Settings" link at the top of any page on MSDN Blogs. Next, click on the "Friends" link on the right side of the Settings page.