Hosting Java projects on Windows Azure using AzureRunMe
AzureRunMe is an awesome tool written by Rob Blackwell from two10degree. Thousands of machines are powered by AzureRunMe. Today, I had the privilege to play with it. Here are the steps to start using AzureRunMe.
1. Create your Java project.
For experimenting purpose, I have created a HelloWorld Java program. To leave a record of whether the program has been run, the Hello World is written to a local file in addition to the console. But really, many other projects should all work with AzureRunMe.
In Eclipse, I click File->New->Java Project, fill project name with HelloWorld, click Next, click Finish. Double click HelloWorld from Package Explorer on the left, right click HelloWorld\src folder, select New->Class, fill helloWorld into Package, fill HelloWorld into name. Click Finish.
package helloWorld;
import java.io.FileWriter;
import java.io.IOException;
public class HelloWorld {
public static void main(String[] args) throws IOException
{
String outputFileName = "output.txt";
String helloWorld = "Hello World!";
FileWriter outputFile = new FileWriter(outputFileName);
outputFile.write(helloWorld);
outputFile.flush();
outputFile.close();
System.out.println(helloWorld);
}
}
2. Copy zip the installed JDK into a single java.zip file.
3. Write a runme.cmd to run the Java Project from console.
4. Zip the whole folder into a zip file, dist.zip.
5. Upload the zip file to an Windows Azure Blob Container.
There are many tools to perform Blob uploading and downloading for Windows Azure, for this case, I use Windows Azure AzCopy following this blog post https://blogs.msdn.com/b/windowsazurestorage/archive/2012/12/03/azcopy-uploading-downloading-files-for-windows-azure-blobs.aspx .
Download the zip file, run the MSI, and append "C:\Program Files\Microsoft AzCopy" to the Path to make command line experience more smoothly.
I created a new directory helloworldcopy and put java.zip and dist.zip into the helloworldcopy directory, run azcopy, here is the screenshot. Uploading 100 MB zip file actually quite fast, it is completed in less than one minute.

Now, the uploaded Blob should be live at https://azurerunme.blob.core.windows.net/helloworld/java.zip and https://azurerunme.blob.core.windows.net/helloworld/dist.zip
6. create a Windows Azure VM via Windows Azure Portal. (The same can be done via Windows Azure CLI)
For example, the machine I created is called azurerunme.cloudapp.net. It is a micro Instance running on Windows Server 2012.
7. Download AzureRunMe.
AzureRunMe is an open source project, the source code can be obtained from github. Assuming you already got
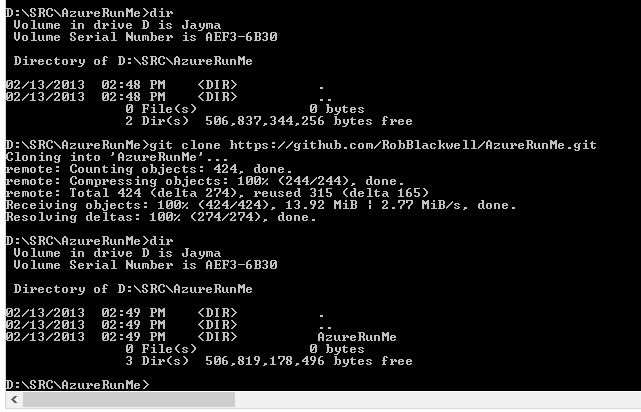
git clone https://github.com/RobBlackwell/AzureRunMe.git
Here is the screenshot of cloning process.
8. The next step is the compilation of AzureRunMe. AzureRunMe project is Visual Studio 2010 project. Open AzureRunMe.sln at the root directory using Visual Studio 2010. In Visual Studio, click Build->Build Solution to compile AzureRunMe project. After compilation, a WorkerRole.dll will be generated at WorkerRole\bin\Debug\WorkerRole.dll.
9. Update Packages value in ServiceConfiguration.cscfg file to point to the location of your zip file blob.
10. Update DataConnectionString, CloudDriveConnectionString, LogConnectionString and Microsoft.WindowsAzure.Plugins.Diagnostics.ConectionString with your storage account information.
Similar to the update of the Packages, go to your Windows Azure Portal to obtain your storage account name and key, update DataConnectionString, CloudDriveConnectionString and LogConnectionString, Microsoft.WindowsAzure.Plugins.Diagnostics.ConectionString.
11. Similar to update Packages above, typically, the command to run your java program in the ServiceConfiguration.cscfg also needs to be updated.
There are three setting values that need to be updated including OnStartCommands, Commands, OnStopCommands, PreUpdateCommands, PostUpdateCommands. AzureRunMe controls the program running from it using these four command configuration values.
12. Right click AzureRunMe project in Visual Studio to package it.
13. Right click AzureRunMe project in Visual Studio to publish it.
You may need to make sure that you have an unoccupied cloud service that can be used for this deployment. For me, it took 8 minutes to complete the publishing process. After the publishing, you might want to login the cloud service to validate the AzureRunMe had been running correctly. If everything is correct, you can see the following folder/file structure
C:\applications\jdk1.7.0_11\bin
C:\applications\runme.bat
C:\applications\myjar.jar
Then runme.bat is as simple as
jdk1.7.0_11\bin\java -jar myjar.jar
.
Opinions are mine, follow me at twitter.