Integrating With Windows 8 Share Charm - Part 2: Receiving Data
Windows 8 Share Charm – Receiving Data
In the previous blog post Integrating with Windows 8 Share Charm - Sharing Data I have discussed how to Share data from an App. In this blog post I will discuss on how to create the target app capable of receiving the shared data.
I already created a simple application which will act as the target application. In order to enable it to receive shared data, the following needs to be done.
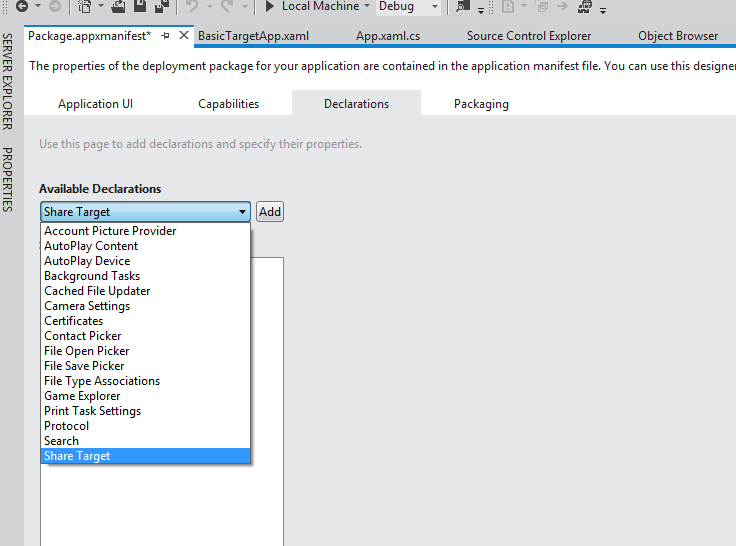
- Mark this app as a share target, by adding the share target declaration in Package.appxmanifest file .
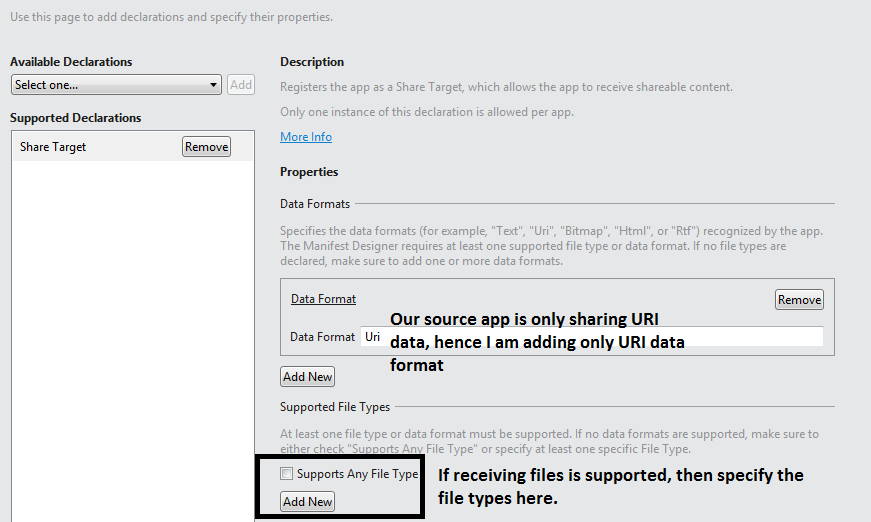
2. Add the supported file types. We can specify specific file types or we can choose to support all the file types. Since our Images app is sharing only URI data, I am adding only the URI type to the supported types.
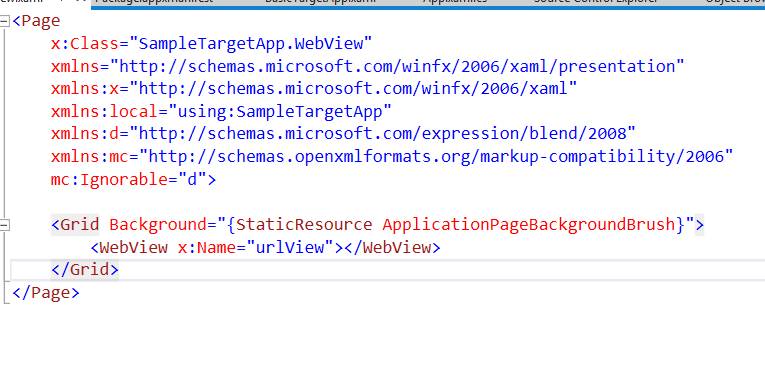
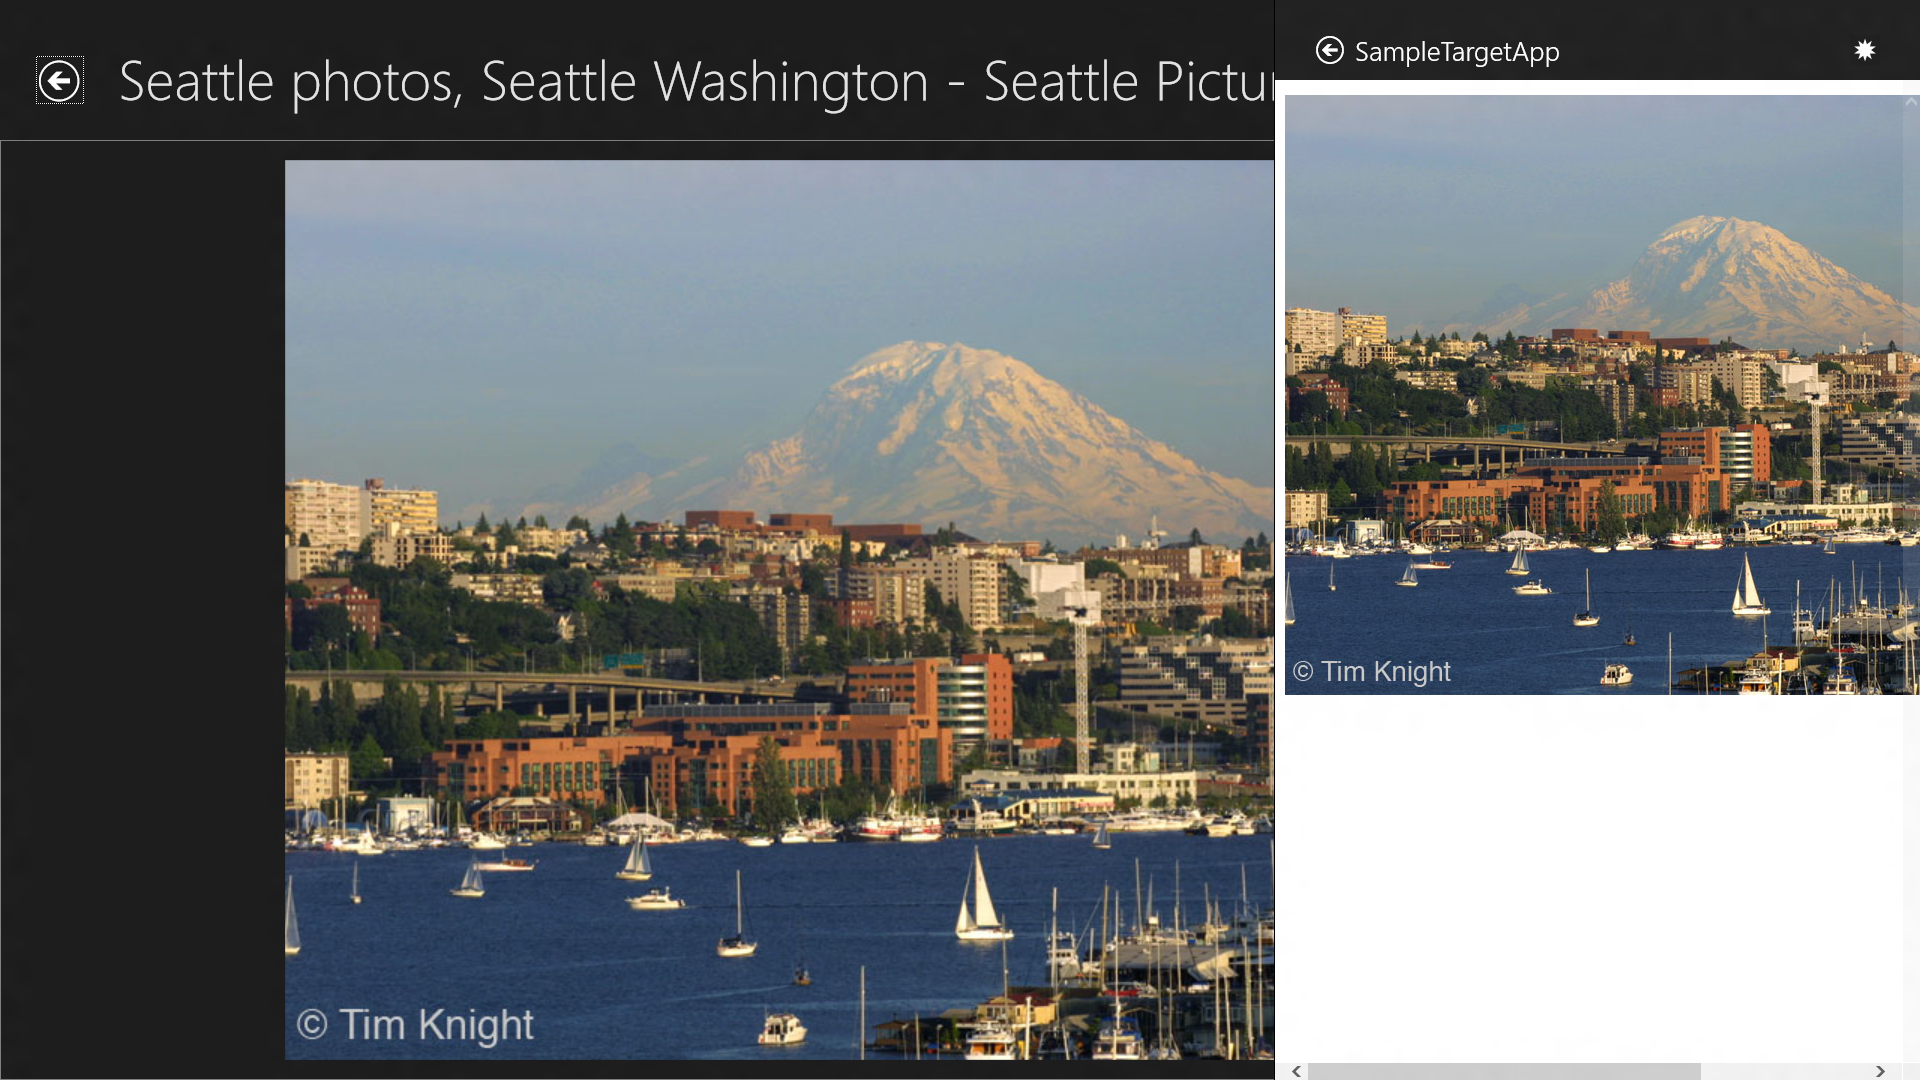
3. Add a new page to the app which will be activated, when this app is chosen in the share pane. I have added a Web View to this page to display the content of the received URL.
4. Override the applications “OnShareTargetActivated” method. The OnShareTargetActivated method is called when the application is chosen in the share pane.

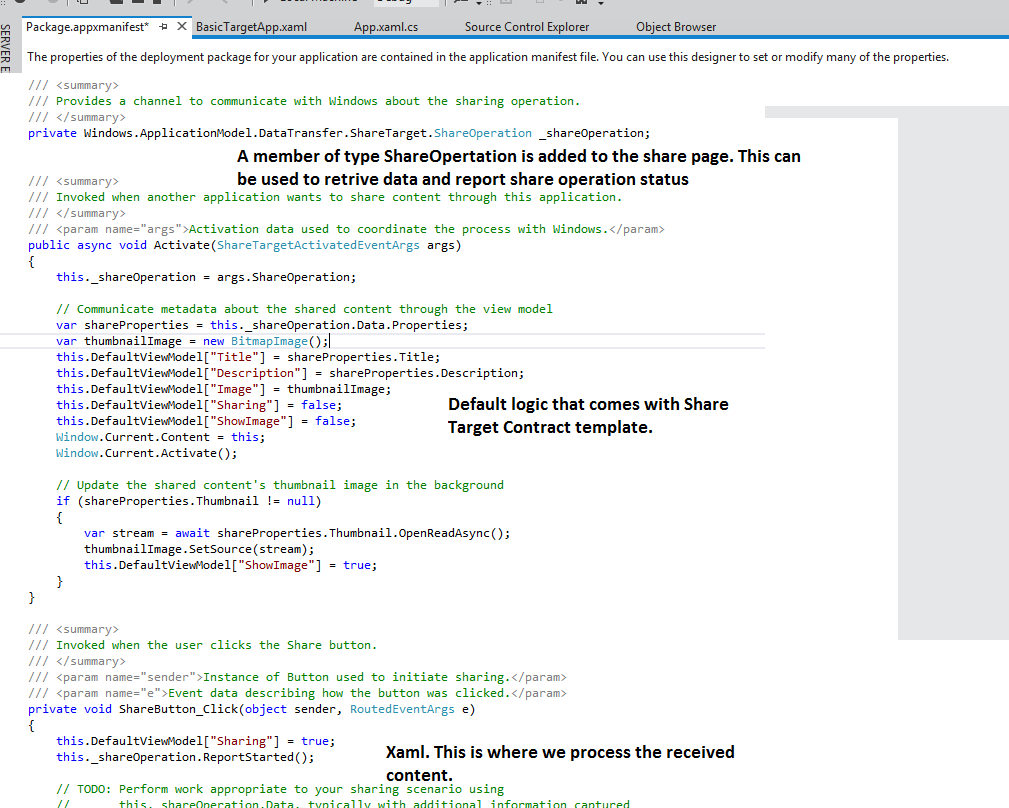
Within the OnShareTargetActivated method, I am instantiating the sharing page, and calling the Activate method of the share page and passing it the “ShareTargetActivateEventArgs” object as the parameter.
5. In the Activate method, write code to retrieve the Uri from the “ShareTargetActivateEventArgs” object. For every Set method used to set the data, there is a Get method to retrieve the data. If you remember in our source app I used the SetUri method to set the uri content of the data packet. In order to retrieve the uri we use the GetUriAsync method as shown below.
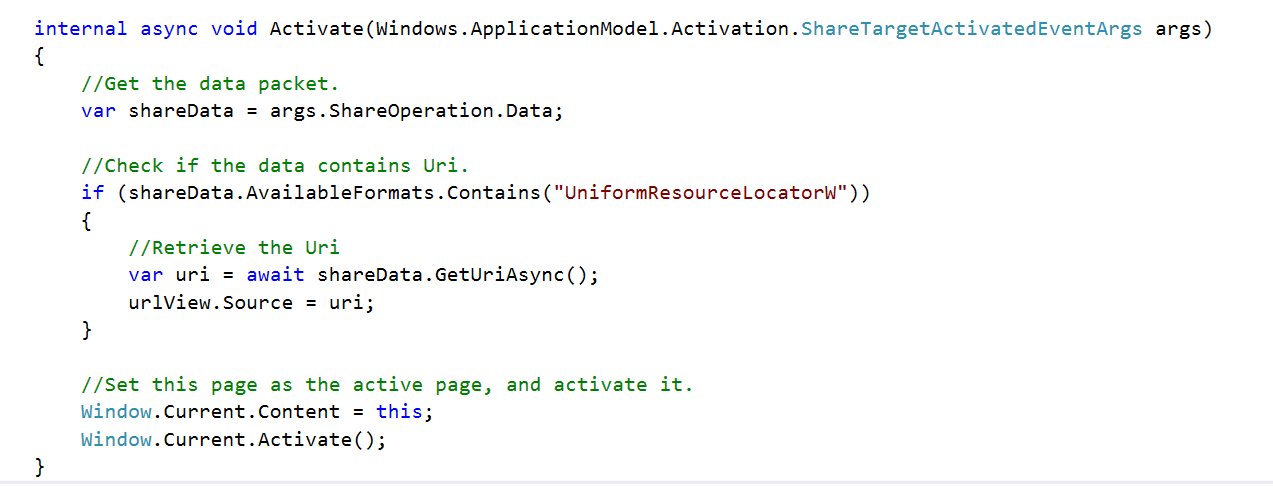
Note: In this app I am just displaying the received data. This can be extended to work with the received data. For example, I can write code to save this image within the target app .
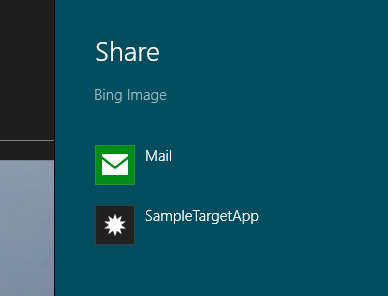
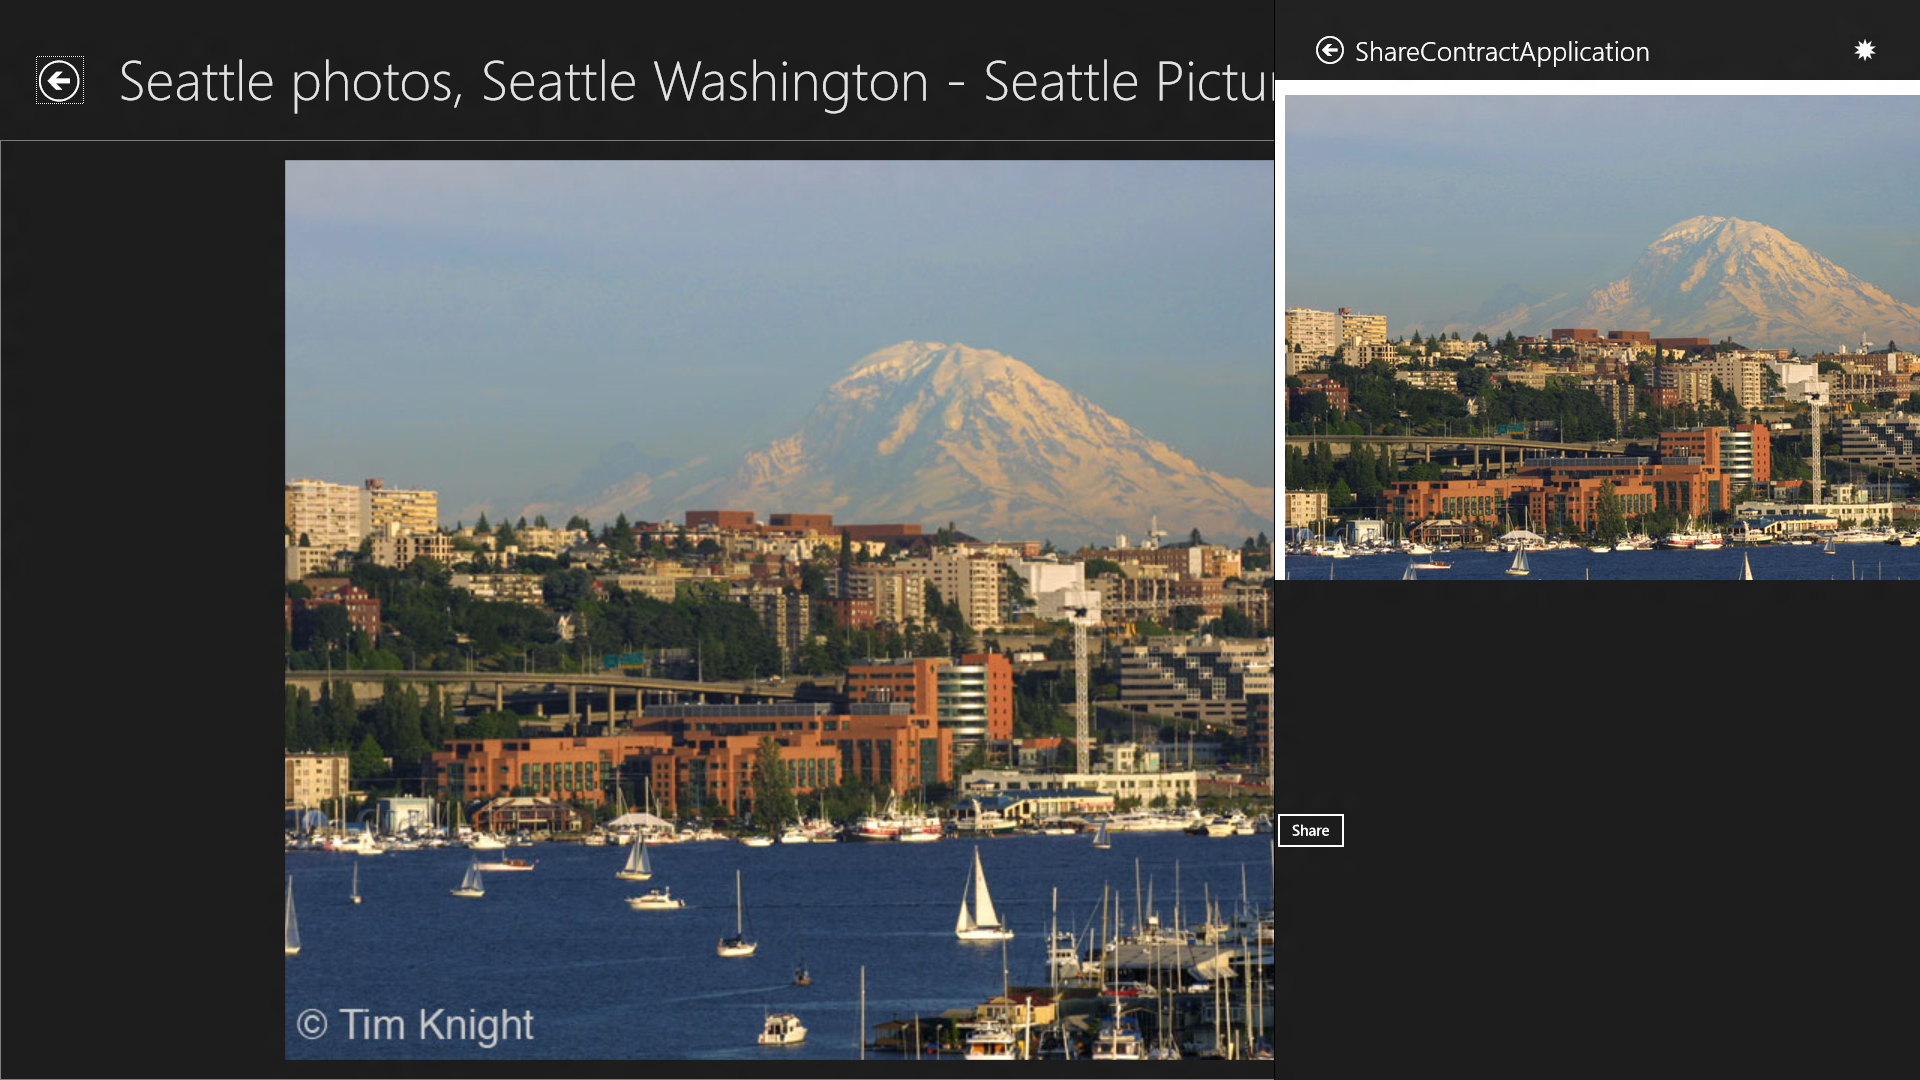
Our target app is now ready to receive Uri data. When the user shares (using the share charm), our sample target application is listed under the list available applications.
Visual studio provides a “Share Contract” template which performs steps 1 to 5 for us. We just need to update the code within Activate method that is generated and modify the generated share UI to our needs.
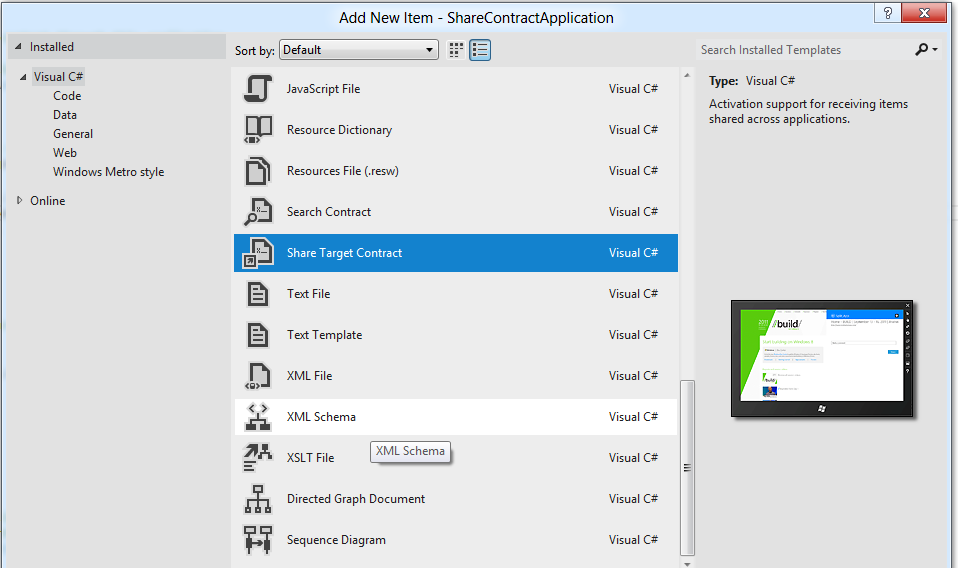
This will generate a default share page Xaml and code behind (with a default activate method). The default share UI contains elements to display Title, Image and Description. The default share UI also contains “Share” button which can be used to process the Shared data.
Also the Share target declaration is automatically added Package.appxmanifest. However we still have to add Uri data type to the list of supported types.
Let us replace the Xaml with the Xaml used in the previous example and add a Share button to it. Also I am replacing the logic in the “Activate” method, with the code used in previous example.
We are ready to run the Images app once again and share.
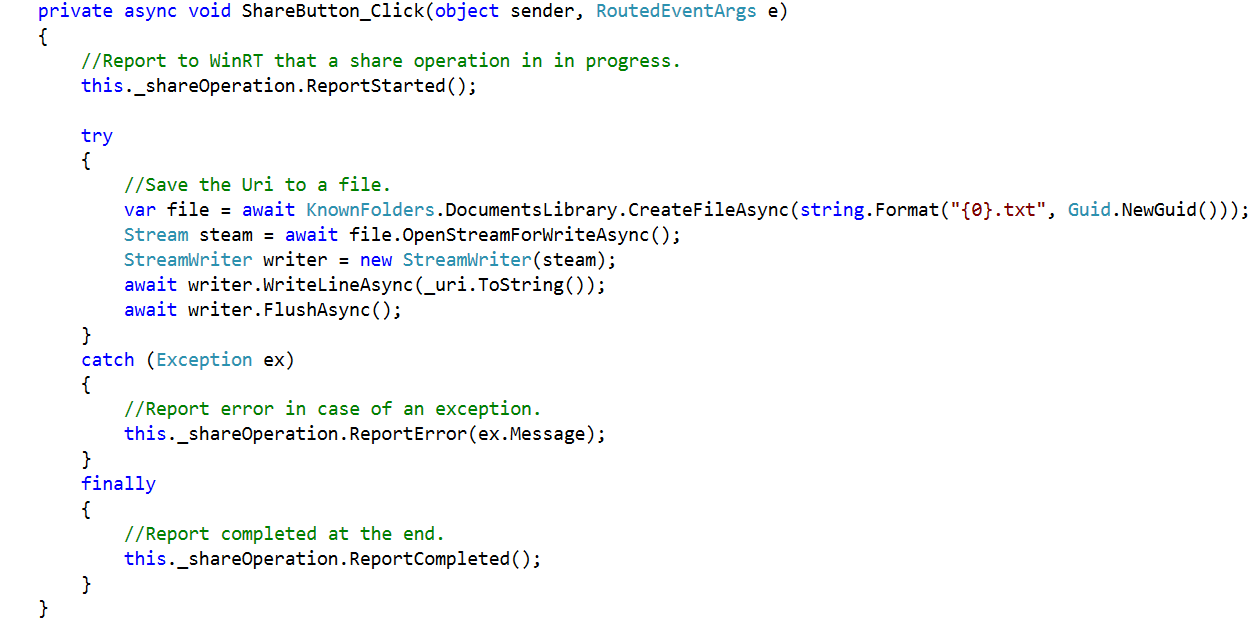
Until now we are just displaying the shared content, I am going to add some code to handle the process the shared data. Before we start the processing we have to indicate to WinRT that the share operation has started by calling the ShareOperation's Report Started method, and once done we have to indicate to WinRT the operation is completed by calling the Report Completed method .
Note :
The share UI is automatically dismissed when the share operation is reported as completed or an error is reported .
In case there is an exception, I am calling the ReportError method, which immediately closes the share pane and throws an error popup as shown below .
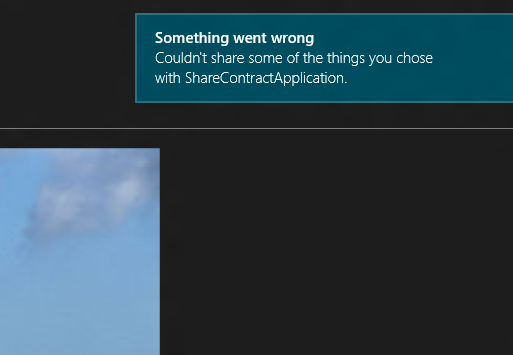
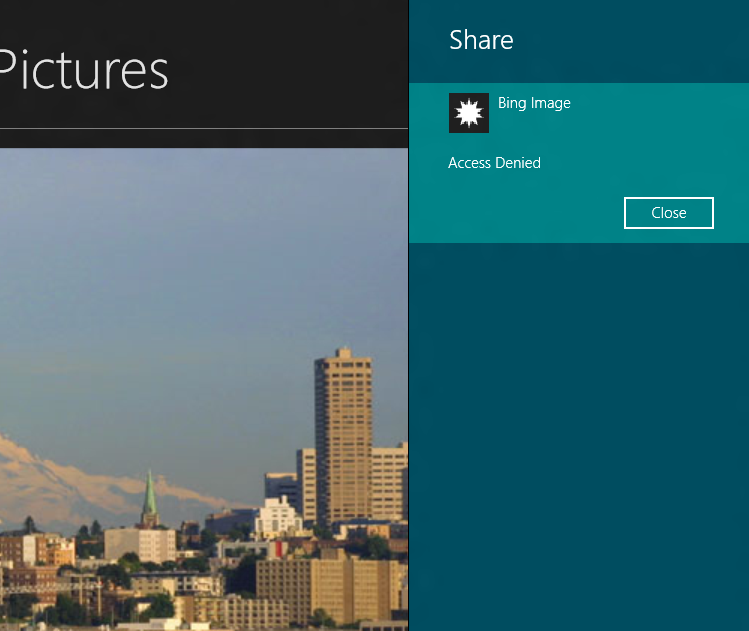
When this popup is clicked, another page opens which displays the actual error message.
In the next blog post I will implement Quick links and deferrals