Azure CLI - xPlat from Ubuntu
The following are the steps to Install Azure CLI on Ubuntu. Previously I blogged on how to do this from SUSE Linux ( https://blogs.msdn.microsoft.com/girishp/2015/08/20/azure-from-a-linux-mac-environmentinstall-linux-install-azure-cli-and-work-with-azure/ ). The one below is for Ubuntu Linux.
1. Login to your X-Window session manager on Linux 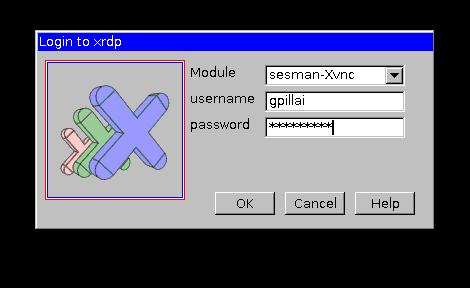
2. Install NPM
curl -sL https://deb.nodesource.com/setup\_4.x | sudo -E bash -
sudo apt-get install -y nodejs
Alternatively, for Node.js v5:
curl -sL https://deb.nodesource.com/setup\_5.x | sudo -E bash -
sudo apt-get install -y nodejs

P.S.: curl package must be installed on server for these code lines.
3. Install Node js
Sudo apt-get install nodejs
4. Install NPM 
5. Download Azure CLI from the below link and then extract it.
https://azure.microsoft.com/en-us/documentation/articles/xplat-cli-install/
6. Now Install Azure CLI
Sudo npm install azure-cli -g

7. Now check Azure CLI Works 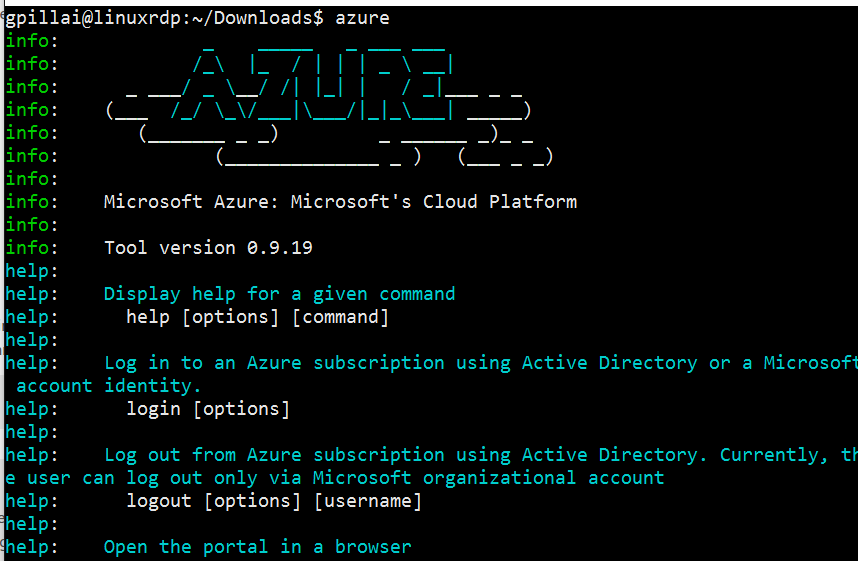
8. Azure CLI login 
9. Device Auth through browser 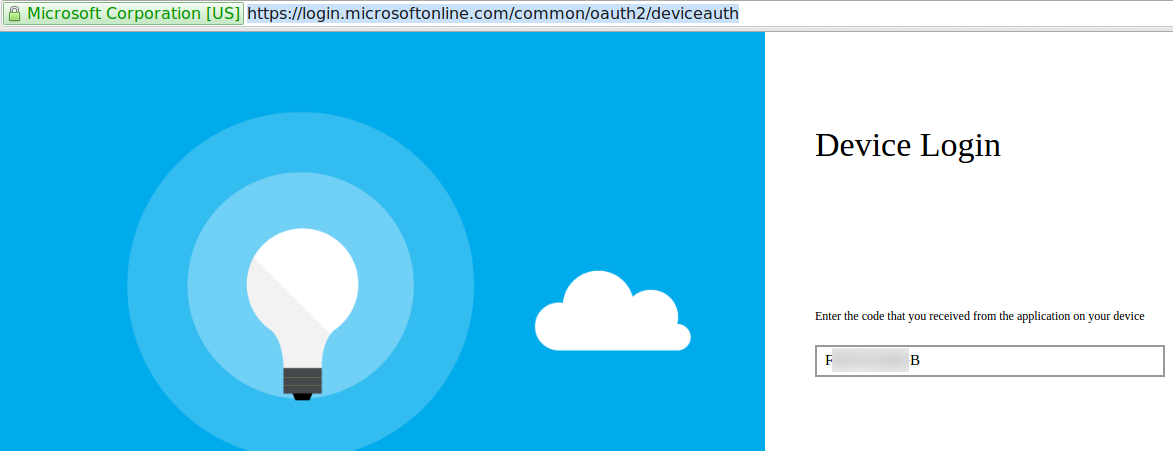
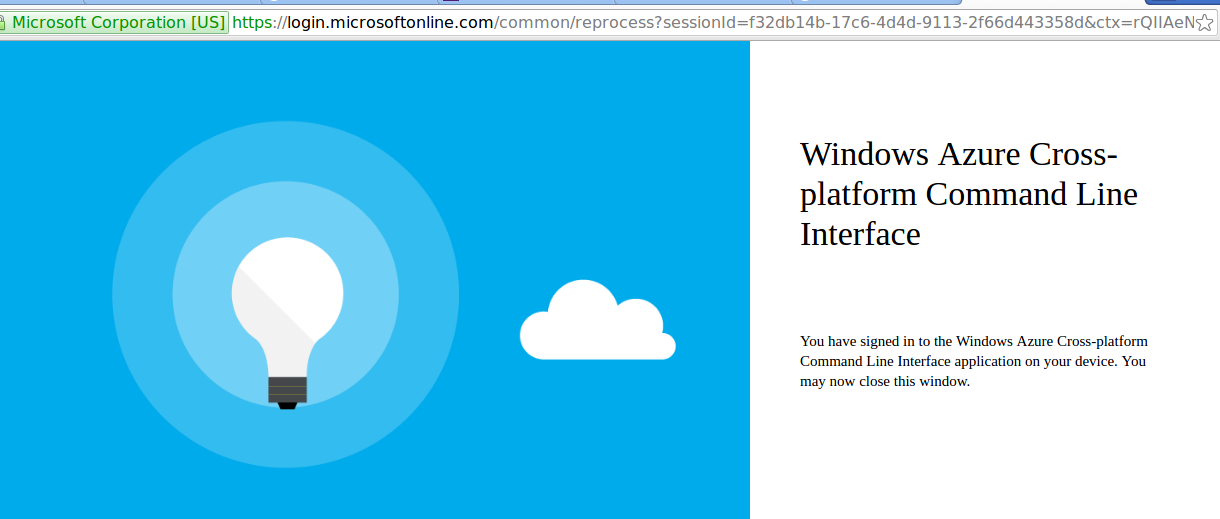
10. Login complete 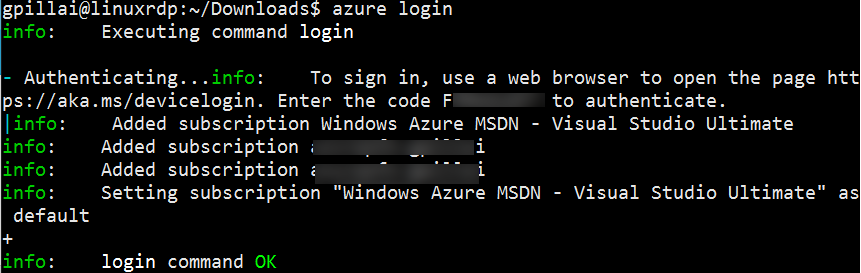
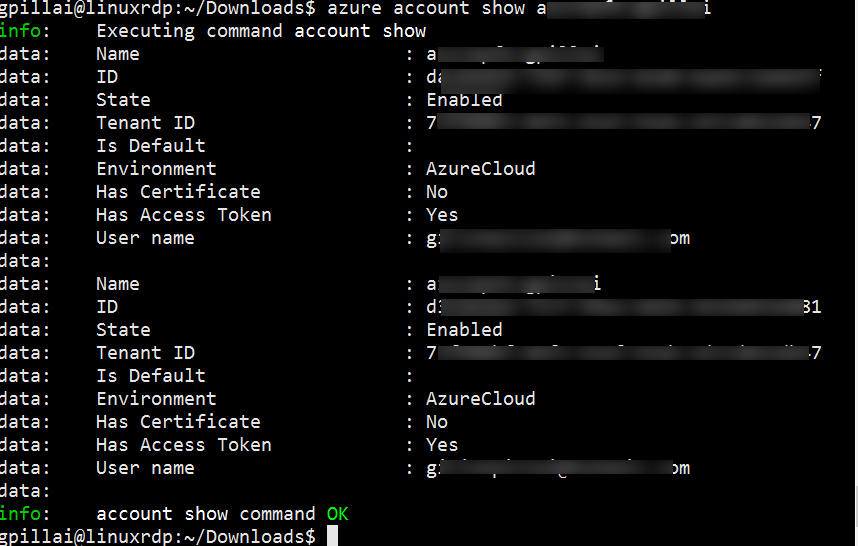
11. Run CLI commands
Show your account details. Last param is Subscription ID
Conclusion: Enjoy setting up, configuring, deploying and tearing down assets and resources in Azure from the command line, like a regular UNIX guy/gal.