Mobile Native App Automation using Appium with Visual Studio Android Emulator
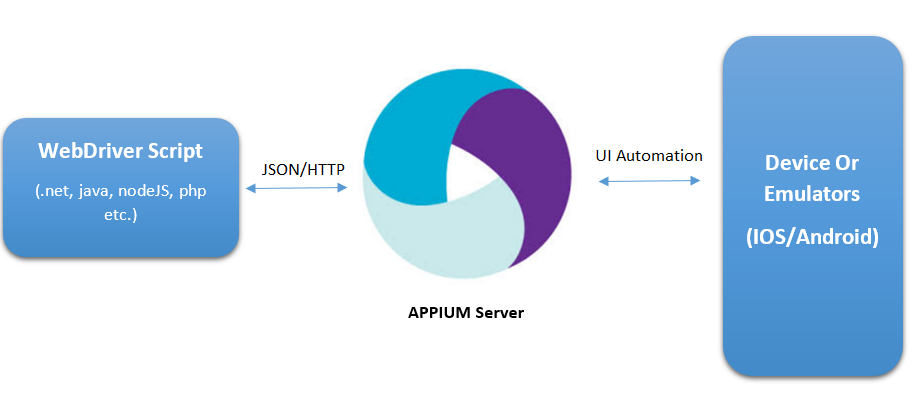
Appium is an open source cross platform automation tool for native/hybrid and mobile web based apps.
Why?
You can use Appium with various language like c#, java, Objective C with Selenium driver. Thus a truly cross platform automation tool!
How?
Machine which is running the web driver scripts communicates with Appium server through Http/JSON and in turn the Appium sends/receives the command to Devices/Emulators of Android or IOS platforms.
Here we will discuss about Integration of Appium with Visual Studio using C#.
Pre Requisites:
- Install Visual Studio SDK.
- Download Appium from https://appium.io/
- Java SDK from https://www.oracle.com/technetwork/java/javase/downloads/jdk8-downloads-2133151.html or any latest version.
- Android SDK https://developer.android.com/sdk/installing/index.html
- Install Node JS from https://nodejs.org/en/download/
- Configure the environment variables in your machine:
- JAVA_HOME: Pointing to the Java SDK folder\bin
- ANDROID_HOME: Pointing to the Android SDK Folder.
- Add the following paths in the Path variable: %JAVA_HOME%, %ANDROID_HOME%, %ANDROID_HOME%\tools\, %ANDROID_HOME%\platform-tools\
- Visual Studio Android Emulator: https://www.visualstudio.com/en-us/features/msft-android-emulator-vs.aspx
- Hyper V is enabled.
Setting up the Visual Studio Android Emulator.
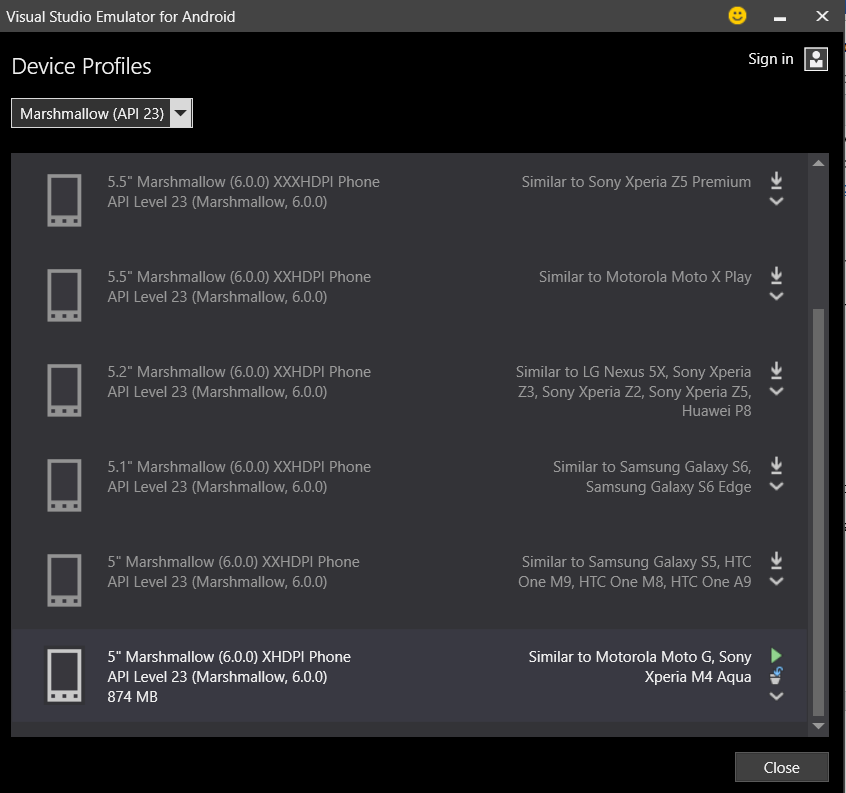
- Search for the visual studio android emulator and open it.
- Select the latest API level and download the emulator.
- Run the Emulator.
Setting up the Appium Server
- Launch the Appium.exe from the downloaded folder.
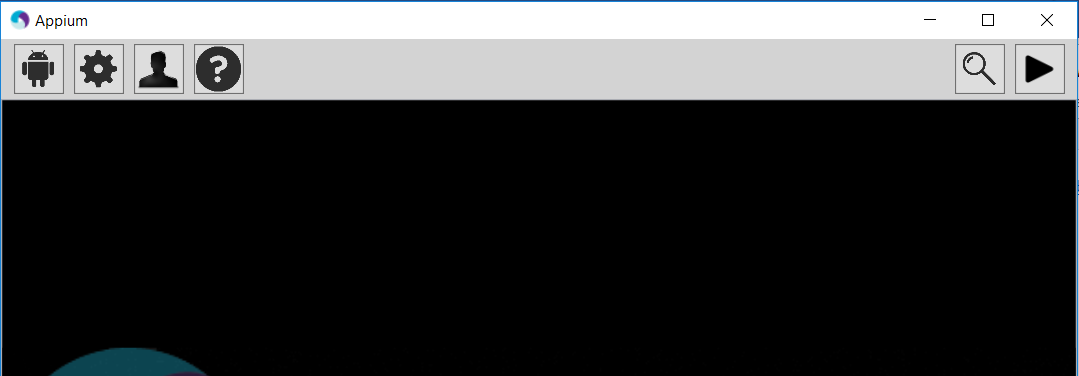
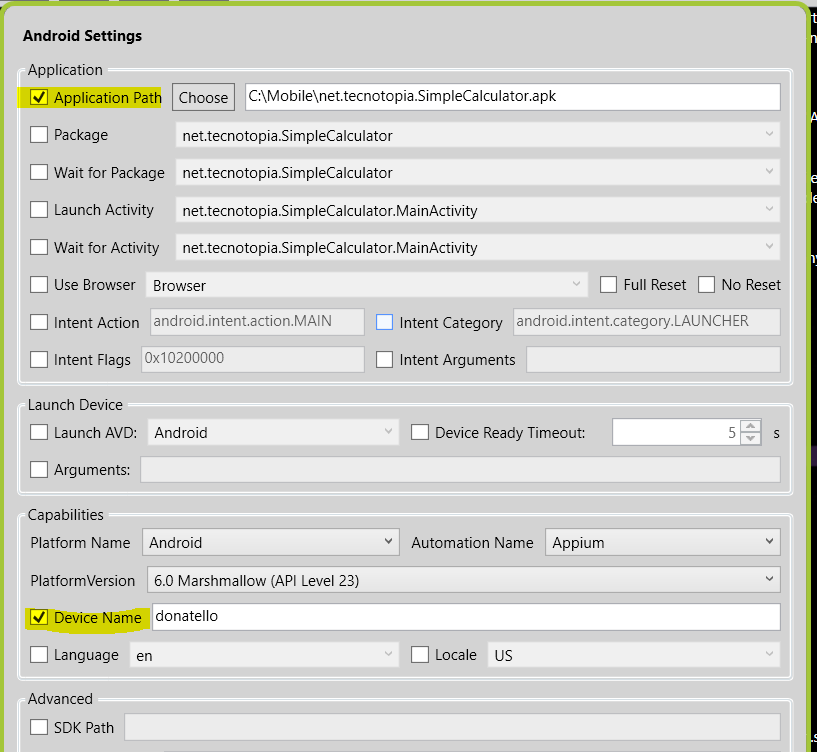
- Click on Android Icon and change the settings as highlighted.
- Click Play button.
How to get the Device Name ?
Goto Android SDK folder in command prompt. And type adb devices -l. This will list all the running devices.

Steps:
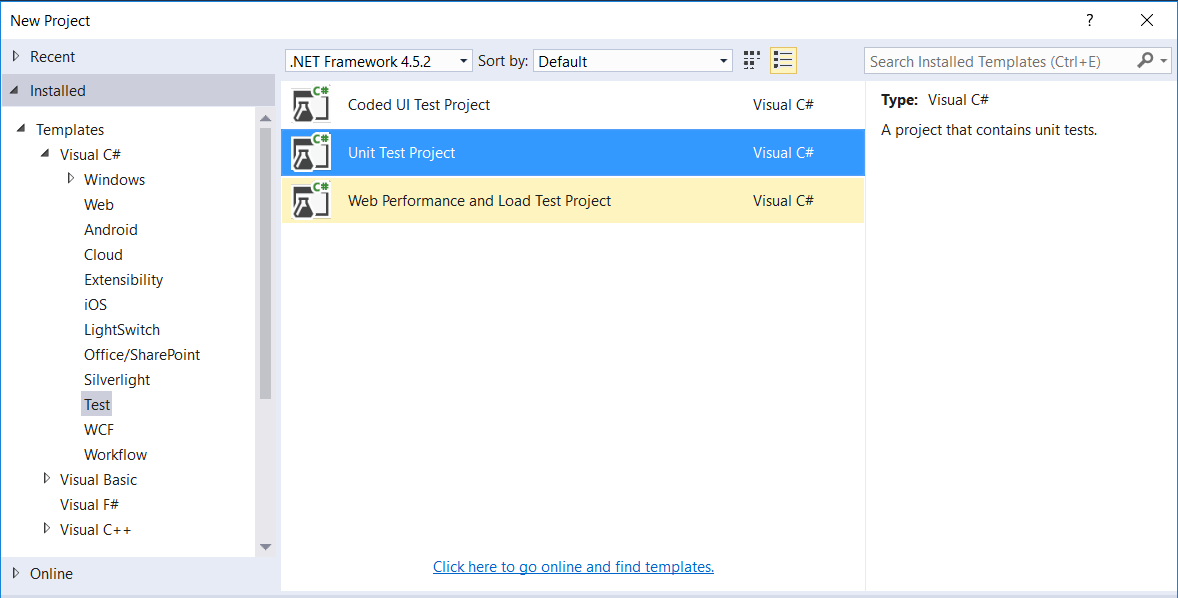
Create a new Unit Test project in Visual Studio.
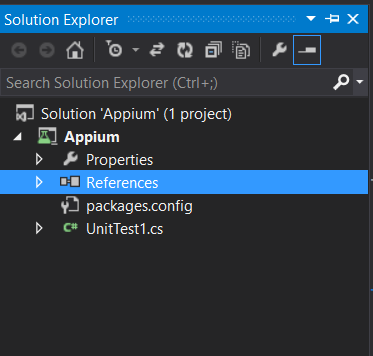
Under Reference in Solution Explorer, Click Add Manage Nuget Packages.
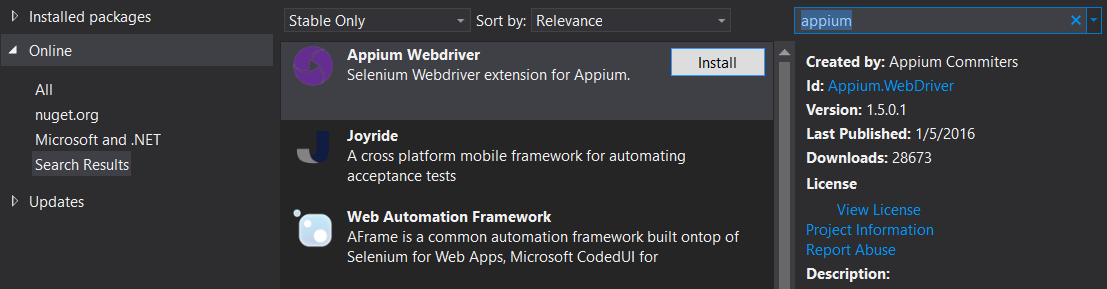
Search for ‘Appium’ and install.
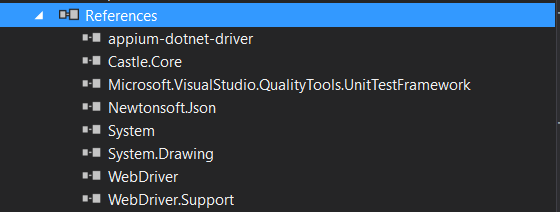
Post installation, the references will be updated.
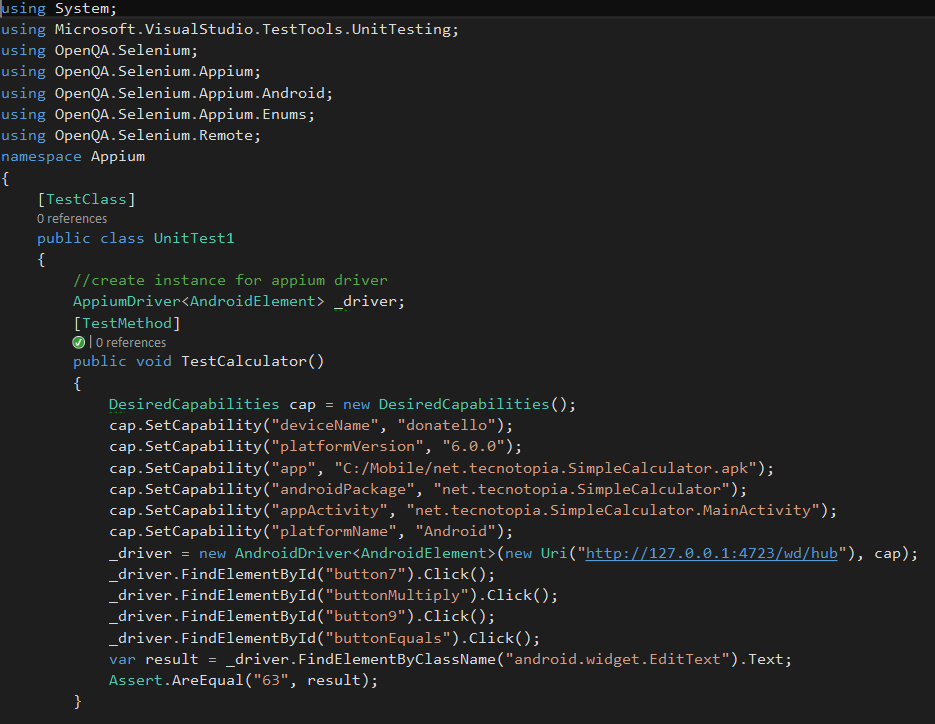
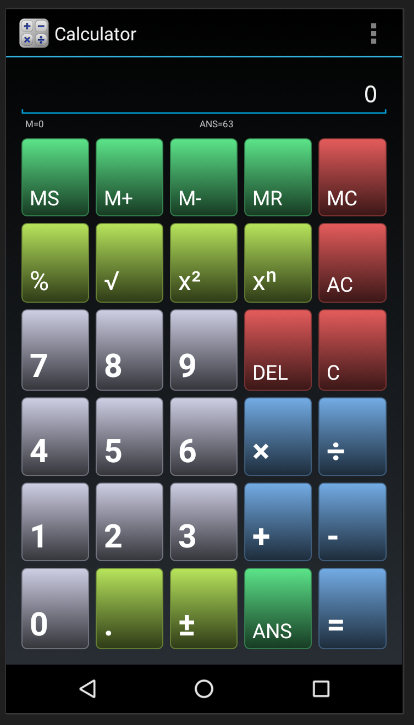
In the .cs file, enter the below code. In the below code, we would do a simple arithmetic operation using a custom calculator.
How to install the apk in the emulator?
Visual Studio Android Emulator gives us a flexible way of installing the apk by dragging and dropping the apk file onto the emulator ! which is as simple as anything !
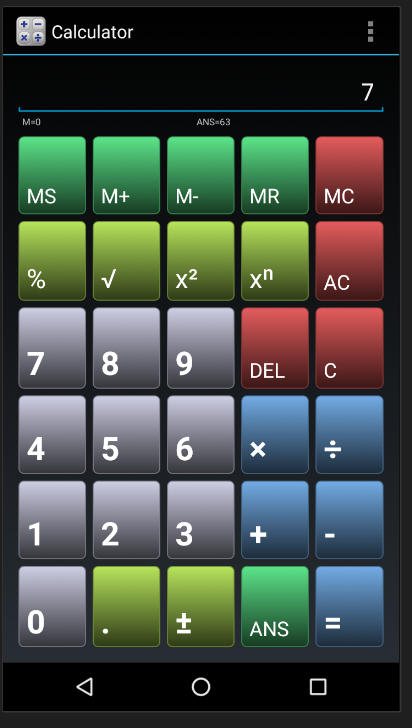
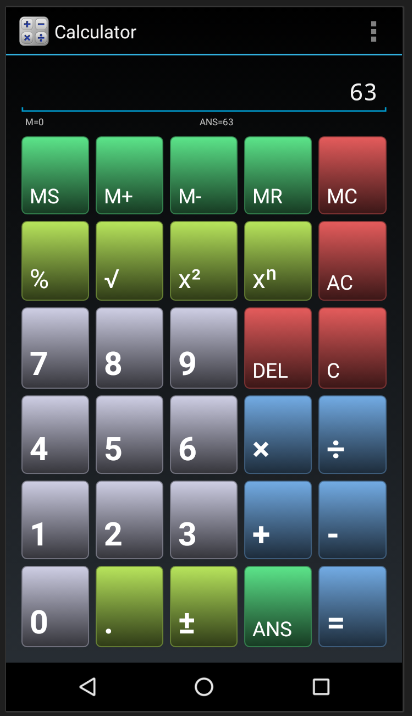
Results:

How to get the Element Properties?
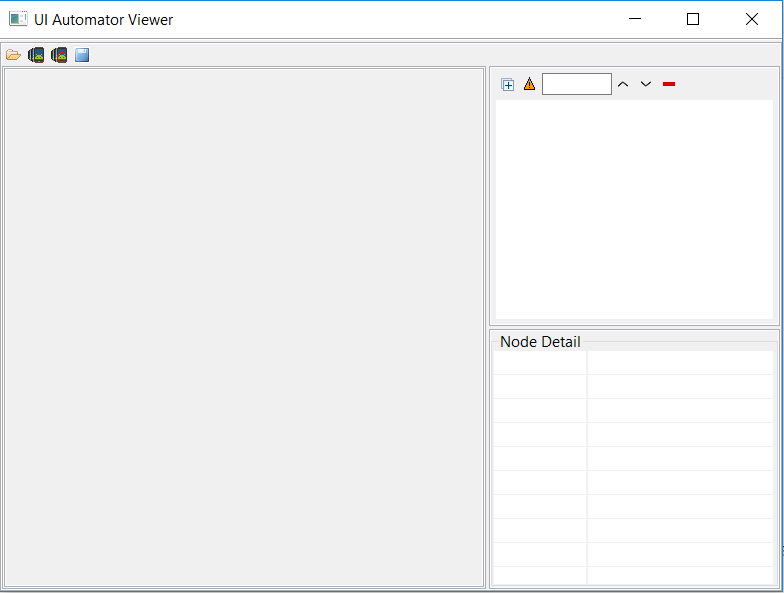
Open command prompt and navigate to Android SDK\tools. Launch uiautomatorviewer.bat file which will be displayed as below.
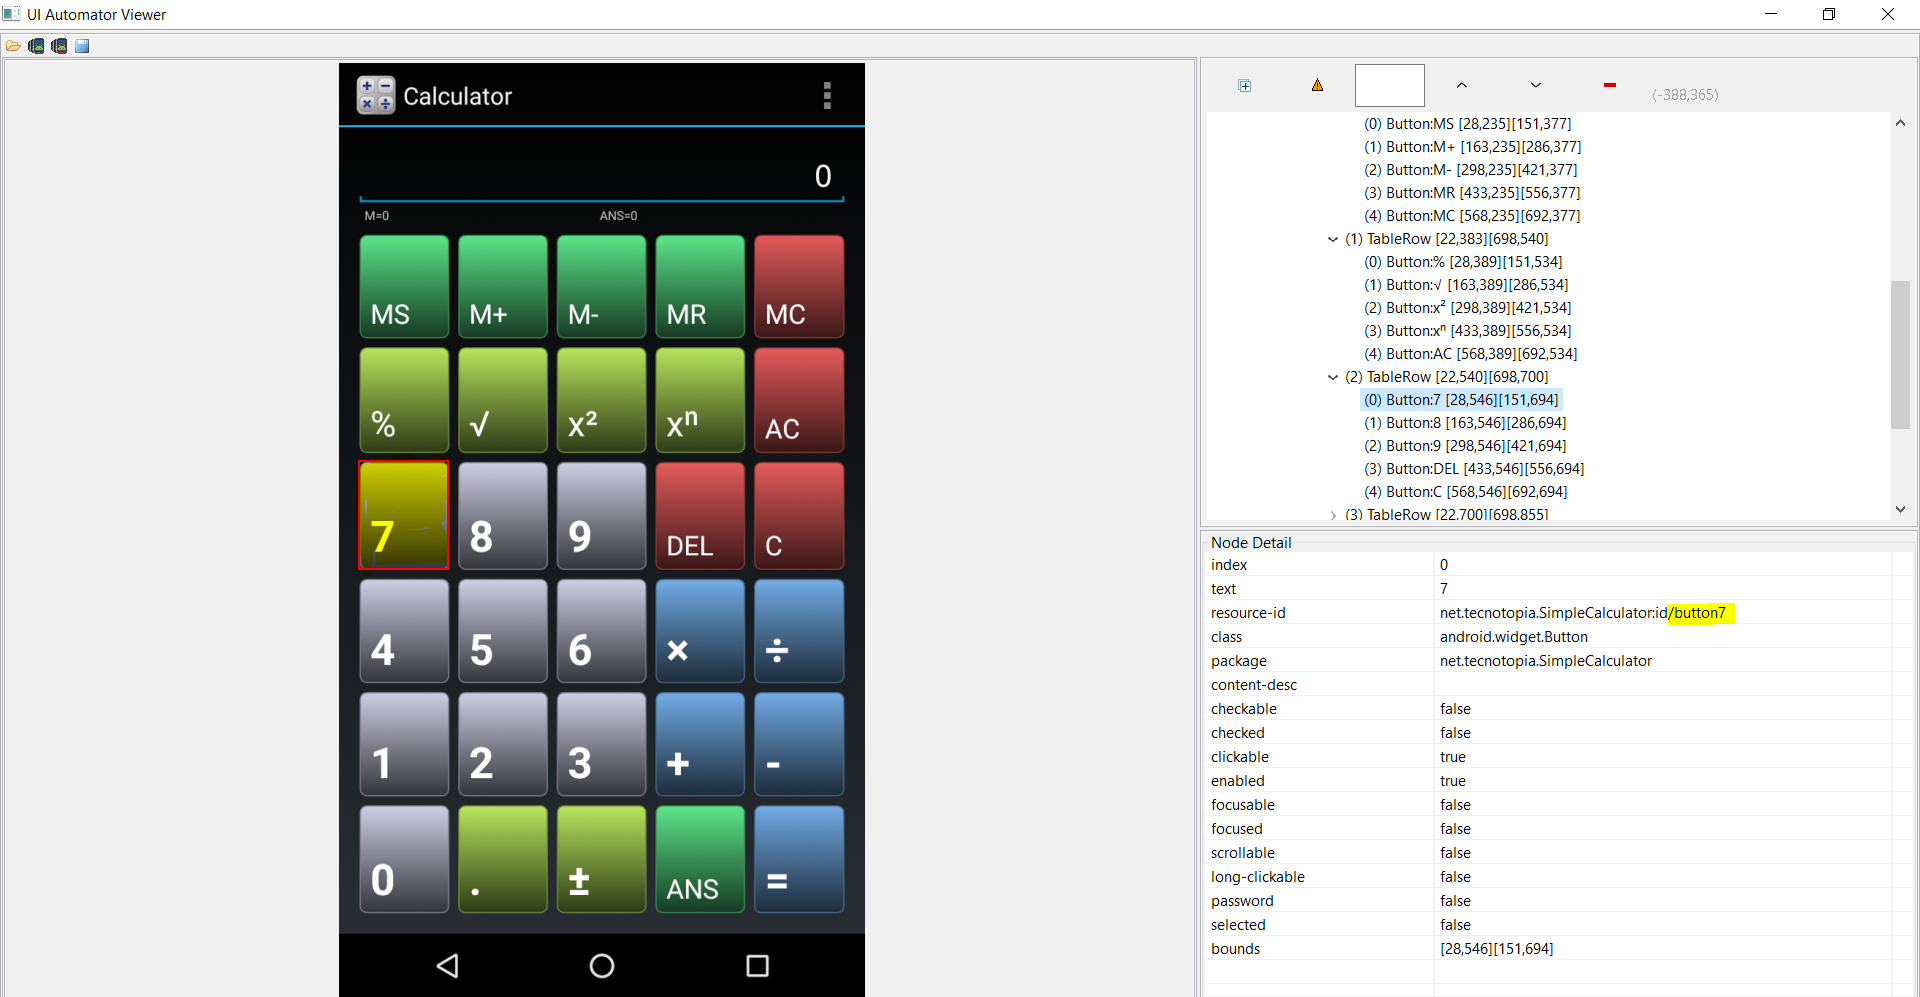
Click on the Device Screenshot (second icon from left in the above screen)
Once captured, the screen is visible with the UI metadata. Click on number '7'. Once selected, the number '7' is highlighted and get the ID value under the resource-id node.
Most common Issues faced !
1. Unable to connect to remote server - no connection could be made because the target server actively refused it 127.0.0.1:4723
Resolution : Ensure the Appium server is running. And the IP address is entered correct in the Appium server settings page. Verify the desired capabilities parameters.
2. A new connection could not be created. An unknown server side error occurred while processing the command. Unknown error. Device <IP address> is not online.
Resolution:
- Verify if the emulator/device is connected through adb devices -l in command prompt.
- Desired capabilities should be properly entered. Ex: devicename/platformversion/udid/platformname.
- Check for Appium settings. Restart the Appium server.
3. Could not find a connected Android device.
Resolution:
Ensure the android device or emulator is running. (goto command prompt, goto Android SDK\Tools\ and run adb devices -l)
4. An element could not be located on the page using the given search parameters.
Resolution: Verify the UI Control Parameter and add the proper reference in the code.
5. Appium not running.
Please check the type of operating system (x84 or x64) and install accordingly. Its better to keep a separate folder for appium related resources.