Hosting Git on the Cloud with Windows Azure Virtual Machines (Part 2)
In Part 1, I gave an overview of the new Windows Azure Virtual Machines, and explained why it is very interesting to use it to host Git repositories. In this post, we will see how to provision the Virtual Machine on Windows Azure.
- First, log in into the Windows Azure management portal (https://manage.windowsazure.com). The June release also brought the new HTML 5-based user interface, and I will use that interface in this guide.
- Create a storage account, it will be used to host the VHD file (the virtual disk) for the virtual machine: click on “+ New” in the bottom left corner, select “Storage”, then “Quick create”. Pick a name for your storage account, select in which location you want it to be stored (the closest location to where your users will be), and enable Geo-Replication. This will make sure that the VHD is replicated in a remote datacenter at least 400 miles away from the primary datacenter, for extra durability. Wait for the account to be created.

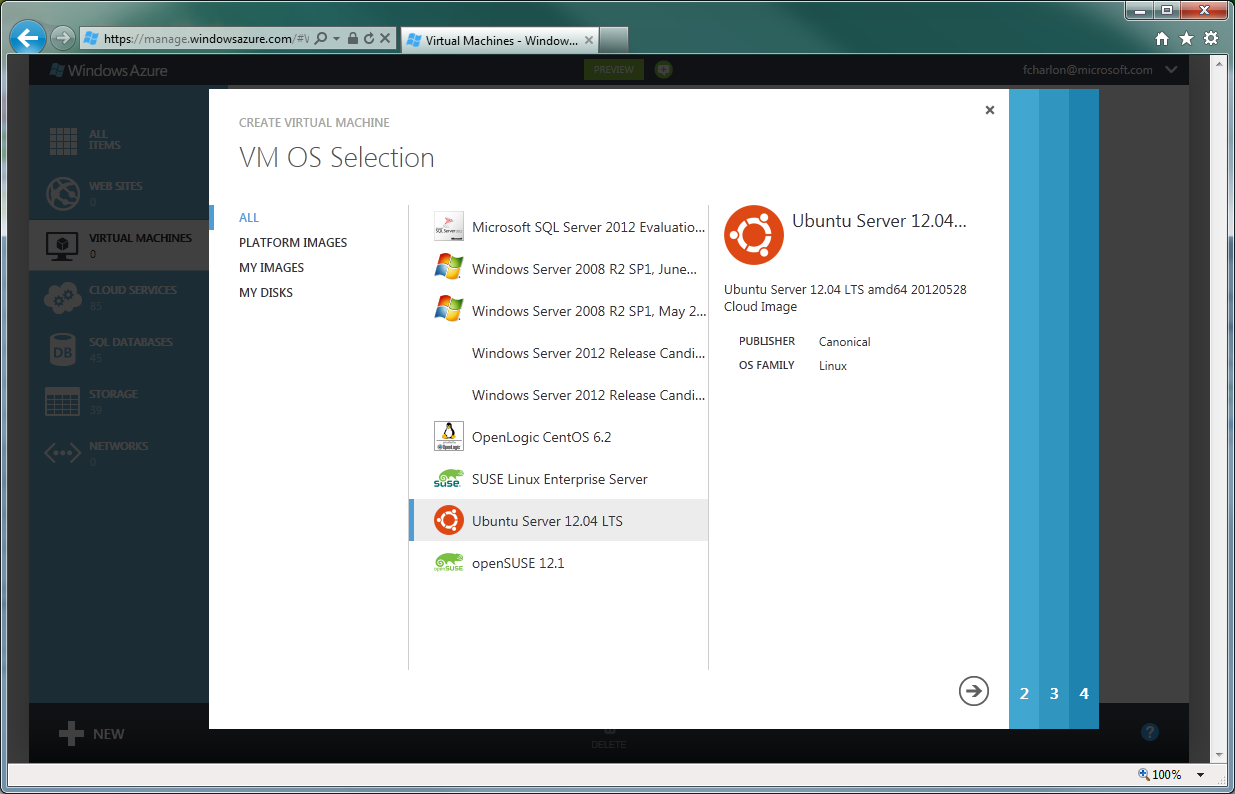
- Let’s now create the Virtual Machine. Click on “+ New” again, select “Virtual machine”, and “From Gallery”. A list of base images will appear. As I wrote in Part 1, it is entirely possible to host a Git repository on Windows, but in this series, we will work with a Linux OS. Select “Ubuntu Server 12.04 LTS”. Click Next.
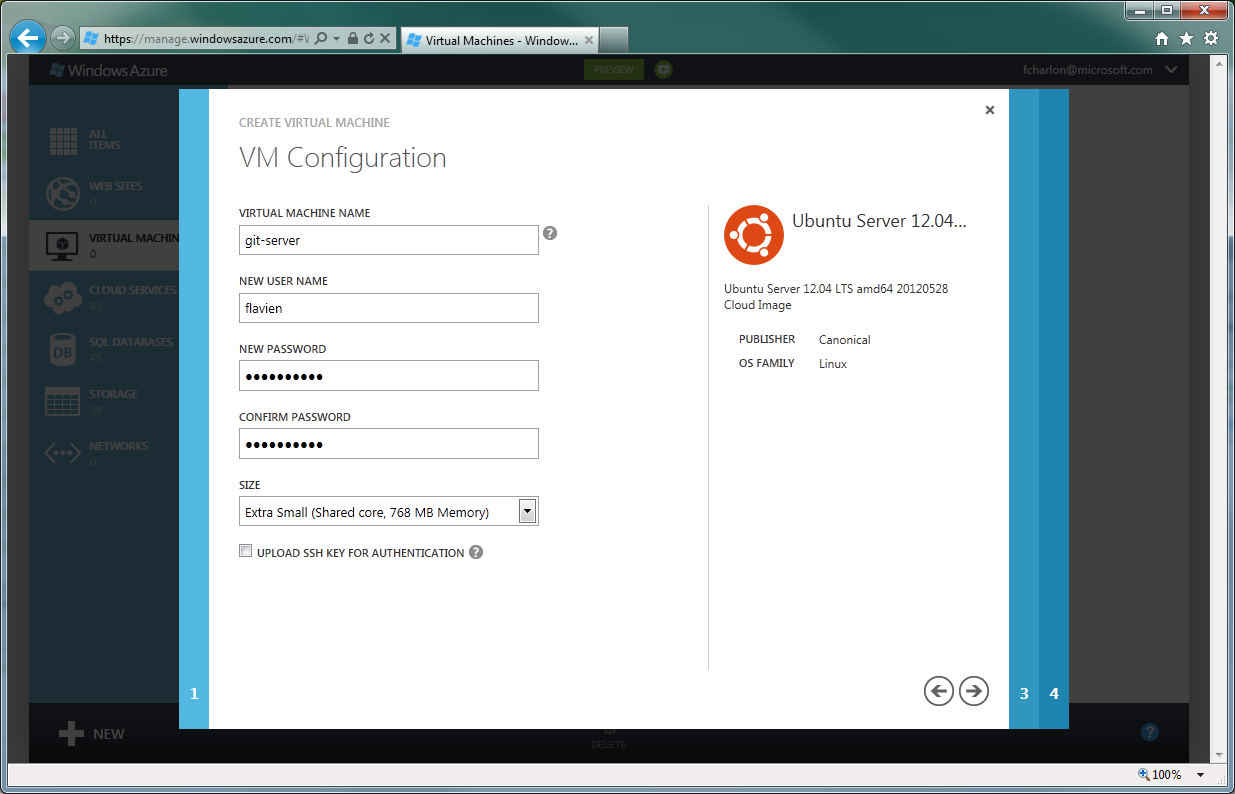
- Enter a name for your Virtual Machine, enter a username for the administrator, and enter a password. Select a Virtual Machine size. In this case I recommend “extra-small”, as this is enough for what we want to do, and this is 6 times cheaper than a small VM. Click Next.
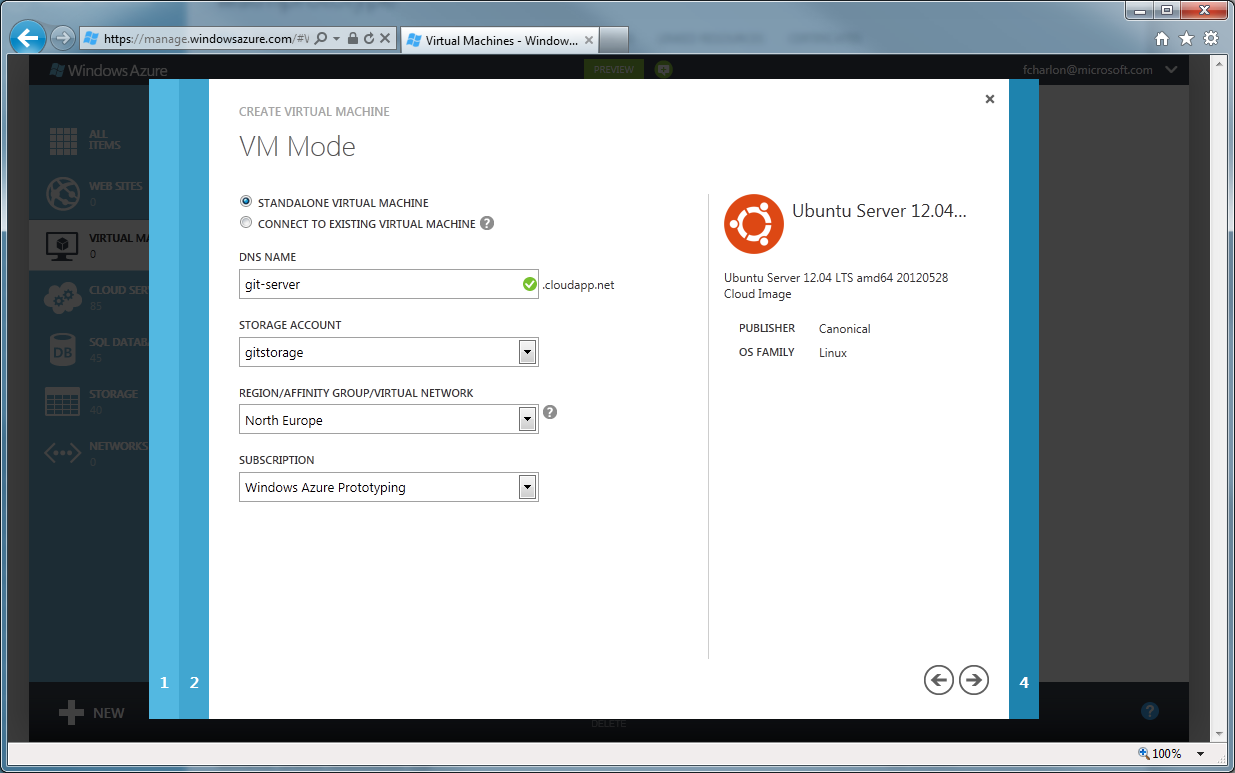
- Select “Standalone Virtual Machine”, pick a DNS name (this will be the name you use to access the Git server remotely), select the storage account we created in step 1, and select the same region as you chose in step 1. Click Next, and wait for the virtual machine to be created.
You can also chose to attach a second VHD to the Virtual Machine. This is useful if you want to make sure the repositories are stored on a different disk than the OS. You can then chose the size of the disk depending on how much space you need for your source code. There is additional setup to do if you chose to do so, which I will not cover in this series, but you can find the instructions on this page. If you don’t do that, the OS partition will have about 25 GB free for your source code.
You have now created your Virtual Machine, in the next post, we will see how to configure the server and setup Git on it.