Hosting Git on the Cloud with Windows Azure Virtual Machines (Part 3)
In the previous post, we have seen how to create a Virtual Machine on Windows Azure running Linux (Ubuntu Server). We are now going to see how to setup Git on that machine.
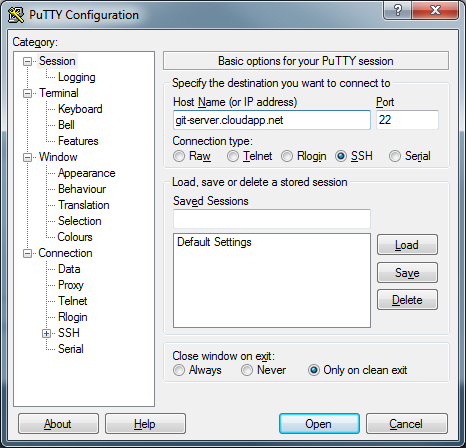
I will assume you are running Windows on your client machine. We will use Putty to connect to the Virtual Machine using the SSH protocol. Download it from this webpage, and make sure you take the Zip file that contains all the binaries.
Launch Putty. You will then need to specify the host name of your VM. It will take the form of xxxx.cloudapp.net. The first part (xxxx) is what you have chosen in part 2 of this series. If you don’t remember what you chose, you can find it by going back to the Azure Portal. It will be displayed on the right. Leave the rest as the default (port should be 22). Windows Azure has automatically opened the port 22 on the load balancer to let traffic in. All the other ports will be closed to reduce the surface of attack.
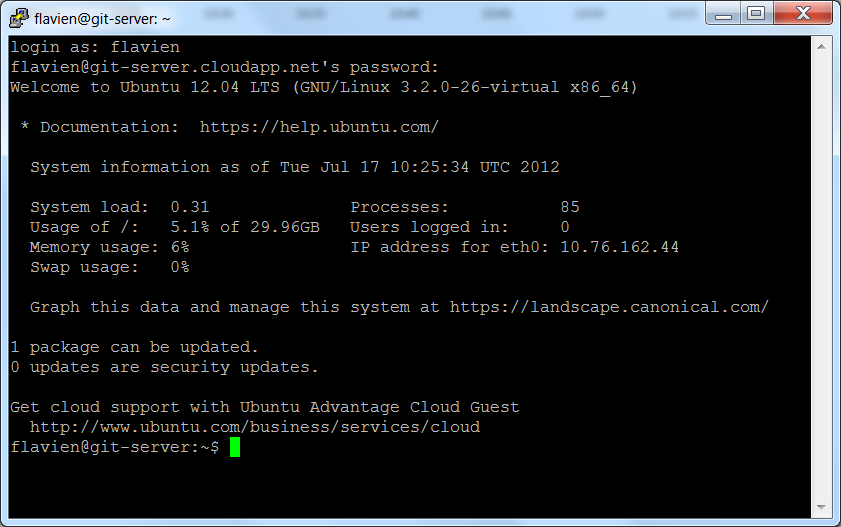
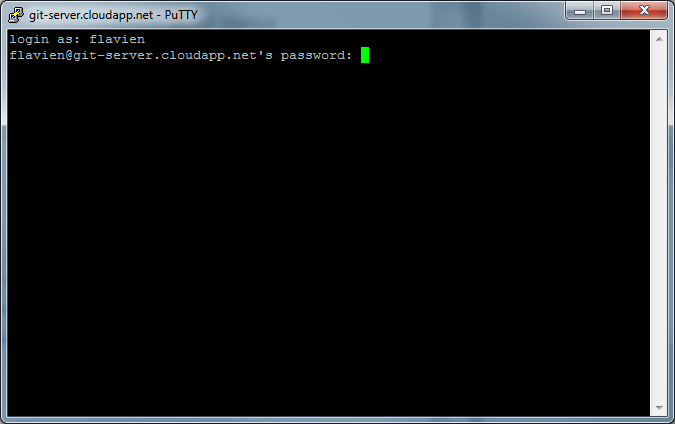
You will be prompted for your username and the password. Once you have typed them, you will be logged in remotely on the Virtual Machine.
Run those commands to make sure your OS is up to date and to install git.
 sudo apt-get update
sudo apt-get dist-upgrade
sudo apt-get install git-core
Let’s create a user ‘git’ that we will use to access the repositories:
adduser gitAll the contributors will use that user to push or pull from the repositories, however that doesn’t mean that they will have to share the password. We will see later why.
We will now create the directory where all the repositories will be stored. We will create that directory under the main user's own home directory (/home/flavien in our case). Since the 'git' user doesn’t have write permissions in that user's home directory, it will not be able to delete the ‘repositories’ directory:
mkdir ~/repositoriesHowever we want only the 'git' user to have full access to the content of the directory.
First, we need to install the ACL package. That will give us the ability to set a default ACL on the directory. A default ACL is a special kind of ACL defining the access ACL that files and subdirectories directly under the directory inherit when they are created.
Install the ACL package by running this command:
sudo apt-get install aclNow, run the following commands to set the proper permissions on the 'repositories' directory:
 chmod 700 ~/repositories
setfacl -m defaut:user::rwx ~/repositories
sudo chown git:git ~/repositories
If you run the command « getfacl ~/repositories », you should see the following:
 # file: repositories
# owner: git
# group: git
user::rwx
group::---
other::---
default:user::rwx
default:group::---
default:other::---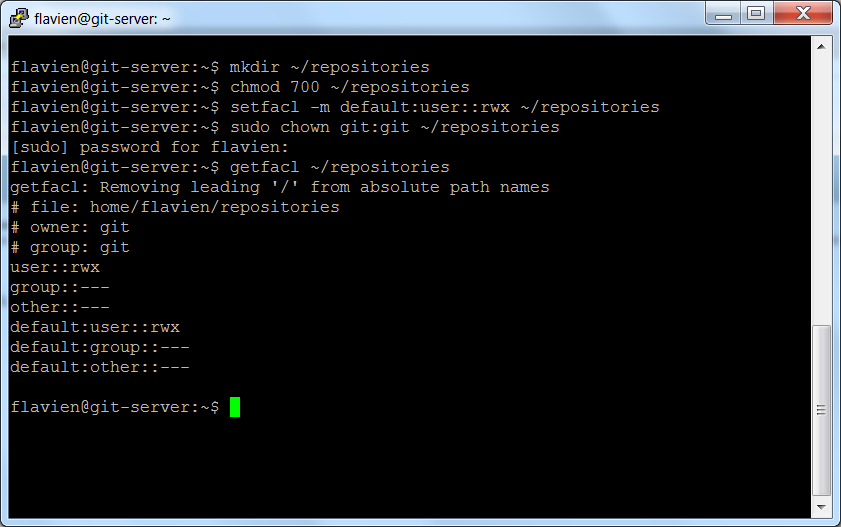
We are now going to create a symbolic link to simplify access to the repositories. Type the following command:
sudo ln -s /home/$USER/repositories /gitYou can check that the symbolic link was properly created by running:
ls -al /git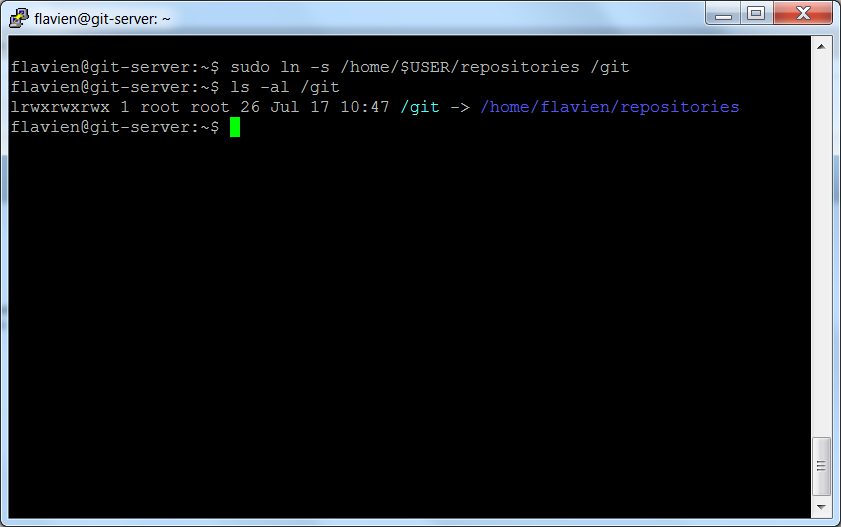
Let’s now configure authentication. Each contributor will use a private key of their own. All those keys will be configured to grant access to the ‘git’ account, so that all the contributors will share the 'git' account on the virtual machine, without having to share the password.
On your Windows client, start Puttygen, and generate a key (it should be part of the zip file you downloaded on the Putty website). Enter a passphrase, and save the private key on your disk. Copy the public key (where it says “Public key for pasting into OpenSSH authorized_keys file”).

Now go back to the VM on putty, and type:
 mkdir /home/git/.ssh
echo "ssh-rsa AAAAB3N[…]B+Q== rsa-key-20120704" >> /home/git/.ssh/authorized_keys
In the second command, you need to replace the part in red with the public key you copied from Puttygen.
Each contributor should generate a key pair with Puttygen, and send you the public key. You will need to add all those public keys to the authorized_keys file by repeating the command above. Each contributor will then have a key that they can use to connect to the VM on behalf of the git user.
The setup of the VM is now complete. Git is installed on the machine, we have created a dedicated user for accessing repositories, and only that user has access to them, which means that if you install more services on the virtual machine, there is no risk of them changing or deleting the repositories. We have also created key pairs for every contributor, so that they can pull and push to the git repository on the machine, using SSH. In the last post in this series, we will see how to configure TortoiseGit, create a new repository on the virtual machine, and push changes from a client.