Installing CRM 2011 on Windows Server 2012
With the release of CRM 2011 Update Rollup 13 installation on Windows Server 2012 is now supported. There are a few prerequisites that are different to 2008R2 so the information below should enable you to have an error free setup.
In Windows Server 2012 ensure that you enable the following Features and Roles. In 2012 the installations of both have been combined into one handy wizard:
Server Manager – Manage – Add Roles and Features
· File and Storage Services
· Web Server (IIS)
· .Net Framework 3.5 Features
· .NET Framework 4.5 Features
· Windows Search Service
To install CRM on Windows 2012 you will need to download the CRM setup from the Microsoft Download website; the iso image cannot be used as it does not already contain the slipstreamed UR6 package.
Copy this installation package to a temporary folder. Here I’ll be using C:\crm_install\
To complete the CRM server installation on Windows 2012 a Self-Healing Setup (SHS) update is also needed. If the Server has an active internet connection and Windows Update enabled this can be downloaded at runtime.
If not then you can download the SHS package and configure the installation. Add the “Setup Update for Microsoft Dynamics CRM Server 2011” and complete the basket to download.
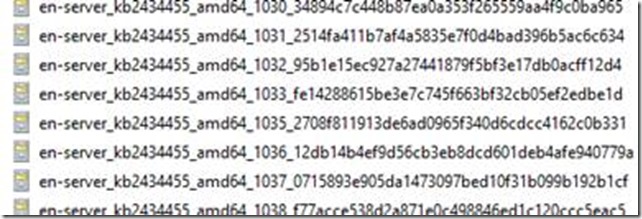
The download contains all of the languages of the SHS and so you need to select the one that matches the base language of your CRM installation.
Extract the cab file for your language and inside you will find a ‘.msp’ package. Copy this to your c:\crm_install folder.
The final setup component you need is a setup config file. This ensures the crm installation process locates and uses the SHS you have downloaded. In the config file you need to specify the directory of your language specify SHS.
For full information you can review technet but I’ve included a simple example below:
<CRMSetup>
<Server>
<Patch update="true">c:\crm_install\Server_KB2434455_amd64_1033.msp</Patch>
</Server>
</CRMSetup>
Save this file as config.xml in the C:\crm_install directory. You should now have everything you need to start the installation process
As you’ll be installing using the config file you’ll need to complete the installation using Command Prompt.
First up navigate to the crm_install folder and extract the installation package:
Create a new ‘server’ folder in the crm_install directory when prompted by the extraction wizard. After that is completed you will see a “the extraction is complete” popup.
Navigate to this ‘server’ folder to run the SetupServer.exe and provide the config file details so that the SHS is used.
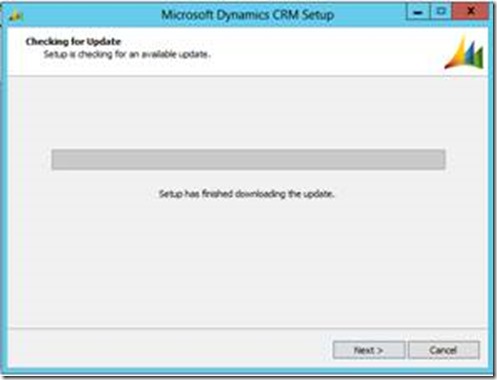
The checking for update step should show “Setup has finished downloading the update” to confirm that the setup has picked the SHS up correctly from the config file.
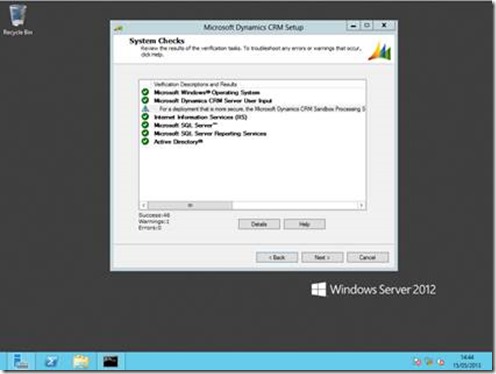
After this step the installation process is the same as on Windows 2008R2 and you should see a nice green screen on your system checks.
Best Regards
EMEA Dynamics CRM Support Team


