ASUS EEE PC Running XPe, fun PC!
As part of an ongoing effort on the Windows Embedded team, our management encourages us to seek out new relevant devices to our industry to get a chance to understand these new devices and see how our products may apply. One of these new gadgets that I felt would apply was the Asus EEE PC! After ordering one, and patiently waiting, it has finally arrived! I’m going to use the steps in my previous article on how to run TAP from WinPE to get a hardware profile so I can make an XPe Image for this device.
Before I do that, here’s some interesting info on the Asus EEE PC.
Specs:
Intel Celeron Processor
7” LCD
4GB SSD Storage
512 RAM
Built in Wifi and LAN
Built in SD/MMC Reader
3 USB Ports
VGA Out
Headphone and Microphone Jacks
4 Cell Battery Lasting about 3 Hours
Weight: 2 Pounds!
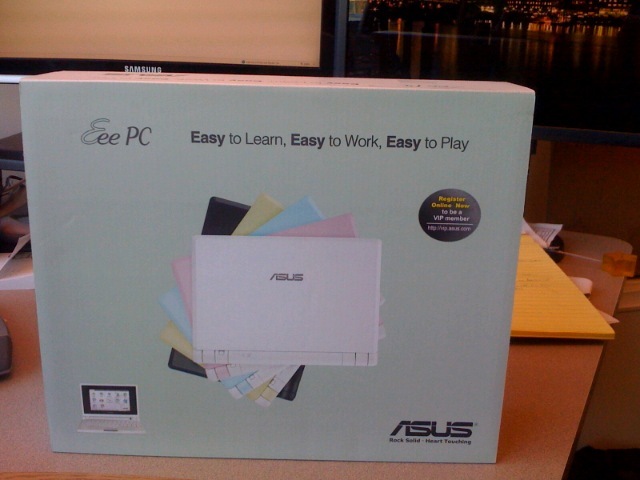
In the Box:
- Asus EEE PC
- Battery Charger
- 4 Cell Battery
- Restore CD with Windows Drivers
Size:
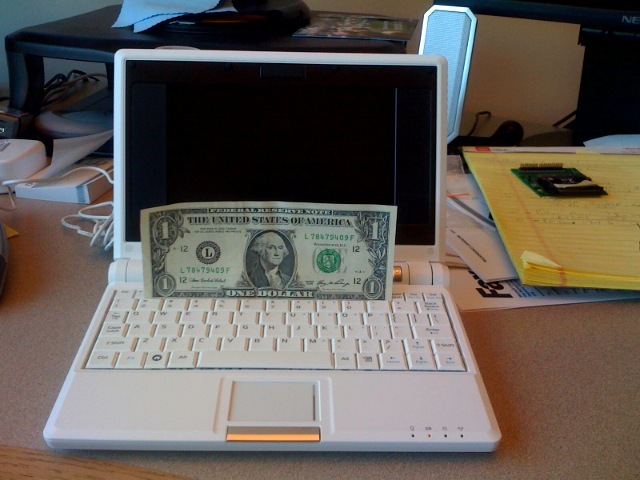
* Dollar is intended to gauge size, and is not included in the box.
Okay let’s begin!
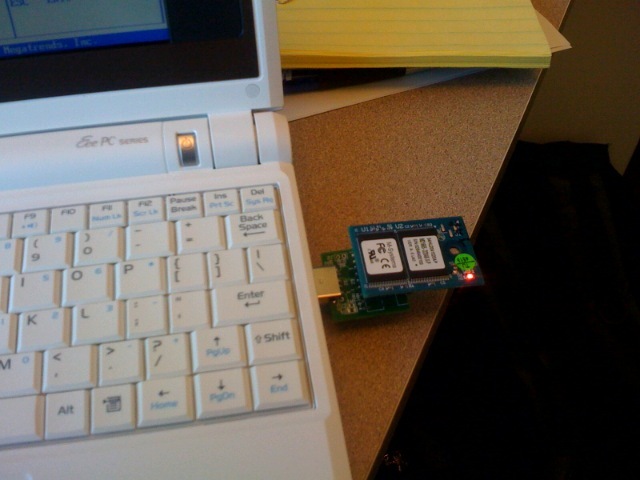
First we need to configure the ASUS system to boot from a USB drive, by default the ASUS is configured to boot from USB. I am using an M-Systems/Sandisk SSD with a USB Adaptor it shows up in the BIOS as a hard drive, so I must change a setting in the BIOS so it boots the SSD first.
USB Drive I’m using:
Insert your USB Drive into the ASUS System, and then boot into the BIOS by pressing F2.
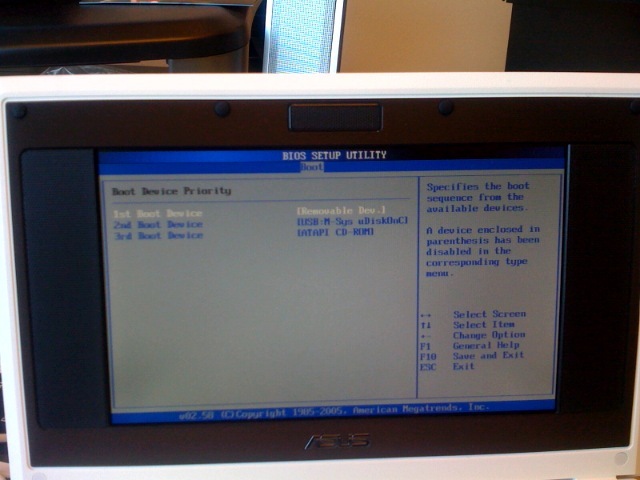
Go to the Boot menu, and then to boot priority, make sure the Removable Disk is set as the first boot device.
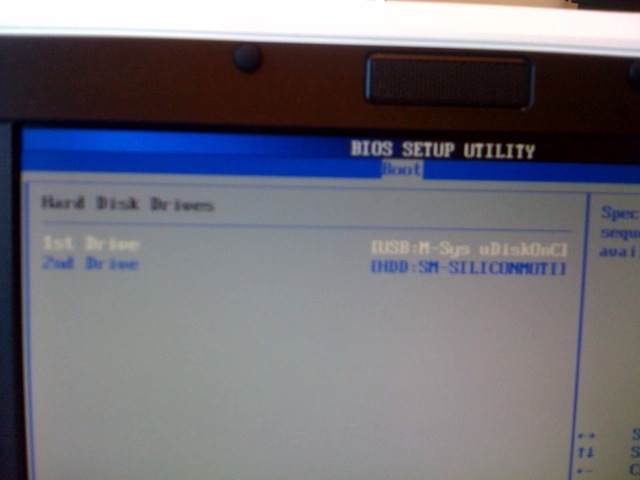
Now under the Boot Menu, go under Hard Disk Drives, in my case USB:M-Sys uDiskOnCh is set as the 1st Boot Device.
After you have made these changes, it’s time to reboot the PC and boot into WinPE using your drive you made from my last blog article!
Once you’re booted into WinPE, run TAP.
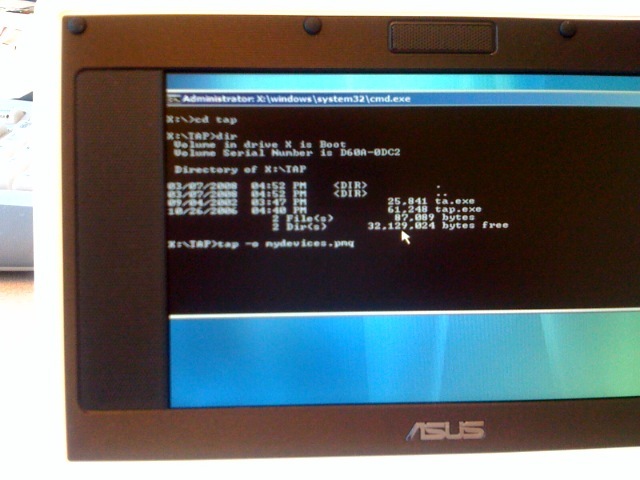
Be sure to save your mydevices.pmq to a location other than the RAM drive, in my case the D: drive was the actual location for the USB drive.
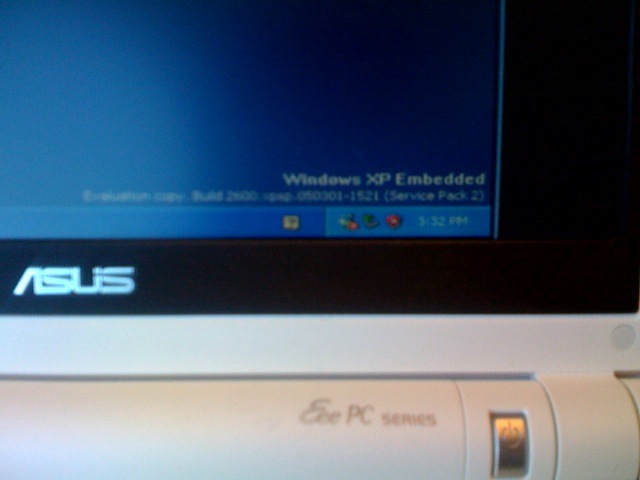
Import your mydevices.pmq into Target Designer, add in your components (Many of the drivers for the ASUS are not in Target Designer, see this article on how to Componentize Drivers.), and VIOLA, an XPe image for the ASUS EEE PC.
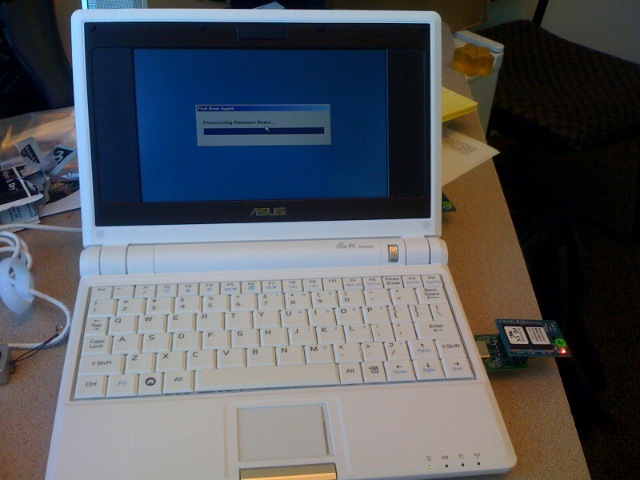
Here’s my ASUS booting XPe in the First Boot Agent Stage:
I’m going to use my newly created ASUS EEE XPe PC to Remote Desktop into my Office Desktop during meetings.
- Parag
Technorati Tags: XPe, Componentization