Introduction to Web Development; Getting started with ASP.NET
In the second of a series of five articles exploring Microsoft Web technologies we take a look at setting up a development environment and hosting for your web applications.
The Development Environment
 To get you ready to rock with ASP.NET and Silverlight we first have to set up a development environment and local test server. For ASP.NET and the Silverlight business logic we use Visual Studio 2008 and for the graphical elements for Silverlight we will use Expression Blend. Both of these products are available for free to students from DreamSpark. All you need to do is visit the DreamSpark Web site, verify your student status and download Visual Studio 2008 and the Expression Suite.
To make life easy Visual Studio and Expression Blend both incorporate a web server for testing applications locally so it’s as easy as hitting F5 (Start debugging) and checking everything is working OK. The Web server included with both of these applications is known as Cassini and can be downloaded and installed independently.
Web Application Hosting
When it comes to web hosting, you have two options: either set up your own server, or use managed hosting provided by a third party.
Setting up IIS
 For a production server, you’re going to need Windows Server – this is available through Dreamspark. Dreamspark provides Windows Server in an ISO format, which you’ll need to burn to disc. MSP Kris Athi has written a great guide on how to do this on Channel8 which you can view here.
Once Windows Server is installed, you’ll need to install IIS (Internet Information Services) – there’s a guide on TechNet that details how to do this.
Finally, you’ll need to configure your home directory in IIS, which is where you’ll host your Web site. To do this, launch IIS ('Administrative Tools' > 'Internet Information Services') and expand the 'Web Sites' node. You should see 'Default Web Site' – view the properties for this web site. Configuration varies from machine to machine, but on this configuration page should be a directory telling you where the 'Default Web Site' is storing its files. Simply change this setting to a folder of your choice – and that’s it! IIS is now configured and ready to rock.
To make sure computers outside your local network can see your Web site, you’ll need to open your Internet port on your router, if you have one. To find out how to do this, refer to your router’s documentation. Usually, it’s a simple matter of adding your server’s IP address to an address table and mapping port 80 to this IP.
WebFusion Hosting
If you want to make things easy for yourself, then the managed server options probably for you. And guess what? Microsoft and WebFusion are offering free web hosting for all UK students, so it’s a no-brainer. To learn more about our hosting offer, take a look at this blog post, or to get your code, click here to email me.
Once you’ve got your account set up, you’ll get an email with FTP details – these details will allow you to edit your web site in Visual Studio.
Editing a Web Site via FTP in Visual Studio
There are a few easy steps to start editing your site in Visual Studio:
- Launch Visual Studio.
- Select 'File' > 'Open' > 'Web Site'.
- Select 'FTP Site' from the list.
- Specify the FTP settings from the previous email.
Now you can start editing your web site remotely, all within Visual Studio!
Writing an ASP.NET “Hello World!” App
So now we’ve got our development environment and our hosting set up, let’s build a simple app to test everything’s working.
- Launch Visual Studio and create a new project:
- Select 'File' > 'New' > 'Project' using the menu.
- Under the branches, select 'Visual C#' > 'Web'.
- Finally, select 'ASP.NET Web Application' and click 'OK'.
- Once Visual Studio has built your project, open the C# source file:
- In the Solution Explorer, expand the Default.aspx branch.
- Double click on the Default.aspx.cs file to edit the C# code.
- Type some code to test that ASP.NET is configured correctly:
- Under the Page_Load void, type: 'Response.Write("Hello World!");'
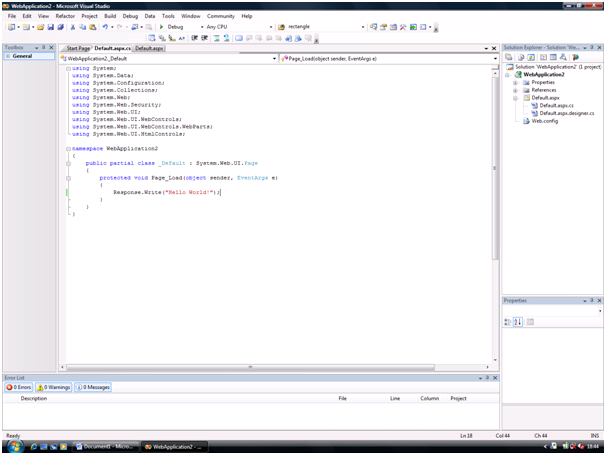
That’s it! Now, simply hit the F5 key to start debugging your application – you should see a page in Internet Explorer that reads “Hello World!” – that means you’ve configured ASP.NET correctly.
Now we have everything installed and configured and hosting in place we’re ready to start writing some serious code. Next month we will create an ASP.NET Web application with a SQL server database to store and retrieve data. Then in following months I’ll show you how to build a Silverlight front end for our application.
Technorati Tags: ASP.NET,Hosting,Visual Studio,IIS,Expression Blend,Silverlight,Webfusion