Ask Learn
Preview
Please sign in to use this experience.
Sign inThis browser is no longer supported.
Upgrade to Microsoft Edge to take advantage of the latest features, security updates, and technical support.
Note
Access to this page requires authorization. You can try signing in or changing directories.
Access to this page requires authorization. You can try changing directories.
As many of you will know the Imagine Cup is the worlds largest technology competition for students. Microsoft runs the competition on an annual basis and internationally around 130k students compete from 100 countries. The competition has nine categories each a competition in their own right. The categories are:
Each competition has several rounds leading to a grand final which this year will be hosted in Paris with top prizes as high as $15k.
The competition has been open since late August so now everyone in the UK is back at university it's a great time to get a team together and compete. The first rounds for all the competitions are designed to be easy to compete in so take a look at the above links and get involved.
To get you started I have written a couple of guides to entering round one of the Games Development and Project Hoshimi competitions. The guide to getting started with XNA can be found here and the Project Hoshimi guide below...
Guide to Project Hoshimi
Project Hoshimi is a programming battle where participants program strategy for bots to follow. The strategy is then played out in a real-time 3D environment. There are various scenarios and characters for which scenarios will have to be programmed and an SDK is provided.
For round one of the competition the focus is on getting started and strategy, little programming will be required and strategy will be programmed through a graphical user interface. There will be a set of criteria that must be completed by the bots and everyone who meets these criteria and uploads their strategy file will proceed to round two of the competition. In the SDK you will complete round one in ‘Discovery Mode’
Round two sees competitors get more involved with the programming of the bots with an updated SDK and objectives. In round two you will not get to see the map before your bots enter it so yopu will have to program strategy that adapts. You will also have a competitor’s team trying to complete the objectives at the same time as you adding an extra level of complexity. In the SDK you will complete round one in ‘Intermediate Mode’
All qualifiers are distributed into pools by country and then an elimination format is used to determine the top 3 teams per country. Those top 3 teams per country are then all put together in one pool. An elimination format is used to determine the top 6 teams to move on to the final round. The final round will be held in Paris at the worldwide finals. The top six teams from round two will battle it out in a twenty four hour competition!
Getting Started
Project Hoshimi requires the installation of a special SDK which will allow you to devise strategy for your nanobots and see the strategy played out live in a 3D environment.
Fig.1:
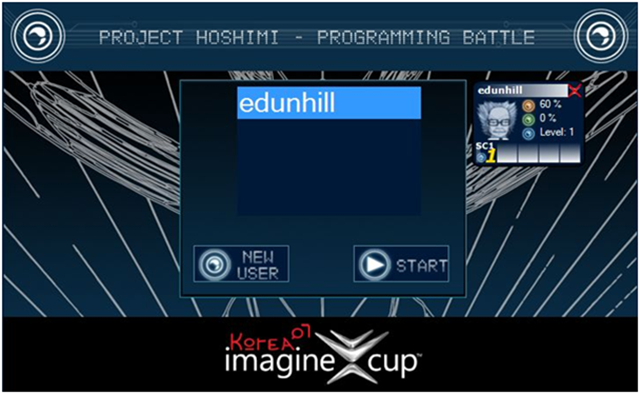
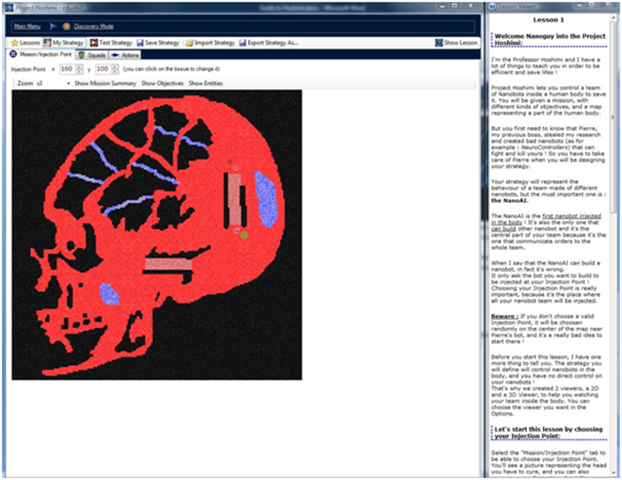
Fig.2:
Tutorial
This tutorial is based on Project Hoshimi 2007 and uses the 2007 SDK. The 2008 SDK will be different but the principles discussed here will carry through and prepare you for round one of the 2008 invitational.
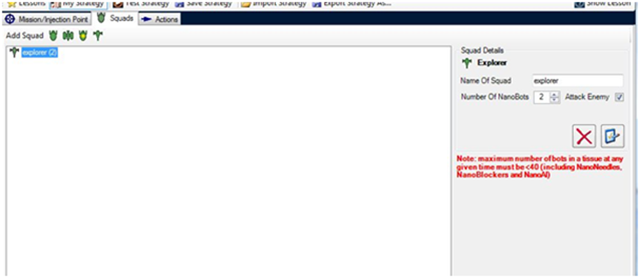
To enter round one of the Project Hoshimi invitational you will need to use Discovery Mode in the Project Hoshimi SDK to complete a set of objectives using a team of nanobots. The below guide will walk you through choosing an injection point, creating nanobots and giving them behaviours and should equip you with the skills necessary to success in round one.
Fig.3:
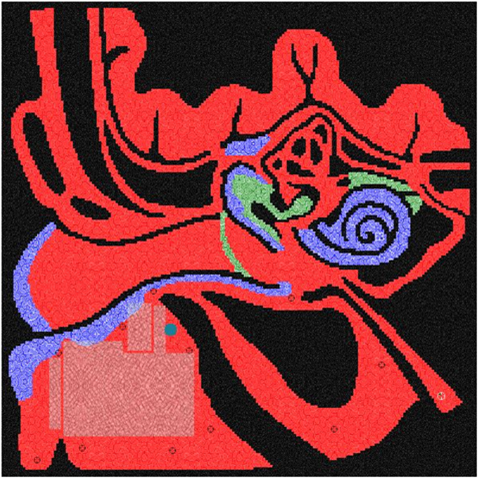
Fig.4:
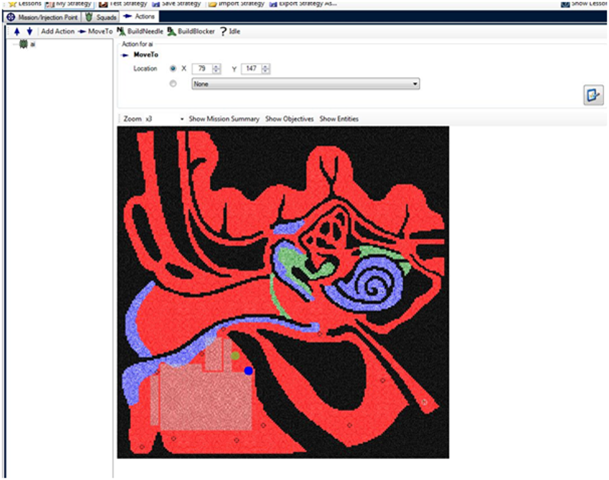
Fig.5:
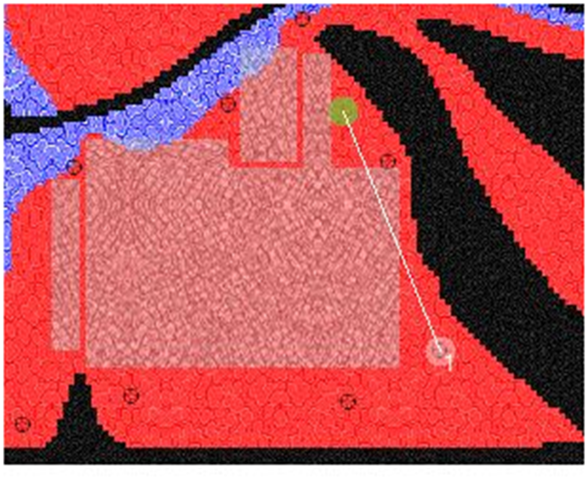
Fig.6:
Resources
Technorati Tags: Imagine Cup, Project Hoshimi, Students, Microsoft
Please sign in to use this experience.
Sign in