Early Access II Sign-Up Process
To help our customers and partners visualize the Early Access II Sign-Up process prior to starting, below is a walk-thru guide for what you can expect the Sign-Up experience to look like.
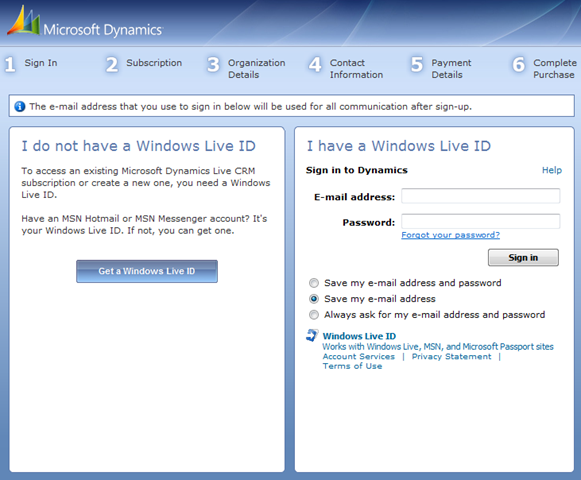
Step 1a (Sign In - WLID):
When you receive your Early Access invitation from your Solution Sales Professional, you will receive a specific sign in URL for either US or Canada. The first screen you will see is below. You will enter your applicable Windows Live ID (WLID) you would like to tie the CRM Live account to and click Sign In. If you don't have a WLID, you can click Get a Windows Live ID to create one. You will want to carefully chose a WLID as this will be the WLID you use to sign into CRM Live once your organization is provisioned. It is also the WLID that is used when accessing CRM Live customer support.
***Please Note: If you see the (Subscription) screen for Step 1b you are most likely already signed in with a WLID. To ensure a smooth sign in process you will need to sign-out of your existing WLID session and click on the URL link again to get to this starting screen.
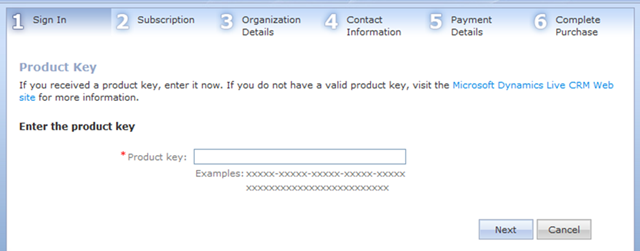
Step 1b (Sign In - Product Key):
In your Early Access invitation you will have also received a product activation key. You can copy/paste the key into the "Product Key" field. Be aware that this key is unique and can only be used once. Once completed click Next.
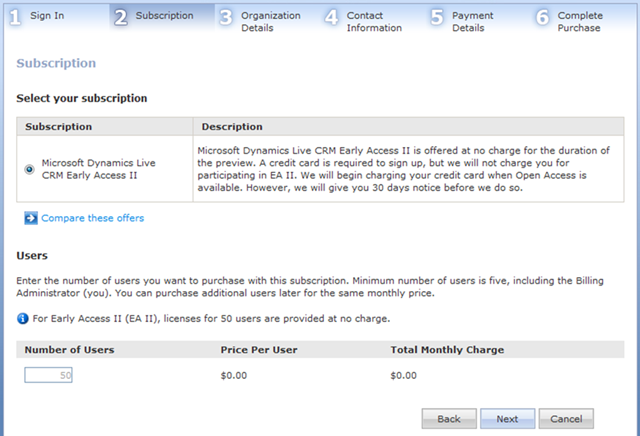
Step 2 (Subscription):
During Early Access, you don't have a choice to specify your subscription (Professional or Professional Plus) or the number of users your organization will use. Proceed and click Next.
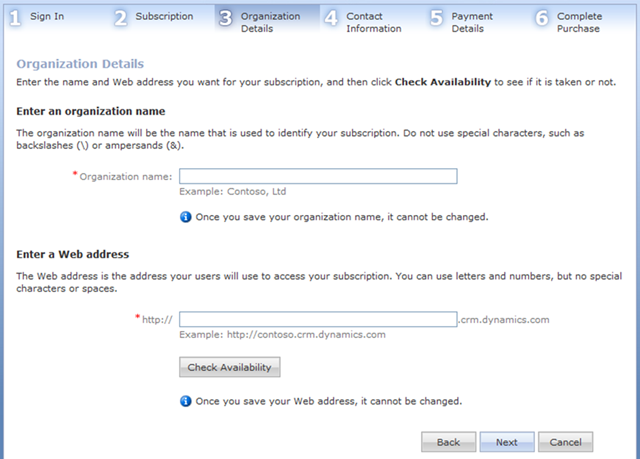
Step 3 (Organization Details):
The organization details step allow you to specific the unique URL name that your CRM Live organization can be accessed at (i.e. https://contonso.crm.dynamics.com). It is very important you choose this information carefully as you will not be able to change this after you complete the purchase process.
***Please Note: During sign up, when you specify the organization name, you can enter only letters (A-Z or a-z), numbers (0 – 9), or hyphens (-). If you enter an invalid character, such as an underscore (_), the sign-up can not be completed.
During signup, when you specify the organization name, you can only enter the following letters, numbers and other characters:
- Letters (A-Z or a-z). Organization names should start with a letter.
- Numbers (0-9)
- Hypens (-) in the middle of the name. (sample-org), but not at the beginning or end (-badsampleorg or badsampleorg-)
- Up to 30 characters
- No underscores ( _ )
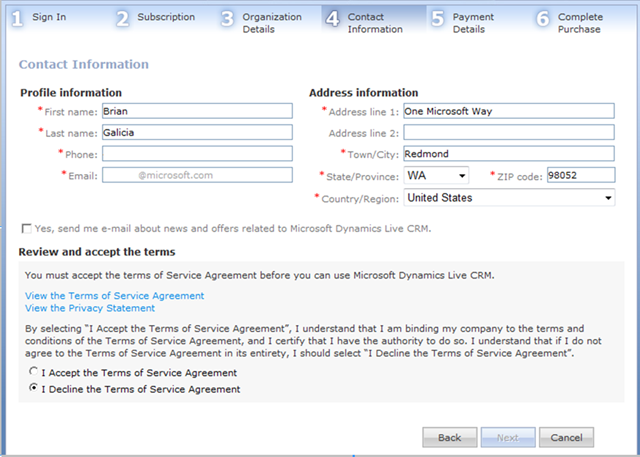
Step 4 (Contact Information):
At Step 4, enter your contact information and accept the terms once you review the Terms of Service Agreement and Privacy Statement, and then click Next.
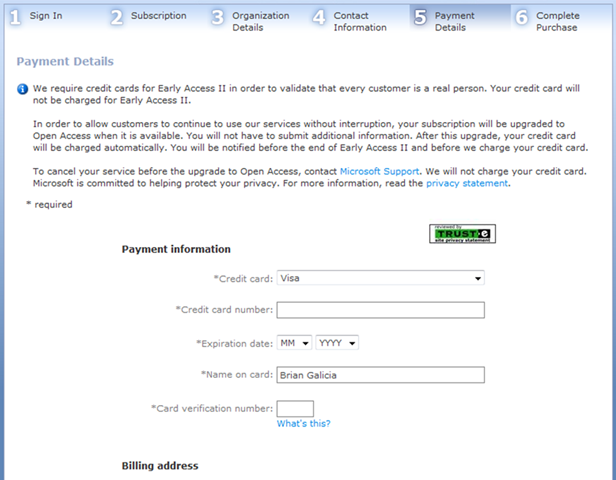
Step 5 (Payment Details):
At Step 5, enter the required information to establish a Microsoft Billing Account, and then click Next.
***Please Note: For Microsoft Dynamics CRM Live Early Access II, you must provide a credit card number, which will NOT be charged. The card number is for validation only.
Step 6 (Complete Purchase):
At Step 6, you can review the information you have entered. If you would like to make any corrections, click the Back button. Otherwise to complete the sign-up process, click Purchase.
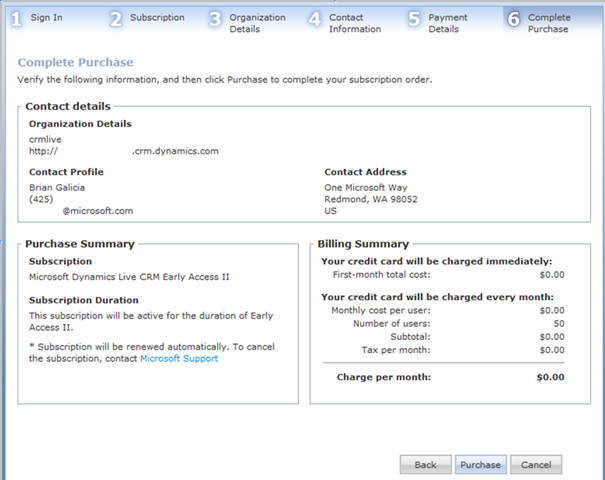
After you complete the sign-up process, you will receive two e-mail messages, a billing- and a subscription-confirmation message; these confirm your account is ready to use. Be aware that you cannot access your account before you receive both messages and it may take several minutes before you receive them. Then, follow the instructions in the confirmation e-mail message to sign in to your Microsoft Dynamics CRM Live account.