Release Management: How configure Team Build definition to automatically trigger a Release - walkthrough
Launch Visual Studio 2013 from the taskbar and open Team Explorer. Connect to Team Project that has the build definition specified in this blog.
Select the Builds tile.
Right-click on the build definition in my case this is RMWebAppReleaseTemplate and select the Edit Build Definition option.
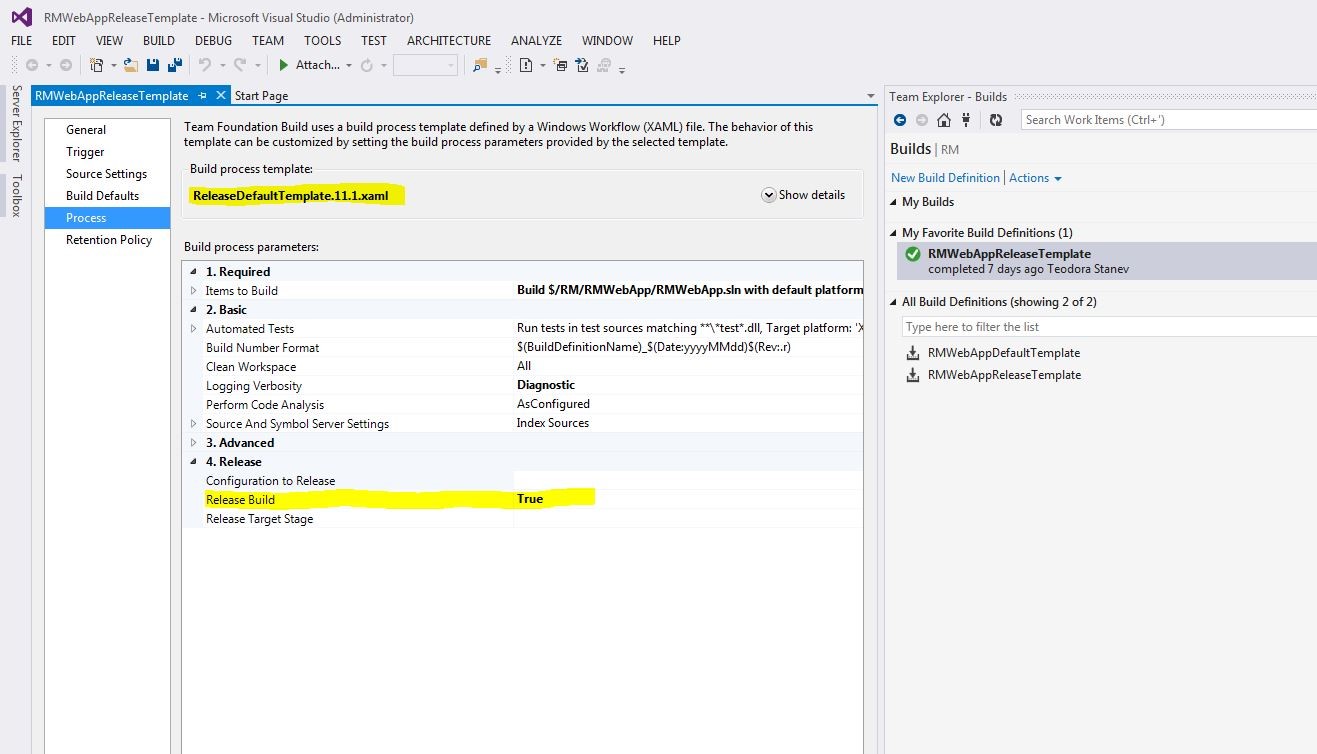
Select the "Process" Tab.
Select the ReleaseDefaultTemplate.11.1.xaml template.
Scroll down to the Release section of the build process parameters and set the Release Build parameter to ‘True’. Both the build definition and Release need to be configured in order to allow a build to trigger a release.
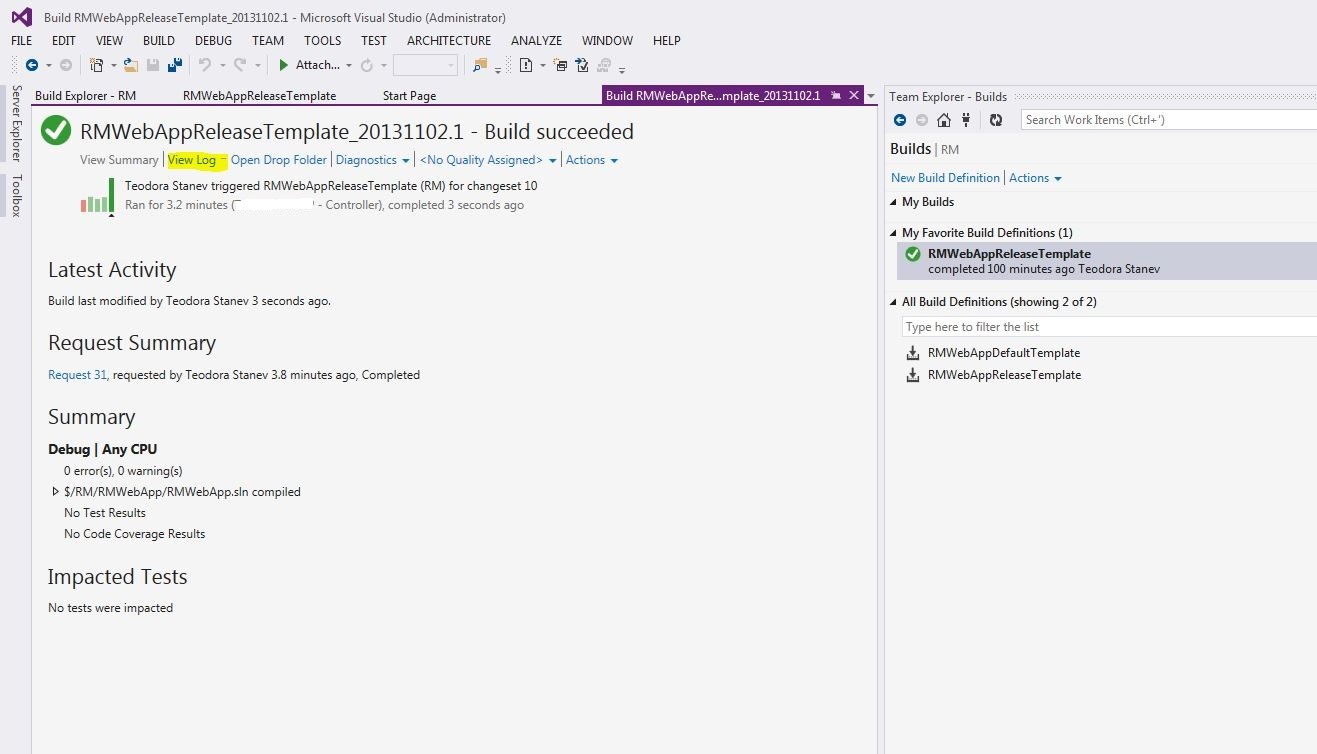
Save the build definition and start a new build.
Wait for the build to finish and then select the View Log link.
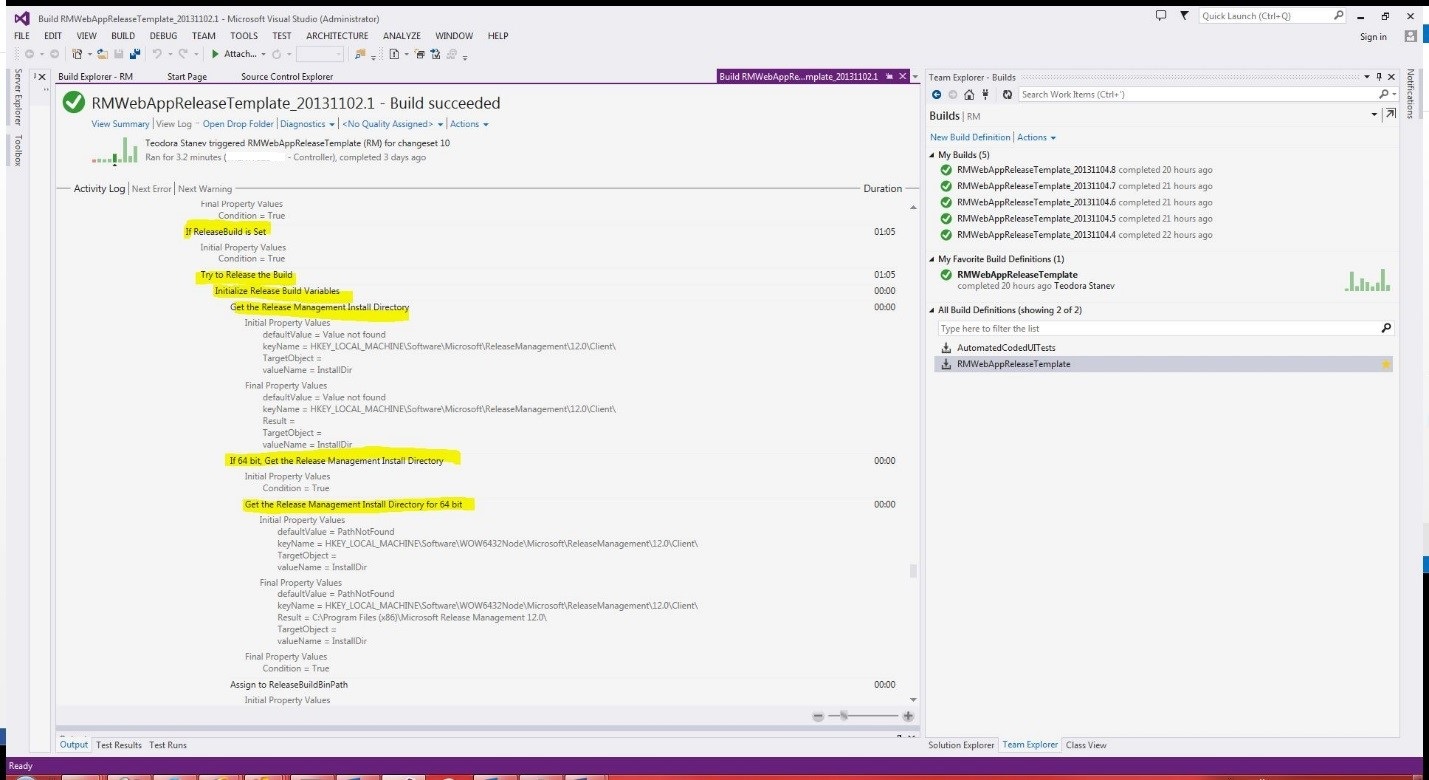
If you scroll down through the activity log, you should see the steps that have to do with Release.
Launch the Release Management Client and navigate to Releases | Traffic Overview.
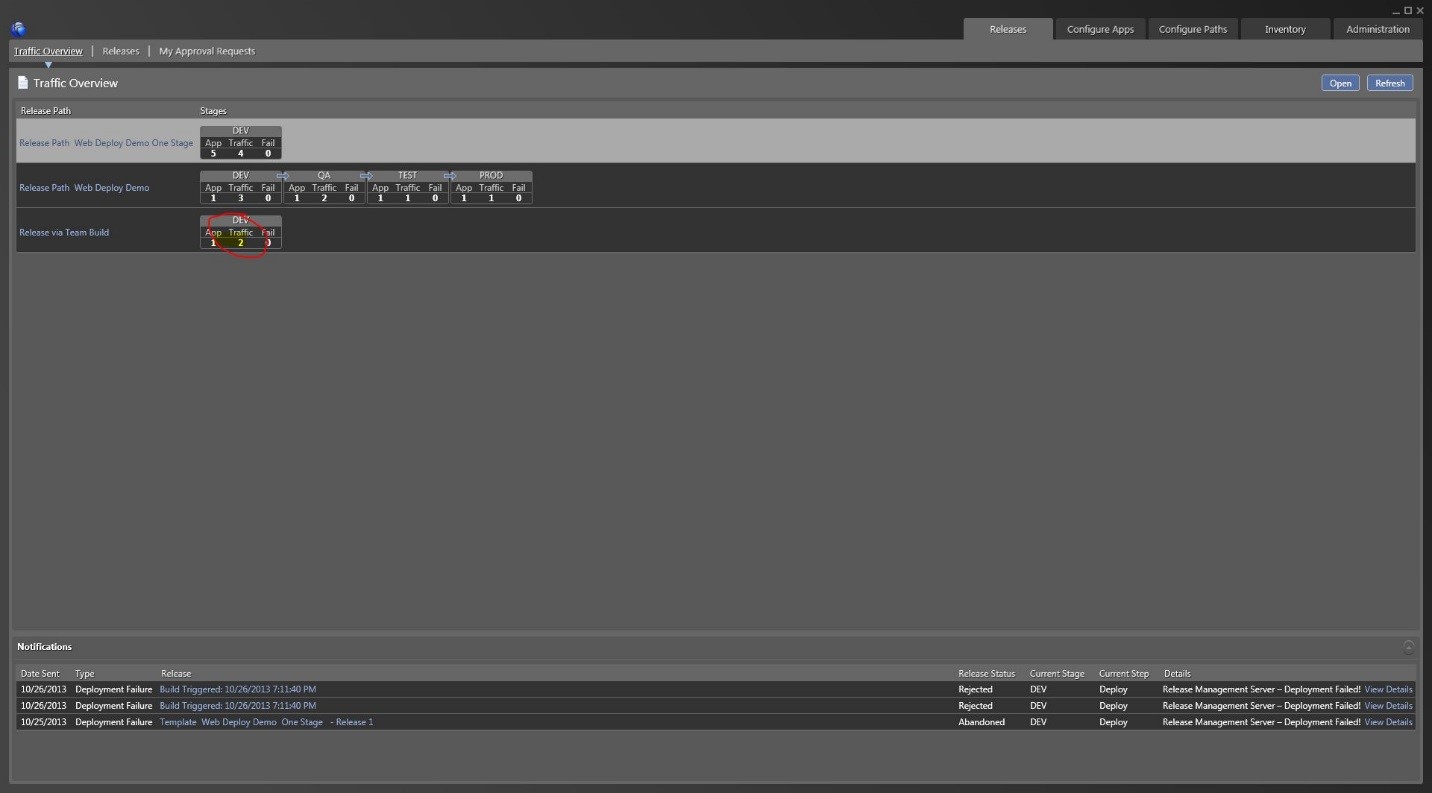
Note that the "Release via Team Build" release path now shows that another deployment is in process in the DEV stage.
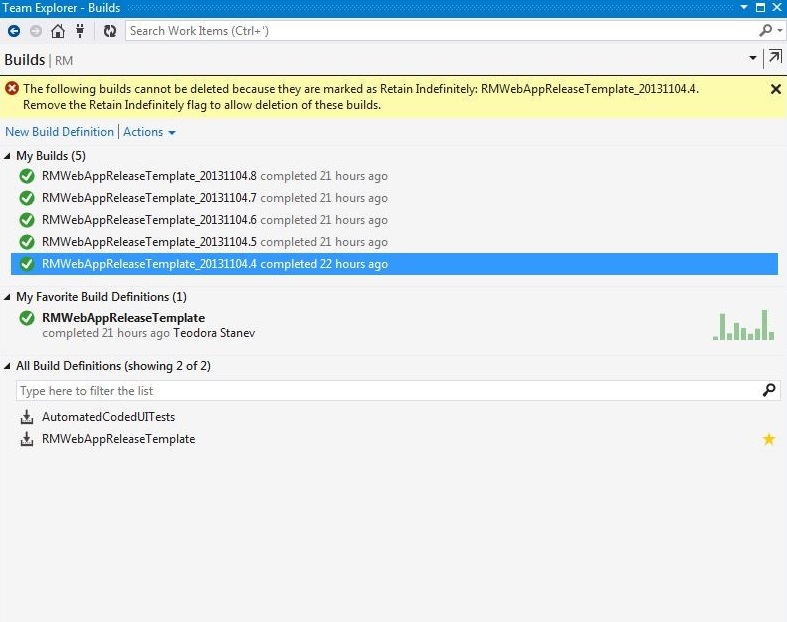
NOTE: Once a build triggers a Release you cannot delete this build because it is mark as "Retain Indefinitely"