Publishing Office App to a Network Share
After working hard creating a beautiful Office App, it's natural that we now want to share it with the rest of the world. The way we do this is by publishing our app to a central location from where users pick the app and use it. There are 3 ways to publish an Office app:
- Office Store - We can publish your app to the Office Store from where it is easily available to millions of Office subscribers.
- SharePoint App Catalog - If the app needs to be used within an organization, we can publish the app to the organization App Catalog running on SharePoint 2013.
- Network Share - We just publish the app to a network location accessible to our target audience.
Perhaps the easiest and fastest way to start consuming Office apps is by using a network share. It is also very helpful while developing the app when we quickly want to test it out without waiting for long-drawn approvals/certification. In this blog post we will look at how can we publish our app to a network share.
Package and Publish
We will begin by creating a Task Pane app for Word which is just out-of-the-box code that Visual Studio generates when we create a new Office App project. Now that our app is ready, we publish it in following steps -
- Run Visual Studio with Administrator credentials and open the solution.
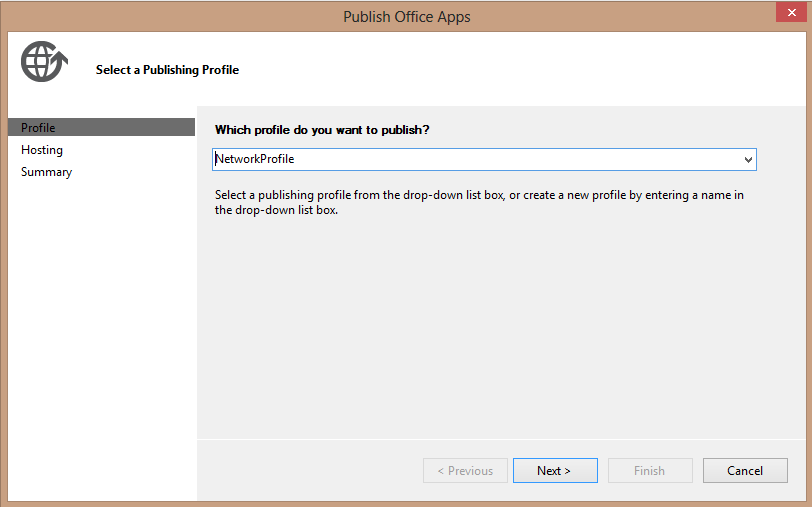
- Right-click the Office project and choose "Publish". The following dialog will be displayed which asks either to enter or create a new "Profile".
- Profiles are easy way to remember our publishing settings. Since we have not published this app earlier, we have to create a new profile. Let's name it "NetworkProfile". Note that this name is arbitrary and will be available in the drop-down when we come back any time later to re-publish the app.
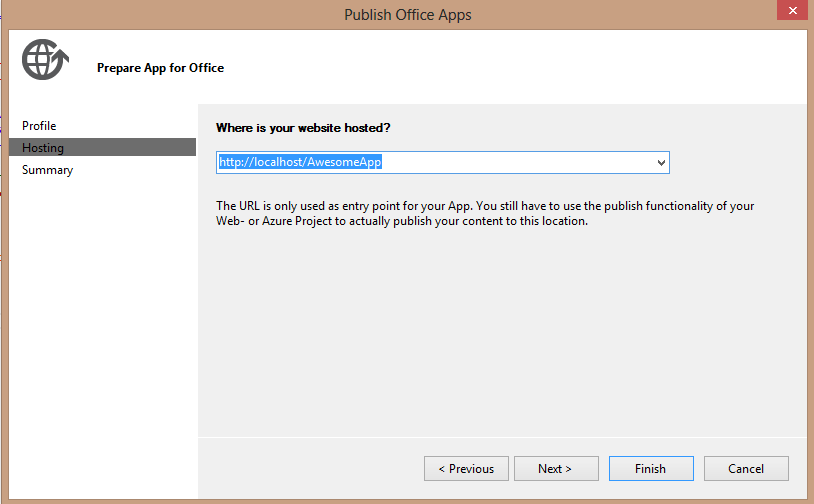
Next we have to specify where we want to host our app (local machine in this example). Note that specifying the location does not actually host the app at the mentioned location but just packages the app so as to use that location when deploying.
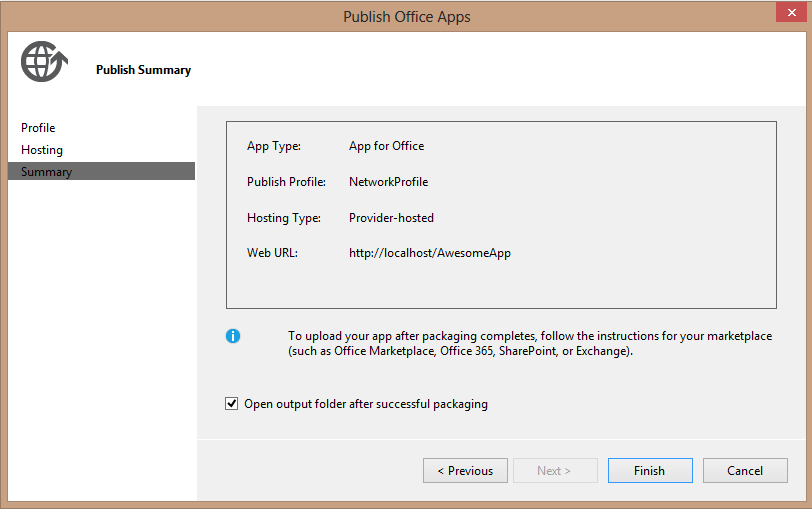
Click next to see a summary and hit Finish. This will package our app and open it in Windows Explorer.
The following is the structure of the package prepared by Visual Studio.
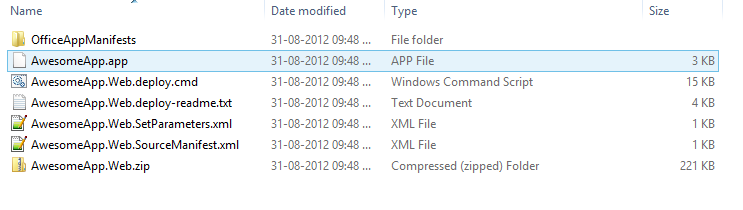
There are many files of interest here- first being the Web.zip file. The zip file contains all the DLLs and dependencies necessary to host our app in IIS.
Next there is a handy deployment file (deploy.cmd) which will help in deploying the app to IIS by using Web Deploy.
The next file of interest is the SetParameters.xml file.This file contains parameters that are passed to Web Deploy when we use the deploy.cmd file to install the package. We can change the values of parameters present in this file as needed.
To deploy the package to IIS, open Command Prompt in admin mode and run deploy.cmd file with following switches -
- /t - Trial Mode - By specifying this flag, Web Deploy would check all scenarios which will be encountered when the deployment takes place but does not actually make any changes. It just generates a log file similar to what would be generated when actually deploying the app. After we are satisfied with the log files and settings, we can change the flag to /y to begin the actual deployment.
- /y - Yes or Update Mode - Web Deploy performs the deployment and displays a log of what it does.
Since in this case we are deploying the app to local IIS, we run the command - AwesomeApp.Web.deploy.cmd /y. If we wanted to deploy it to remote server, we will use the /m switch - AwesomeApp.Web.deploy.cmd /y /m:Remote Server Name. For a complete list of switches and how to use Web Deploy, refer here.
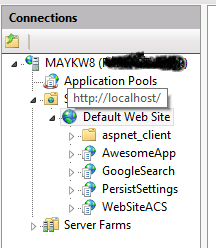
Now that our app is deployed to IIS, we copy the manifest file present in "OfficeAppManifests" folder and place it on a network location. Next open Office application -> Trust Center -> Trust Center Settings -> Trusted App Catalogs.
Here specify the Catalog Url as the network path where we have placed the manifest file and check "Show in Menu" option.

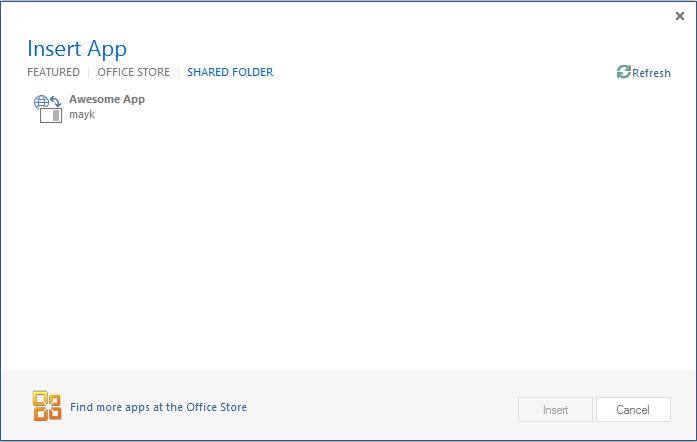
That's it. Our app is published. We can go to Insert App option and see our app present in the Shared Folder category.
Limitations
There are certain limitations when publishing Office apps this way.
- Apps published to a network location cannot use Office Licensing service to license the apps.
- Apps cannot be used by general public and is only limited to people having access to the network location.
- App developer cannot monetize this app as it does not use Office Store.
Conclusion
Publishing to a network share is a quick and easy way to distribute Office apps. It also helps in testing without the overhead of going through the Store approval process
In my next blog post, we will see how publishing to Office Store solves these limitations of using a network share by using the Office Licensing service.