Claims Aware MVC4 App using WIF Identity and Access tool in .Net 4.5 Part II
How to enable claims aware Login and Logoff on demand in MVC4 App using WIF?
In this part, we are going to focus on how to enable claims aware Login and Logoff on demand.
If you want to learn about how to build a claims aware MVC4 apps from the beginning, please refer to Claims Aware MVC4 App using WIF Identity and Access tool in .Net 4.5 Part I.
We should be satisfied with the result in Part I. However, there is something that bothers me a bit. When we access the MVC App main page for the first time, the user is automatically redirected to adfs to acquire a token. This goes against the way we do things in web App where Anonymous users must at least have access to the home page. Therefore, we need to change our implementation so that the user get redirected to ADFS only if he tries to access a resource other than “home” and “About”.
To achieve this, we first need to delete the following entry from the web.config:
<authorization>
<deny users="?" />
</authorization>
The above entry means that any access to the web App is denied to anonymous users.
If you run the Application, you will notice that you are no longer automatically logged in.
The MVC4 Internet template provides two Login methods from the Account Controller as follows:
[AllowAnonymous]
public ActionResult Login(string returnUrl)
{
ViewBag.ReturnUrl = returnUrl;
return View();
}
And
//
// POST: /Account/Login
[HttpPost]
[AllowAnonymous]
[ValidateAntiForgeryToken]
public ActionResult Login(LoginModel model, string returnUrl)
{
if (ModelState.IsValid && WebSecurity.Login(model.UserName, model.Password, persistCookie: model.RememberMe))
{
return RedirectToLocal(returnUrl);
}
// If we got this far, something failed, redisplay form
ModelState.AddModelError("", "The user name or password provided is incorrect.");
return View(model);
}
In ASP.NET Membership, the above two Login methods are provided so that the first one will call and display the Login Form. The second Login method in turn, makes a call back to the server in order to validate the user Form entries.
In our case, we won’t need the Login Form as we are going to externalize the user authenticate to ADFS. Hence, we need one Login method to acquire the SAML token from ADFS. In achieve our goal, we need to firstly construct a WS-Federation Signin request and then redirect it to ADFS.
Sign in and Sign out users:
A- Redirect user to ADFS using code from RP
1- Log in
In the Framework 4.5, System.IdentityModel.Services.WSFederationAuthenticationModule is the main module that WIF offers out of the box for handling claims-based identity access in ASP.NET applications. More reading on this module from WSFederationAuthenticationModule.
WSFederationAuthenticationModule exposes a set of methods and among them, CreateSignInRequest can be used to create a request that can be sent to ADFS to request a SAML Token. In MSDN, the purpose of CreateSignInRequest is explained as follow:
“If you need to create a new sign in request, for example to redirect to different issuers based on the web page being accessed you can use this method to create the sign in request. Before calling this method, set the appropriate parameters on the FederatedAuthenticationModule.”
To achieve this, we will need to change the Login method’s code as below:
[Authorize]
public ActionResult Login(string returnUrl)
{
WSFederationAuthenticationModule instance = FederatedAuthentication.WSFederationAuthenticationModule;
SignInRequestMessage request = instance.CreateSignInRequest(Guid.NewGuid().ToString(), instance.Realm, true);
return Redirect(request.RequestUrl);
}
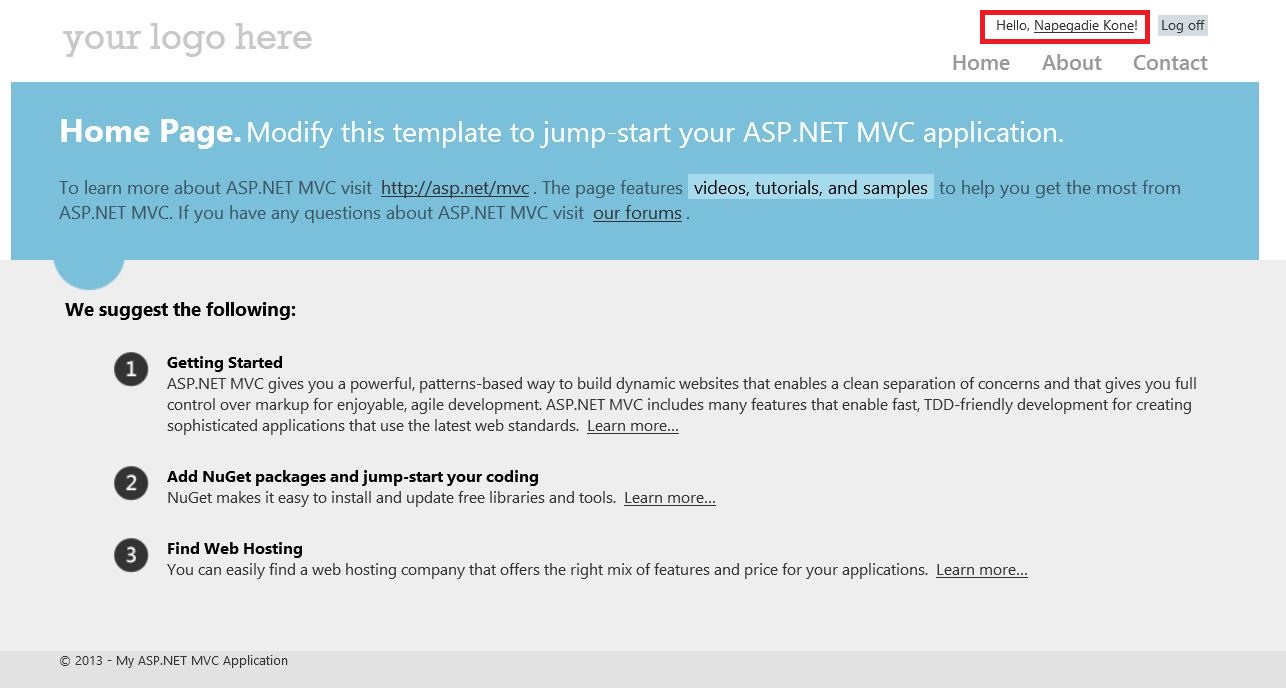
When we run the Application again we obtain the following page:
2- Sign out
Similarly to the sign in method, we will use WSFederationAuthenticationModule to create and send a sign out request to ADFS. Here, we need to be careful. WSFederationAuthenticationModule exposes a Signout() method. The particularity of FederatedAuthentication.WSFederationAuthenticationModule.SignOut() is to clean all the local SAML Token session cache. But as mentioned in the MSDN document, WSFederationAuthenticationModule.SignOut Method will only sign out the current session but No sign-out request message (“wsignout1.0”) is sent to the security token service (STS) or ADFS in our case. Hence, neither ADFS nor any other Federated service will be aware of the fact that the user has signed out from the RL and consequently clean their local session SAML Token cache.
To work around that, we will need to craft a request query which is going to be redirected to ADFS.
The form of the sign out request that needs to be redirected to ADFS should be on the form https://{DNS_name_of_RP_STS}/adfs/ls/?wa=wsignout1.0&wreply={post-sign-out_landing_URL}as it is described in the following link: How to Invoke a WS-Federation Sign-Out
The resulting LogOff is shown as follow:
[HttpPost]
[ValidateAntiForgeryToken]
public ActionResult LogOff()
{
if (HttpContext.Request.IsAuthenticated)
{
WSFederationAuthenticationModule instance = FederatedAuthentication.WSFederationAuthenticationModule;
instance.SignOut(false);
SignOutRequestMessage request = new SignOutRequestMessage(new Uri(instance.Issuer), instance.Realm);
return new RedirectResult(request.WriteQueryString());
}
return RedirectToAction("Index", "Home");
}
B- Changing ADFS to accept Forms Authentication
One may be tempted to use the Forms Authentication offered by ADFS for sign in and sign out request. To achieve that goal, Rodney Viana, a colleague suggested the following steps:
1. Navigate to the folder where ADFS web application is located (normally C:\inetpub\adfs\ls)
2. Make a copy of the current web.config for safety
3. Open web.config in notepad
4. Locate <microsoft.identityServer.web>
5. In <localAuthenticationTypes>, change the order of authentication to assure that it lists Forms Authentication first
6. The order must look like this:
<microsoft.identityServer.web>
<localAuthenticationTypes>
<add name="Forms" page="FormsSignIn.aspx" />
<add name="Integrated" page="auth/integrated/" />
<add name="TlsClient" page="auth/sslclient/" />
<add name="Basic" page="auth/basic/" />
</localAuthenticationTypes>
7. Save the changes (you do not need to restart ADFS)
8. Navigate to your application and click on Login. Instead of sending the login request to ADFS, a page containing a login dialog will pop up. Please enter your credential and click ok. Then, you will get the same result as above.
NB: This link gives you some tips on how to use WIF: Windows Identity Foundation