Deploying ASP.NET Application using Web Deployment Tool Service (passing no credentials)
Problem:
There was a request to deploy an ASP.NET Application to IIS 6 using Team Build. The common approach is to use MS Build Arguments. Using this approach you need to pass the credentials to deploy the application, which make them (the credentials) exposed. In this post we are going to see how customize the Build Template to call MSDeploy.exe and publish the application using NTLM authentication.
Solution:
Web Deployment Tool is largely used to deploy Web Application. It gets even more interesting when you integrate with Team Build to automate the deployment. Usually the samples show how to use MS Build Arguments in the build definition and deploy the application. For instance you can use something similar to the following:
/p:DeployOnBuild=True /p:DeployTarget=MsDeployPublish /p:CreatePackageOnPublish=True
/p:MSDeployPublishMethod=InProc /p:MSDeployServiceUrl=localhost /p:DeployIisAppPath="Default Web Site/NewOrleansJazz" /p:UserName=domain\user /p:Password=myPassword
I won’t get in details about this approach, but if you are willing to learn more about you can read this great blog post: https://vishaljoshi.blogspot.com.br/2010/11/team-build-web-deployment-web-deploy-vs.html
This approach is really interesting, the problem I see is that the credentials are exposed, what is terrible in an enterprise scenario.
To use a different approach I have created a build definition like in the images below:
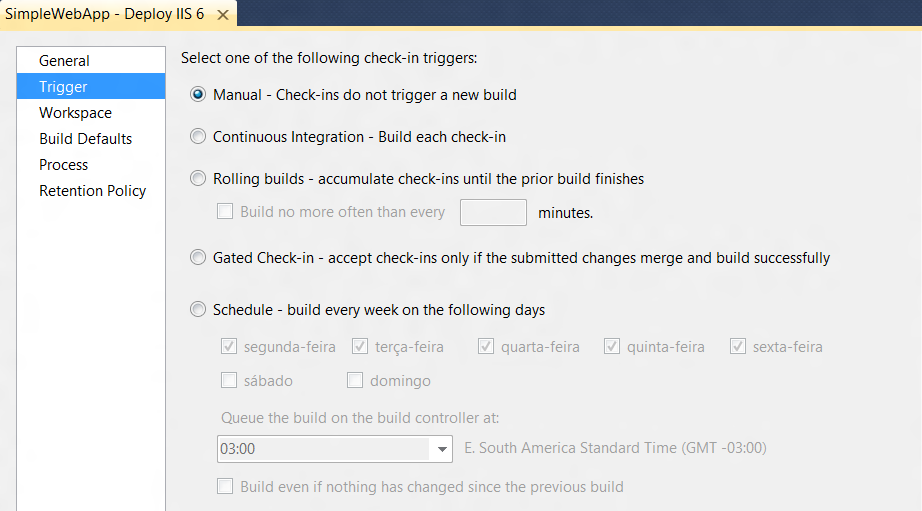
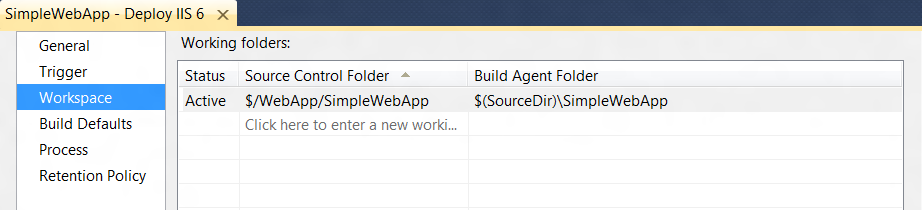

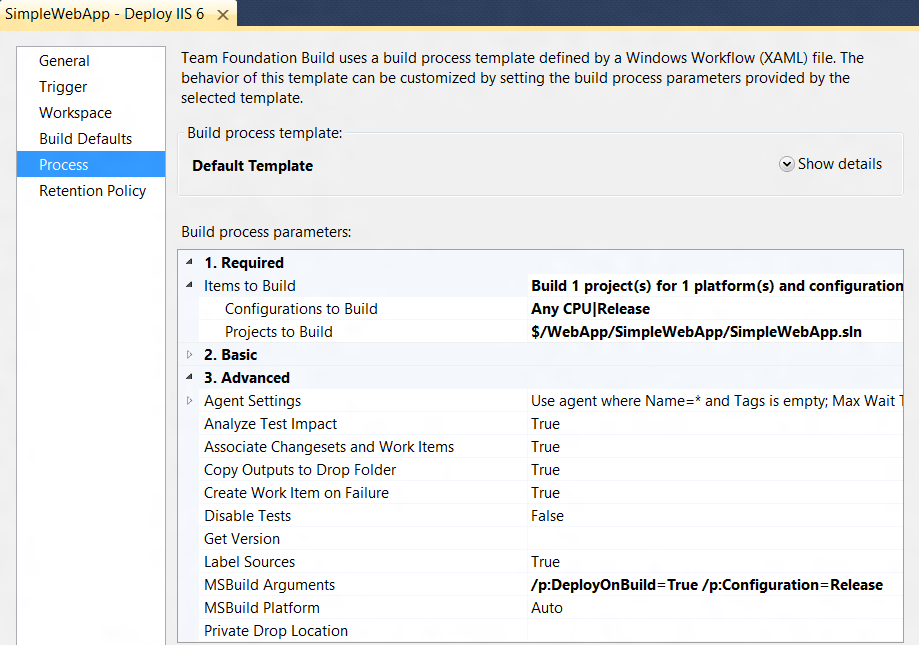
As you can see there is nothing particularly special in this build definition. The only detail that is worth mentioning is that I’m passing two arguments to MS Build: “/p:DeployOnBuild=true /p:Configuration=Release”.
The argument /p:DeployOnBuild=true will tell MS Build to generate a package (.zip) to deploy. The argument /p:Configuration=Release is optional. I am passing it because I am using the Web Config Transformation feature.
Now lets customize our Build Template.
I am using the DefaultTemplate.xaml which is available at $/<TeamProjectName>/BuildProcessTemplates/DefaultTemplate.xaml.
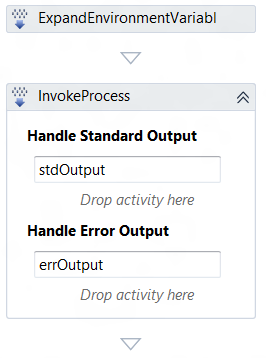
To make it happen I have added two activities, one called ExpandEnvironmentVariables and another one called InvokeProcess. Both activities were added in the scope of the activity Try Compile, Test, and Associate Changesets and Work Items. They are the last ones to be executed in the scope of the Try Compile… activity.
I have created two variables in the scope of the Try Compile, Test, and Associate Changesets and Work activity.
- MSDeployPath with the value"$(ProgramFiles)\IIS\Microsoft Web Deploy V2\MSDeploy.exe"
- MSDeployPathExpanded with no value
For the ExpandEnvironmentVariables activity I’ve passed the variable MSDeployPath in Input and MSDeployPathExpanded to Output. After the execution of this activity I will the path to the MSDeploy executable inside the Build Agent machine.
For the activity InvokeProcess I have paased the MSDeployPathExpanded to FileName. To arguments I have passed the following:
String.Format("–verb:sync -source:package=""{0}"" –dest:auto,computername=""10.0.0.5/MsDeployAgentService"" –allowUntrusted -setParam:""IIS Web Application Name""=""WebApp""", System.IO.Path.Combine(BinariesDirectory, "_PublishedWebsites\SimpleWebApp_package\SimpleWebApp.zip")).
Lets understand each part of the argument:
- -verb:sync -source:package=""{0}" – here we are indicating the path to the package. It will be replaced by the value generated in System.IO.Path.Combine(BinariesDirectory, "_PublishedWebsites\SimpleWebApp_package\SimpleWebApp.zip")
- -dest:auto,computername =""10.0.0.5/MsDeployAgentService"" - here we are indicating the destination for our package. This is the address of the MsDeployAgentService.
- -setParam:""IIS Web Application Name""=""WebApp"" – here we are indicating the IIS Application that will receive the package.
Do not forget to check-in the Build Template after the changes.
One important point is that the account running the Team Build Service needs to the local administrator in the IIS6 server.
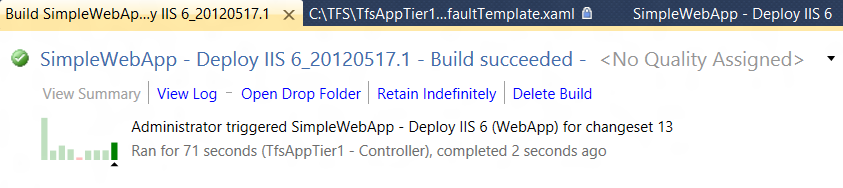
With that just execute the build to deploy the application:
If you are using IIS7+ there is a better way to do that, which is using the Web Management Service. I’ll post about this approach too, in a near future.
Thanks to Jim Lamb who suggested me to do it using this approach.
Daniel Oliveira