
The fastest path to a new VSTS extension
Over the last few years we have introduced a number of ways to extend and integrate with Visual Studio Team Services (VSTS) and Team Foundation Server (TFS). For example, client libraries for .NET (which work with both .NET Framework and .NET Core apps) and for Node.js and an extensibility model that allows extension of our web experience. The possibilities for developers wanting to integrate with or extend VSTS are almost endless.
But with all of these great options, there is a challenge of knowing what pieces you need to get started and then assembling them in the right way. We have made a lot of improvements to our integration docs and are planning another wave of improvements to our docs soon, but sometimes you need more than docs.
Sometimes you just need to start with code that you know is structured correctly and already does something real.
This post, which is the first in a series, covers a relatively new tool for jumpstarting development of a new extension.
About the generator for VSTS extensions
The Visual Studio ALM Rangers group recently released a Yeoman generator that lays down all the files needed for a new VSTS extension. After you tell Yeoman which generator you want to use and answer a few questions, it lays down all the necessary files for you and structures them in the right way.
Structuring an extension’s files can be tricky, especially when you throw in other technologies like TypeScript and NPM. With this generator you get a new extension that is structured correctly and contributes one of the following:
- A project-level web hub or action
- A task that can be used in a build or release
- A widget that can be added to a dashboard
- A service hooks consumer service that makes it easy for customers to send events to your service
The generator takes the guess work out of correctly structuring a new extension. It also avoids that repetitive process of cobbling together the various files needed before you even write your first line of code.
Using the generator
Install the pre-reqs:
- Install Node.js. This is needed for Yeoman and the tools used to build and package your extension.
- Install Yeoman by running
npm install -g yofrom a command prompt - Install the generator for VSTS extensions by running
npm install -g generator-team-services-extension
For each new extension you want to create:
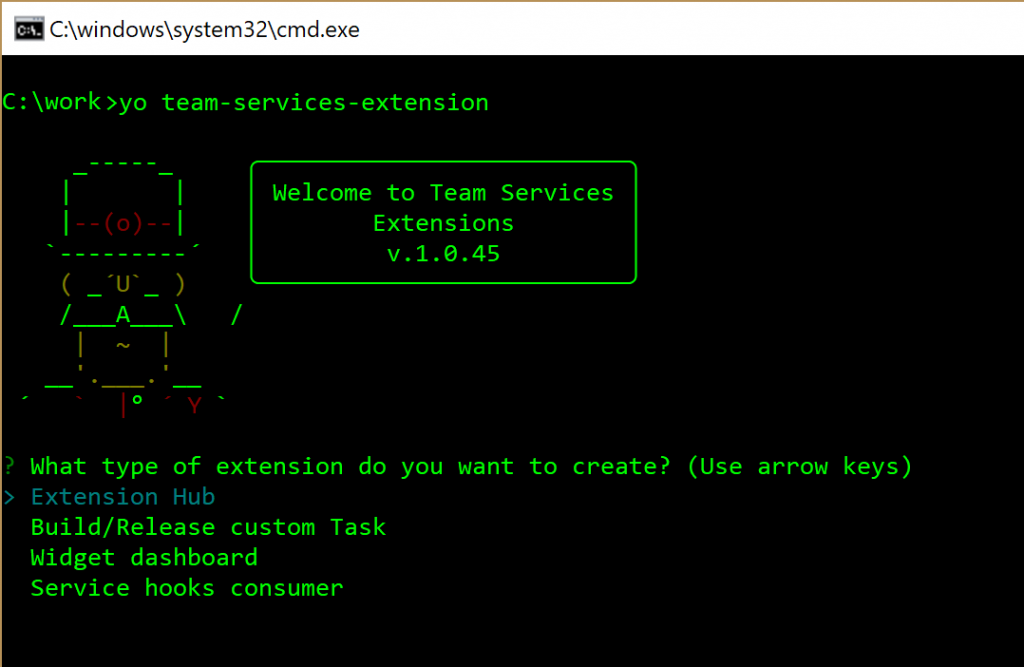
- Run
yo team-services-extension - Select the type of extension you want to create:

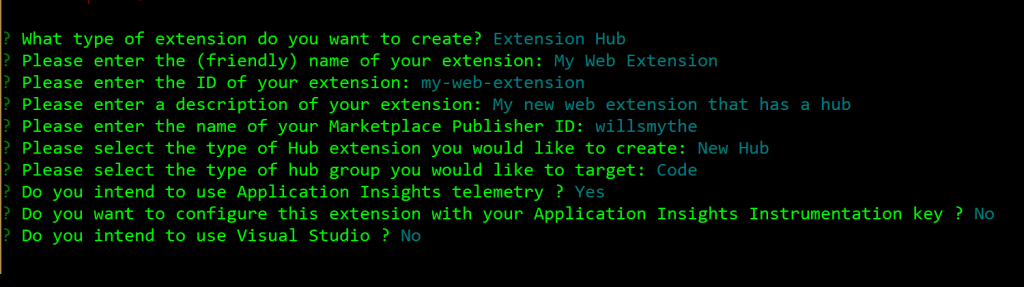
- Answer the questions when prompted

After the generator completes, you will have a new folder populated with the necessary files for your new extension. For web-based extensions, the generator creates the following configuration files for you:
- TypeScript project (tsconfig.json)
- NPM package file (package.json). This pulls in dependencies like TypeScript and VSS Web Extension SDK and adds helpful scripts to build and package your new extension.
- Webpack configuration (webpack.config.js). Webpack analyzes your scripts and dependencies and packages just the parts into a single file.
To try out the new extension, you need to publish it to the Visual Studio Marketplace. For the full steps, see Package and publish extensions. The abbreviated steps are:
- Publish your extension to the Marketplace. Note: You can do this from the command line by running
npm run gallery-publish -- --token xxxxxwhere xxxxx is a personal access token. - Share your extension with your VSTS account
- Install the extension to this account
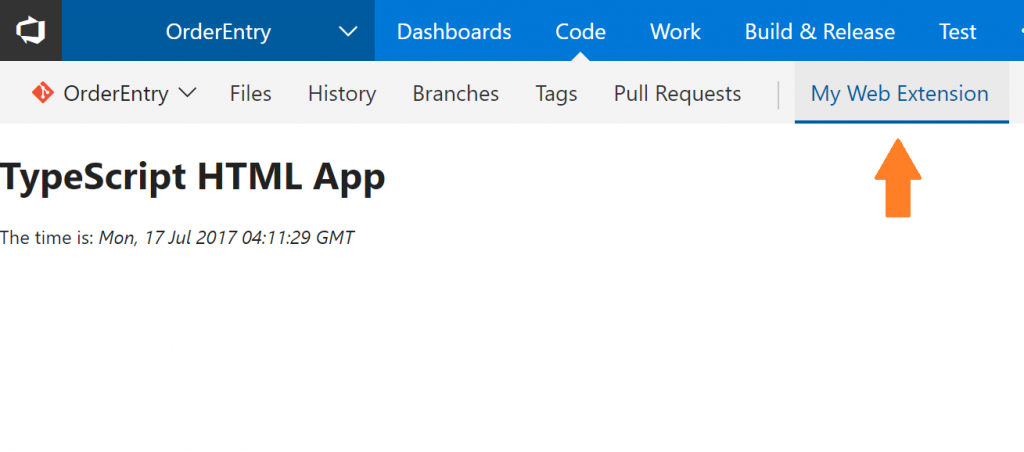
- Navigate your web browser to your account
In the example above, I created an extension that contributed a hub to the project-level Code hub group:
To learn more about this tool, visit the ALM-Rangers/generator-team-services-extension repo on GitHub.
Stay tuned for other posts in this series, including one on jumpstarting your .NET app/service integration with client library code samples.
 Light
Light Dark
Dark
0 comments