Using Problem Steps Recorder (PSR) To Capture Replication Steps

Hi
I recently had a support request where, due to time differences, I was not able to immediately stream / screen share. It was also difficult to understand the exact set of steps taken leading up to the issue. Due to these difficulties, a viable option was to record the exact set of steps taken leading up to the problem. This is where Windows Problem Steps Recorder (PSR) came into play. The following is an overview as to steps to run PSR.
1. Overview
Problem Steps Recorder can be used to automatically capture the steps performed by a user on a computer running Windows 7, 2008 R2, 8, and 2012, including a text description of where they clicked and a picture of the screen during each click. This capture is then saved to a file that can be used by a support professional to help the user troubleshoot the issue or understand what steps were taken by the user.
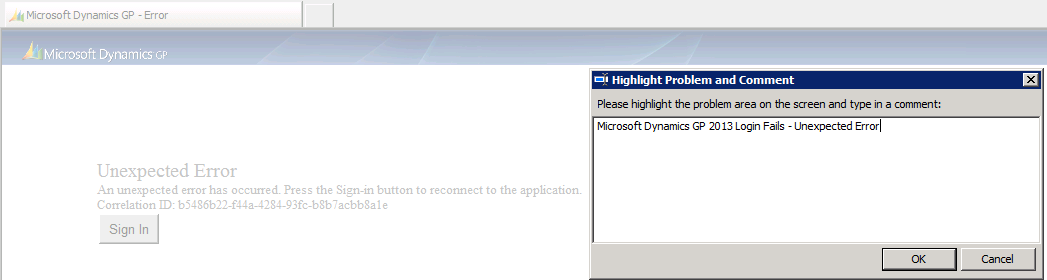
The output describes what the user did as well as screen shots of what was going on at the time. In addition, the screenshots included are clickable to view full size. PSR has an additional button titled Add Comment. When you click this button, it allows you to highlight an area of the screen and type in a comment. This allows you to specify additional comments to the repro steps to make it easier to follow during a complex recording.
PSR is more than just a screenshot capturing tool. Besides automating the capturing of what’s going on the screen, it will also highlight the user’s mouse clicks, and, most importantly, will provide a detailed textual metadata with a description of what the user is doing.
There is a short video on TechNet that gives a demonstration of the Problem Steps Recorder.
2. How Do I Use Problem Steps Recorder?
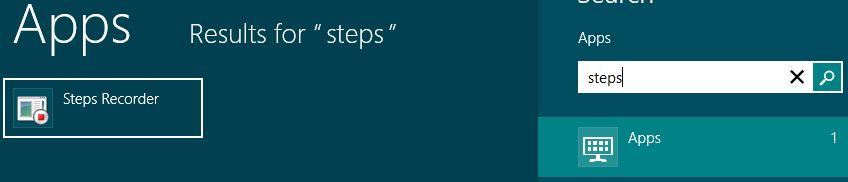
Step 1: Firstly, open the application by writing “steps” and pressing enter in the search bar.
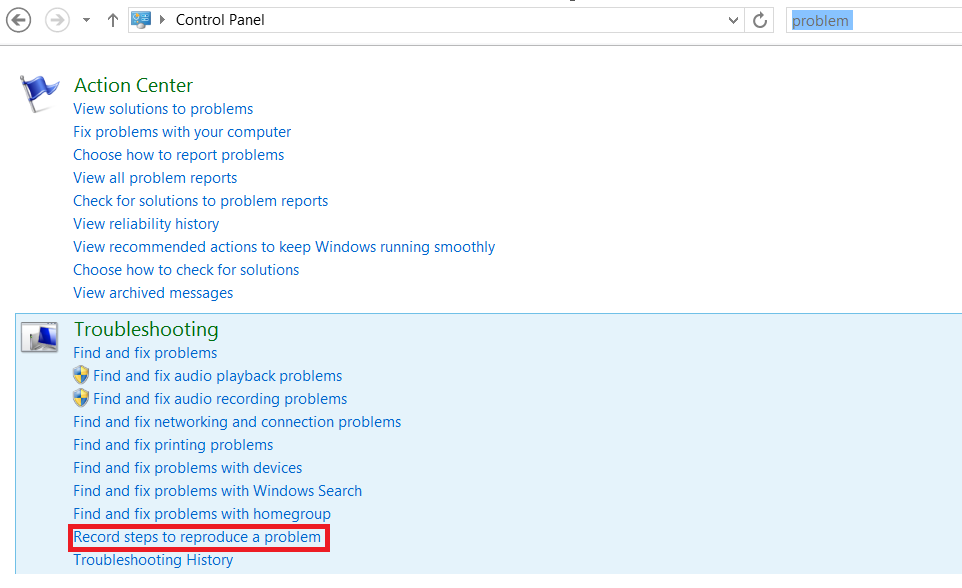
You can also open Control Panel and type in problem in the search box, then click on the “Record steps to reproduce a problem” link:
By default, PSR will record only 25 screenshots, yet this can be changed to any number up to 100. Click on the small down-arrow next to the help icon, and then select Settings:

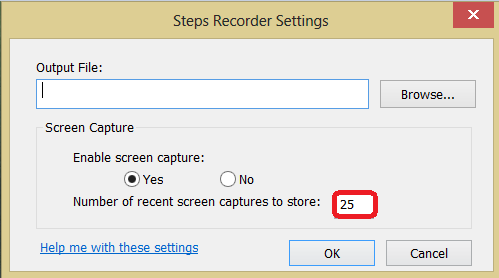
If you have more than 100 actions, which is possible, screenshot #1 would be removed in order to capture screenshot #101. The text detail for Step #1 would still remain.
Step 2: To start recording, click Start Record. On your computer, go through the steps on your computer to reproduce the problem. You can pause the recording at any time, and then resume it later.

NOTE: As you click screenshots are being recorded. You will see a red dot while you click to indicate this.
During the recording session you can hit the Add Comment button and highlight an area of the screen and leave a comment or question.

Step 3: When you’ve completed reproducing the problem, click Stop Record.

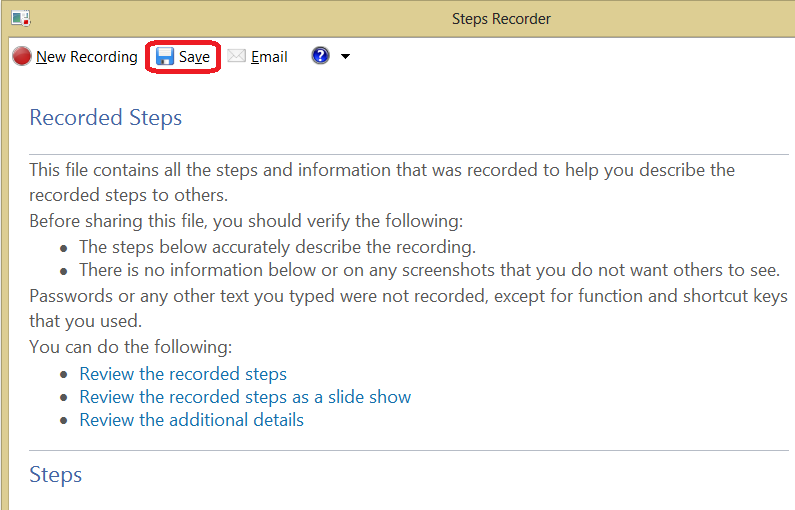
Step 4: In order to save or email the file Support, Save or Email and give the file a descriptive name.
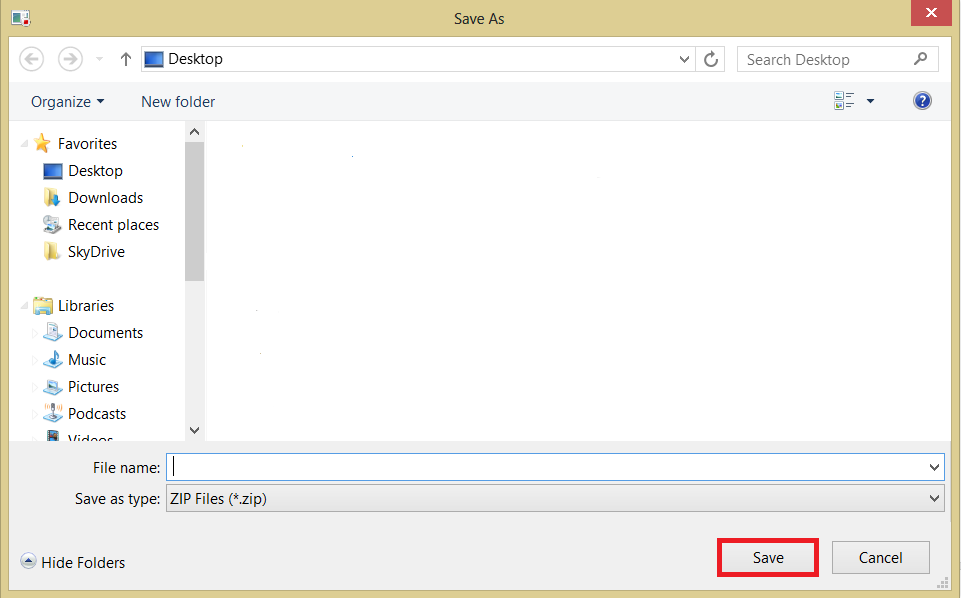
NOTE: In Windows 7/2008 R2, once the recording is stopped, the Save As window is automatically opened.
Step 5: To view the record of the steps you recorded, open the .zip file you just saved, and then double-click the file. The document will open in your browser.
When the .ZIP file is extracted, the .MHT file can be double-clicked and viewed inside Internet Explorer. Scroll through the steps, or choose to watch them as a slide show. Each step provides text details of the action taken and clearly defines in the screenshot where
the action should be taking place.
The “Additional Details” section at the end of the .MHT file provides a text only version of all the steps taken as well as specific version information. This information can be especially helpful in a Technical Support situation.
3. Notes
- There are differences between the Windows 7 version of the application and Windows 8 version. Firstly, in Windows 8, Steps Recorder runs as administrator by default but in Windows 7/2008 R2, it does not. Secondly, the Windows 8 version allows you to view the recording before saving or sharing it but the previous version save the recording directly as a zip folder.
- The same functionality is available in Windows 7, where it is called the "Problem Steps Recorder", but no shortcut is automatically created for the Problem Steps Recorder during Windows installation. From Start >> type PSR.
- PSR runs as a standard user mode process.
- To record steps in an app that's not on your desktop, you'll need to start Steps Recorder from your desktop, go to the app, record the steps you want, and then return to the desktop to stop Steps Recorder.
- To view the steps you recorded, open the file you saved, and then double-tap or double-click the file.
- In some cases, tapping or clicking Email in Steps Recorder won't open an email message. If this happens, try closing your email app before you tap or click Email in Steps Recorder or open a new email message and attach the .zip file.
Video Demonstration
[View:https://www.youtube.com/watch?v=2ZOoBD0xw1Y]
Additional Resources
- https://windows.microsoft.com/en-US/windows7/How-do-I-use-Problem-Steps-Recorder
- https://technet.microsoft.com/en-us/windows/problem-steps-recorder-overview.aspx
Thanks for taking the time to have a read through this blog.
Allan