How to Measure Twitter Sentiment with Azure Logic Apps, SQL Database, and Power BI
Hello Dear Reader! I've seen plenty of cool demos using made up data. I've worked on POC's with customer data. Data that I couldn't publish or blog about. I find myself in a dilemma. I want to do cool things and write about it, but I want to do it with REAL data. That being said, last weekend I found the perfect opportunity. I went to see Spider-Man Homecoming, with my son Zachary. I had been looking at Azure Logic Service and playing around with it. I watched a great video by Jeff Hollan (@Twitter | Channel 9 Video) PM of Azure Logic Apps on the subject. I also found a really great post about Creating a function that integrates with Azure Logic Apps.
So I did just that. I tracked, measured, stored, and visualized Spider-Man Homecoming's Twitter Sentiment. I used several services along the way. Initially I started out tracking everything in Azure Logic Apps, but I shifted a bit from there when I produced my final reports. This blog will walk you through what I did. First we will create a real time data source for Power BI using Azure Logic Apps and add a parallel task to store Tweet data using in SQL Database. Finally we will build Power BI reports off of this data.
Create a real time data source for Power BI using Azure Logic Apps
First we create a Cognitive Services API. You do this in the Azure Portal, and after creation you want to get your API key.
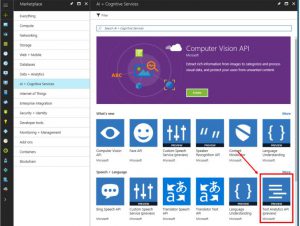

To do this you can click on the Show Access Key's link after creating the service.
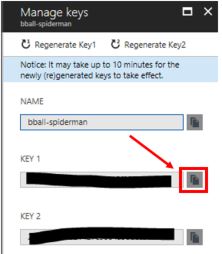
Copy Key 1, you'll need that later.
Here's a quick picture of what we will build. Don't build this yet! We will come back to it. There are a few things we need to build first, but I like to know the big picture first.
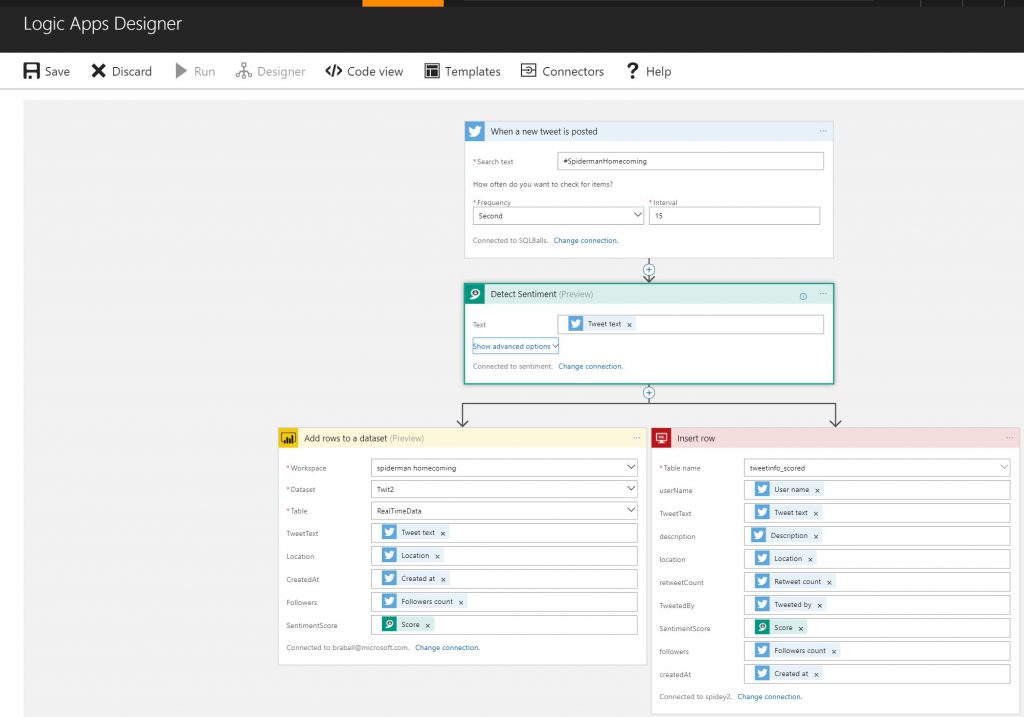
We will stat off with a When a new tweet is posted trigger. This will require you to have a Twitter account and authenticate with the service. You will then create a new action. Select Text Analytics, this will require the key that we created earlier to score the sentiment. The next two actions we will create require our additional pre-work. You will need to create a live data set in Power BI and create a SQL Database and a table that data will be stored in. So before we put this together let's create the live data set and SQL table.
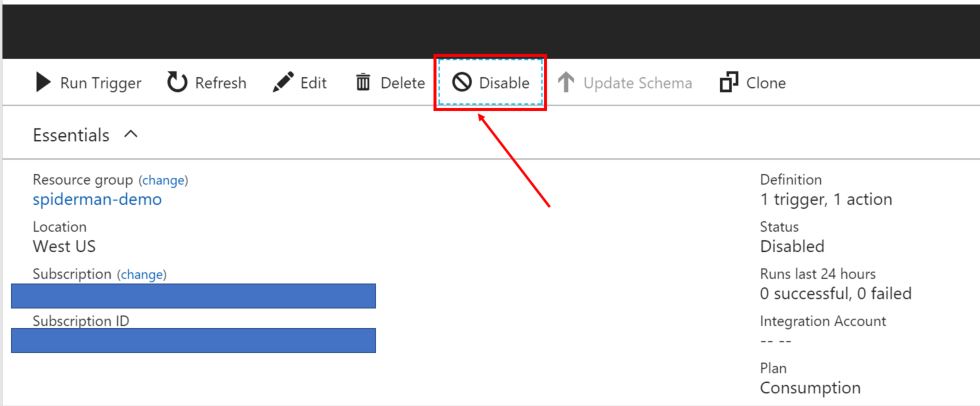
If you got excited and started creating a Logic app before creating these two you can save just your tweet and cognitive service API. MAKE SURE YOU DISABLE THE LOGIC APP BEFORE LEAVING IT. We are not ready for it to run yet. Otherwise it will just start recording Tweets and sentiment without anywhere to store it.
In Power BI to create our live data source, log into PowerBI.com and enter your workspace. Here you will see I'm logged into my Power BI account and I'm in my Spider-Man Homecoming workspace.
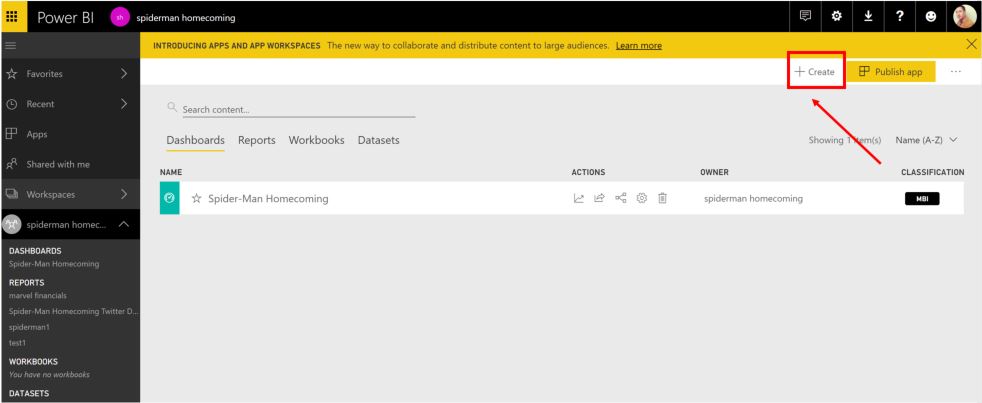
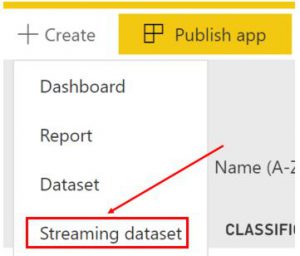
Select the Streaming dataset option under Create in the upper right hand corner.
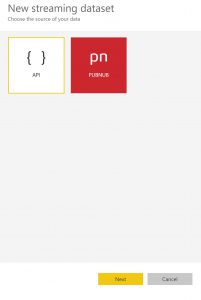
The default option of API should be selected. If not click API and click next.
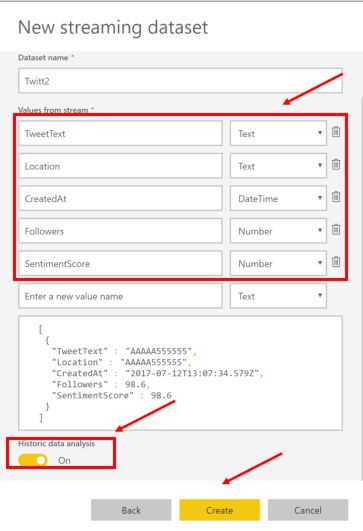
Now we need to create the data format that we want to store our data in. You can select anything you want to consume, for me I just wanted to get the tweet text, location, when the tweet was created, users number of followers, and our sentiment score. Adding these fields and setting them to the appropriate data type will allow us to create a live streaming visual on a dashboard. It will also dynamically build the JSON required for this. Make sure you click Historical data analysis
Click Done when you are finished. Now Create your SQL Database and name it, then create a table. This is the T-SQL Script I used. If you do not know how to create a SQL Database click here for a quick tutorial.
drop table if exists dbo.tweetinfo_scored go create table tweetinfo_scored( myid int identity(1,1) primary key ,userName nvarchar(500) null ,TweetText nvarchar(max) null ,description nvarchar(500) null ,location nvarchar(500) null ,retweetCount int null ,TweetedBy varchar(500) null ,SentimentScore nvarchar(20) null ,followers int null ,createdAt nvarchar(500) null )
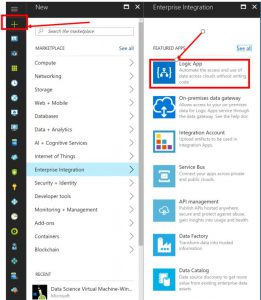
Now we create our Azure Logic App.
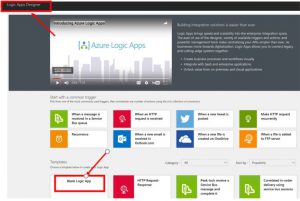
Then we will select a Blank Logic App.
Now we start to build everything. Remember you will need four things:
- Twitter credentials to authenticate to the service
- The API key for Sentiment Analysis
- A Power BI account
- *authentication to Power BI works best with the the Chrome browser, I'd recommend using that
- Database level user name and password for your SQL Database instance and make sure you've created your table.
First create the Twitter event. If you want to see the wide selection of different events to collect data feel free to scroll down. There are quite a few selections e.g. Dynamics, Facebook, Twitter, Oracle, Salesforce, and more.
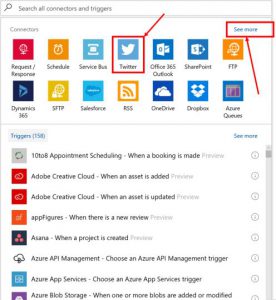
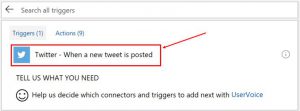
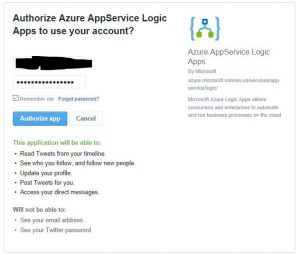
We'll select the Twitter event. Then we will need to authenticate to Twitter.

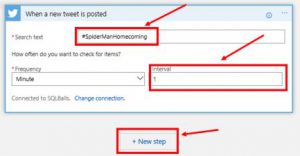
 Now that we are authenticated to Twitter a token has been sent that will allow us to access the Twitter stream from this account. Initially I set my frequency to 1 minute. I changed that to 15 seconds later. All of this depends on how quickly you want to collect data and process it.
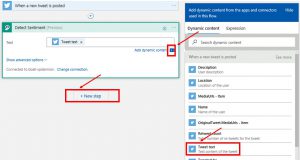
Now we can click our next step and add our Detect Sentiment action. Add the Tweet Text to determine sentiment based on the text and create our connection to the Cognitive API, remember your key from earlier this is where you will need it.

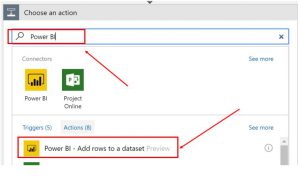
Click Next step. We'll add our Power BI action next. We'll select the Power BI - Add rows to a dataset action.
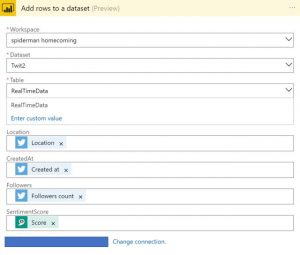
Once we select that we will need to authenticate to our Power BI account. After you authenticate select your workspace, mine is spiderman homecoming. Select the name of the streaming data set we created, mine is Twit2, and finally the Table name by default this should be RealTimeData.

Now we will populate the fields we had created earlier.
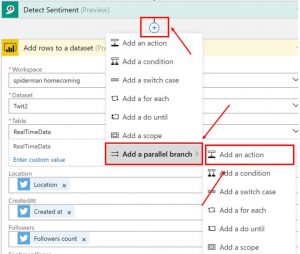
From here I could keep all of my actions inline. However, I would like to add a parallel branch to write to my Azure SQL Database. On the arrow between Detect Sentiment and Add rows to a dataset click, select Add a parallel branch, select Add an action.
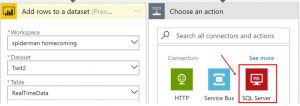
Choose SQL Server.
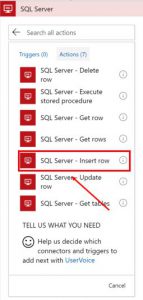
Select SQL Server - Insert Row.
Dear Reader you may be asking. "Why SQL Server?"
I could have used Azure Storage, Hadoop, Spark, Azure Data Lake, why SQL Server? I would have needed to create a CSV file and write the contents to the file and deposit it in the big data source. Later I'm going to use this data in Power BI, and I have the option of using Direct Query or loading the data using Power Query. I can also use Azure ML to Import data from my SQL Database. Granted I could also do this doing each, but I chose SQL Database for simplicity and how it just works with everything else I wanted to do. Your choice of data source may change based on what you are collecting. You have options, and that's good.
Now we will need to authenticate to our SQL Server. Once we do that we can select our table and begin entering our data. 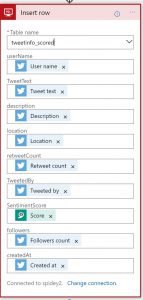
At this point our Logic app should look like this.
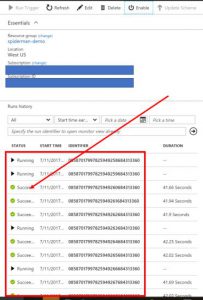
Now save and run your app. Back in the screen for the Logic App you will see if everything runs successfully.
At this point you can go into Power BI and start dragging data onto your dashboard, or go into SMS and do query to validate data is streaming into the database.
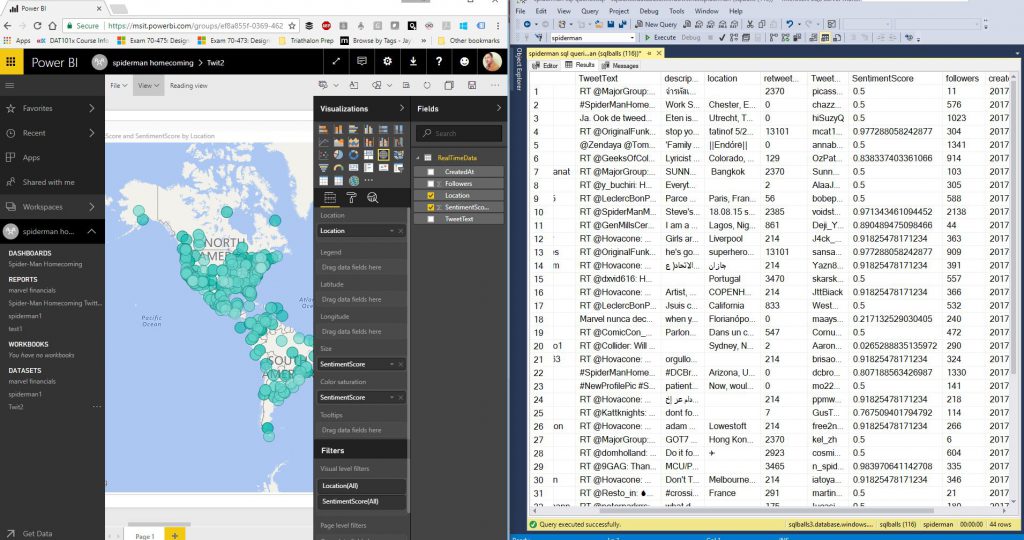
In this case I can see that I'm getting data back in SSMS and when I added a Map visualization and the sentiment score I could see where tweets were coming in, from all over the world. Pretty cool! Alright Dear Reader, I'm off for the next cup of coffee. I hope you enjoyed this and as always, Thank you for stopping by.
Thanks,
Brad