SQL Server Data Tools (Part2)
In my previous blog on SSDT, we saw the advantages and ease of use for “connected development”. https://blogs.msdn.com/b/data__knowledge__intelligence/archive/2013/03/29/sql-server-data-tools-ssdt.aspx
In this blog, let us see how SQL Server Data tools can be used for Project Based Development.
- Open SQL Server Data Tools.
- Connect to Server
- Right click on chosen database and create new project
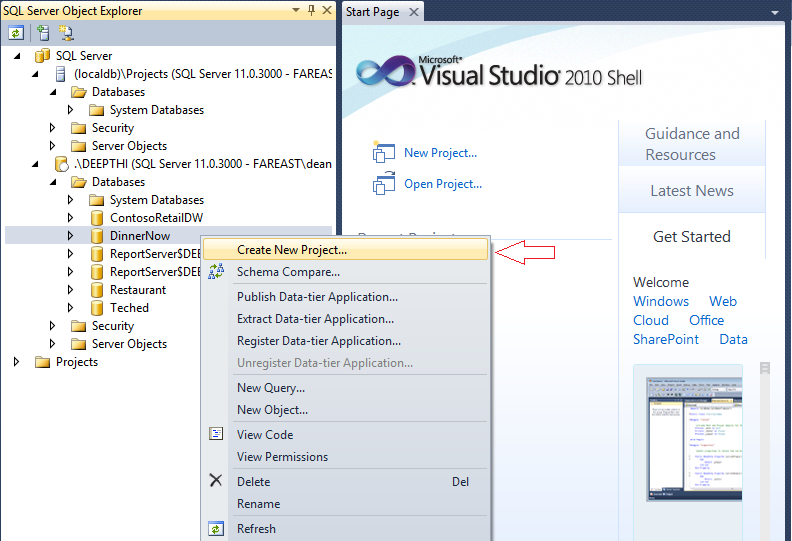
4. Give an appropriate name to the database
5. Choose to create a new Directory for the database
6. Import the project

Depending on the size of the database, import will take a few minutes to complete.
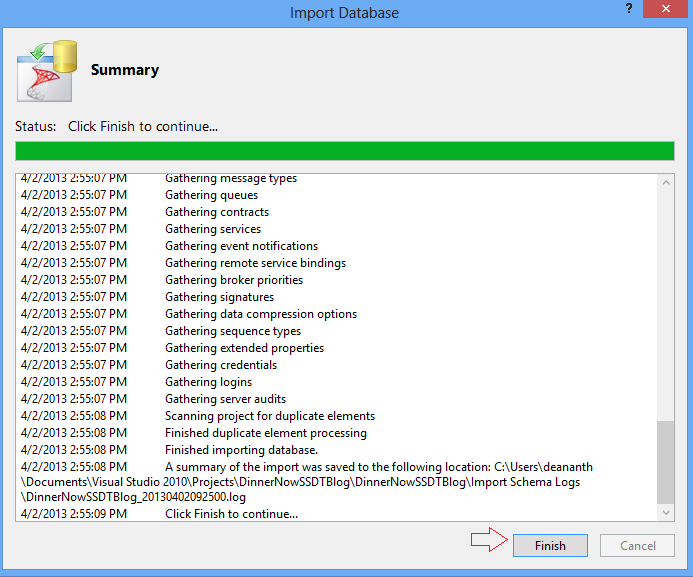
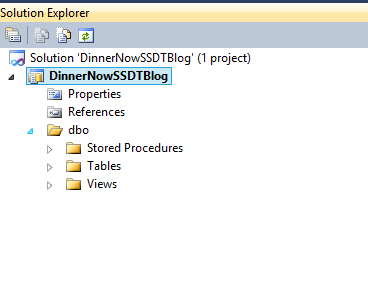
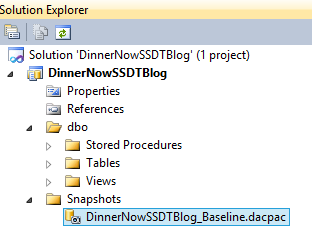
As soon as import is complete, expand all folders in solution explorer
7. Notice that only those folders that contain objects are created. An empty place holder folder does not exist reducing clutter
8. Before making any changes, let us create a snapshot of the existing project. In order to create a snapshot , right click on project header and choose to snapshot
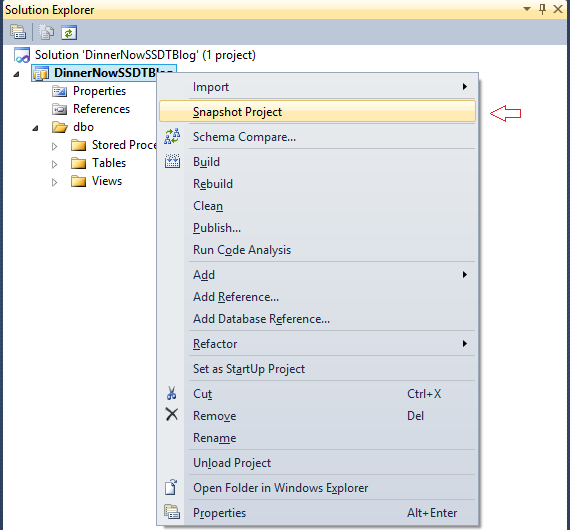
9. A baseline dacpac is created.
10. Let us open a table and refactor the database. Refactor, rename will let the database know that the column has been renamed and data should not be dropped. Open Orders table. From the T-SQL Code pane, right click on ‘Postal Code’ and choose to refactor, rename

11. Type in refactored name in to the wizard
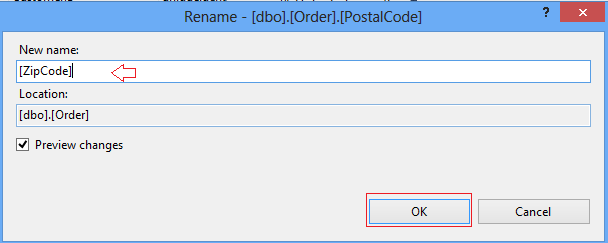
You can also preview changes before applying them.
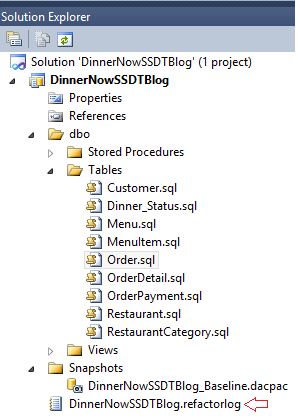
12. Please notice that a log is formed for the refactor-rename change
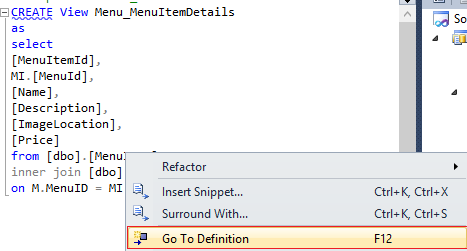
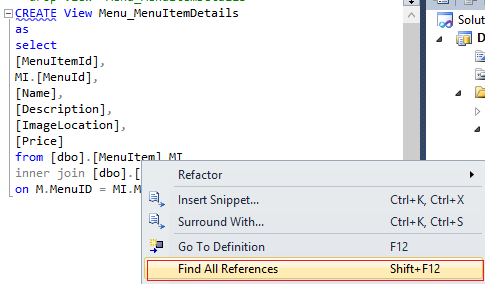
13. Open any object. Example: View. Right click on a table name and press F12 or right click and go to definition. This will show the corresponding definition of the object.
14. Find all references, will list all places where the chosen object has occurred
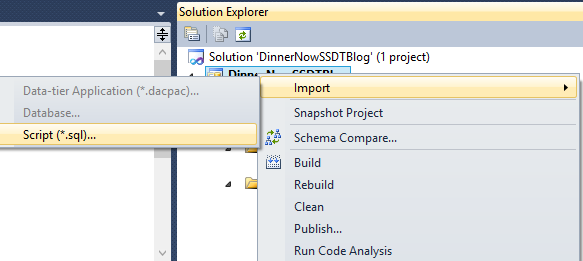
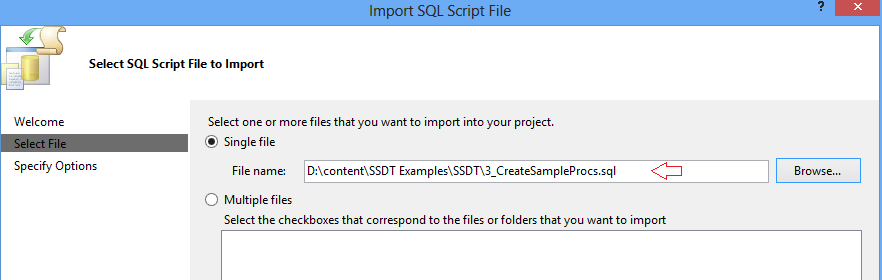
15. A single script can be imported.
Importing wizard allows us to browse to a location and choose *.sql file.
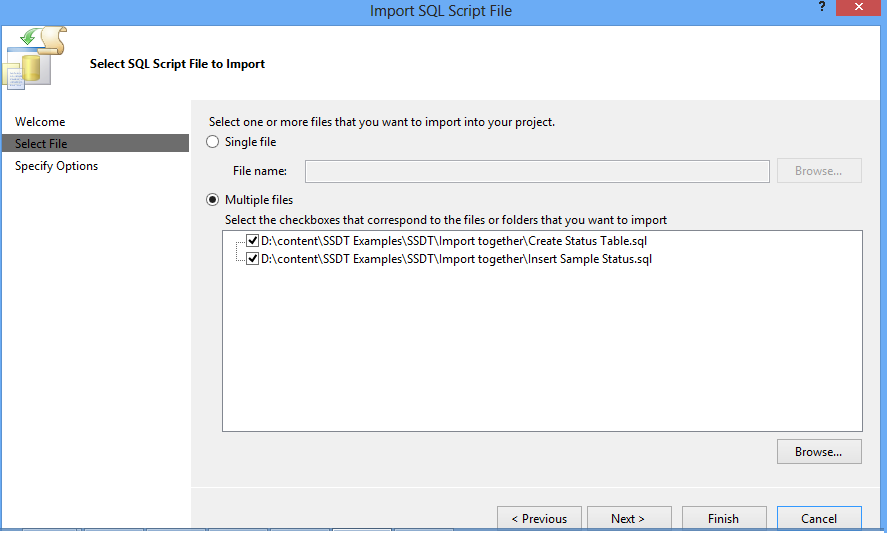
16. Multiple files can also be imported at once. In order to import multiple files, choose a folder which contains multiple *.sql file
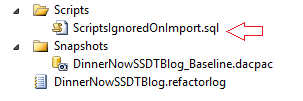
17. When multiple files are imported, if a particular file cannot be executed, it is stored separately as “Scripts that were ignored”
18. Let us take a case where the scripts ignored were primed scripts / seed data. This needs to be executed post table creation. In order to ensure that deployment does not fail, let us create a post execution script.
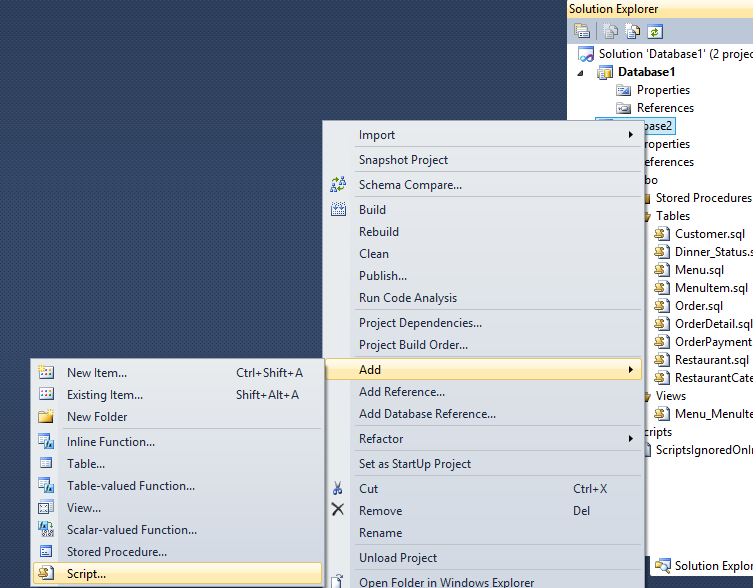
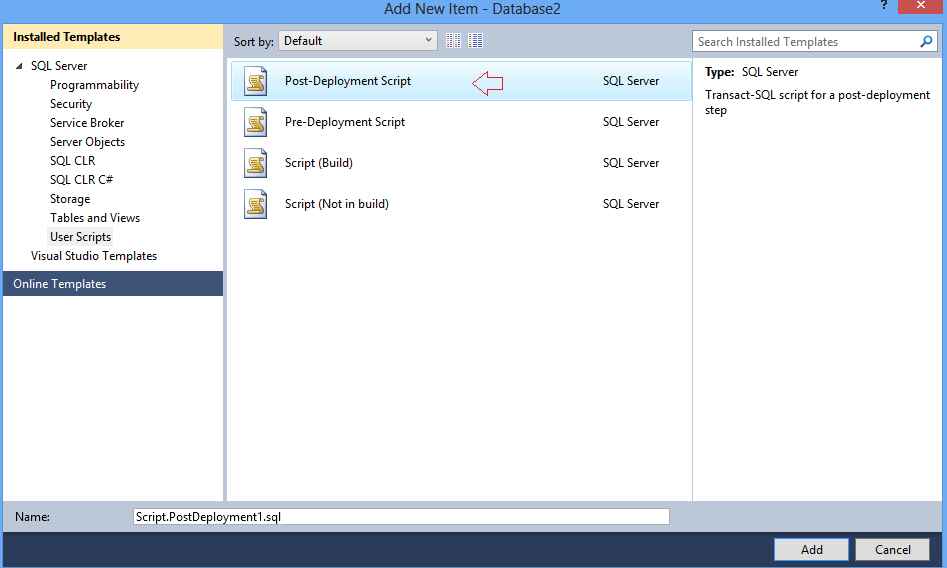
Paste any script which needs to be executed after database has been deployed in the Post Deployment script. Example: Seed data
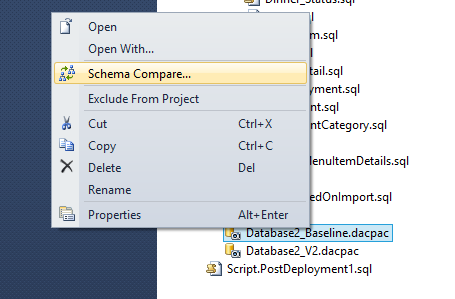
19. Now let us take another snapshot and see the difference between the Baseline Version and the new Version. Create another snapshot as mentioned in Step8
20. In order to compare between the 2 snapshots, choose a version of the snapshot created and click on schema compare
21. Select target schema

22. To choose the a snapshot, select data tier application file
23. Default path will be C:\Users\Your User name\Documents\Visual Studio 2010\Projects\DinnerNow\DinnerNow\Snapshots
24. comparison can be made easily between projects
Thus SQL Server Data tools gives us a very comfortable and feature rich IDE to develop, debug and maintain database projects