POC - Part 1: Creating the VM - Extracting the VHD
In this post we will download the VHD from TechNet, and create the VHD.
Well, if you are reading this then perhaps you were brave enough to download the VHD from TechNet that already has SharePoint 2010 and Fast Search Server 2010 for SharePoint (hereafter referred to as FS4SP). If you have, jump down to the section titled Setting Up the VHD on VirtualBox. If you have not, let's do that right now.
The Short Version
- Download the VHD files from https://technet.microsoft.com/en-us/evalcenter/ee424282.aspx
- Copy the files from your local Downloads to %DESKTOP%\fast-technet-files (create the folder)
- From the %DESKTOP%\fast-technet-files folder double click on 2010-10a.part01.exe
- When the wizard requests a path to create the VHD files and folders accept the full default path (which should be something like C:\User\[some user alias]\Desktop\fast-technet-files)
- When the archive creator is done there should be folder named 2010-10a under fast-technet-files.
The Long Version
Downloading the files
When I last check on January 6, 2012 you can download the VHD for the Fast Search Server 2010 for SharePoint Trial from TechNet at https://technet.microsoft.com/en-us/evalcenter/ee424282.aspx. A Windows Live account is required is proceed and download the 24 files that constitute the final VHD.
Copy the files to a folder on your desktop
Recommendation: create a folder named fast-technet-files and move the 24 files into it. It will make the final VHD easier to find (and move, if need be). I created the folder on my desktop.
Creating the VHD
Now that you have 24 files all nicely ensconced on your drive double click on the file named 2010-10a.part01.exe. If you have never created a VHD from a RAR collection then this is your lucky day. That one file will take care of creating a series of folders and the final VHD image.
Here is the picture book version of the creation of the VHD.
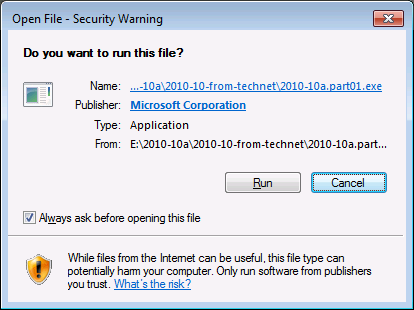
Click Run.
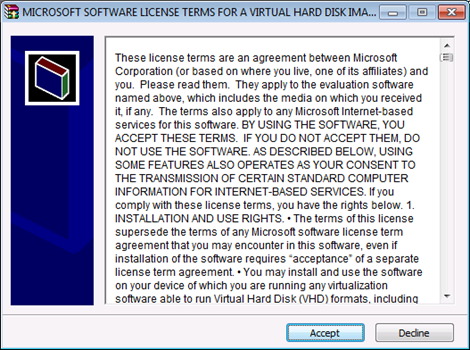
Click Accept if you really want to do these exercises.
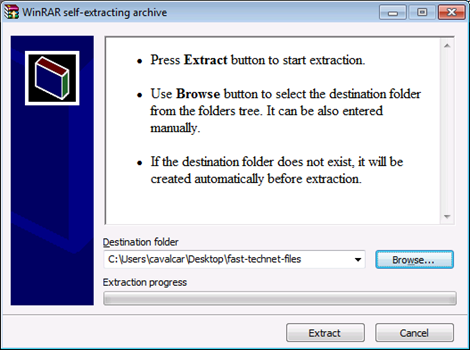
Click Extract to start the process. Go get coffee or soda or juice or water or whatever you like drinking while your computer is busy doing real work.
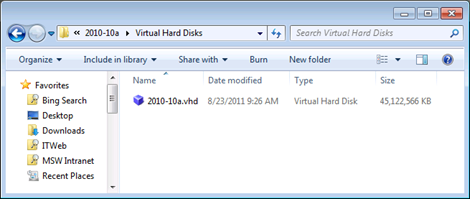
Once the extraction process is done, if you created the fast-technet-files folder on your desktop, then the executable will create a folder named 2010-10a directly below fast-technet-files . If you navigate down into 2010-10a\Virtual Hard Disks you will find the actual VHD.
Time to create the VM.