Add Your Custom Build Template to all New Team Projects
Have a customized build template that you want included in all new TFS projects? Tired of adding it manually as an extra step after the project is created? Here is a simple process to make sure your customized build template is included into your new TFS team projects.
Step 1 //
Take your customized build template and save it to your local machine. For this example we are going to save it as “C:\TFS Build Templates\My Customized Build Template.xaml”
Open up Visual Studio > Team Explorer > Settings > Process Template Manager
Select your favorite process template and download it to your local machine. We will reference that template as @ProcessTemplateFolder to use in the steps further below.

Step 2 //
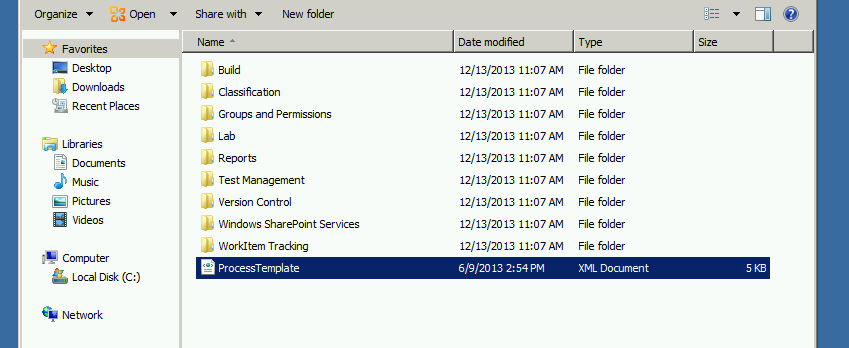
Copy the “C:\TFS Build Templates\My Customized Build Template.xaml” to the @ProcessTemplateFolder\Build\Templates folder.

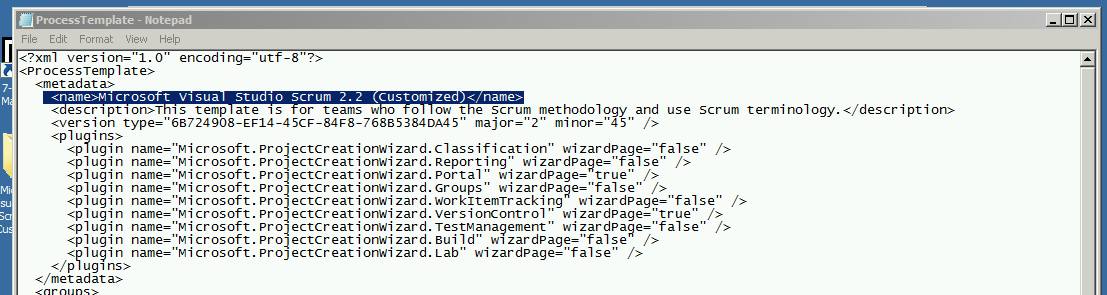
Locate the Build.xml file that is in the @ProcessTemplateFolder\Build folder and open in Notepad. Add a new <ProcessTemplate item under the <TaskXml> node. It should look something like this:
<ProcessTemplate Type=”Custom” FileName=”Build\Templates\MyCustomized Build Template.xaml” Description=”This is my customer build process template” ServerPath=”$/$$PROJECTNAME$$/BuildProcessTemplates” />
Type: The type of file that is being uploaded. The following values are valid: Default and Upgrade for build template files and Custom for lab template files.
Filename: The local directory path and name of the file to upload.
Description: A short text string that describes the file to upload.
ServerPath: The path of the server that is running Team Foundation Server where the file should be uploaded. The only valid upload location is $/$$PROJECTNAME$$/BuildProcessTemplates.
For more information see msdn.microsoft.com/en-us/library/ms243875.aspx
Make sure you save your changes and close Notepad.
Step 3 //
You won’t be able to just upload the process template into TFS as is because a template of the same name already exists. So let’s change the name.
Locate the @ProcessTempatefolder\ProcessTemplate.xml file and open in Notepad.
Modify the XML in the <metadata> so that the <name> is unique.
Save the changes and close Notepad.
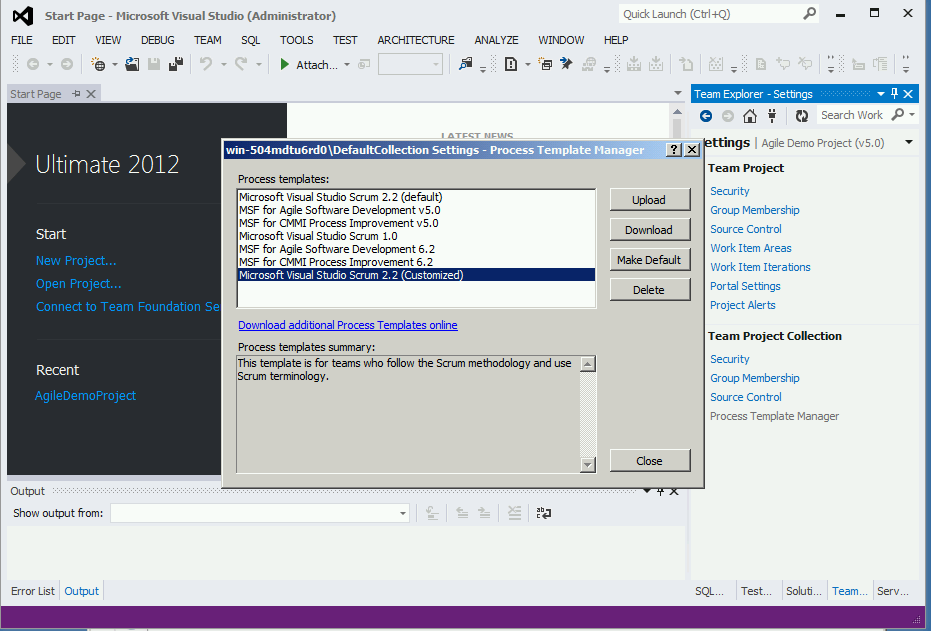
Open the Process Template Manager from TFS again and upload the customized process template.
Step 4 //
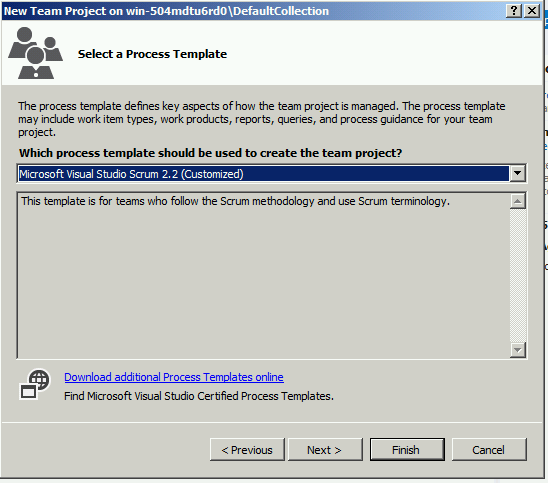
Create a new team project from Team Explorer. You should see the new customized process template in your list of available process templates.
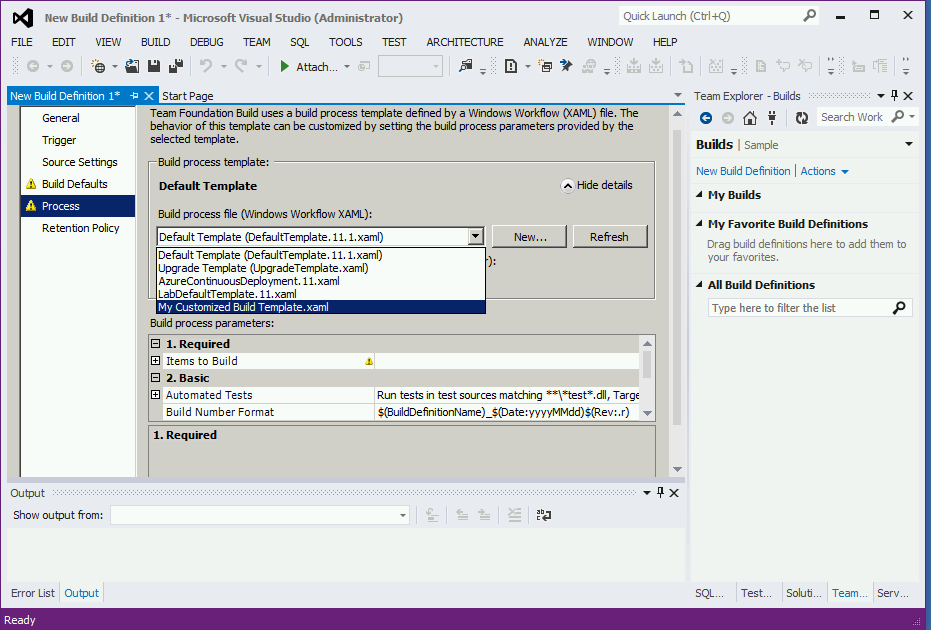
Finally, create a New Build Definition on your new project. In the Process section click on the Show Details to the right of the Default Template. In the drop down list you will now see your new “My Customized Build Template.xaml” in the list.
Alternatively if you want to have your customized build template be the default you can change the settings accordingly. See step #2.
That is it. Now the build template will be available for every new project that uses the customized process template. Just remember to keep your customizations to a minimum for compatibility with future upgrades.