
Scheduling report inside CRM
SQL Server Reporting Services has a lot of great features, but unfortunately we were only able to expose a small subset of them in CRM 3.0. One of the cooler features is the ability to generate on-demand and scheduled report snapshots. After releasing CRM 3.0 we went back and added on snapshot and scheduling functionality and made it available as the “Microsoft CRM 3.0 Report Scheduling Wizard” (http://www.microsoft.com/downloads/details.aspx?familyid=A101D4D9-6463-4A45-899B-3C3EE979C4D0&displaylang=en). So today I’m going to talk a little about what snapshots are and how to use the wizard to generate them.
Snapshots
When you view a Reporting Services report in CRM 3.0, it’s executed on-demand and the data contained in the report is accurate up until time of render. If you want to keep track of historical trends through reports, your best bet is to view a report and then export it as a PDF (or other) file. But when you export, you have to leave the CRM ecosystem.
This is where snapshots come in handy. A snapshot is a frozen view of your CRM data at a specific point in time, which can be viewed as a report in CRM at any [later] time. For instance within our development team, we keep track of project status using reports in CRM and we take snapshots every couple of days to keep a historical record of our progress. So for example at week five of coding, if we need to look back at a previous week to see how close we were to our delivery estimates, we can, and we can do it all still within CRM.
Scheduling Wizard
The wizard takes its name from the ability to generate snapshots on a schedule, but you can also generate snapshots on demand if you so choose. From now on when I refer to “scheduling” I mean on-demand and scheduled snapshots.
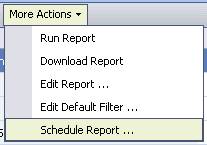
After installing the add-on, you’ll see an extra “Schedule Report …” item in the More Actions menu of your Reports grid. The wizard is context-sensitive, so if you select “Account Summary” from the grid and run the wizard, you will be scheduling that report.
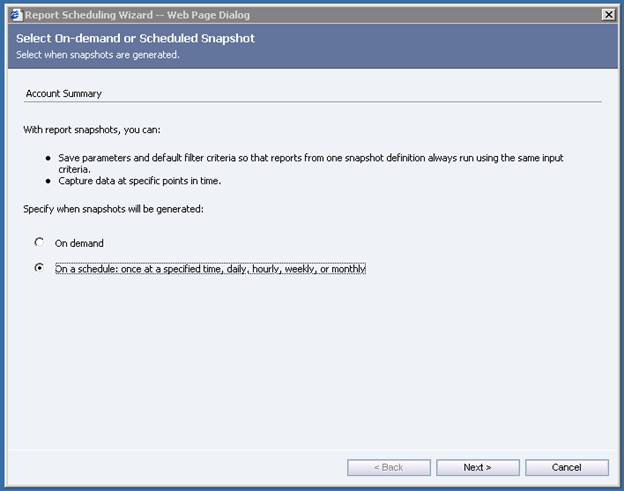
When you run the wizard on a report for the first time, you’ll be presented with the option of having the snapshots generated on demand or on a schedule. For the sake of this post I’ll go through scheduling first. The rest of the wizard pages are essentially the same regardless which option you choose, but I’ll highlight the differences when we come to them.
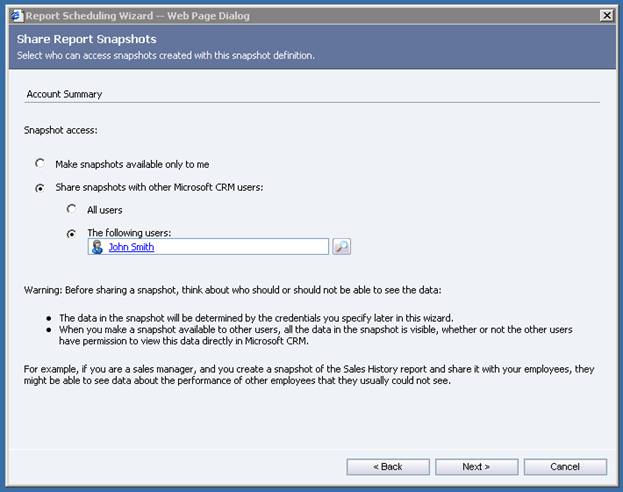
The next page of the wizard exposes some functionality not previously available for reports: the ability to set sharing on reports. All reports published in CRM 3.0 are by default available to an entire organization, but you can restrict who can see a scheduled report to just yourself, a set of users, or the entire organization. The reasoning behind this can be seen in the footnote of the page. A report snapshot needs to be generated under a specific user’s context, so if I as an administrator schedule a report, and make it available to everyone, the snapshots might contain data that another user wouldn’t normally have access to.
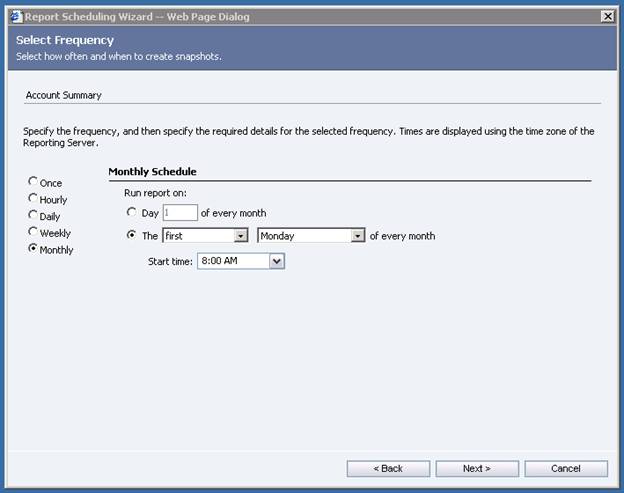
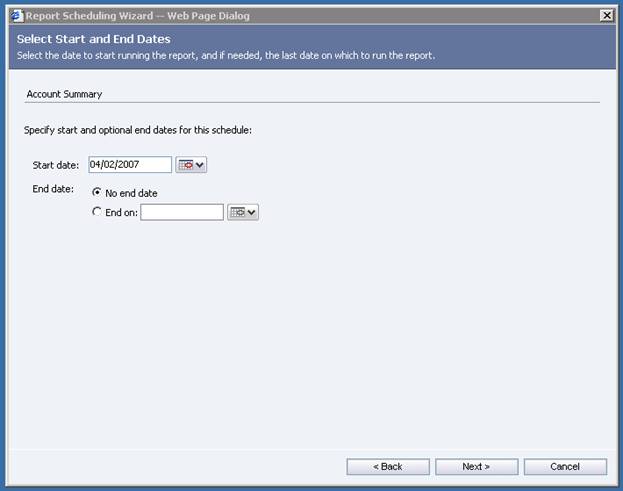
On the next page you can specify the schedule which will be used to generate the snapshots. In the example below you can see that I want to generate a snapshot on the first Monday of every month at 8:00 AM. Then on the page after this, I can set when the schedule should begin and end. So in my example, I’ve started the schedule on the first Monday of April 2007 with no end date. These are the two pages of the wizard you won’t see if you are generating an on-demand snapshot.
One thing to note about scheduling is that the Report Server handles the timing, so for example if you want to generate a snapshot at 8AM Pacific time but your Report Server is in the Central time zone, you’ll have to schedule the snapshot generation for 10AM.
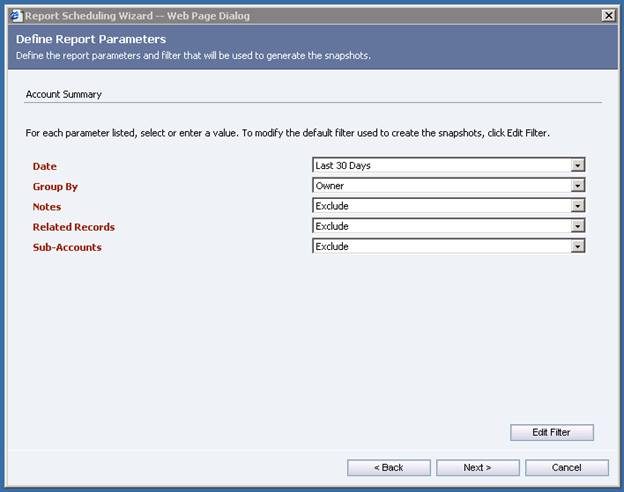
Snapshots are generated on the Reporting Services Report Server without any user input, so anything that you would normally set when viewing a report (parameters, default filter, etc.) need to be set before the snapshot is generated. With that said, the next page of the wizard allows you to set the report parameters. You can also set the default filter of the report by clicking on the “Edit Filter” button.
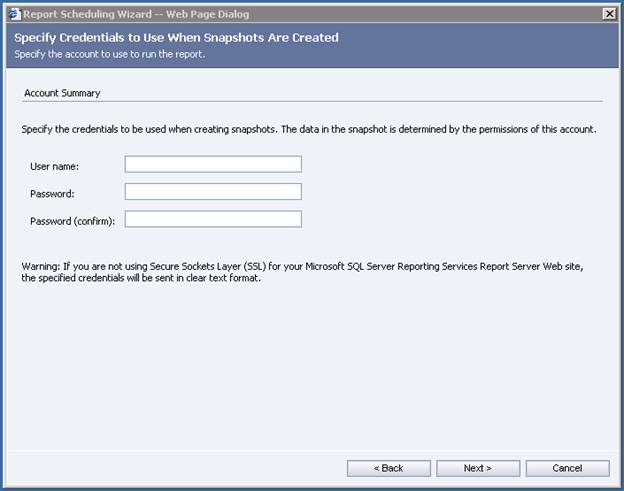
And here’s where things get tricky. Normally when you view a report in CRM, we pass your security context to the Reporting Services Report Server and it uses the information to build a report with the appropriate data. Because the Report Server needs to generate the snapshot without external input, we can’t pass your information to the Report Server every time a snapshot needs to be generated. Instead, we provide a user name and password at this time so that it’s available when the Report Server needs to generate a snapshot. The bad news here is that if you don’t use SSL to communicate with the Report Server, the credentials are sent across the wire in clear text.
The penultimate wizard page gives you a summary of the options you’ve selected over the previous pages. One thing worth noting is that the item labeled “Snapshot Definition Name” is the name of the new report that will be created when you click “Create”. The new report is an exact copy of the original (in this case “Account Summary”), except that we set it to snapshot-only execution and save all of your preferences to the report. This means that we don’t muck with your original report, but it also means that you could have a bunch of extra reports lying around if you want to set up different schedules, etc.
The other thing worth mentioning is about the footnote on the page. I’ll show you below how we expose snapshots in the grid, but we only list the most recent eight that have been generated, and because of this we set the report to only keep the most recent eight snapshots. There is a way to tweak this setting through the Reporting Services Report Manager, but that’s for another blog post.
If you are creating an on-demand snapshot report, this page will also include an option to take a snapshot when you click the “Create” button.

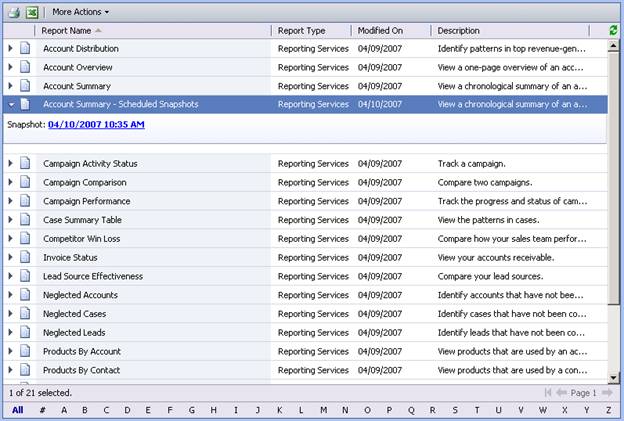
After clicking Create, you’ll get a progress icon and eventually a success page. Then after closing the wizard you’ll see the new report copy in the grid (“Account Summary – Scheduled Snapshots” in my example). If you are generating snapshots on a schedule, chances are you won’t have any snapshots at first, but once you get snapshots, you can see them by clicking the triangle to the left of the report icon. Then the snapshots will be listed by the time they were generated. Clicking on the snapshot time will open the snapshot in the CRM report viewer.
If you want to update a schedule, change any other settings, or take another on-demand snapshot of a report, you can do so by selecting the report from the grid and again choosing the “Schedule Report…” option from the More Actions menu.