Ask Learn
Preview
Ask Learn is an AI assistant that can answer questions, clarify concepts, and define terms using trusted Microsoft documentation.
Please sign in to use Ask Learn.
Sign inThis browser is no longer supported.
Upgrade to Microsoft Edge to take advantage of the latest features, security updates, and technical support.
Note
Access to this page requires authorization. You can try signing in or changing directories.
Access to this page requires authorization. You can try changing directories.
Consideration before you install this feature
Before you continue verify that you have completed the following Steps.
Final note before Installation, Depending if MIM was a Clean install or an In place Upgrade you may notice some of the old names to associated with FIM
Now to Configuration of the Privileged Access Management (PAM) featureIf
If your going to install the MIM Service and Portal piece and the Privileged Access Management (PAM) feature at the same time i would recommend starting with the post for Installing the Microsoft Identity Manager 2016 (4.3.1935.0) Service and Portal - Upgrade from FIM 2010 R2 and when you get to the Privileged Access Management (PAM) feature you can follow the below steps.
You will begin with the standard installation wizard

If you have previously installed the MIM Service and Portal as recommended you will be presented with the following, click on Change this will allow you to add or remove additional features to the current installation.

You are now presented with the MIM Customer Experience Program, Remember if you dont contribute how is it supposed to get better. of course your company policies may not allow you to participate so always follow your Corporate policies, once you make a selection select Next

You are now presented with the Custom Setup screen, select the option for Privileged Access Management

Select the Will be installed on local hard drive.

Verify that all the Features that you wish to install have been selected

Your now at the Configure Common Services screen, type in the following this should be pre-populated if this is installed as a change configuration

After you enter or verify the information click on Next
You now need to configure the mail server connection
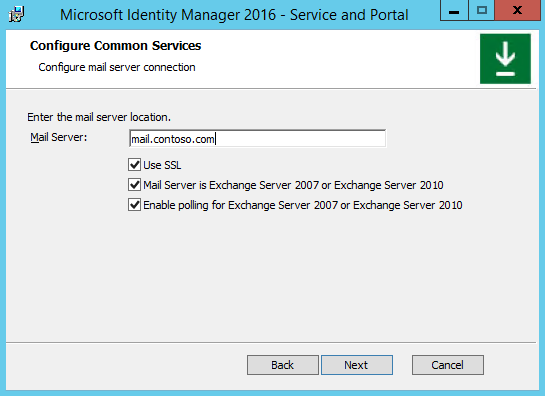
Enter in and verify that the information is correct and then click on Next to Continue
In the next screen is where your presented with the Generate Certificate screen

Unless you are using your own certificates click on Generate a new self-issued certificate Click on Next
In the Next screen enter the Account Information ( if this is a change install some of this information will be per-populated) you will need to enter the password of the service account

NOTE : This is also how you would correctly change the FIM / MIM Service Account. You would run through this Install package as a change install and update the password here. This is yet another reason i like to keep step by step document with screen shots other information in relation to the install because the last thing you want to do is inadvertently break your identity manage environment because you made a "Change" other than the password for a change install just to update the password for this or any other FIM / MIM Service Account.
After you verify that the information has been entered correctly click on Next , You may receive the following Account Security Warning, Steps to Secure

Click on Next to continue
Verify or enter the correct information needed for the FIM/MIM Service to communicate with the Synchronization Service.
Then Click on Next

The next screen requires the MIM Service Server address or the server that the FIM Service was installed on if this is an in place upgrade, then click Next

Enter the name of the SharePoint Site Collection URL: which was used for in the configuration of SharePoint Foundations and click Next

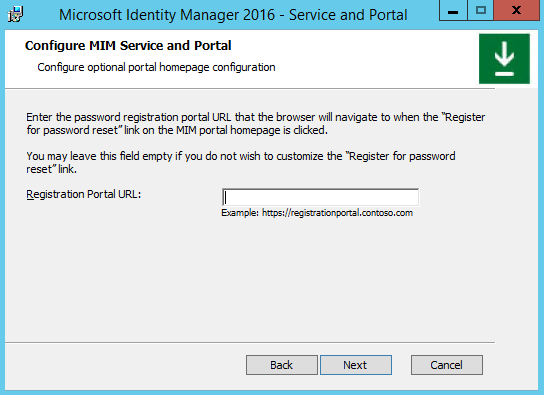
In the next screen you need to enter the Registration Portal URL but only if it has been previously installed or you are in the process of configuring it, then click Next
In this screen you will need to Check this option to Grant authenticated users access to the MIM Portal Site, Click on Next to continue

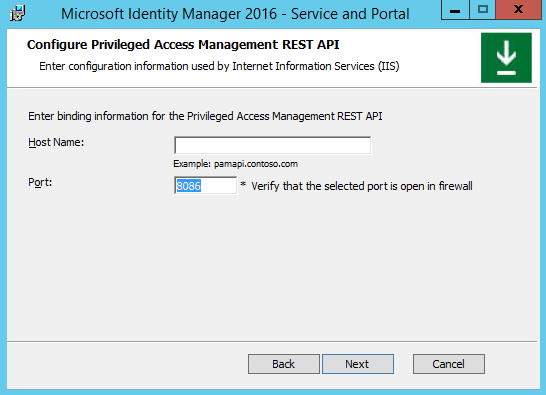
In this screen unless you are using a separate REST API you only need to enter the Port
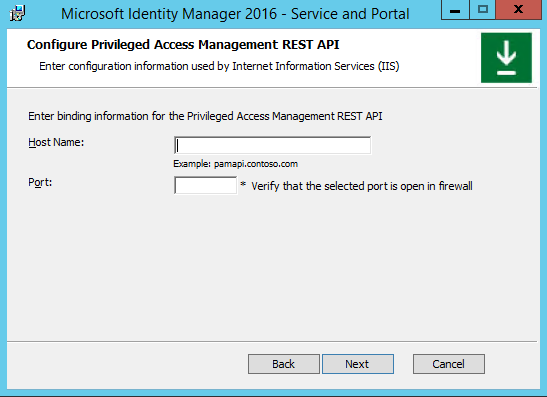
Enter 8086 and then click Next
Remember the Service accounts that were mentioned during the MIM PAM Prerequisites section, you will now need this information, the first Service account needed is the P
The First Service Account that is required is for the Privileged Access Management Rest API ,for this section enter the Service Account that was used when configuring SharePoint Foundation
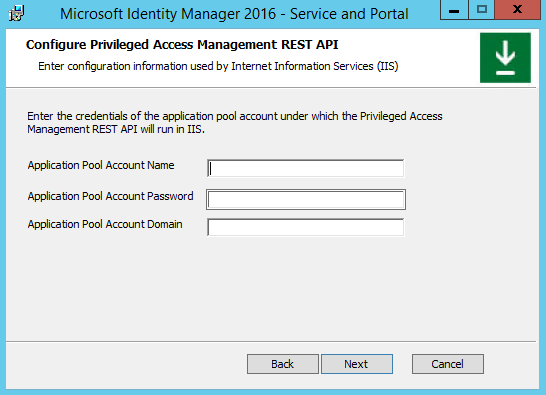
You will be unable to continue without having any of the Pre Requisite Service Accounts, any attempt to continue without entering the information will result in the following error

After you have entered the information, verify that the information is correct
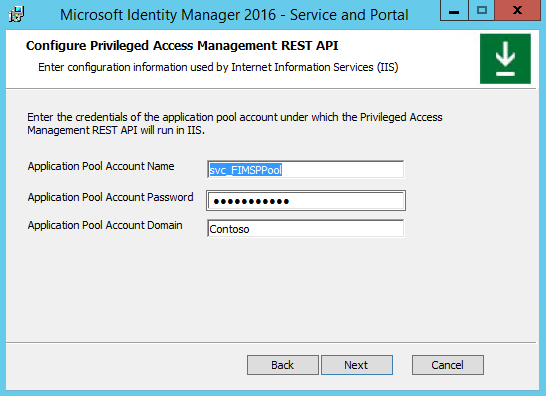
Click on Next, and you may be presented with an Account Security Warning Steps to Secure
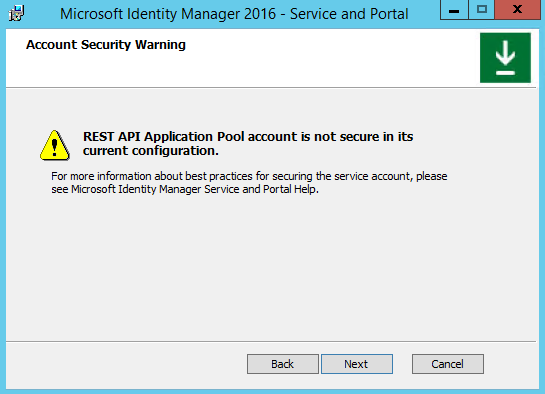
If you get this warning this is the same as you may have seen in the past when installing, configuring, or upgrading FIM / MIM. We will review this later but for now click on Next
You are now presented with the screen to Configure the PAM Component Service

After you enter the Service Account information verify that the information is correct

When you are ready click on Next to continue
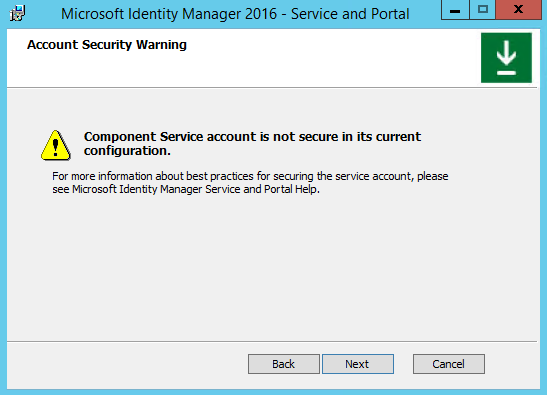
You may once again receive the Account Security Warning, Click on Next to continue Steps to Secure
You are now presented with the Privileged Access Management Monitoring Service Configuration page
Enter the information, Verify its correct

Once your ready Click on Next to continue, you may once again get the Account Security Warning Steps to Secure

Click on Next to Continue

In the next window you will be presented with options for “SSPR” (Self Service Password Reset) If you are also installing Self Service Password Reset Features Click on and select the necessary options and enter the account name for each feature in the format of DOMAIN\SVC_Account
If you are planning on installing this feature later, you can skip this section by just clicking on Next

You are now presented with a screen that will allow you commit the Change and begin the Configuration. Click on Change to continue when you are ready.
At this point the Configuration should begin but if you missed a step that was described in the Pre requisite section you may see one of the following messages.
Possible Errors you may see
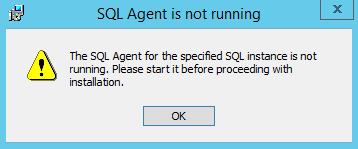
- Start the correct SQL Agent

- Start the Service and click on Retry
Now regardless of whether you received any of the errors, when the errors have been resolved if any you will be presented with the following window that will display the installation process.

There may be this one last error / Warning you can choose to let the Installation attempt to Close and Stop the listed Services or you can stop them yourself. Personally I like to stop them myself it just feels safer.

When you’re ready click on OK to Continue

The Installation will now continue
If you see the following message you will need to verify the media is attached and can be found, Click on OK to continue

If for some reason the media cannot be found you may need to copy the Installation Files locally and start over.
The Installation will continue and at some point you should notice the Service is being restarted.

The Installation will continue displaying various status updates and messages.

Once complete you will be presented with the following Screen DO NOT CLICK ON FINISH YET

Verify that the Message says “Completed the Microsoft Service and Portal Setup Wizard”
Sometimes the installation will get all the way to this point and it appears that it completed but it would give a message of not successful, what happens is sometimes people are click happy and they do not notice that it did not complete successfully and they are under the assumption that it completed successfully and when they try and open the portal they are unable to do so. Catching the status at this point will drastically reduce the amount of trouble shooting needed if it was in fact unsuccessful but because you are super lucky and everything always works that is not the case and you can click on Finish
Congratulations you just installed the PAM Feature
Your now presented with this message, close any applications and save any docs if needed and then click on Yes to Reboot the machine

Once the Machine reboots verify that all the necessary services have been started in addition to the FIM Synchronization Service and the FIMService

Verify that the Portal Page is still functional

Verify Accounts are Secured
Once again Congratulations you are ready to continue with your PAM Configuration
Questions? Comments? Love FIM so much you can't even stand it?
EMAIL US>EMAIL US<
## https://blogs.msdn.com/connector_space ##
Anonymous
January 31, 2016
The comment has been removed
Anonymous
February 02, 2016
@MAG was this error on the Synchronization Service or the FIM Service?
If when trying to upgrade the FIMService Have you updated the Synchronization Service with the MIM Bits yet?
Do you have multiple FIMService instances if so have you tried stopping all but 1 FIMService and trying to update the 1 running FIMService that's still running.
Anonymous
November 18, 2018
The comment has been removed
Ask Learn is an AI assistant that can answer questions, clarify concepts, and define terms using trusted Microsoft documentation.
Please sign in to use Ask Learn.
Sign in