Understanding userAccountControl management with FIM.
Before we begin lets look at the Attribute userAccountControl in Active Directory.
You may also be interested in understanding the Bit Values for each flag that defines the userAccountControl of a user, the following site details what each flag is and it value.
https://support.microsoft.com/en-us/kb/305144/
Before you can begin to manage an employees status in the FIM Portal you may need to add a custom attribute and bind it to the Person Resource in the FIM Portal for Employee Status. Out of Box Employee Status is not an attribute that is configured within the FIM Portal so I would determine if you want to use another attribute or configure the FIM Portal to include the Employee Status attribute.
- Verify that you have already Created a custom Attribute to be used to control Employee Status
- The following post can assist in Creating attributes in the FIM Portal - Schema Management - Creating a new attribute
- Verify that you have already Bound the Custom Attribute to the Person Resource in the FIM Portal
- The following post can assist in binding attributes in the FIM Portal - Schema Management - Binding a New Attribute
- Don't forget to verify and apply permissions to all MPRs that will be used to allow management of the Employee Status Attribute.
- The following post can assist in Setting the correct MPR Permissions Schema Management - Setting Permissions to manage new attributes.
- You would need to verify that permissions were set for the Synchronization Service
- The following post can assist in Setting the correct MPR Permissions Schema Management - Setting Permissions to manage new attributes.
- Verify that you have created the necessary Attributes in the Metaverse and updated the FIMMA with the new Custom Attribute to allow synchronization from the Metaverse to the FIM Portal.
- The following post can assist in updating the Metaverse - Resource Management - Configure Synchronization Service to manage New Resource.
- Verify that you have Updated the FIMMA
- The following post can assist in updating - Updating the FIMMA to include Custom Attributes in the FIM Portal.
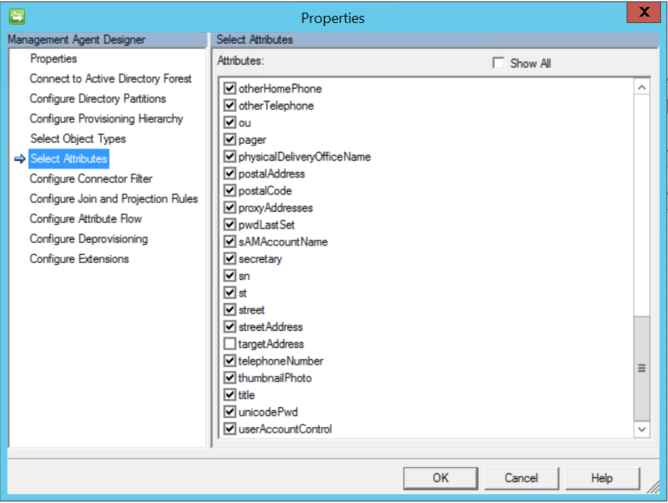
- Verify that you have selected userAccountControl in the "Select Attributes" Section of the Management Agent that will connect to Active Directory.
You could just set the userAccountControl with FIM using a real basic function that sets the userAccountControl with a static value of 512 for enabled or 514 for disabled. The biggest issue with that is not all accounts are created equal. for example
512 is a normal account with no special flags
514 is a normal disabled account with no special flags
66048 is a normal account with the flag set for Password never expires
66050 is a normal disabled account with the flag set for Password never expires
262656 is a normal account with the flag set to require smart card authentication
262658 is a normal disabled account with the flag set to require smart card authentication.
There are a wide array of combinations of flags that would control the value set for the userAccountControl attribute in Active Directory. The on common thread is any account that is disabled has a value of 2 added to its current userAccountValue..
Ideally you would want to have the simplest method to enable or disable all accounts regardless of the types of accounts and flags that have been set for each account. Your environment could consist of only 1 type of account which should ever have a userAccountControl set to 512 for enabled or 514 for disabled in that case you could use the real basic method of setting the userAccountControl attribute, but consider this we live in a fast passed world where Technology and policies are constantly changing and todays best practice could be tomorrows risk.
- Verify that the attribute userAccountControl has been selected on the Active Directory Management Agent, if this is not selected when you are trying to configure the sync rule to flow a value to the attribute the option for userAccountControl will not be available.
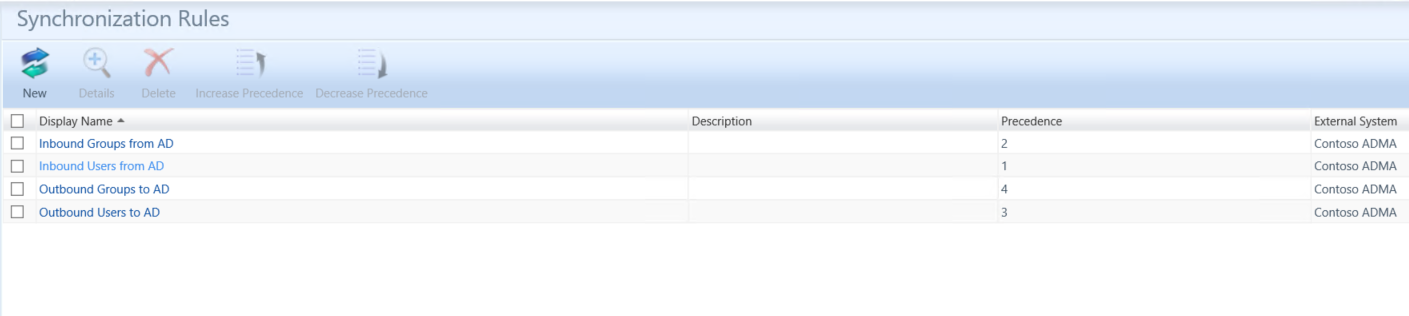
- In the FIM Portal open up the Synchronization Rule Admin Page
- Click onthe Import Synchronization Rule for users
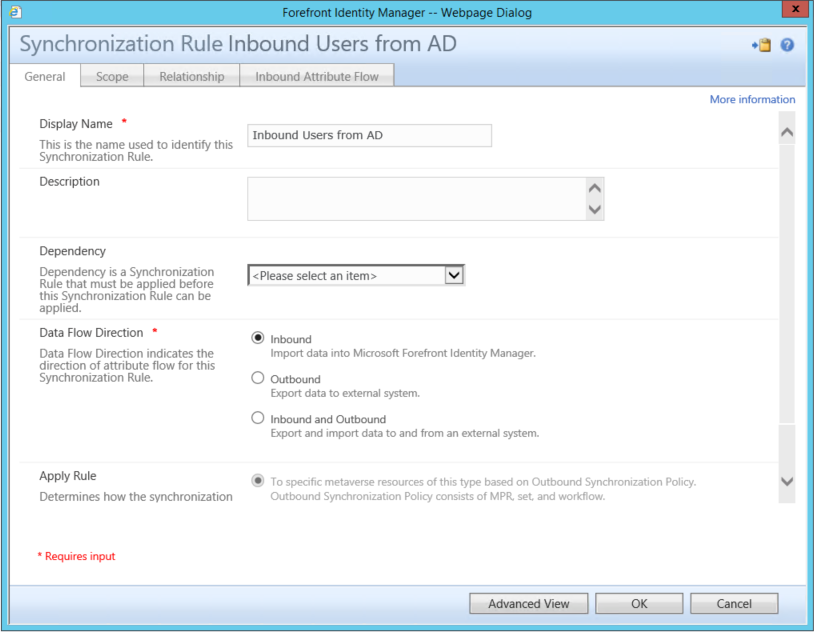
- Click on Inbound Attribute Flow Tab

- Verify that you do not already have an attribute flow for managing the userAccountControl.
- Click on New Attribute Flow
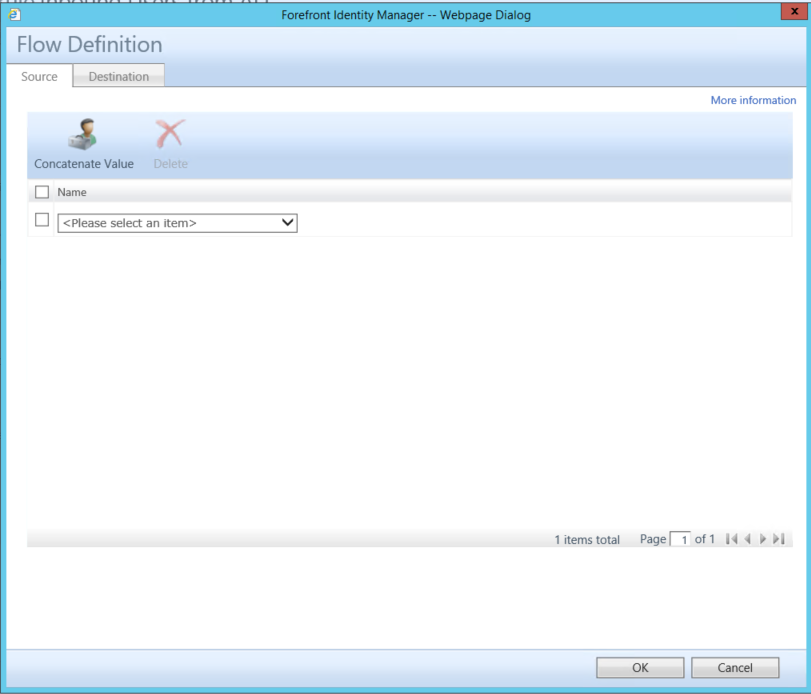
- Select CustomExpression under the Source Tab
- Add the following in the text box. IIF(Eq(BitAnd(2,userAccountControl),2),"Disabled","Enabled")

- Click on the Destination Tab
- Select employeeStatus
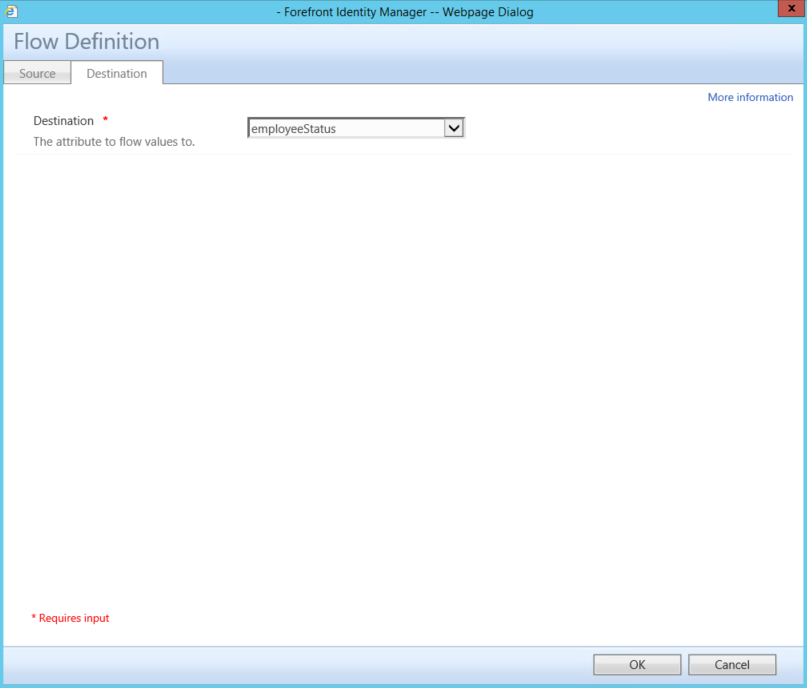
- Click on Ok than submit to save the Sync Rule
- Back in the Synchronization Rule Admin Page click on the Outbound User Sync Rule you wish to add the attribute flow to handle the userAccountControl attribute.
- Add the following attribute flow
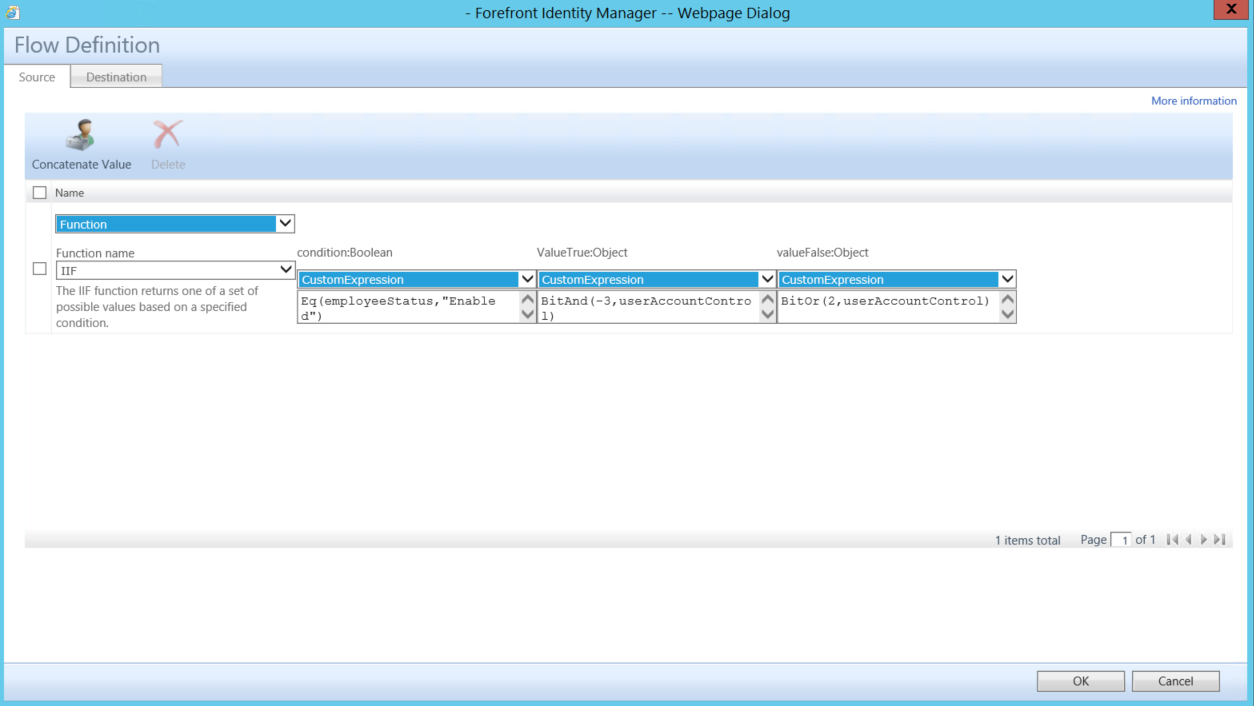
- Source Tab
- Function
- Function name
- IIF
- Function name
- condition:Boolean
- customExpression
- Eq(employeeStatus,"Enabled")
- customExpression
- ValueTrue:Object
- customExpression
- BitAnd(-3,userAccountControl)
- customExpression
- valueFalse:Object
- CustomExpression
- BitOr(2,userAccountControl)
- CustomExpression
- Function
- Destination Tab
- userAccountControl
- Source Tab
Source Tab
Destination
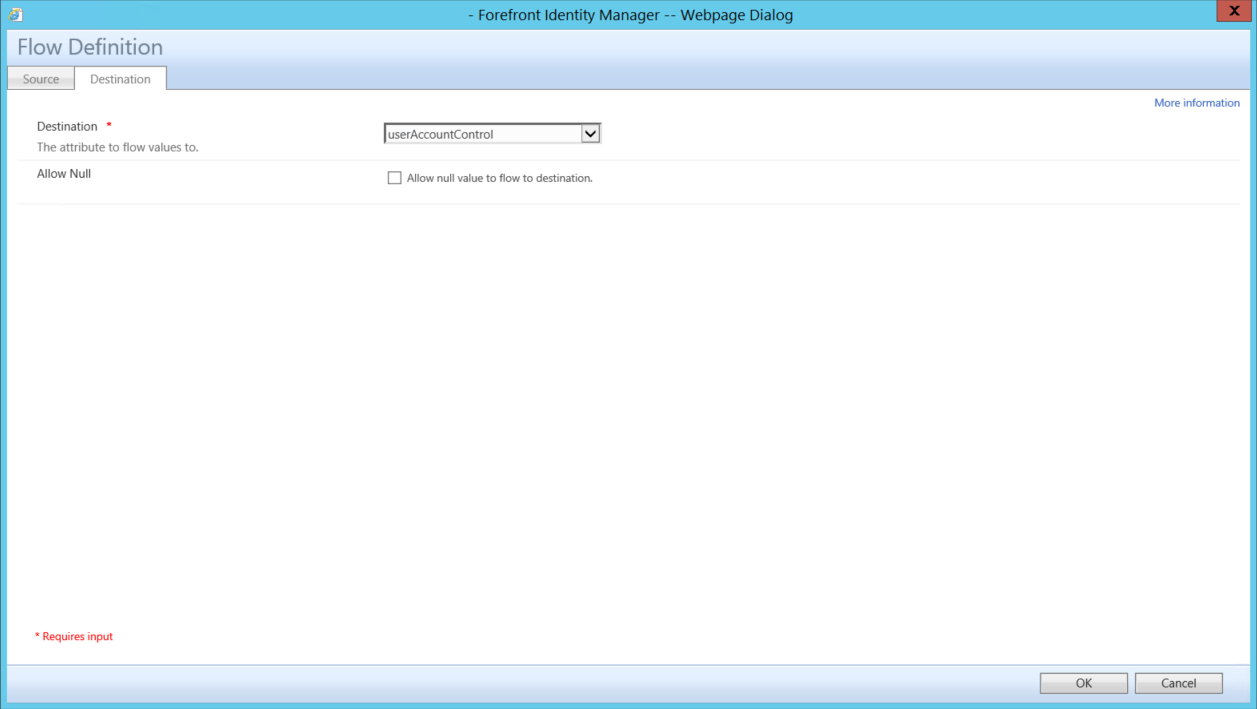
- Click on OK and than Submit to save changes to the Sync Rule
- In the FIM Synchronization Service
- Run an Import on the FIMMA
- Set Employee Status attribute to equal precedence
- Run a Full Sync on the FIMMA
- Verify Pending Exports