Configuring the FIM Management Agent
Configuring the FIM Management Agent
Before we can manipulate users and/or groups with the FIM Synchronization Service it is necessary that we create Management Agents.
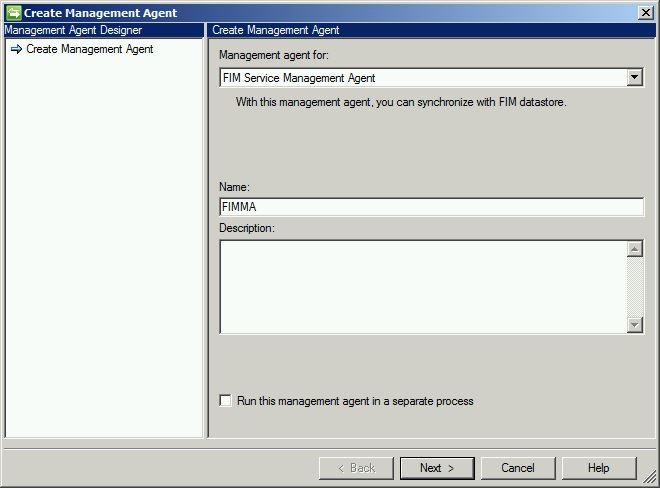
Here, we will create a Management Agent for connecting the Synchronization Engine with the FIM Service Portal.
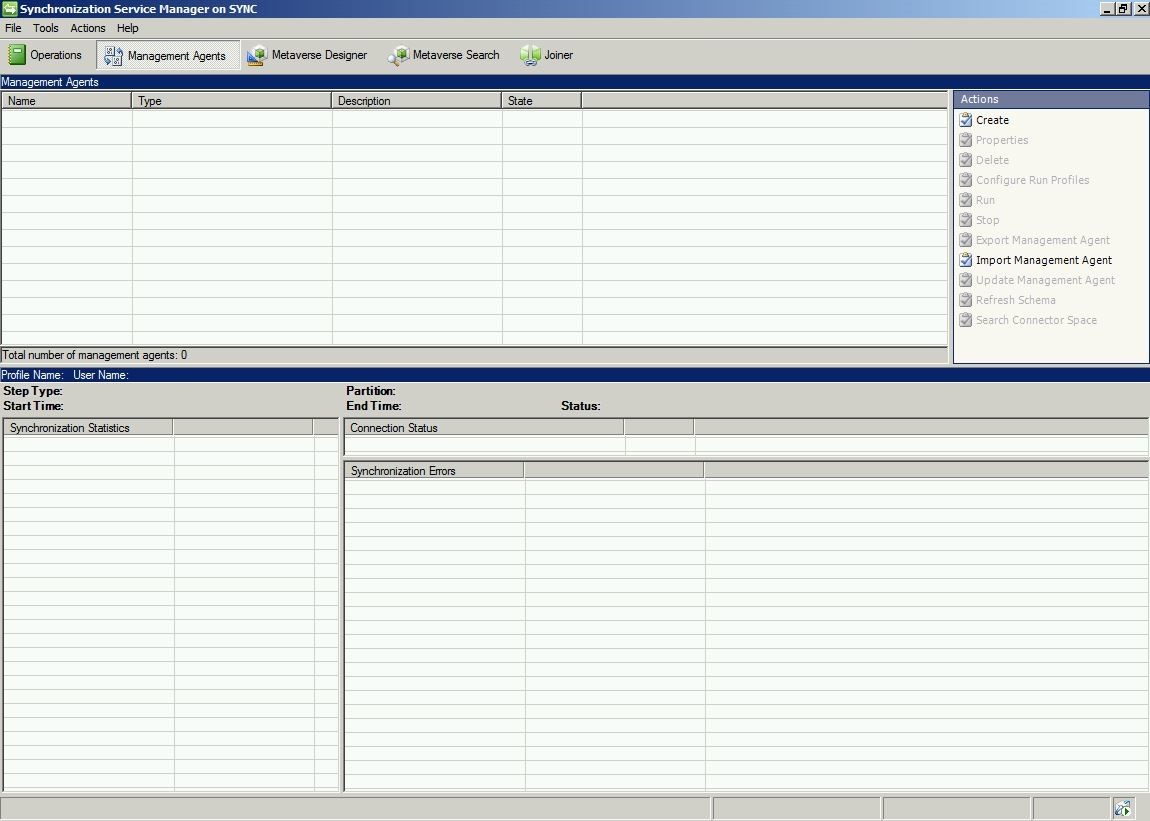
Begin by opening the Synchronization Engine
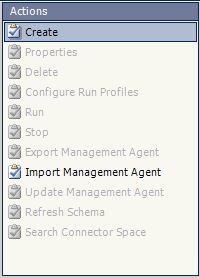
In the menu on the top right-hand corner, select “Create”
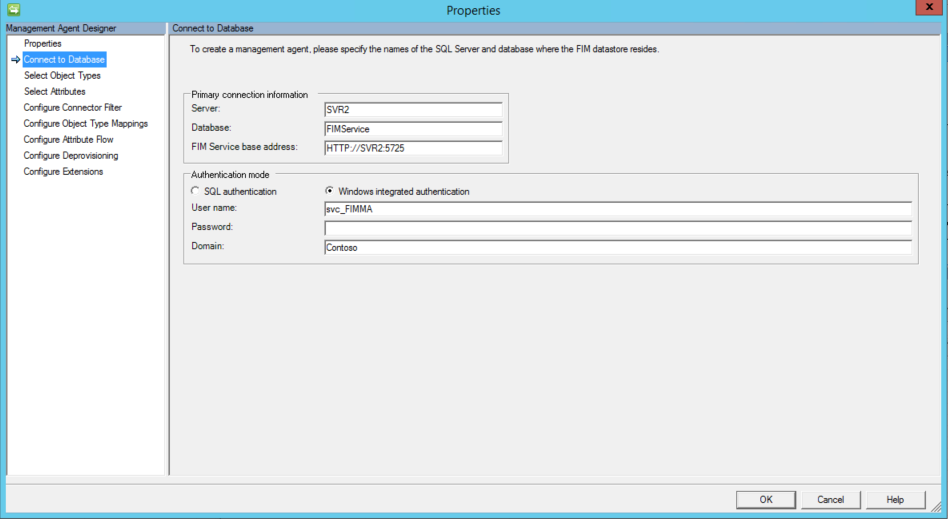
Enter the name of the server, database and FIM Service base address. Next, select “Windows Integrated Authentication” and enter the previously created service account, password and domain, then click “Next” to continue.
On the Connect to Database section enter the info needed to connected to the SQL Server that the FIM Service was install against.
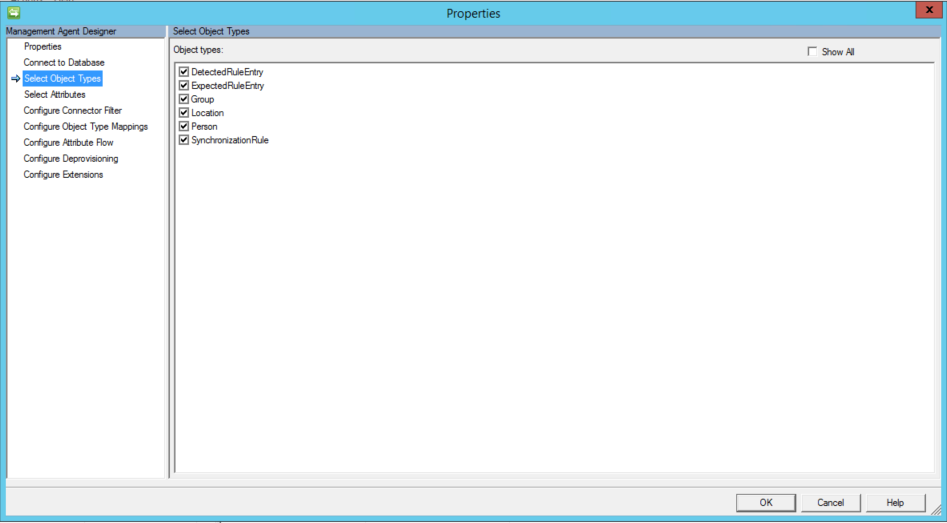
In the “Object Types” window, be sure to select “Person” and then click “Next” to continue.
In the “Attributes” window, you may select as many (or as few) attributes as you wish. Please note, however, that only attributes selected here will be available in the FIM Portal.
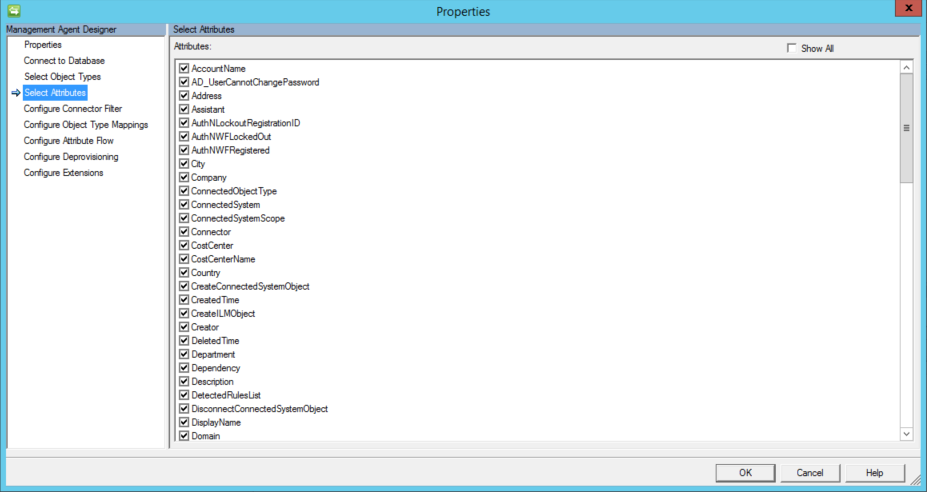
Scroll down and select all additional attributes that you would like to bring into and out of the Metaverse.
Once all attributes are selected click on Show All which will expand the attributes to be selected and selected
A few attributes you should verify that you have selected but certainly not limited to as every environment is different.
- DisplayedOwner
- MembershipAddWorkflow
- MembershipLocked
- Owner
- Scope
- Type
- ObjectSid
- Manager
- Member
Click on Ok when all attributes have been selected.
For “Connector Filter”, you may leave these default and click “Next” to continue.
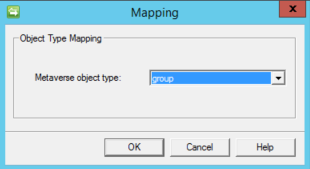
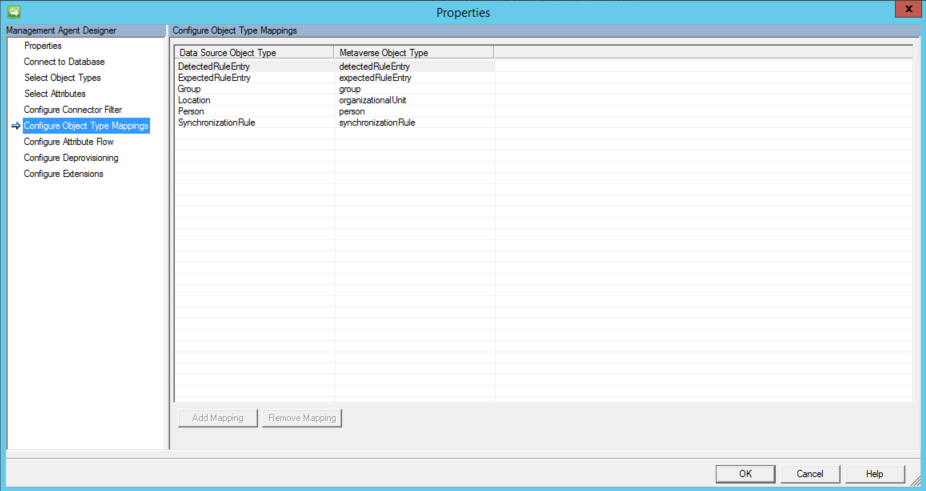
For “Configure Object Type Mappings”, as a best practice, there are two things we should do. First, select “Group”, click on “Add Mapning” and in the drop-down menu next to “Metaverse object type:”, select “group”. Click “OK”

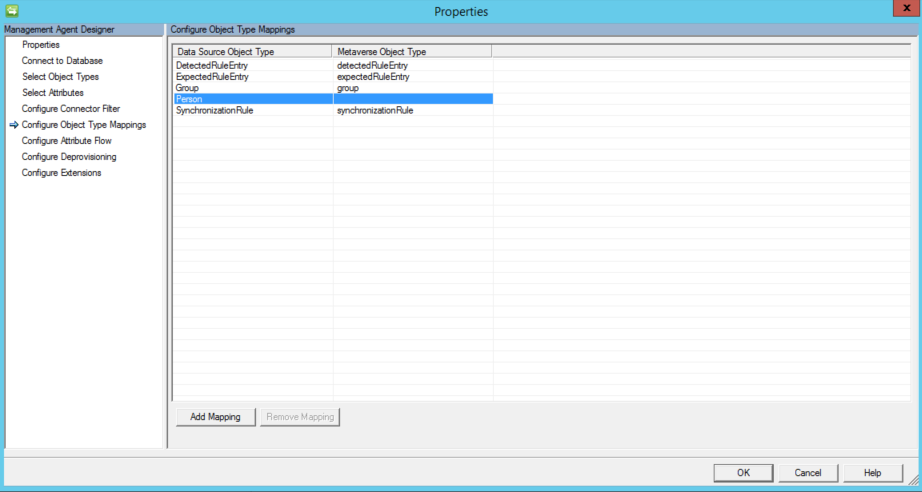
Next, select “Person”, click on “Add Mapping”, and in the drop-down menu next to “Metaverse object type:”, select “person”. Click “OK”, and then click “Next” to continue.

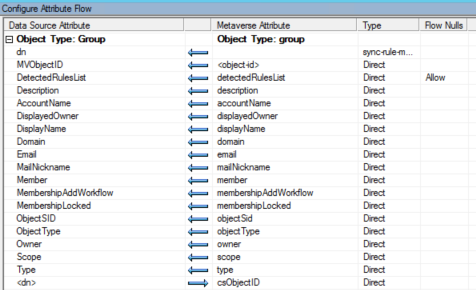
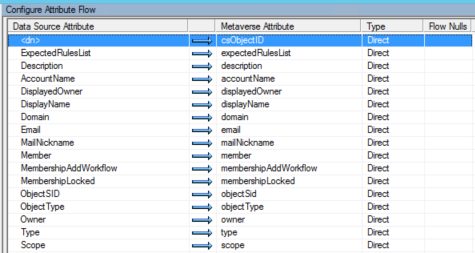
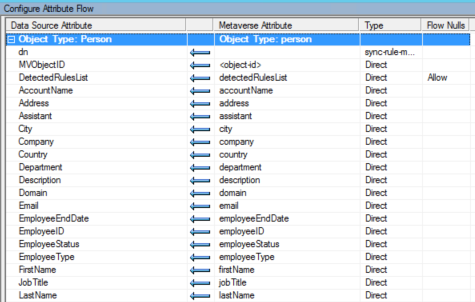
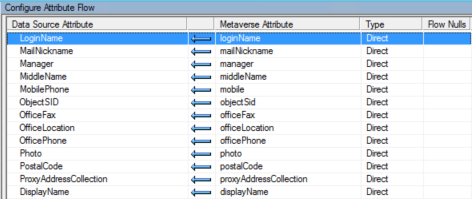
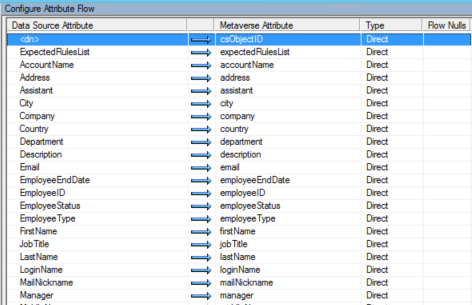
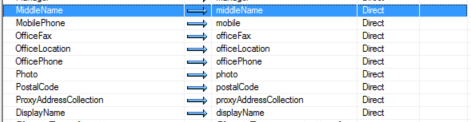
For “Attribute Flow”, you now need to configure Attribute Flows for any Object type that needs to have attributes managed via the FIM Portal.
Configure Inbound Attribute Flows and Outbound Attribute Flows here.
Note: These attribute flows bring Data into the Metaverse from the Connector Space of the FIM MA via the Import Attribute Flows that you configure as well as Out from the Metaverse to the FIM MA Connector Space via the Export Attribute Flows.
Group Export Attribute Flows
Group Import Attribute Flows
Person (User) Export Attribute Flows
Person (User) Import Attribute Flows
Note: The Above attribute Flow list is not a complete list but an example of attributes you will need to have attribute flows for. Remember any attribute that you wish to manage via the FIM Portal must have an attribute flow on the FIMMA in addition to the standard attributes that are required for User and Group Management
Click “Next” to continue.
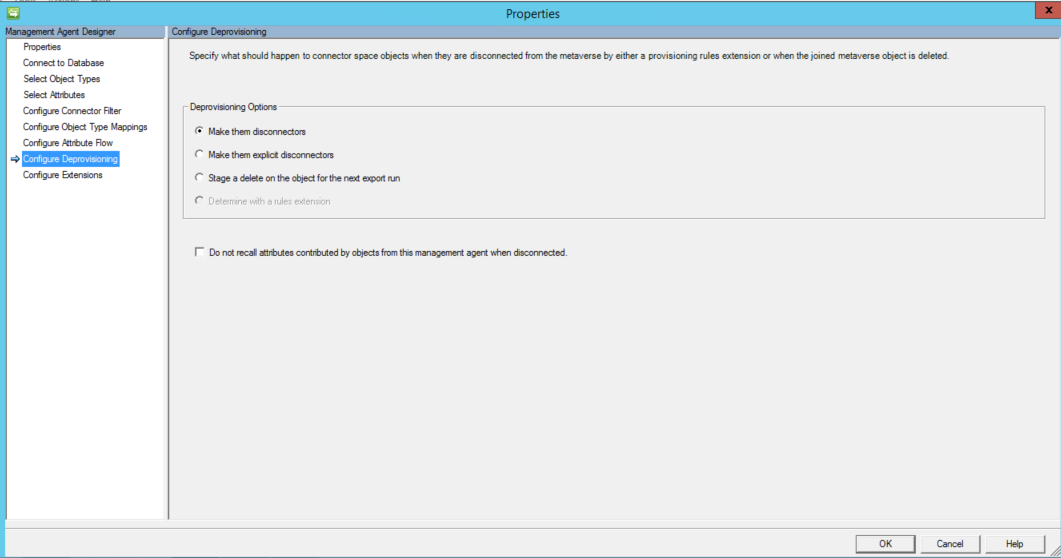
For “DE provisioning”, you may choose the default, choose to make explicit disconnectors or choose to stage a deletion. Click “Next” to continue.
“Extensions” may be left default.
To complete configuration and build the Management Agent, click “Finish”