Schema Management - Creating a New Resource
Recommended Understanding: Basic Schema Management
- Creating a New Attribute - Schema Management - Creating a new attribute
- Binding a New Attribute - Schema Management - Binding a New Attribute
- Managing attribute permissions - Schema Management - Setting Permissions to manage new attributes
Once you have Become familiar with Basic Schema Management we can begin to build on that understanding with more advanced concepts such as creating a new resource.
on the surface it may appear that Creating a resource is simple in fact its easier than creating
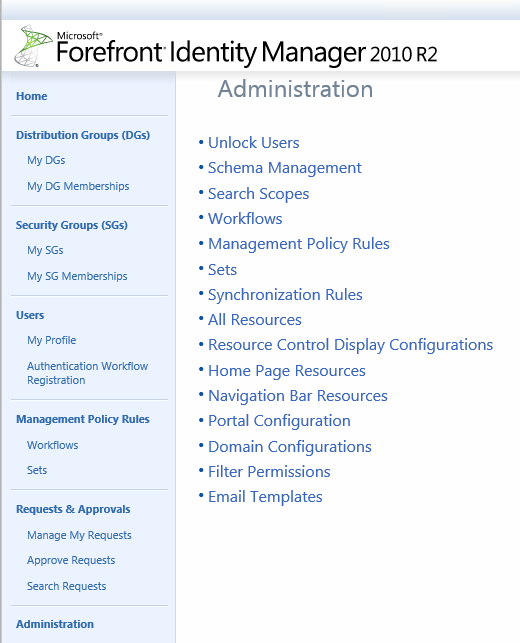
- From the Administration Page of the Portal Click on Schema Management
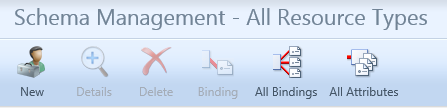
- From the Schema Management Page click on New
- The Create Resource Type Window (User Interface) will open
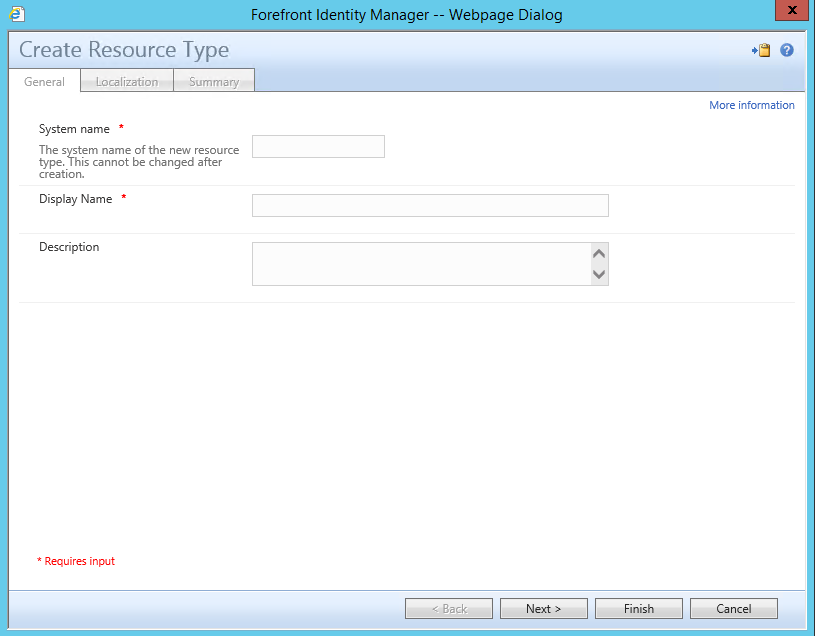
- Now Enter the following information
| For System name | Location |
| For Display Name | Location |
| For Description | Resource to manage Location resource which map to Organizational Units |

- Click on Next, you will now be presented with the Localization Window which can be used to configure additional language support.
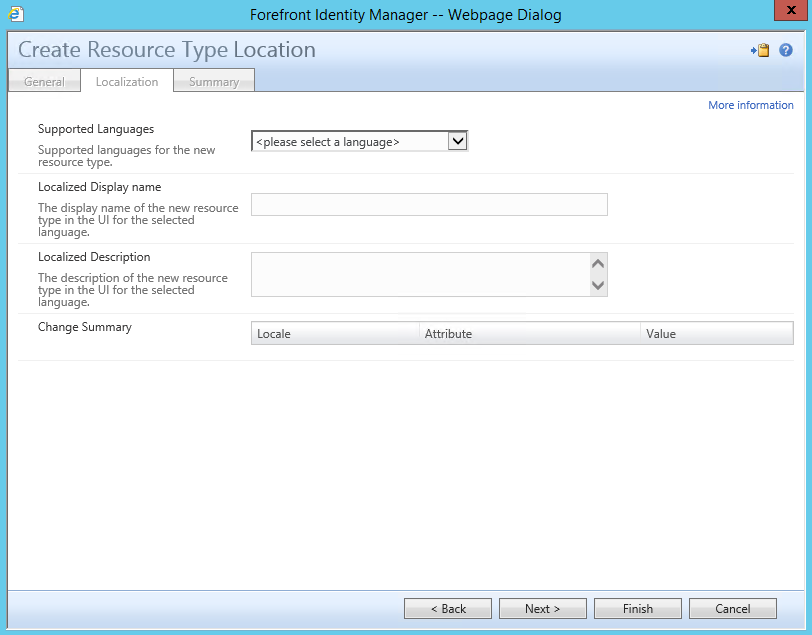
- Click on Next to Proceed to the Summary Page
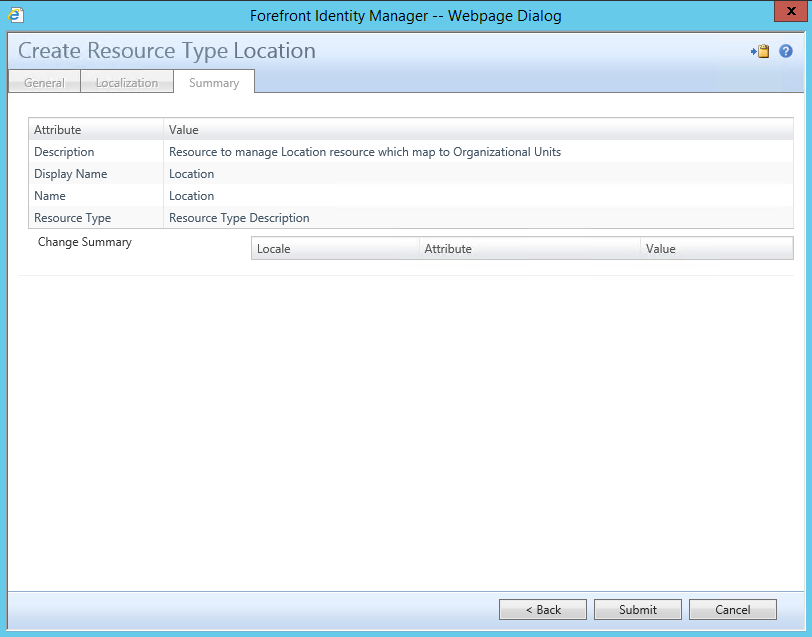
- Verify all your information is correct, than click on Submit
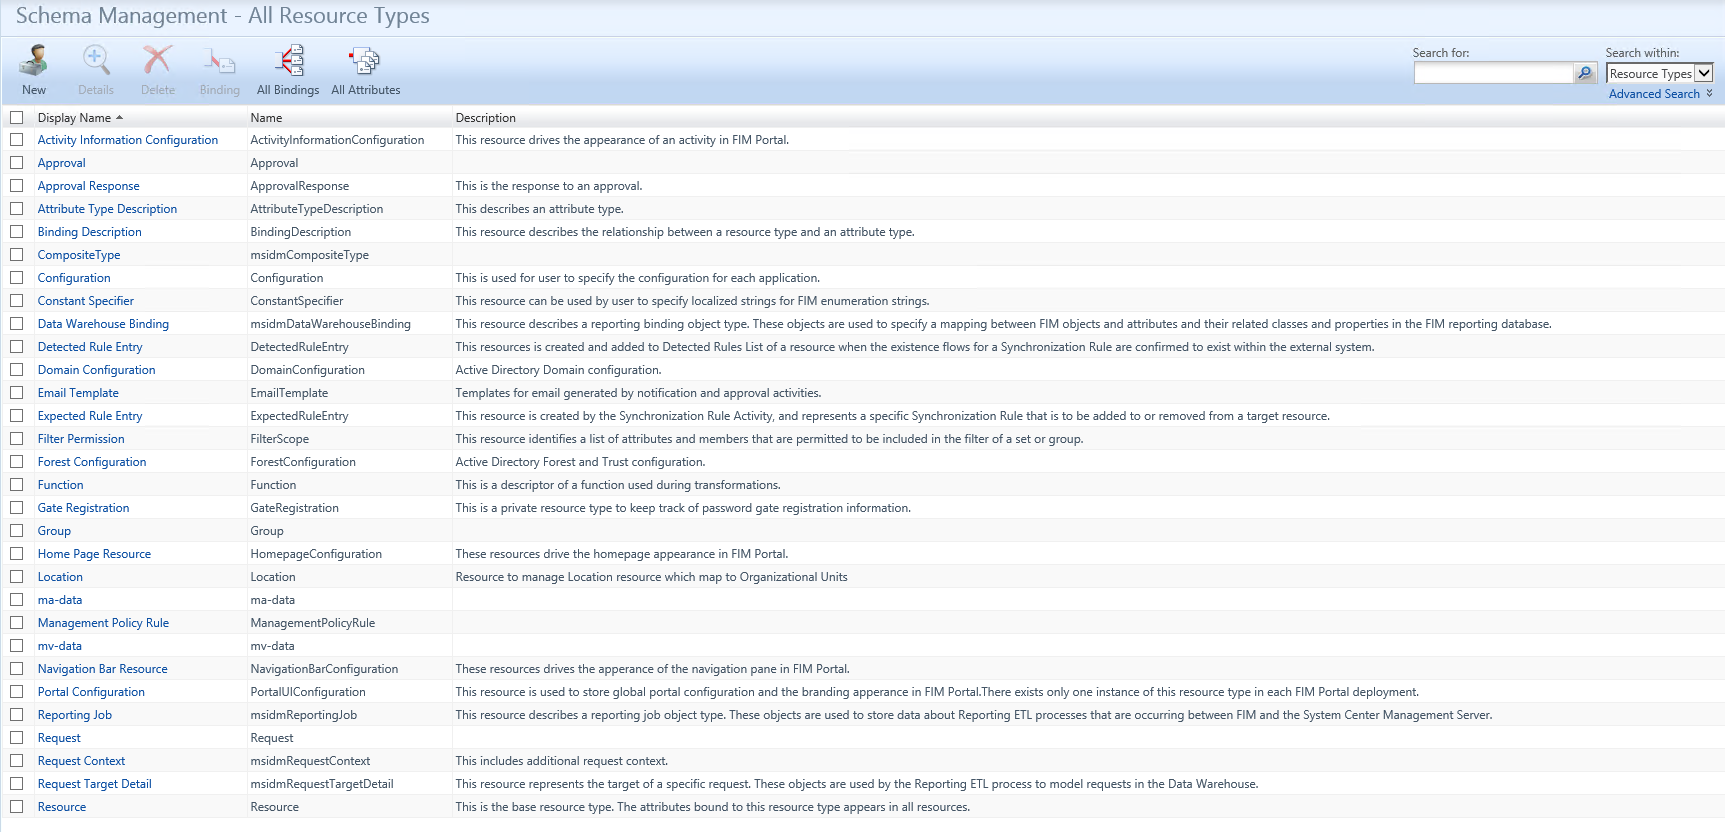
- You have now successfully Created a new Resource for the FIM Portal, you should now be able to locate your new resource on the Schema Management - All Resource Types window.
- Examine the New Resource
- From the Schema Management Window click on All Bindings
- Lets Examine the attributes that are bound to the newly created Resource Click on
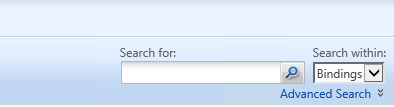
- Click on Advanced Search, Modify the criteria to display all bindings for the new Location Resource

- Notice there are 13 binding (attributes that were bound to the Location Resource) automatically.
- From the Schema Management - All Bindings window you can bind additional attributes for the Location Resource or click on All Attributes to create new attributes that you will need bound to the Location Resource.
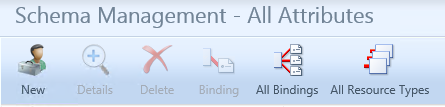
- From the Schema Management Page click on All Attributes
- Once on the All Attributes screen
- Now from the All Attributes page click on New, You should now be presented with the Create Attribute popup
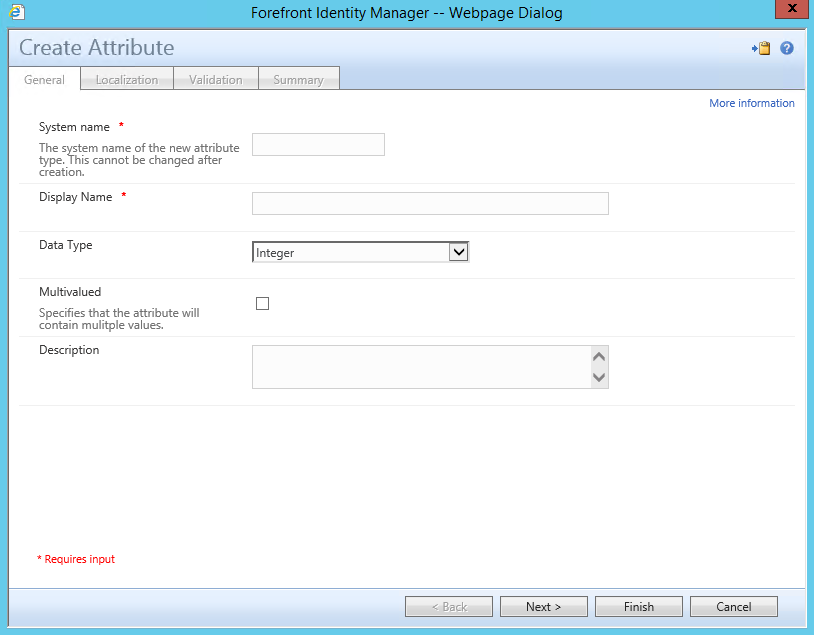
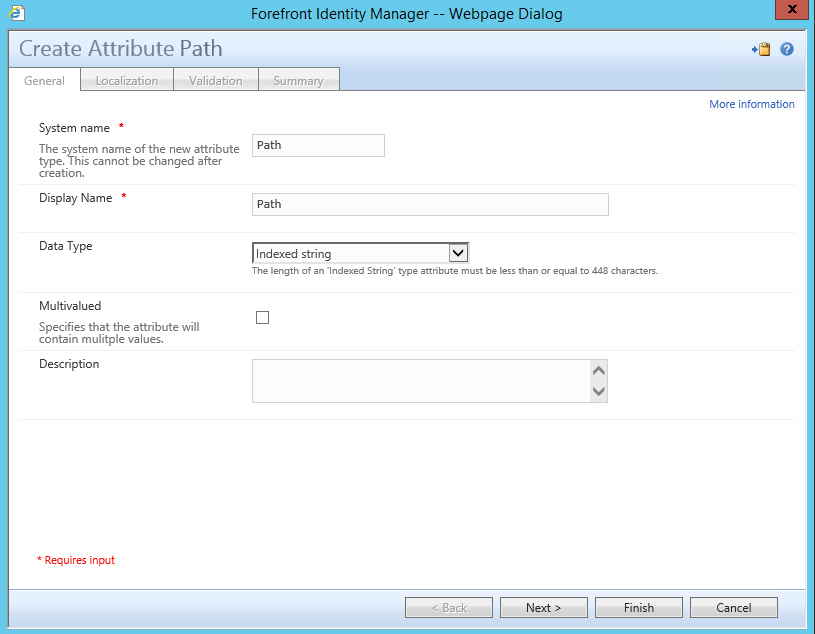
| For the System name type | Path |
| For the Display Name type | Path |
| For Data Type select | Indexed String |
| For Multivalued | false |
| For Description | Attribute to be used in building the DN |
- Before you continue to next screen verify information is correct, System name, Data Type, and Multivalued can not be changed after creation.
- Click on Finish
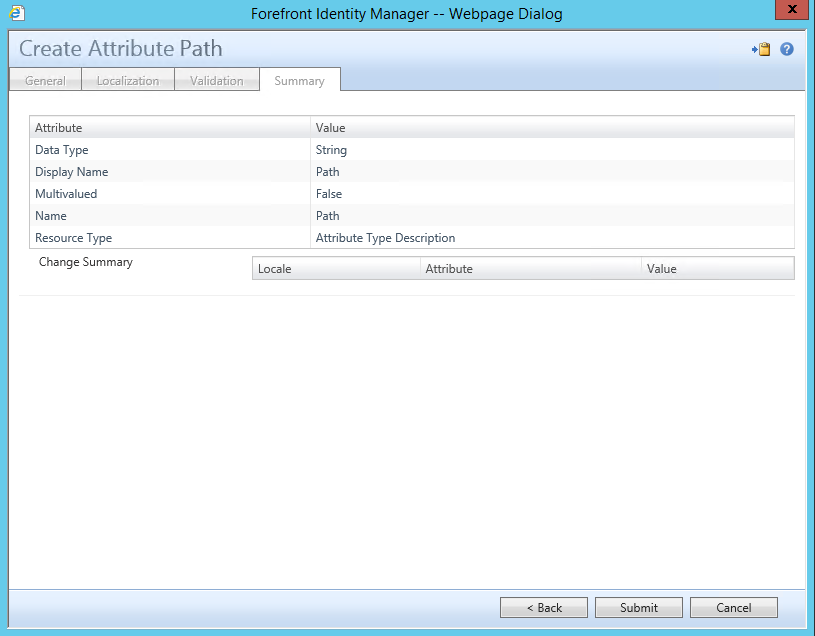
- Click on Summary
- Now lets bind the following attributes to the FIM Portal
- Path
- City
- Address
- Postal Code
- Before this Resource can be used in the FIM Portal you will have to perform additional steps
- From the Administration Page of the Portal Click on Sets
- From the Schema Management Page click on New, this will pop up the Create Set Window
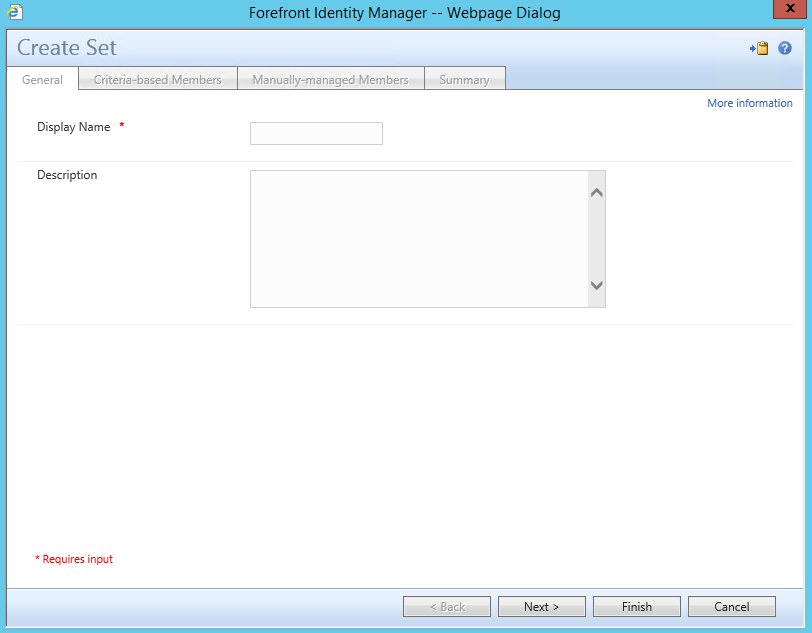
- For Display Name type _All Location Resources
- I start this with an Underscore before it organizes all new Sets that I create and makes it easy for other admins to identify the work that is custom.
- Click on Next, to advance to the Criteria-based Members Tab
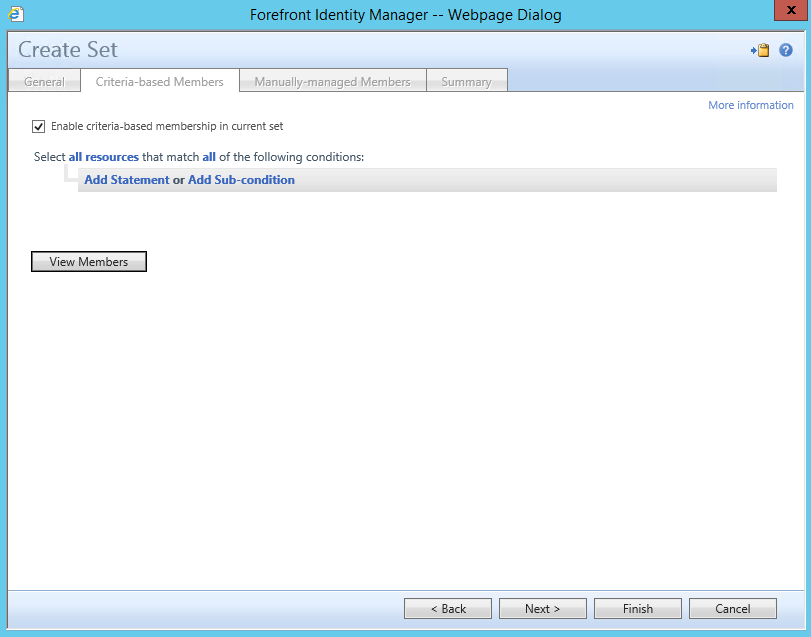
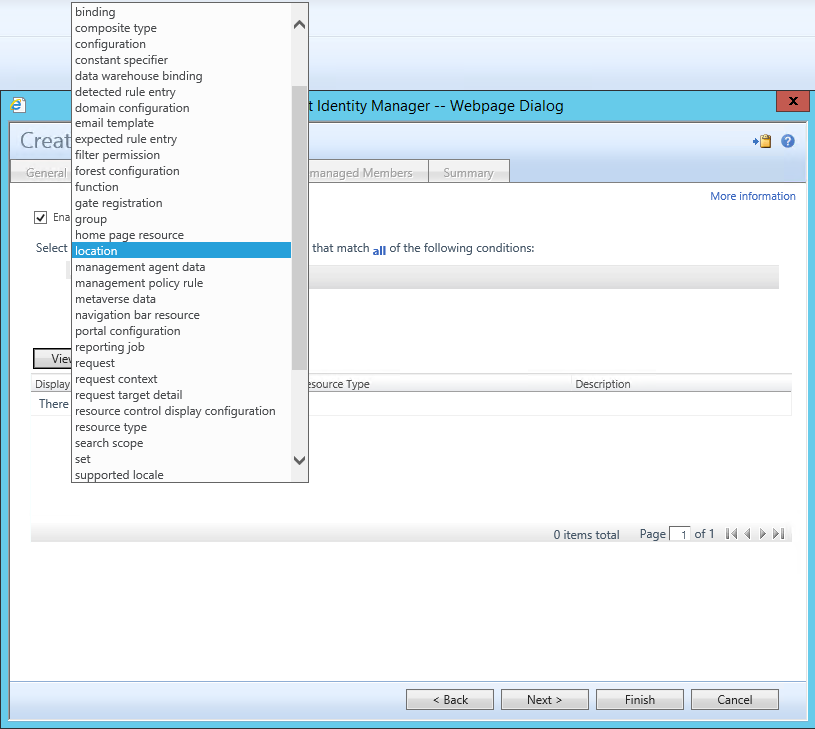
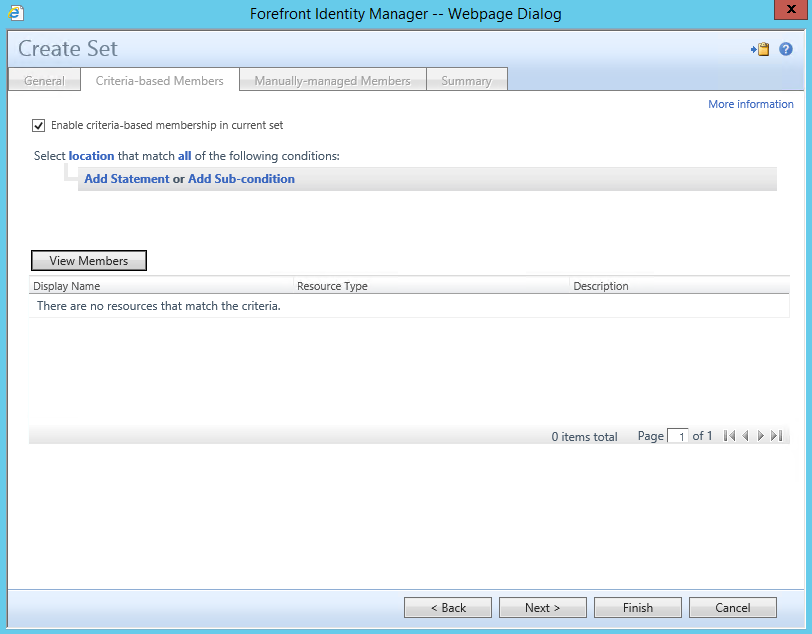
- Click on the All Resources Link from the first Line Select All Resources that match all of the following conditions:, and select location
- Click on View Members, at this time you should not see any members, this is normal as we have not created any location objects.
- Click on Finish.
- Now we need to set permissions to manage the new Location Resource
- From the Administration Page of the Portal Click on Management Policy Rules
- Once your at the Management Policy Rules windows Click on New

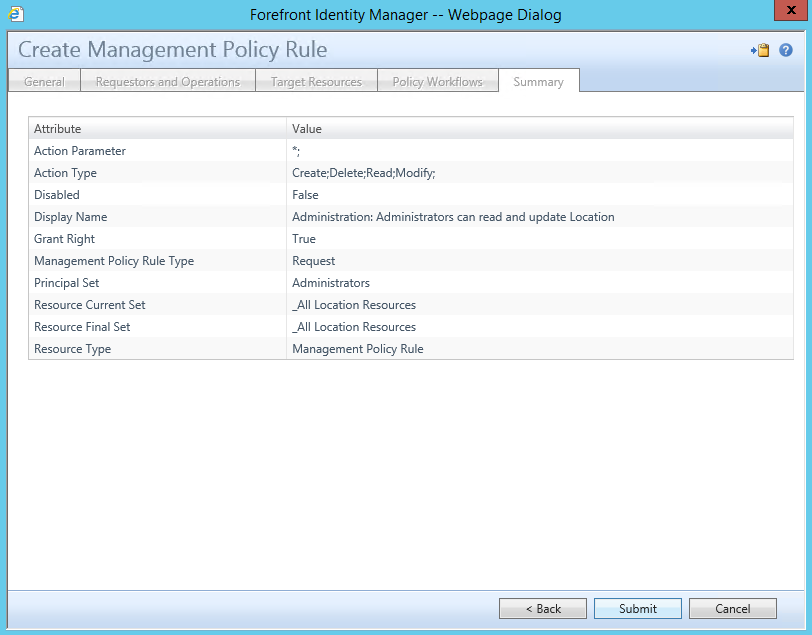
- Click on New, This will open the Create Management Policy Rule Window
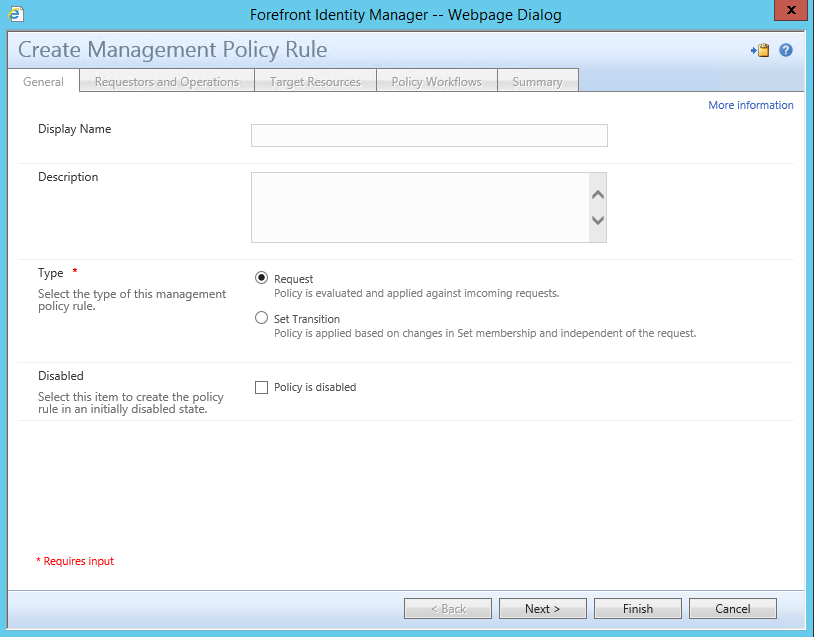
- For Display Name type Administration: Administrators can read and update Location
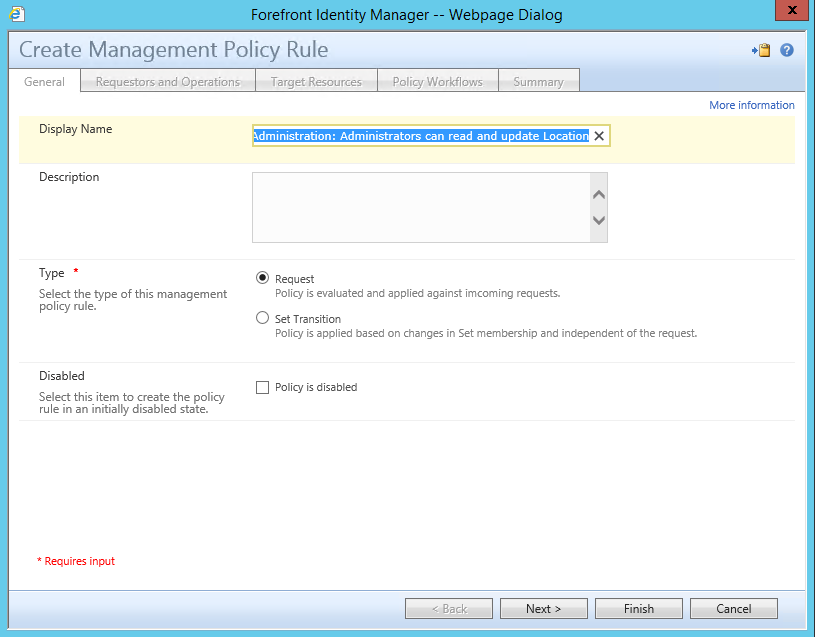
- Click on Next, this will advance you to the Requestors and Operators Tab
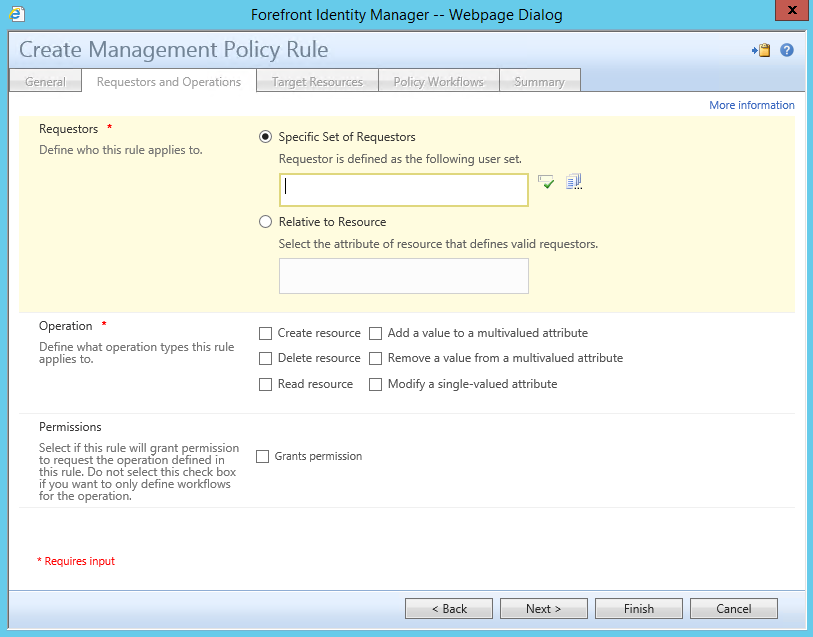
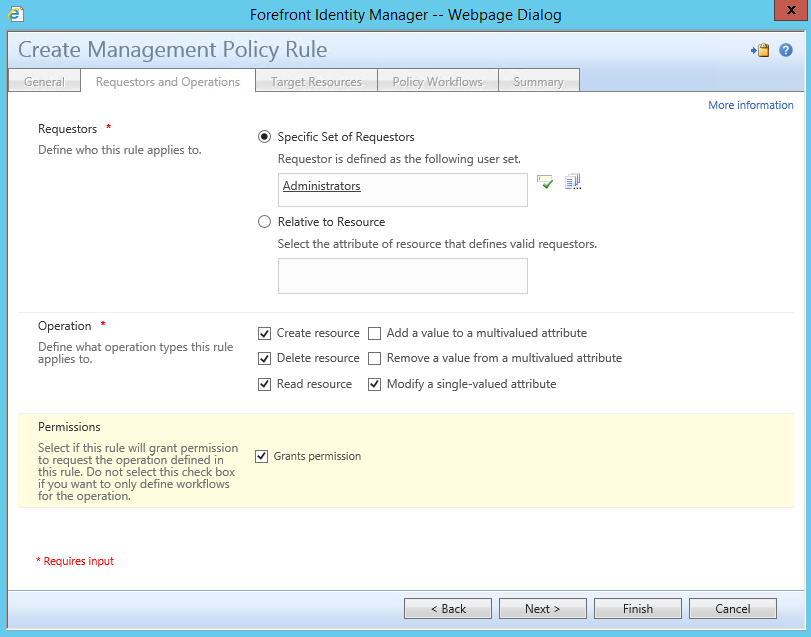
For Specific Set of Requestors in the Box Type Administrators, Click on the validation option to the right
For Operation Select the following
Create resource
Delete resource
Read resource
Modify a single-valued attribute
For Permission Select Grants Permissions and mark it true
- Click on Next , to advance to the Target Resource Tab.
- For Target Resource Definition Before Request type _All Location Resources
- For Target Resource Definition After Request type _All Location Resources
- For Resource Attributes Select All Attributes ( In the future we may want to scale this back to specific attributes )
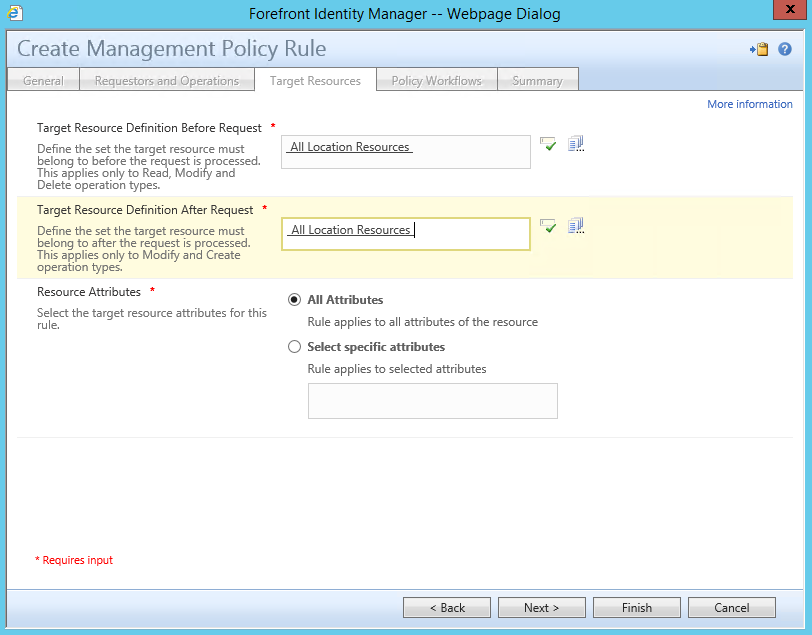
- At this time we can click on Finish, This particular MPR will not be triggering workflows.
- You will now be presented with the summary page, click on Submit once you verify all the information