Schema Management - Binding a New Attribute
In this Series of Blogs we have been focusing on the necessary steps to mange the FIM Portal Schema. We started out this series with the posting "Schema Management - Binding a new attribute" which focused on the creation of a new attribute, we will now focus on the Binding of the attribute to specific resources.
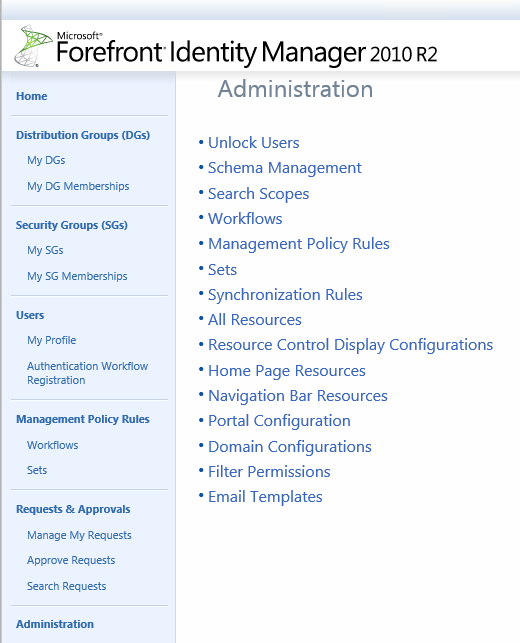
From the Administration Page of the Portal Click on Schema Management
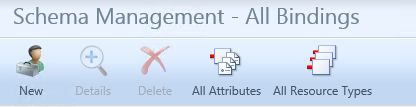
From the Schema Management Page click on All Bindings
It may be a best practice to search if Binding has already been made to the resource although if the Binding already existed It would fail.
Click on New and you will be presented with the Create Binding Interface.
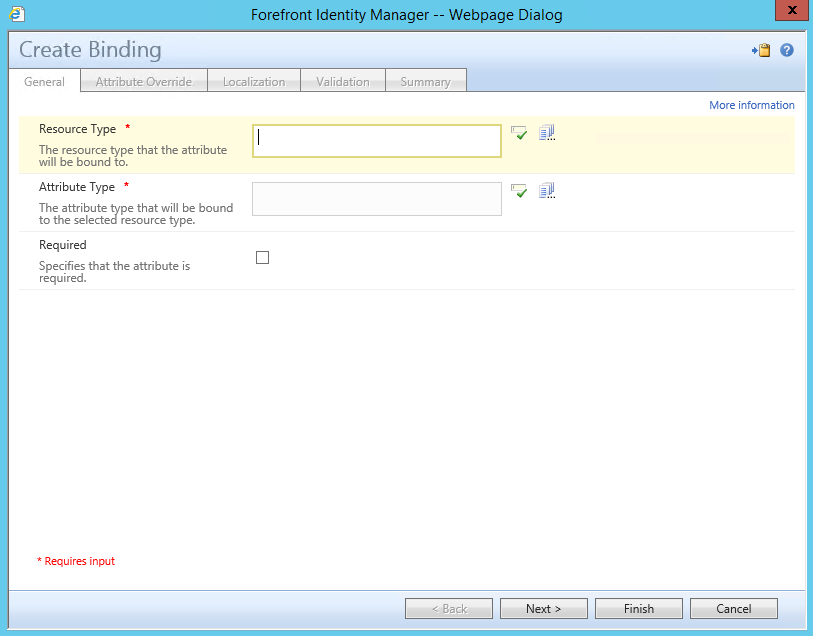
For Resource Type either type in or Browse for the User Resource, For Attribute Type either type in or search for the Attribute that you wish to Bind in this example we will use the Attribute that was created in the Blog Posting Schema Management - Creating a New Attribute "Employee Status"
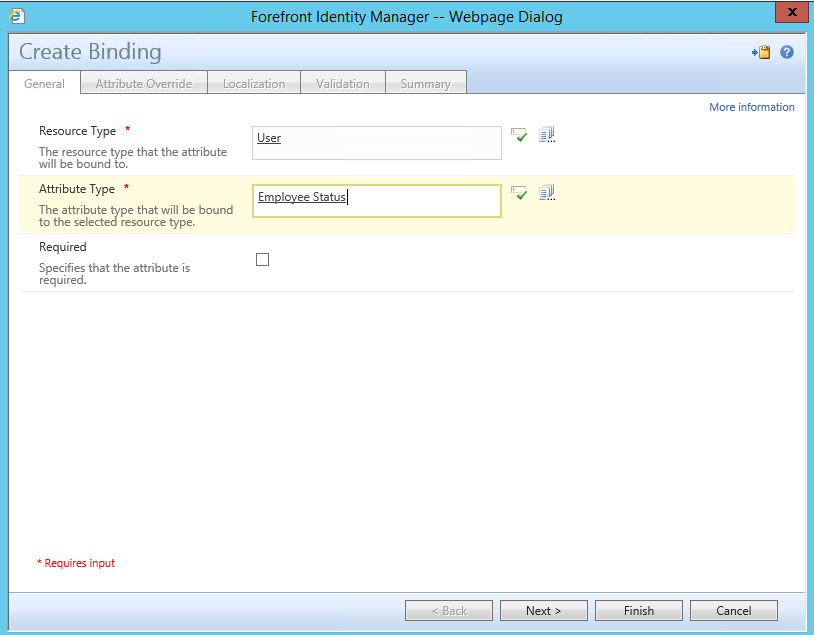
Verify that both Resource Type and Attribute Type have been populated with a value and have been underlined which shows that they have been verified. You will notice an option for Required which you can mark as True if you wanted this attribute to be required for the resource that it is bound to. In this example we will leave unchecked.
Click on Next to continue to continue to the Attribute Override Page which can be used to modify the Display name of the attribute as it is displayed for the particular Resource that it is bound to. For instance if you wanted to change the display name of an attribute that was bound to both User and Group Resources but only change the Display Name of the attribute for the User Resource and leave the Display Name for the Group Resource you could change the Display Name at the Binding on this page.
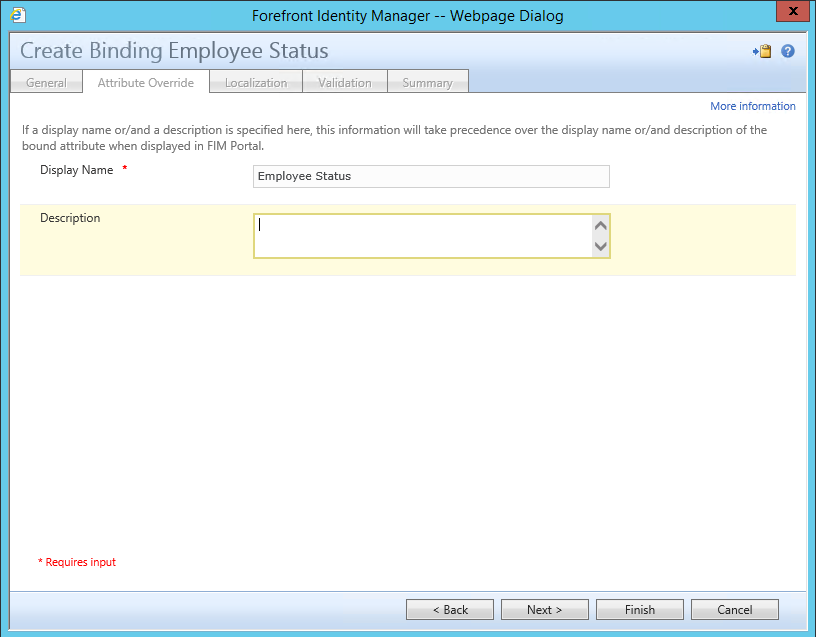
Additionally there is an Option to add a statement or "Description" of the Bound Attribute in the Description Section. For this example you can just click on Next to continue to the Localization Page.

On the Localization Page you have the option to add additional languages that have previously been installed via the Language Packs. Click on Next to continue to the Validation Page.
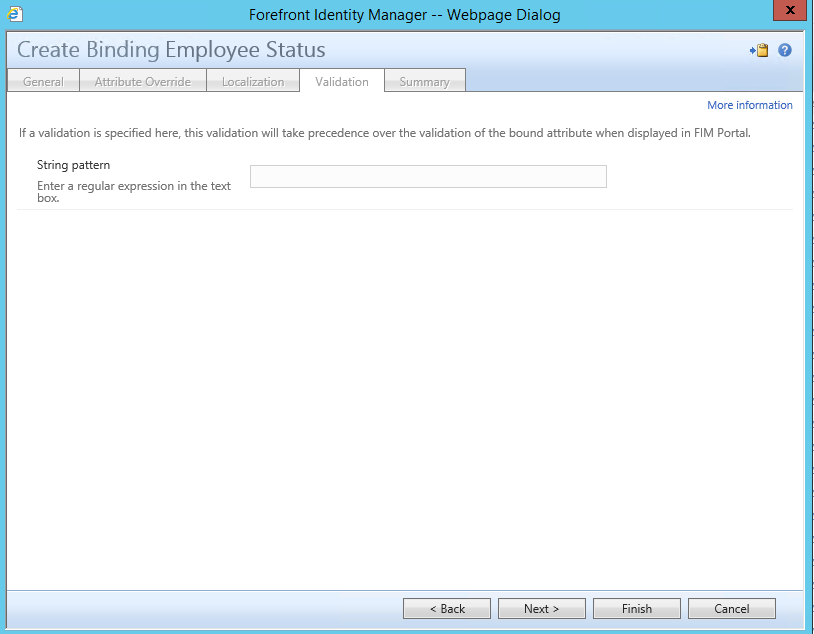
On the Validation Page much like the Validation Page you see when creating the attribute within the FIM Portal Schema Management the Validation Page allows you to add a Regular Expression which can be used to control accepted
- Characters including Casing
- Values such as Enabled, Disabled, Inactive.
At this time we will leave this blank and Click on Next to continue to the Summary Page.
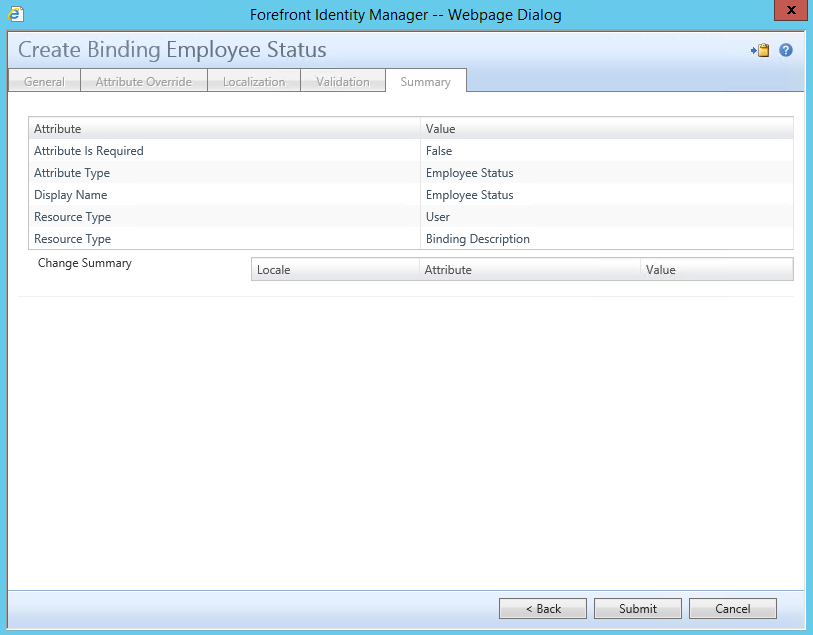
Before you click on Submit it is a definite best practice to verify the information is correct.
Once you verify that this information is Correct click on Submit.