Managing Send-To Permissions With FIM
So we all know FIM is great at managing the lifecycle of a user, handling their group membership and even allowing for password self-service. However, FIM’s capabilities (especially with regards to self-service) don’t end there. One of the great things about this technology is the ability to customize and build on what you get out of box. A great example of that is Distribution Group (formerly Distribution List) self-management. As a large organization, I may very well have thousands (if not tens-of-thousands) of distribution lists in Exchange. And while it is true that I, as a group owner, can add or remove members from my group natively through Outlook, what about other administrative tasks? What if, for example, I want to control the permissions of who is allowed to send to that group? Typically, this would require a ticket with the Exchange team. With FIM, however, we can build this functionality directly into the Portal and allow users to manage their own groups.
In this scenario, we will create custom attributes in the portal and metaverse, edit an RCDC and create attribute flows that will allow us to tie Distribution Lists (DLs) in Exchange to Distribution Groups (DGs) in the portal. By doing so, we will be able to bring them into the portal and control send-to permissions for those DLs by way of a resource picker.
First, we need to create a custom attribute. For detailed instructions on creating and binding a custom attribute in the FIM portal, please see this document. For reference, here’s what the custom attribute needs to look like:
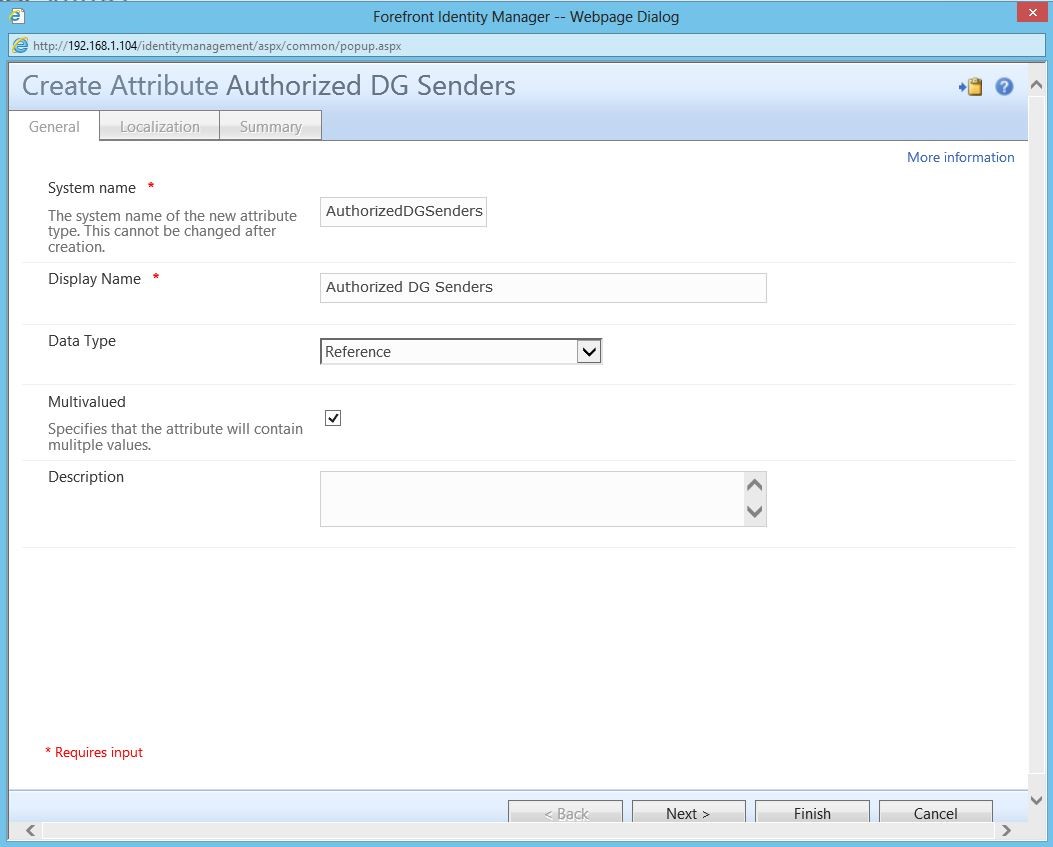
You may step through the remaining tabs (such as “Localization”) by clicking “Finish”. This will take you directly to the “Summary” tab. Click “Submit”.
And here’s the binding for it:
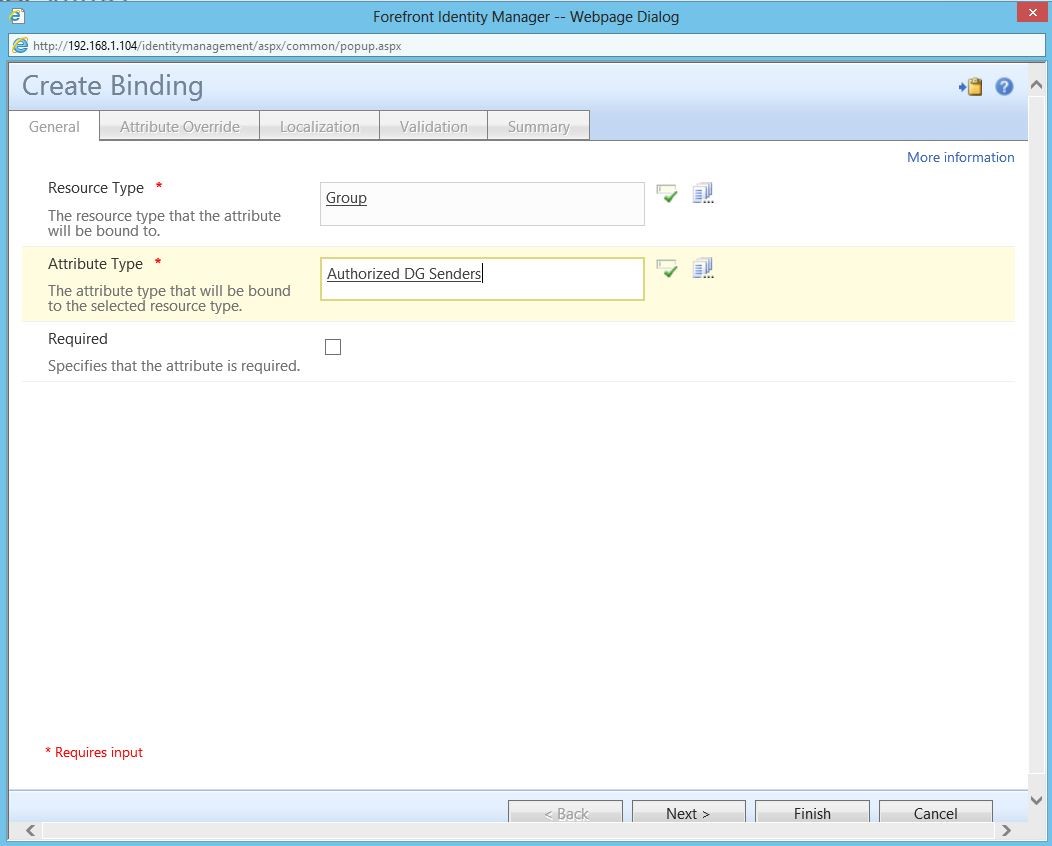
At this stage, as before, you may click “Finish” to skip directly to the “Summary” page. Click “Submit” to finish.
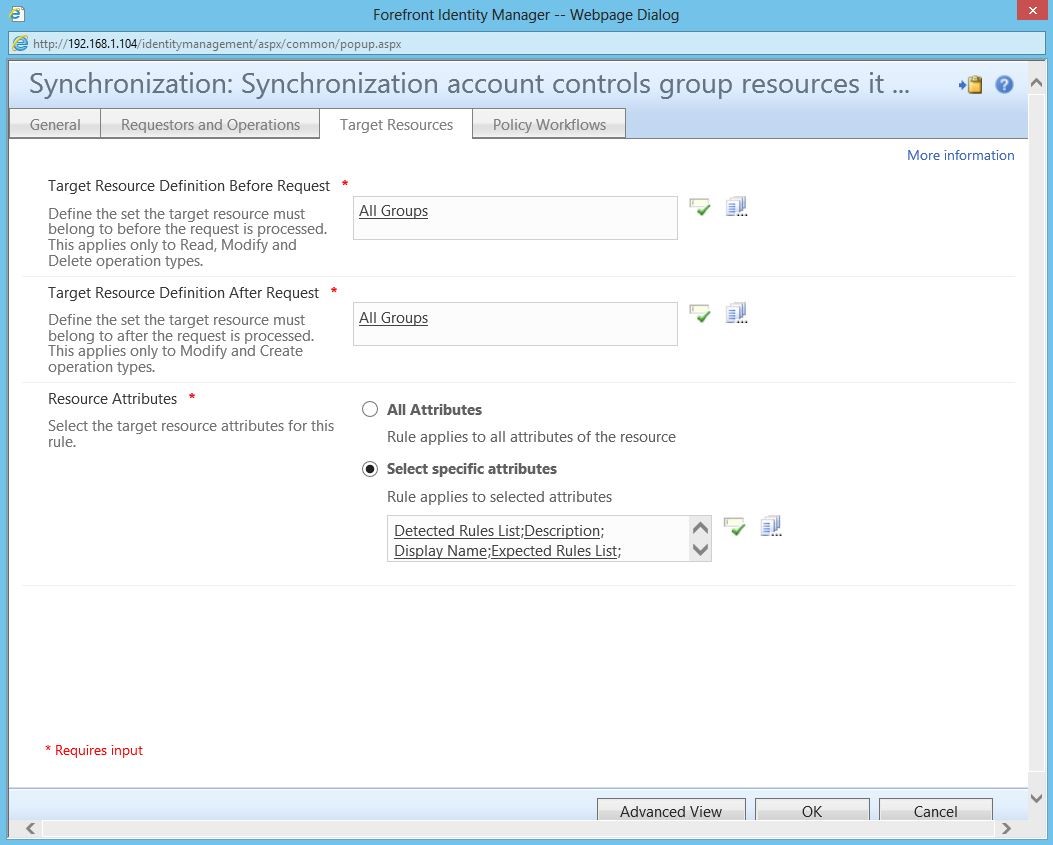
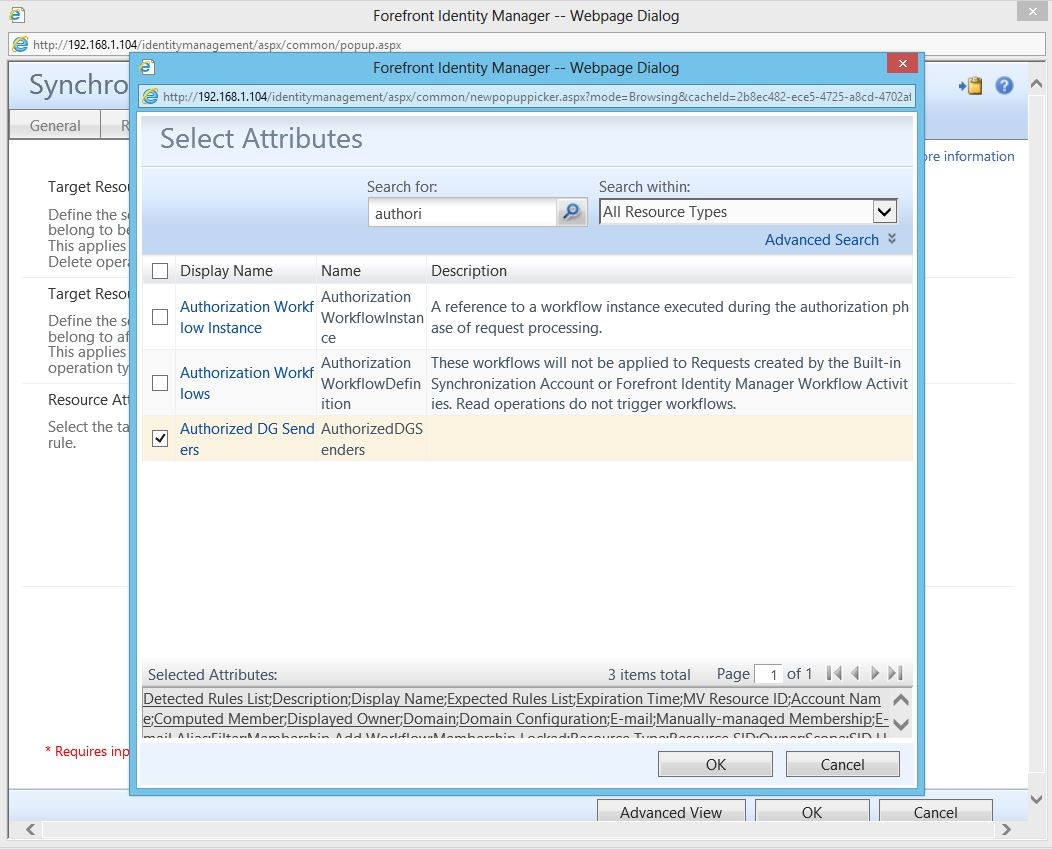
You’ll also need to add the newly created attribute to the MPR:
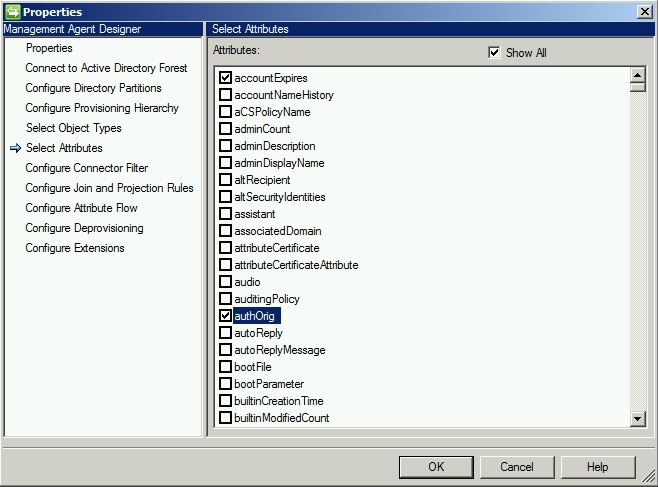
When configuring “send to” permissions in Exchange via the Exchange Management Console, the data is actually being stored in an attribute in AD. Therefore, we need to bring that attribute into scope for FIM. This can be done on the Active Directory management agent. The required attribute is authOrig.
Now, remember, since we created a custom attribute in the portal, we have to have a way of getting it into the metaverse (so that we can map it to the attribute in AD). The best way to do this is by also creating a custom metaverse attribute.

Note that this is a multi-valued reference attribute. The reason for this is so that we can have multiple values (people) in here.
Also, since we created the custom attribute in the portal, we’ll also have to do a schema refresh to make it available.
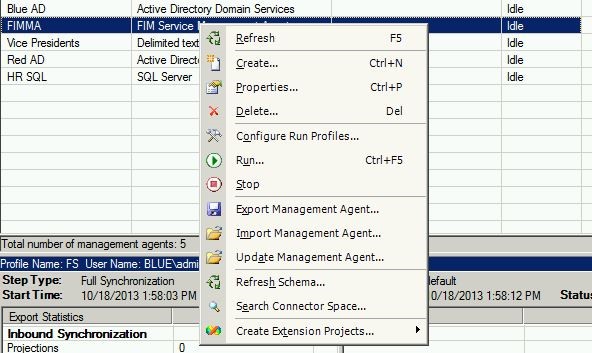
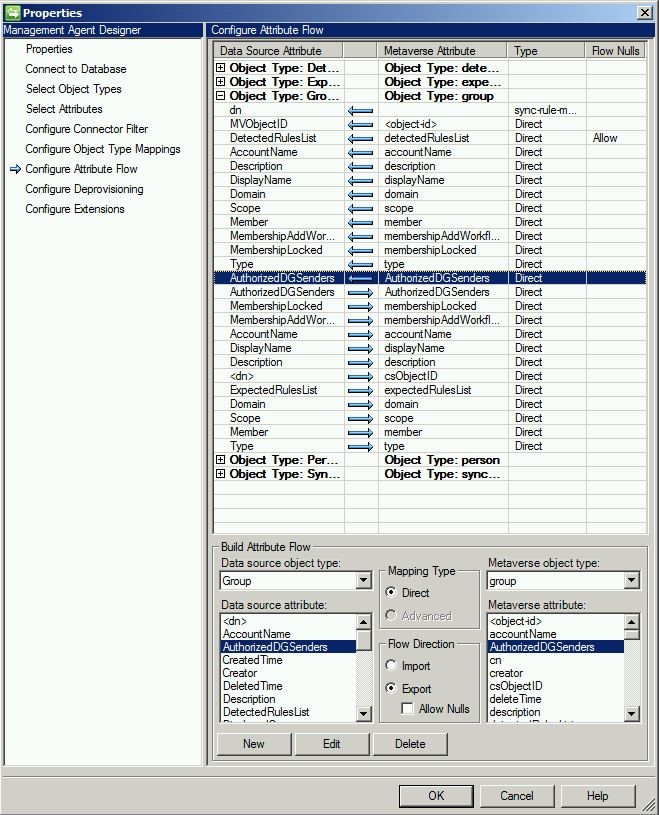
The last thing we need to do in the sync engine is add import/export flows on the FIMMA.
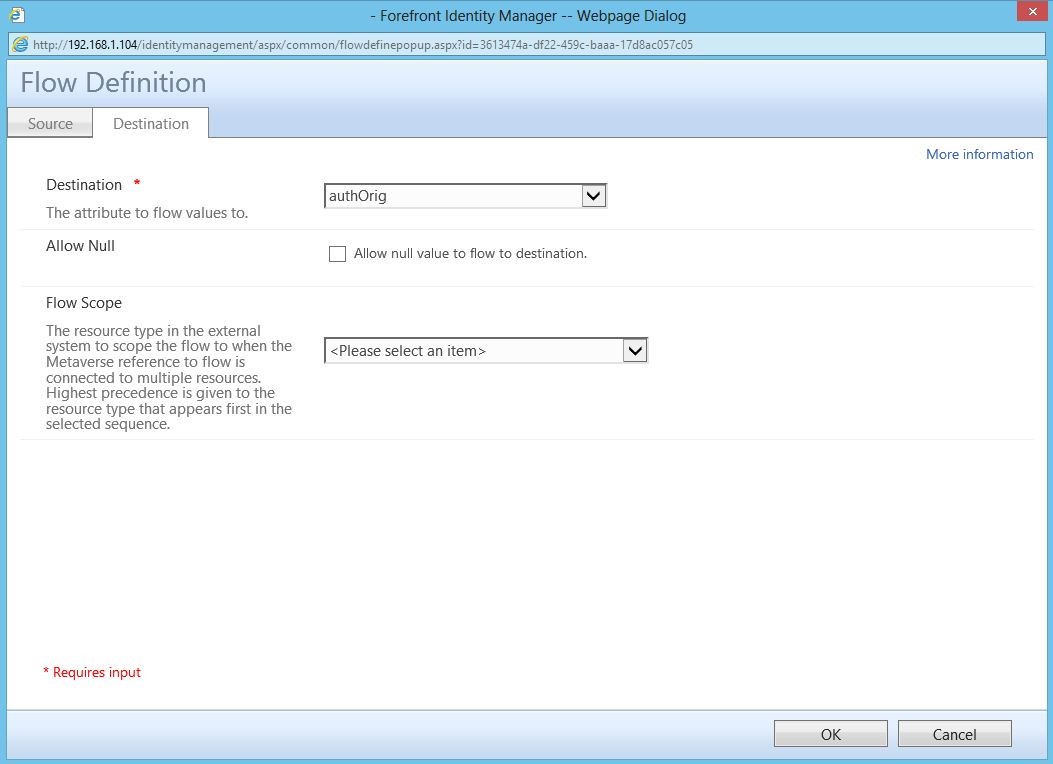
Back in the portal, you’ll need to add flows to your inbound and outbound (as shown below) synchronization rules.

The final piece is to modify the RCDC for group edit and group create. More information about RCDCs can be found here.
<my:Control my:Name="AuthorizedDGSenders" my:TypeName="UocIdentityPicker" my:Caption="{Binding
Source=schema, Path=AuthorizedDGSenders.DisplayName}" my:RightsLevel="{Binding Source=rights,
Path=AuthorizedDGSenders}">
<my:Properties>
<my:Property my:Name="Mode" my:Value="MultipleResult"/>
<my:Property my:Name="ObjectTypes" my:Value="Person"/>
<my:Property my:Name="ColumnsToDisplay" my:Value="DisplayName, AccountName, Department"/>
<my:Property my:Name="AttributesToSearch" my:Value="DisplayName, AccountName"/>
<my:Property my:Name="Value" my:Value="{Binding Source=object, Path=AuthorizedDGSenders, Mode=TwoWay}"/>
<my:Property my:Name="UsageKeywords" my:Value="Person"/>
<my:Property my:Name="ResultObjectType" my:Value="Person"/>
</my:Properties>
</my:Control>
Remember, editing an RCDC requires an iisreset to take effect. Once complete, you should see the resource picker, as shown below:
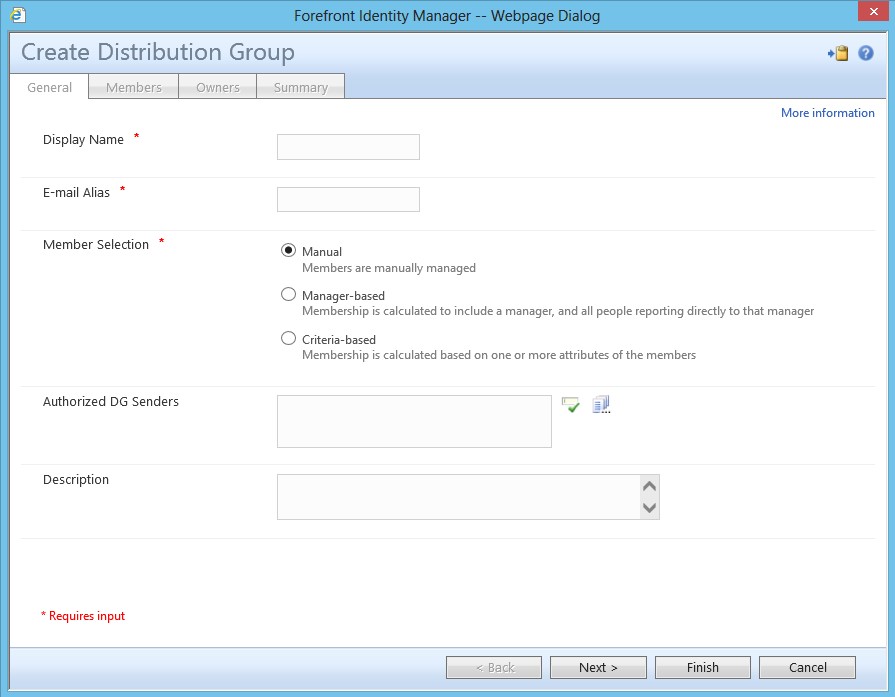
To understand how this works, we are manipulating a built-in feature of Exchange through direct manipulation of an AD attribute.
Under the “Mail Flow Settings” of the “Properties” of a Distribution Group:
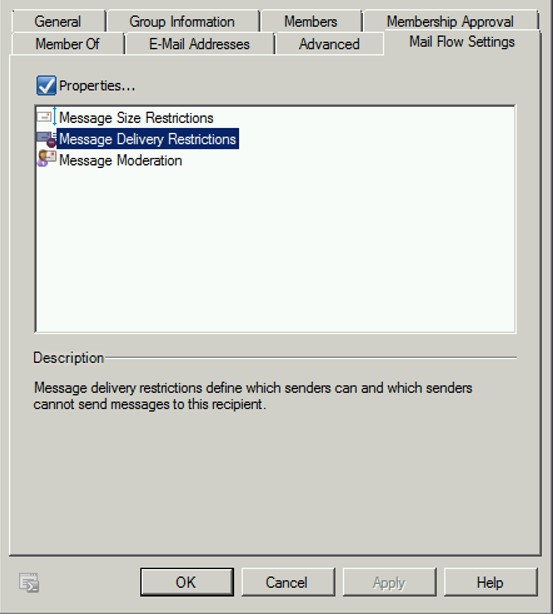
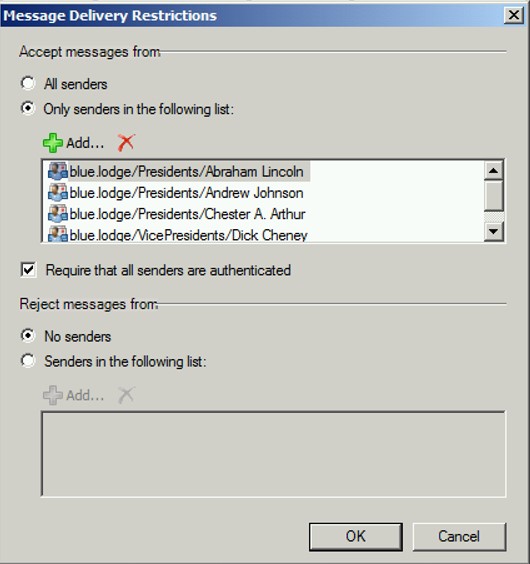
Here we see the “Message Delivery Restrictions”. In this case, only the listed users are authorized to send email to this DG.
Questions? Comments? Love FIM so much you can't even stand it?
EMAIL US>WE WANT TO HEAR FROM YOU!<