Schema Management - Creating a new attribute
The FIM Portal offers a vast selection of Default Attributes that can be used to store data for resources that the attribute is bound to. There may be an occasion when you need to add an additional attribute to the FIM Portal Schema, There are a few steps that need to be followed to ensure that the Attribute is not only created correctly but manageable. This series of blogs ( Schema Management ) will focus on the following:
- Creating the Attribute
- Binding the Attribute to a Resource
- Setting Permissions to manage the attribute
- MPR's to allow Administrator, Sync Engine, or other Specified Users to Manage the attribute.
- Modify Filters to allow for attributes to be usable as criteria for Sets, and or groups.
- Syncing the Attribute via the Synchronization Service
From the Administration Page of the Portal Click on Schema Management
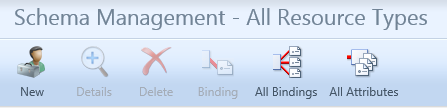
From the Schema Management Page click on All Attributes
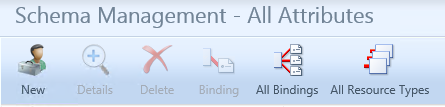
Once on the All Attributes screen
It may be a good practice to search for the Attribute that you wish to create prior to creating the new attribute to see if the attribute already exist or if another attribute could be used. You can search using the Search Function to the right of the screen.

When your ready to Create a new attribute be sure you know what type of attribute you wish to create, A few things to consider prior to creating the new attribute.
- What will this attribute be used for?
- Will this Attribute be synced with the Synchronization Service, if so what data sources will this attribute be syncing with?
- How will this attribute be managed?, In the Portal? From the Synchronization Service via a Data Source?
Most important thing to consider is attribute types must match for a direct synchronization unless Rules extensions and complex code is added to the Synchronization Service.
Now from the All Attributes page click on New.

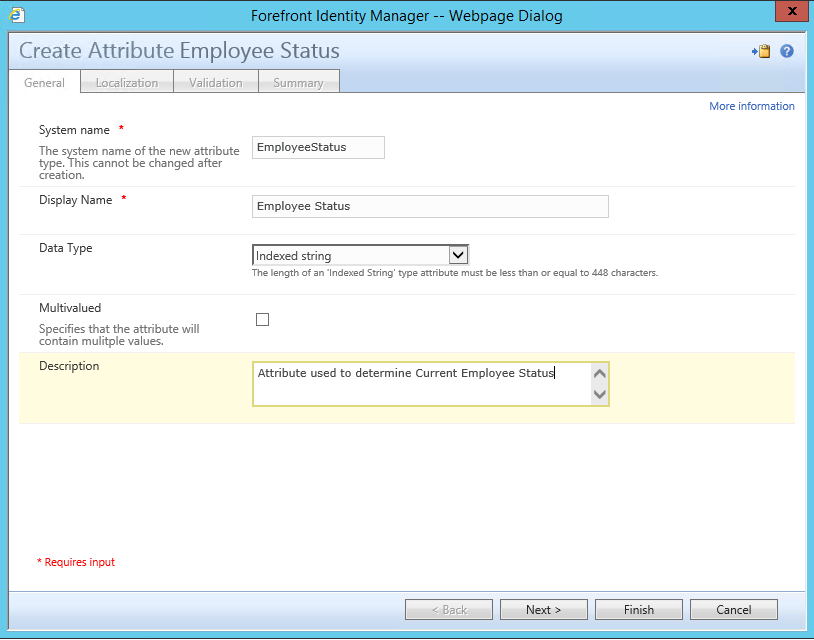
You should now be presented with the Create Attribute popup
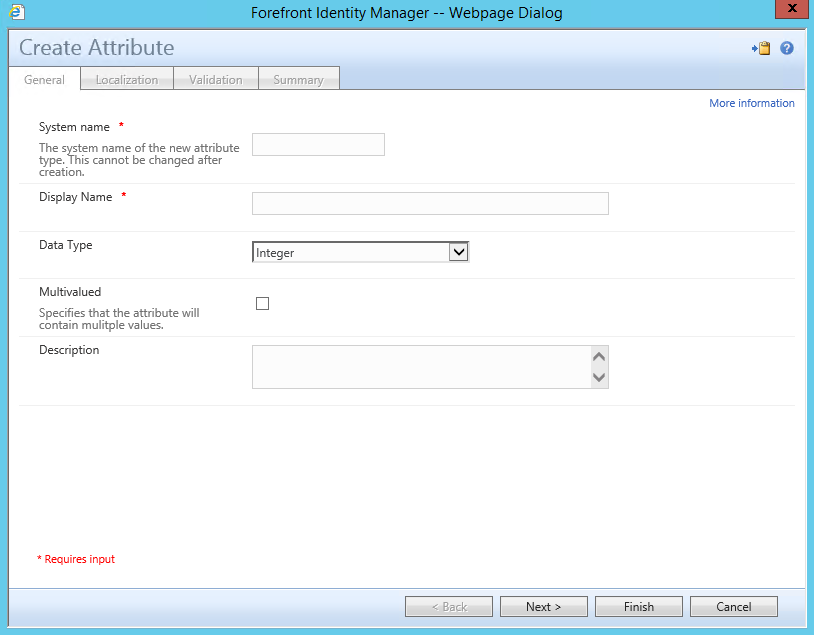
For the System name type EmployeeStatus
For the Display Name type Employee Status
For Data Type select Indexed String
For Multivalued false
Description Attribute used to determine Current Employee Status
Before you continue to next screen verify information is correct, System name, Data Type, and Multivalued can not be changed after creation.
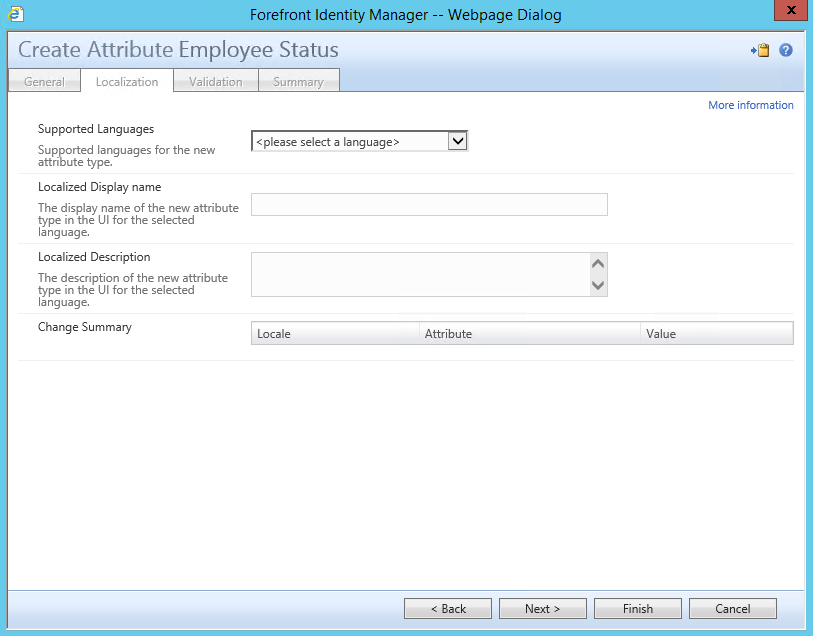
After you verified that the information is correct click on Next, you will be presented with the Localization Page that gives you an option to configure this attribute for additional language support.
At this time we will leave settings as default and click on Next, You are now presented with the Validation page that gives you an option to enter Regular Expressions for the String Pattern.
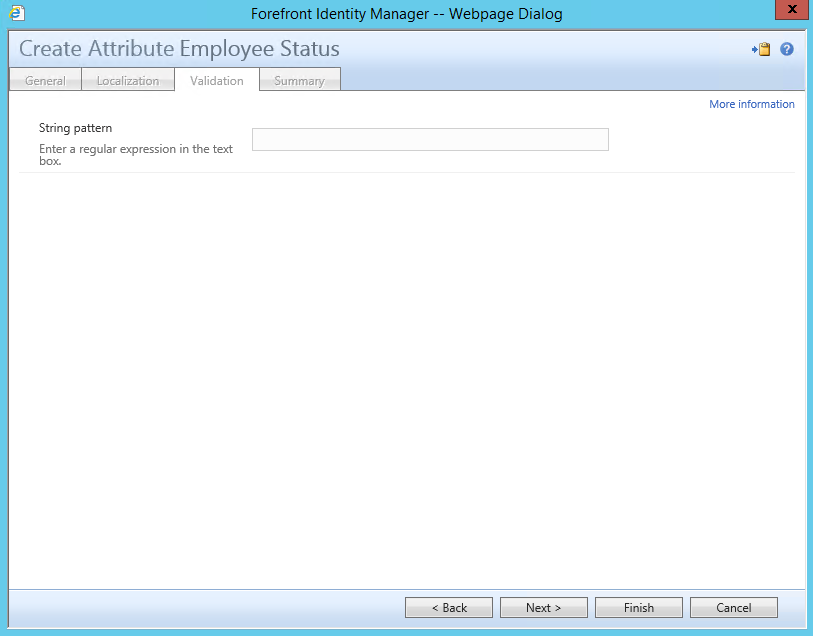
At this time we will skip this process but will revisit on a later blog. Click on Next to review the Summary Page
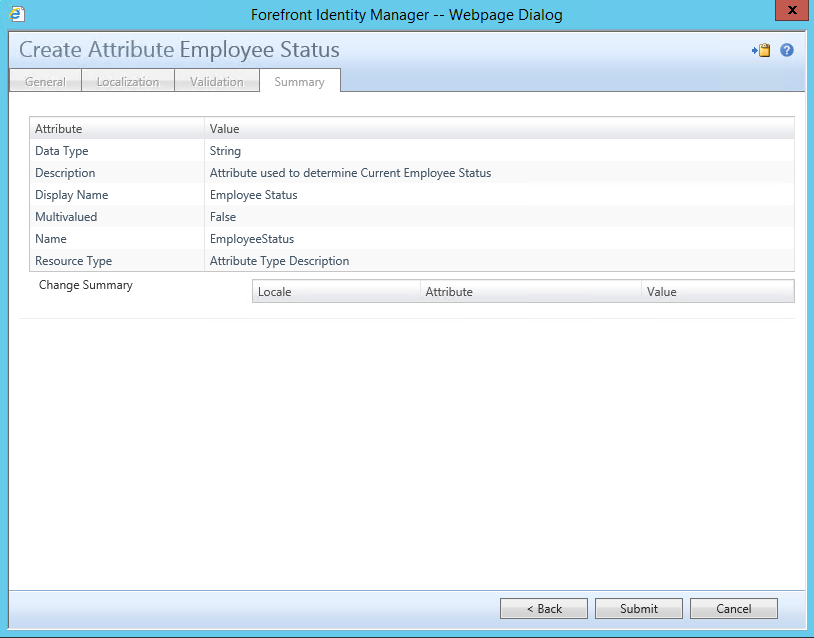
Verify all desired options and selections are correct and than proceed by clicking on Submit.