Performing Application Upgrades on Azure VM Scale Sets
Virtual Machine Scale Sets (VMSS) are an awesome solution available on Azure, providing autoscale capabilities and elasticity for your application. I was recently working with a customer who was interested in leveraging VMSS on their web tier and one of the points we focused on was how to do an upgrade of an application running on a VMSS and what the capabilities were in this regard. In this post, we'll walk through one method of upgrading an ASP.NET application that is running on a VMSS.
For the creation and upgrade of the scale set, we'll utilize an Azure Resource Manager (ARM) template from the Azure Quickstart GitHub repository. If you're not familiar with the Quickstart repo, it's a large and ever-growing repo of ARM templates that can be used to deploy almost every service on Azure. Check it out further when you have some time! The ARM template for this exercise can be found at https://github.com/Azure/azure-quickstart-templates/tree/master/201-vmss-windows-webapp-dsc-autoscale.
Create VMSS via portal and PowerShell
To start, let's create the VMSS. The application we'll be deploying will be a very simple ASP.NET web application, essentially the default app when you create a new ASP.NET project with a minor text modification to display a version number so we can validate the upgrade itself. Super simple, but can easily be extended to more complex and complete applications. There are two ways to kick off the VMSS ARM template deployment; through the Azure portal and through PowerShell. We'll go through both methods.
Deployment via Azure Portal
Kicking off the deployment through the Azure Portal is easy, as you can use the "Deploy To Azure" link in the Quickstart repo.

Click the link and that will open the portal and land you in the template deployment dialog for this template, should look something like this:

From there, you'll want to fill out the various fields. Most of them are self explanatory, but I'll call out a couple of items. The _artifacts Location parameter is the base location for the artifacts we'll be using (ASP.NET WebDeploy package and DSC scripts) which points us to the raw storage in the Quickstart repo. In this case we can leave the _artifacts Location Sas Token blank as this is only needed if you need to provide a SAS token, and all of the artifacts here are publicly available, no token needed. We will then specify the rest of the path to each artifact in the Powershelldsc Zip and Web Deploy Package parameters. The Powershelldsc Update Tag Version parameter will be used in the upgrade, so hold tight and I'll go through that shortly. For this deployment you'll want to enter or select a resource group, provide a name for the VMSS and enter a password. The rest of the values can be left at their defaults unless you want to change them.
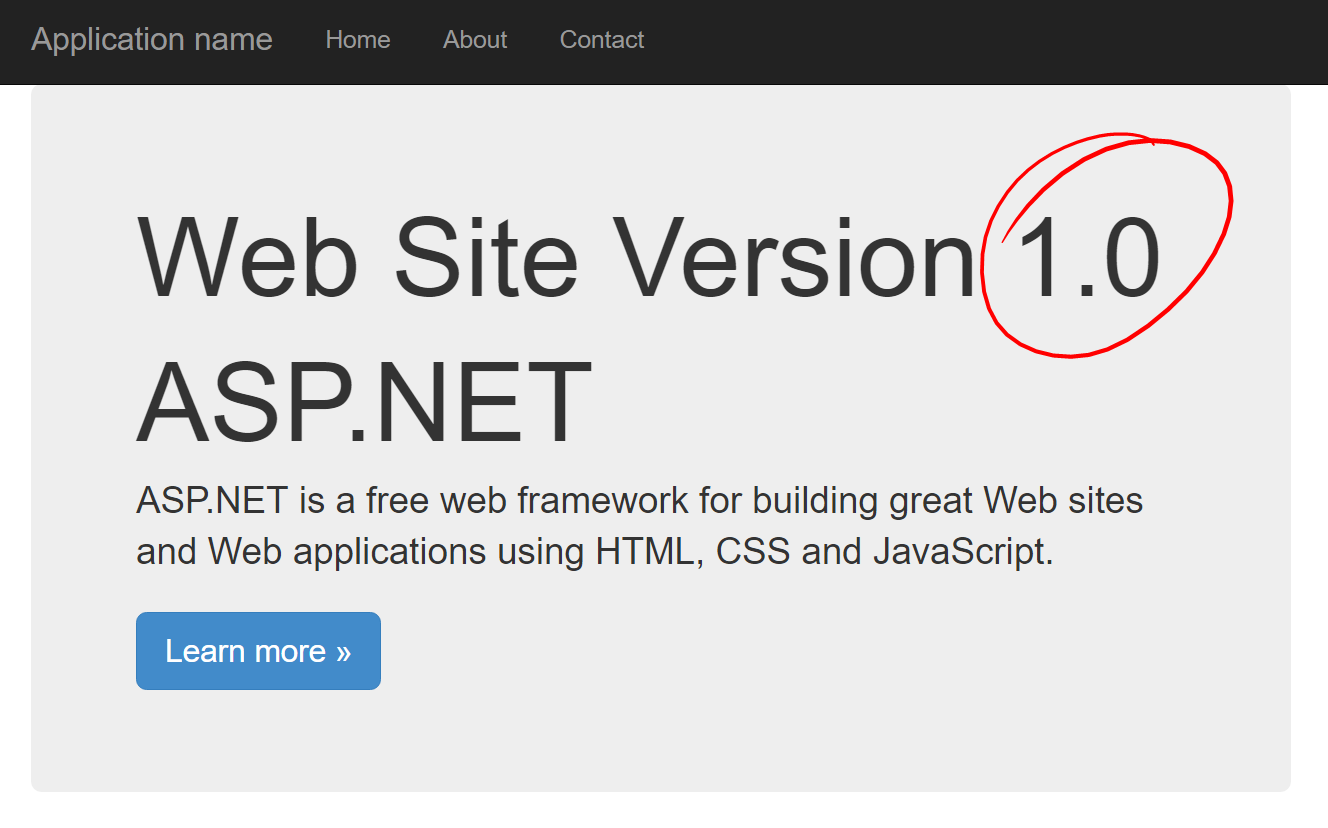
Click purchase when you're ready to go and wait for the deployment to complete, which may take 30 minutes or so. Once complete you can validate that everything is working by pulling up the web page the VMSS is hosting. To get this, pull up your VMSS in the portal and you'll see the public IP address. The web page can be found at https://x.x.x.x/MyApp replacing x.x.x.x with your public IP. Pull up that page and you should see the home page indicating you're running version 1.0.
Deployment via PowerShell
For deployment via PowerShell, you'll need two files locally for the deployment. You'll need the ARM template and the parameter file. Save these to a local directory, in this case we'll use C:\VMSSDeployment.
Open the parameter file and we'll want to make a few updates. Update the vmssName parameter to be the name you want for your VMSS (3-61 characters and globally unique across Azure). Next, update the adminPassword parameter with the password of your choice. Finally, update the _artifactsLocationSasToken parameter to "", empty quotes (the null value is part of the Quickstart repo requirements). Save and exit this file.
Now we're ready to kick off deployment. I've simplified this and am leaving out some error checking and pre-flight validation. If you want more details on how to ensure you properly handle errors there is a great blog post from Scott Seyman that walks you through all these details. In our case, we'll create a new resource group and then kick off the ARM template deployment into that resource group. Open a PowerShell session, log in to your Azure account and run the following commands.
 $resourceGroupName = "VMSSDeployment"
$location = "West Central US"
New-AzureRmResourceGroup -Name $resourceGroupName -Location $location

$templateFilePath = "C:\VMSSDeployment\azuredeploy.json"
$parametersFilePath = "C:\VMSSDeployment\azuredeploy.parameters.json"
New-AzureRmResourceGroupDeployment -ResourceGroupName $resourceGroupName -TemplateFile $templateFilePath -TemplateParameterFile $parametersFilePath -Verbose
Once the template has deployed successfully you'll get a response back with the details on the deployment.
 DeploymentName          : azuredeploy
ResourceGroupName       : VMSSDeployment
ProvisioningState       : Succeeded
Timestamp               : 12/29/2016 7:08:43 PM
Mode                    : Incremental
TemplateLink            :
Parameters              :
                          Name             Type                       Value
                          ===============  =========================  ==========
                          vmSku            String                     Standard_A1
                          windowsOSVersion  String                     2016-Datacenter
                          vmssName         String                     vmssjb2
                          instanceCount    Int                        3
                          adminUsername    String                     vmssadmin
                          adminPassword    SecureString
                          _artifactsLocation  String                     https://raw.githubusercontent.com/Azure/azure-quickstart-templates/master/201-vmss-windows-webapp-dsc-autoscale
                          _artifactsLocationSasToken  SecureString
                          powershelldscZip  String                     /DSC/IISInstall.ps1.zip
                          webDeployPackage  String                     /WebDeploy/DefaultASPWebApp.v1.0.zip
                          powershelldscUpdateTagVersion  String                     1.0

Outputs                 :
DeploymentDebugLogLevel :
To validate the web site let's get the public IP address.
Get-AzureRmPbulicIpAddress -ResourceGroupName VMSSDeployment
Now you can plug in your IP address (https://x.x.x.x/MyApp) and confirm that the page comes up successfully.
Upgrade the application
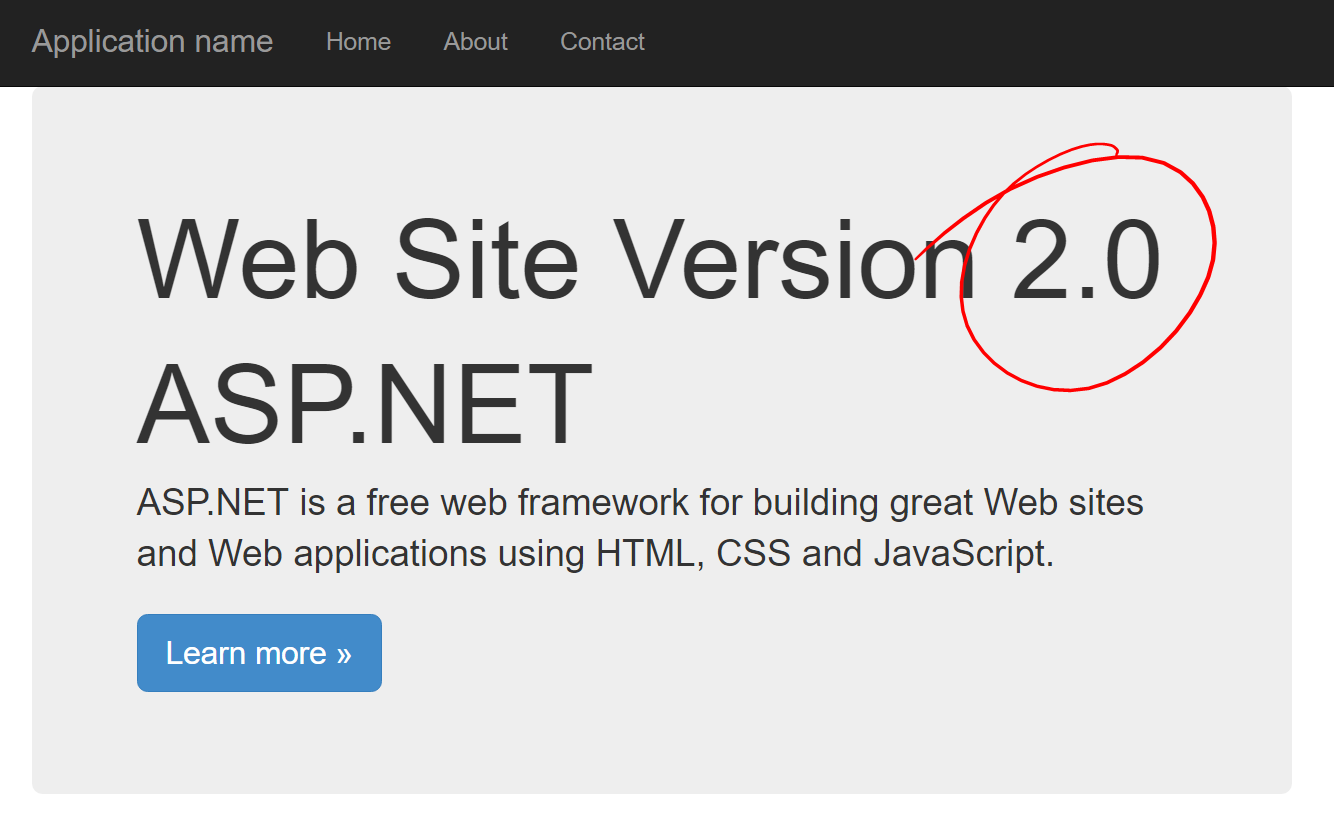
So now we've got a web site running version 1.0, but we want to upgrade it to the newly released version 2.0. Lets go through the process to make this happen in both the Azure Portal and through PowerShell.
Upgrade via Azure Portal
To kick off the deployment in the Azure Portal we'll want to redeploy the template. In the portal, navigate to your resource group, select Deployments and click the Redeploy button. This will pop open the familiar custom template deployment dialog with some information pre-populated, we'll make a few updates here to do the upgrade.
Update the Resource group parameter to use the existing resource group your VMSS currently resides in. Validate that the Vmss Name parameter is the same as you specified on the original deployment. These are both important so that the deployment is to the existing VMSS and not to a new VMSS in a new resource group. In the Admin Password parameter enter the same password you originally entered. Now, to update the application we'll change two additional parameters. Update the Web Deploy Package to reference /WebDeploy/DefaultASPWebApp.v2.0.zip, and update the Powershelldsc Update Tag Version to 2.0.

Once that's all set, click Purchase to deploy the updated template. Since all of our resources already exist (storage accounts, load balancer, VMSS, etc.) the only updates will be to the VMs in the scale set. Once the deployment is complete, pull up your web page and you should see the newly deployed version 2.0.
Upgrade via PowerShell
The process to upgrade through PowerShell is equally easy. Pop open the parameters file you used on your original deployment. Update the webDeployPackage parameter to reference /WebDeploy/DefaultASPWebApp.v2.0.zip and set the powershelldscUpdateTagVersion to 2.0. Save and exit the file.
Next, re-run the command to deploy the template.
New-AzureRmResourceGroupDeployment -ResourceGroupName $resourceGroupName -TemplateFile $templateFilePath -TemplateParameterFile $parametersFilePath -Verbose
Once finished, pull up your web site and validate that it's now running version 2.0.
Under the hood
So how does this all work? Let's go through several key pieces to this solution.
WebDeploy
We're using a WebDeploy package to deploy the ASP.NET application on the servers. This give us a nice, self contained application package that makes it easy to deploy to one or more web servers. I won't go into too much detail on this other than I essentially followed the steps referenced in this document. I saved this file locally and uploaded it to the repo to make it available in the deployment. In this case there are two versions with a slightly different configuration to illustrate the upgrade process as described, version 1.0 and version 2.0.
PowerShell DSC script
The servers themselves are configured with a PowerShell DSC script. This script installs IIS and all the necessary dependencies, installs WebDeploy and deploys the WebDeploy package that gets passed as a script parameter from the ARM template itself.
You can use the Publish-AzureRmVmDscConfiguration cmdlet to create the zip file needed for the deployment. This can either create the file locally or upload it to Azure storage for you so it's available in an Internet accessible location. In this case I created the file locally and uploaded it to the Quickstart repo.
PowerShell DSC extension
The PowerShell DSC VM extension is used to run the aforementioned DSC script on each of the VMs as they are provisioned. We take the path for the WebDeploy package and pass that through as a parameter to the script so it knows where to get it from. The upgrade process is triggered when the forceUpdateTag parameter is updated. The DSC extension sees the different value and will re-run the extension on all the VMs. When we update the path to the WebDeploy package as part of the upgrade process, this pulls down the 2.0 version of the web site and deploys it.
 "extensionProfile": {
            "extensions": [
              {
                "name": "Microsoft.Powershell.DSC",
                "properties": {
                  "publisher": "Microsoft.Powershell",
                  "type": "DSC",
                  "typeHandlerVersion": "2.9",
                  "autoUpgradeMinorVersion": true,
                  "forceUpdateTag": "[parameters('powershelldscUpdateTagVersion')]",
                  "settings": {
                    "configuration": {
                      "url": "[variables('powershelldscZipFullPath')]",
                      "script": "IISInstall.ps1",
                      "function": "InstallIIS"
                    },
                    "configurationArguments": {
                      "nodeName": "localhost",
                      "WebDeployPackagePath": "[variables('webDeployPackageFullPath')]"
                    }
                  }
                }
              }
            ]
          }
VMSS upgrade process
There are two modes of upgrades for VMSS, Automatic and Manual. Automatic will perform the upgrade across all VMs at the same time and may incur downtime. Manual gives the administrator the ability to roll out the upgrade one VM at a time, allowing you to minimize any possible downtime. In this case we're using Automatic since we're not actually redeploying the VMs, we're just re-running the DSC script on each one to deploy a new application. You can read more about these options and how to perform a manual upgrade here. Do note that you may see the VMs scale depending on what you specify in the template and what the current running state is. These will scale back up or down based on your metrics once the deployment is complete.
 "upgradePolicy": {
          "mode": "Automatic"
}
Wrap up
That's about it. I hope this provided you with a good example of how to perform an upgrade of an application across a VMSS. Be sure to read through the referenced documentation and browse through the Quickstart repo for other ARM templates that can be used across Azure.