Cloud Services PaaS - Common scenarios for SSL certificate configuration
This article is intended to summarize a few common scenarios for SSL certificate configuration on Cloud Services PaaS. It will cover configuration of multiples certificates for HTTPS communication and certificate installation for general encrypted communication purposes.
- In case you just want to install one certificate on your cloud service to enable HTTPs communication, you should go to this article:
- In case you want only one certificate for multiple hostnames names, for example contoso.com / contoso.us / contoso.com.br / *.contoso.com you can use a Subject Alternative Name (SAN) certificate and go to this article:
- In case you have chained certificates to install on your cloud service, you should go to this article:
- In case you want have multiple certificates and need just to install all of them on your cloud service just to be used by the application (this is not for website binding on port 443) you should do 2 things:
-
- first upload the certificates to the portal Step 3 and 4 on this article: https://azure.microsoft.com/en-us/documentation/articles/cloud-services-configure-ssl-certificate-portal/
- configure the certificate on “Properties” of your roles (figure 1) and add as much certificates as you need on the “Add Certificate” (figure 2).
[caption id="attachment_2595" align="aligncenter" width="689"]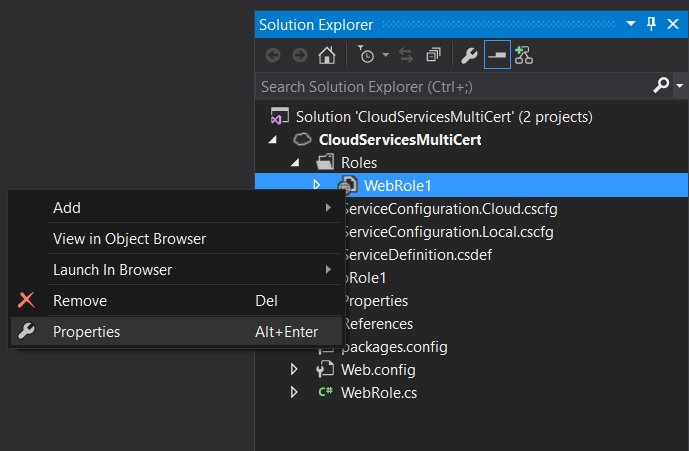 Figure 1. WebRole1 properties[/caption]
[caption id="attachment_2605" align="aligncenter" width="1072"]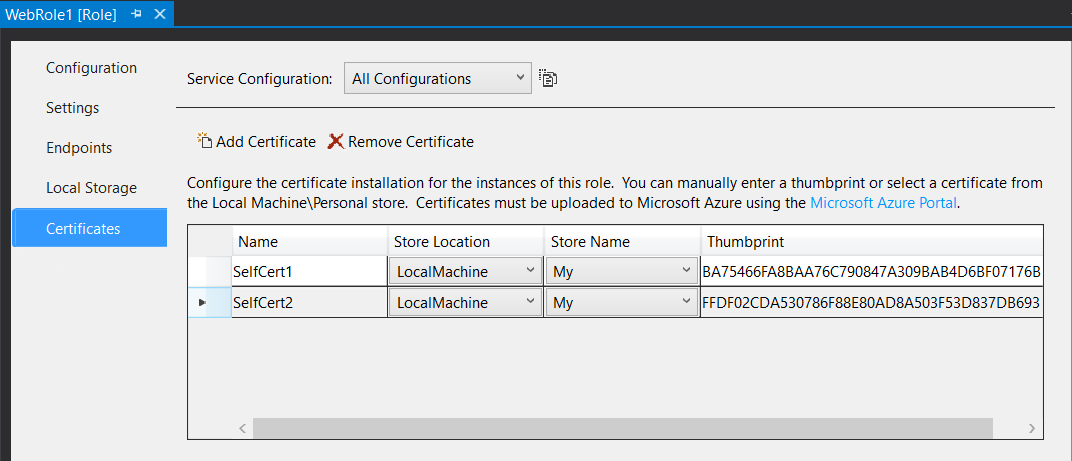 Figure 2. Add certificates[/caption]
After you deploy this project those certificates will be only installed on the WebRole1 and they will also be shown on your IIS manager
[caption id="attachment_2615" align="aligncenter" width="1024"]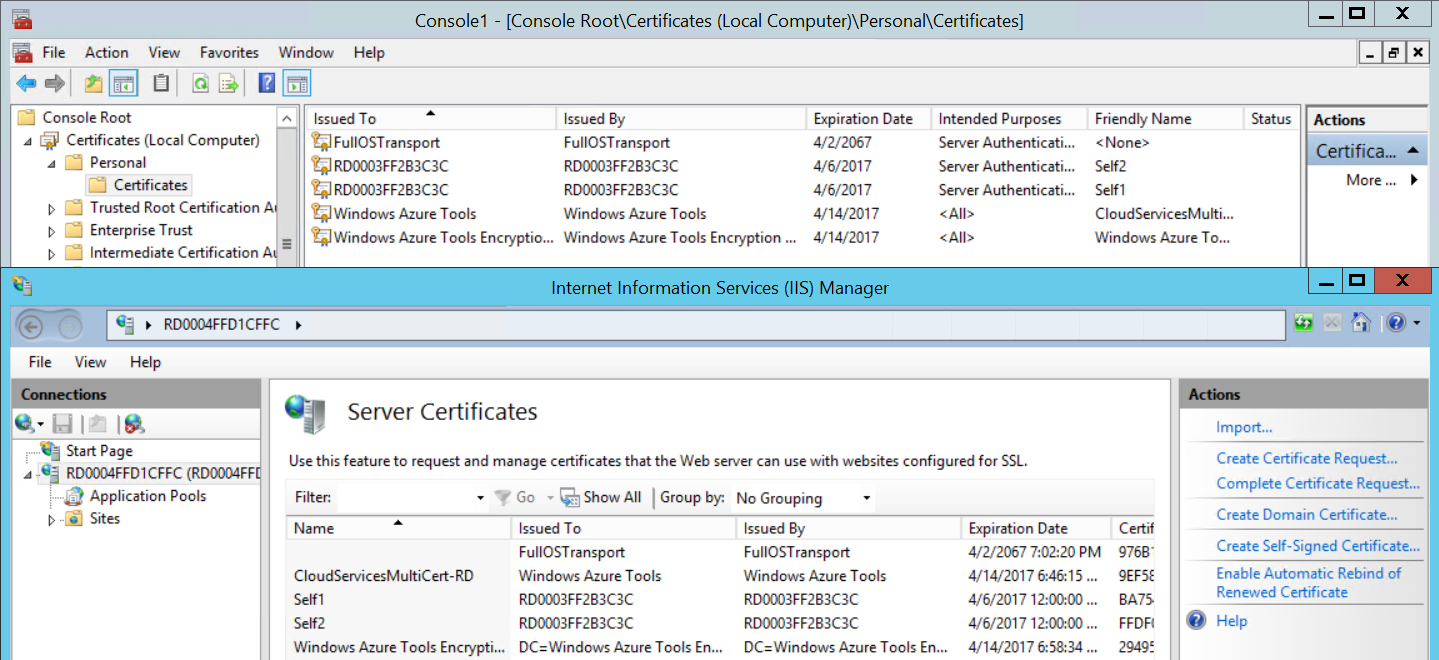 Figure 3. Certificate Store / IIS certificates[/caption]
- In case you have multiple certificates with different hostnames and need to add them to the website bindings on port 443 on all your WebRoles for HTTPS communication, beyond doing the previous item which will install the certificate on the server, you should also enable site HTTPS bindings programmatically via the application code on start or startup task but you have to make sure that IIS is ready in order to change its configuration by doing some checks on code on both implementations and enable Server Name Indication (SNI) on all bindings entries (figure 4) because a given server can only provide different certificates by using the same IP:Port binding combination if the server is configured to use SNI. These articles below can be used as reference to add the bindings programmatically:
https://www.iis.net/configreference/system.applicationhost/sites/sitedefaults/bindings/binding
[caption id="attachment_2625" align="aligncenter" width="674"]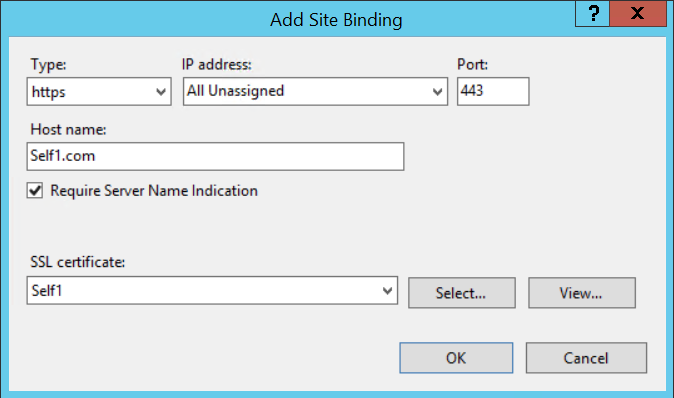 Figure 4. IIS HTTPS binding with SNI checked[/caption]
This article below explains how SSL handshake works when there is more than one binding for the same IP:Port combination using different certificates on IIS8. There is a common configuration issue which relates to step 3 on the handshake in which server will check for a legacy binding, which means a binding entry without SNI option checked, then provide this certificate to clients. In this case IIS will provide the certificate in which the binding where SNI option is not checked, for all HTTPS bindings on this server even if the other bindings have SNI option checked.
Below steps outline, how the SSL handshake works with a CCS binding on the IIS 8 web server:
- The client and the server establish a TCP connection via TCP handshake.
- The client sends a Client Hello to the server. This packet contains the specific protocol version, list of supported cipher suites along with the hostname (let’s say www.outlook.com provided its a SNI compliant browser). The TCP/IP headers in the packet contain the IPAddress and the Port number.
- The server checks the registry (legacy bindings) to find a certificate hash/thumbprint corresponding to the above combination of IP:Port.
- If there is no legacy binding for that IP:Port, then server uses the port number from the Client Hello to check the registry for a CCS binding for this port. The server checks the below key to find the binding information: HKLM\SYSTEM\CurrentControlSet\Services\HTTP\Parameters\SslCcsBindingInfo
- If the above step fails i.e., if the server couldn’t find a corresponding CCS binding for that port, then it would fallback to the legacy binding. (If this is absent then the SSL handshake would fail).
- If Step 4 succeeds. The hostname (from Client Hello) is used to generate a filename like hostname.pfx. The filename is passed as a parameter along with the other details (CCS Configuration) to the crypto API’s which in turn call the File System API’s to retrieve the corresponding certificate from the Central Certificate Store (File Share) . The retrieved certificate is cached and the corresponding certificate without private key is added to the Server Hello and sent to the client.
- If it cannot find a filename, then it falls back to Step 5.